I had the Yuma fabric pulled into a few different piles, so I knew I would end up making a Yuma Oxbow Tote!

If you’ve been around my blog for a while, you’ll know I’m a big fan of Leah Duncan! I’ve been using her fabrics whenever a new collection pops up. I love the way she combines colors. Here’s a cute jacket I made lined with Leah’s fabric, and another one, some t-shirts, a beautiful dress, a lanyard wallet, a Zip Top Tote (pattern from my book, Handmade Style), a Market Bag (also from my book), two Double Zip Wallets (also from my book), the exterior of my Road Trip Case, an Envelope Clutch, this green Divided Basket, and more! Seriously I didn’t know I made that many things with her fabrics over the years, fun to take a look back.
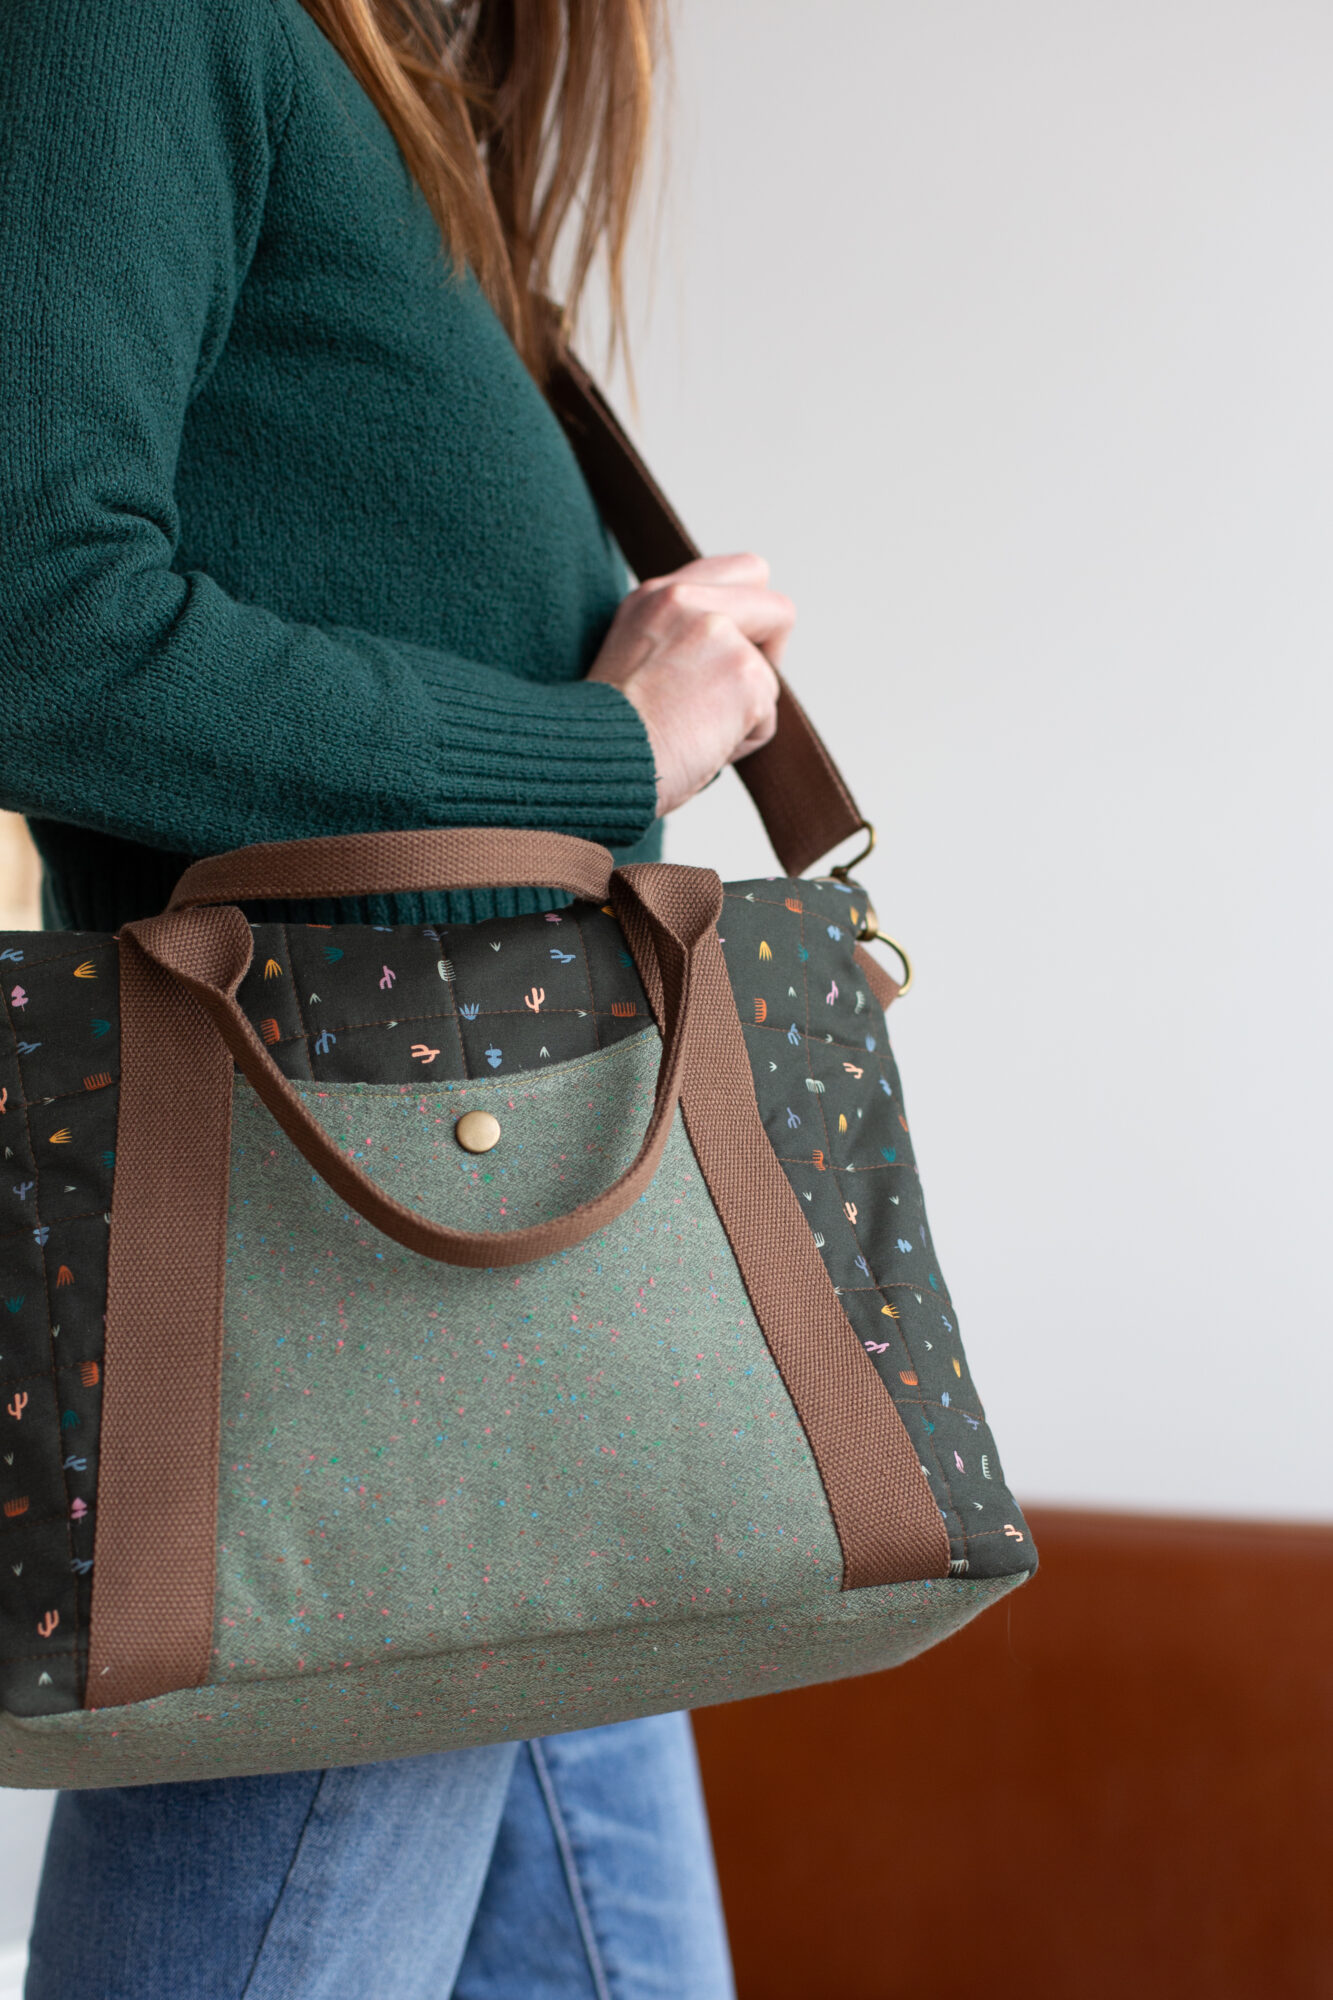
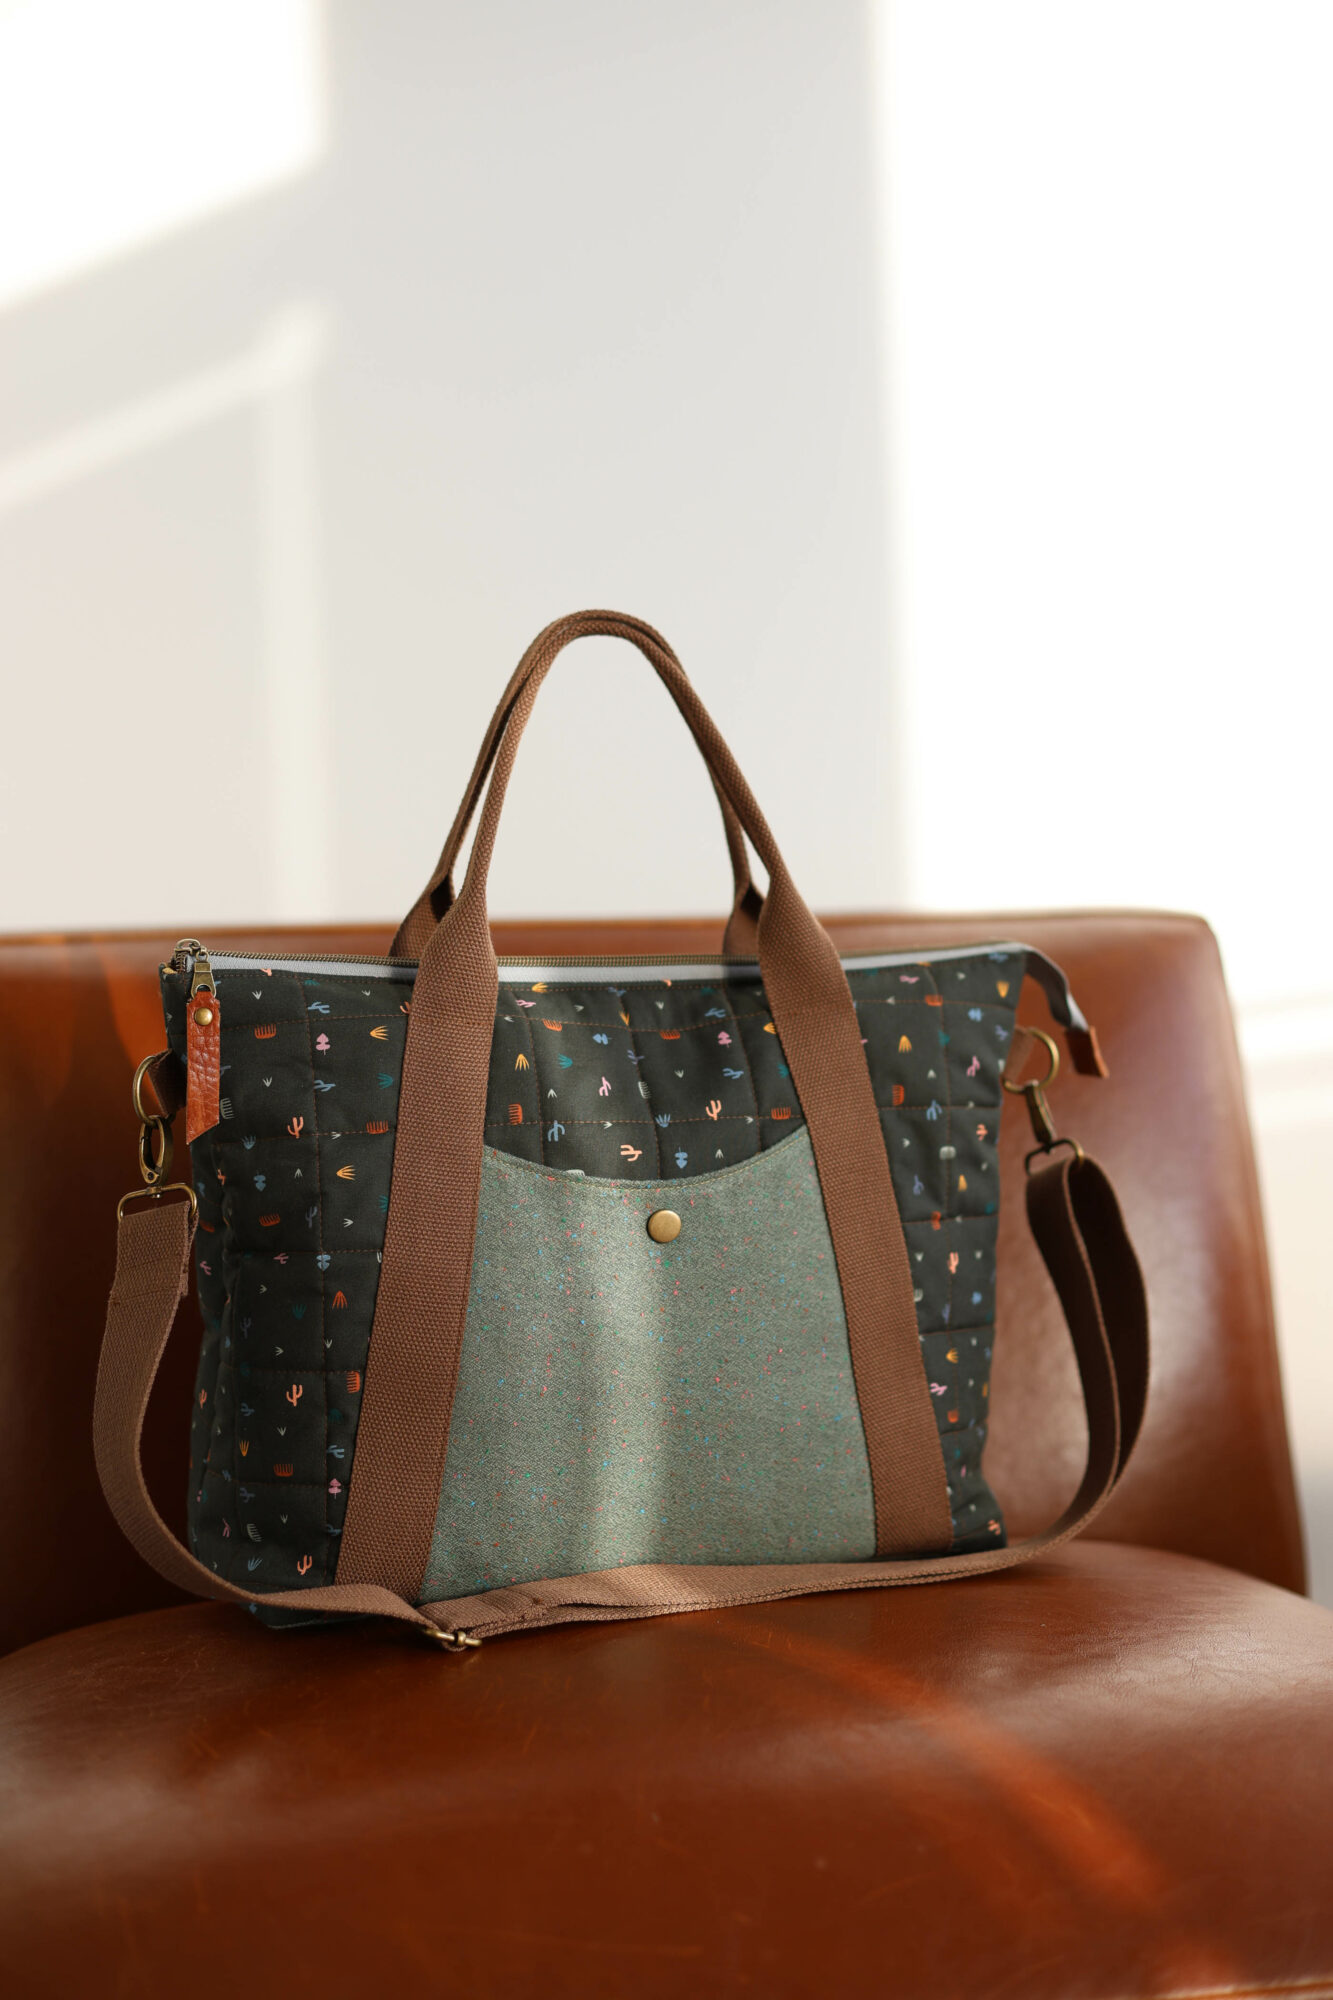
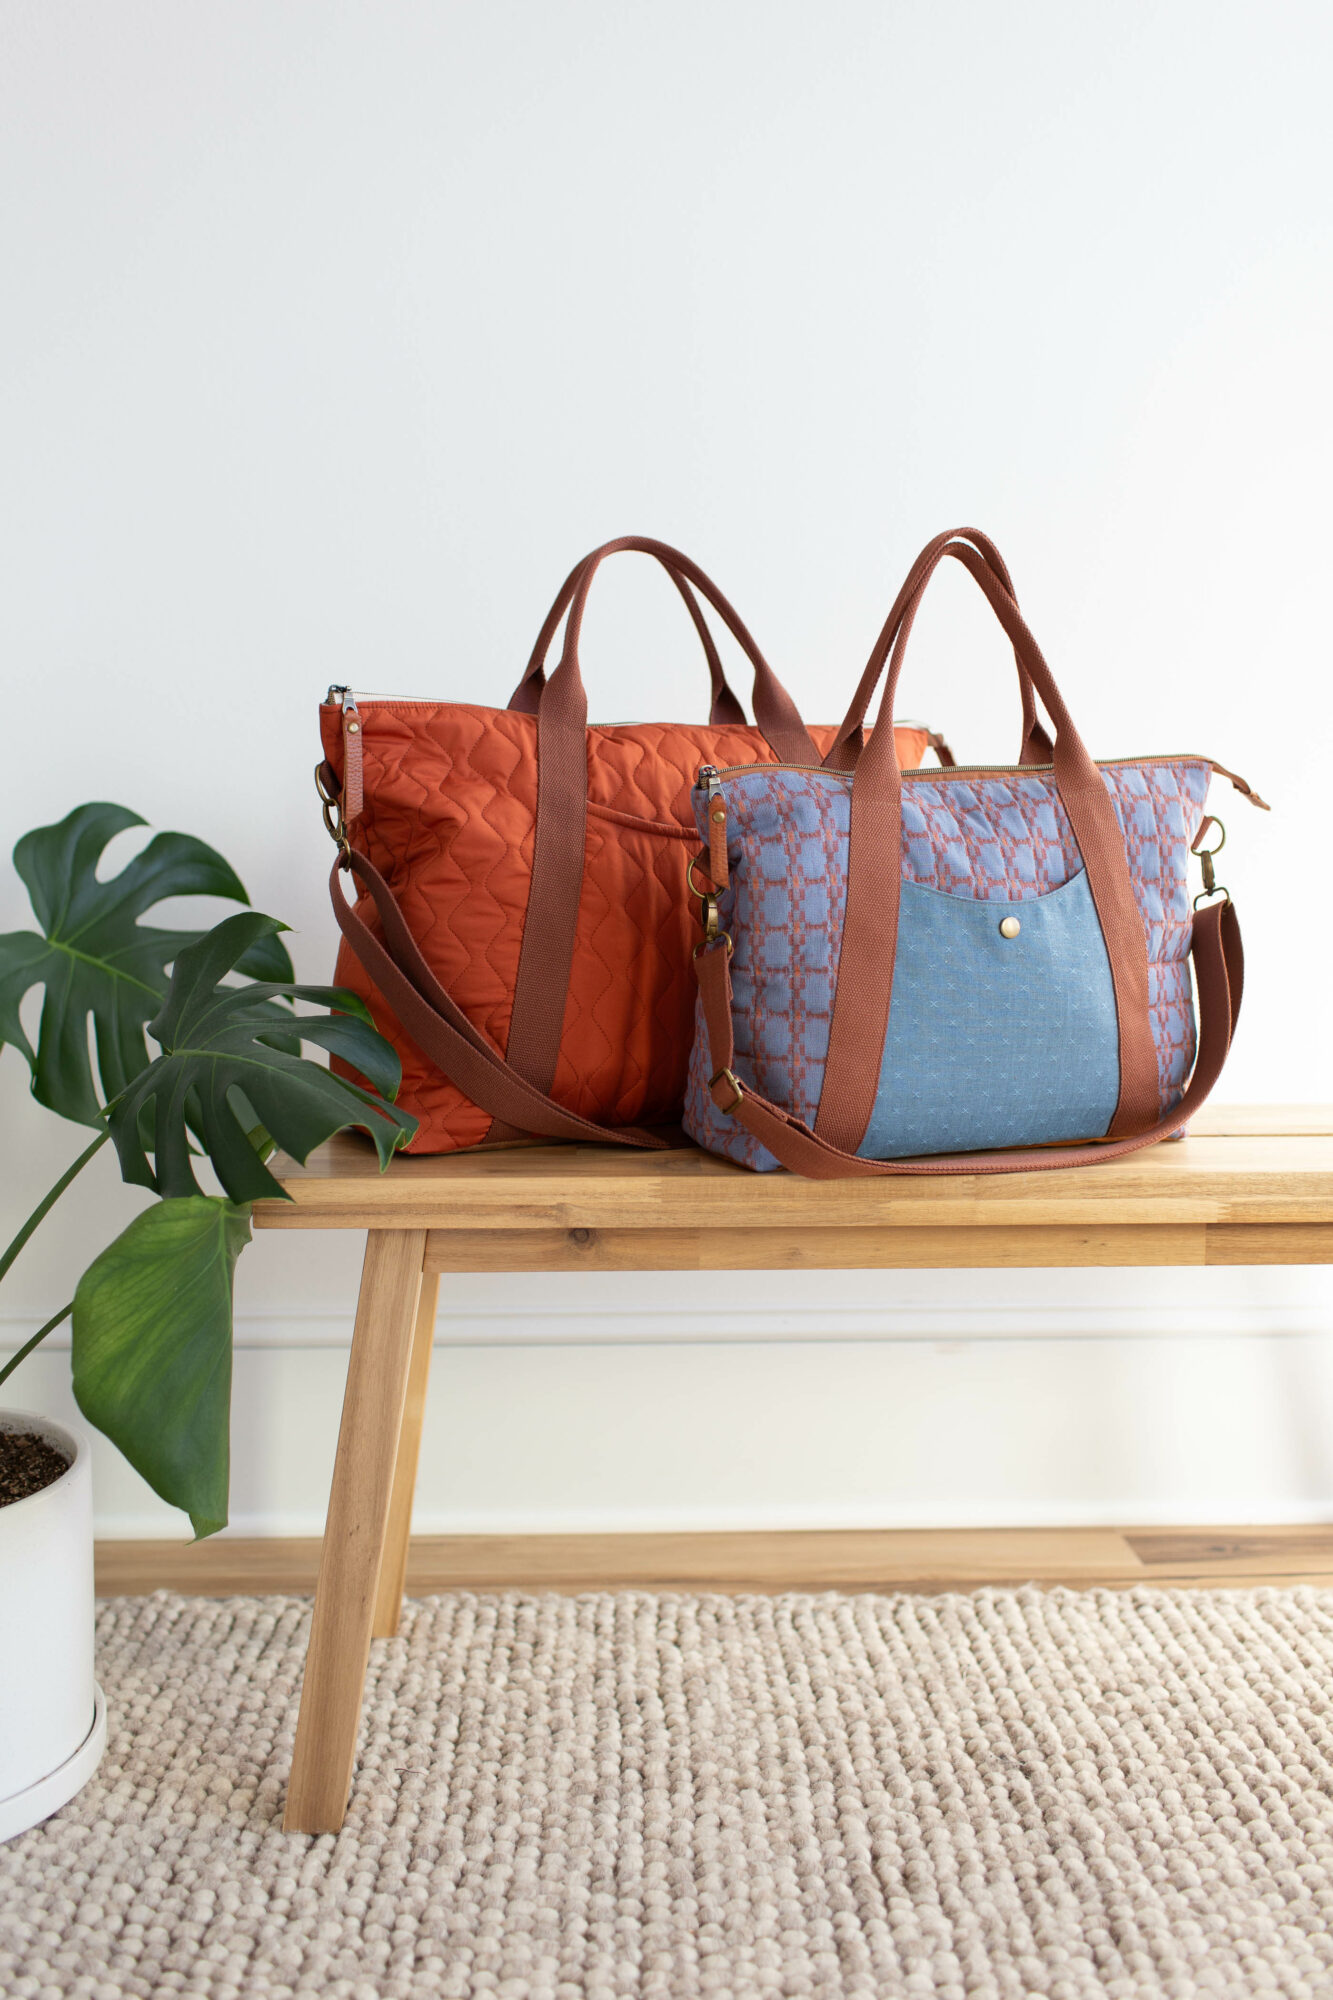
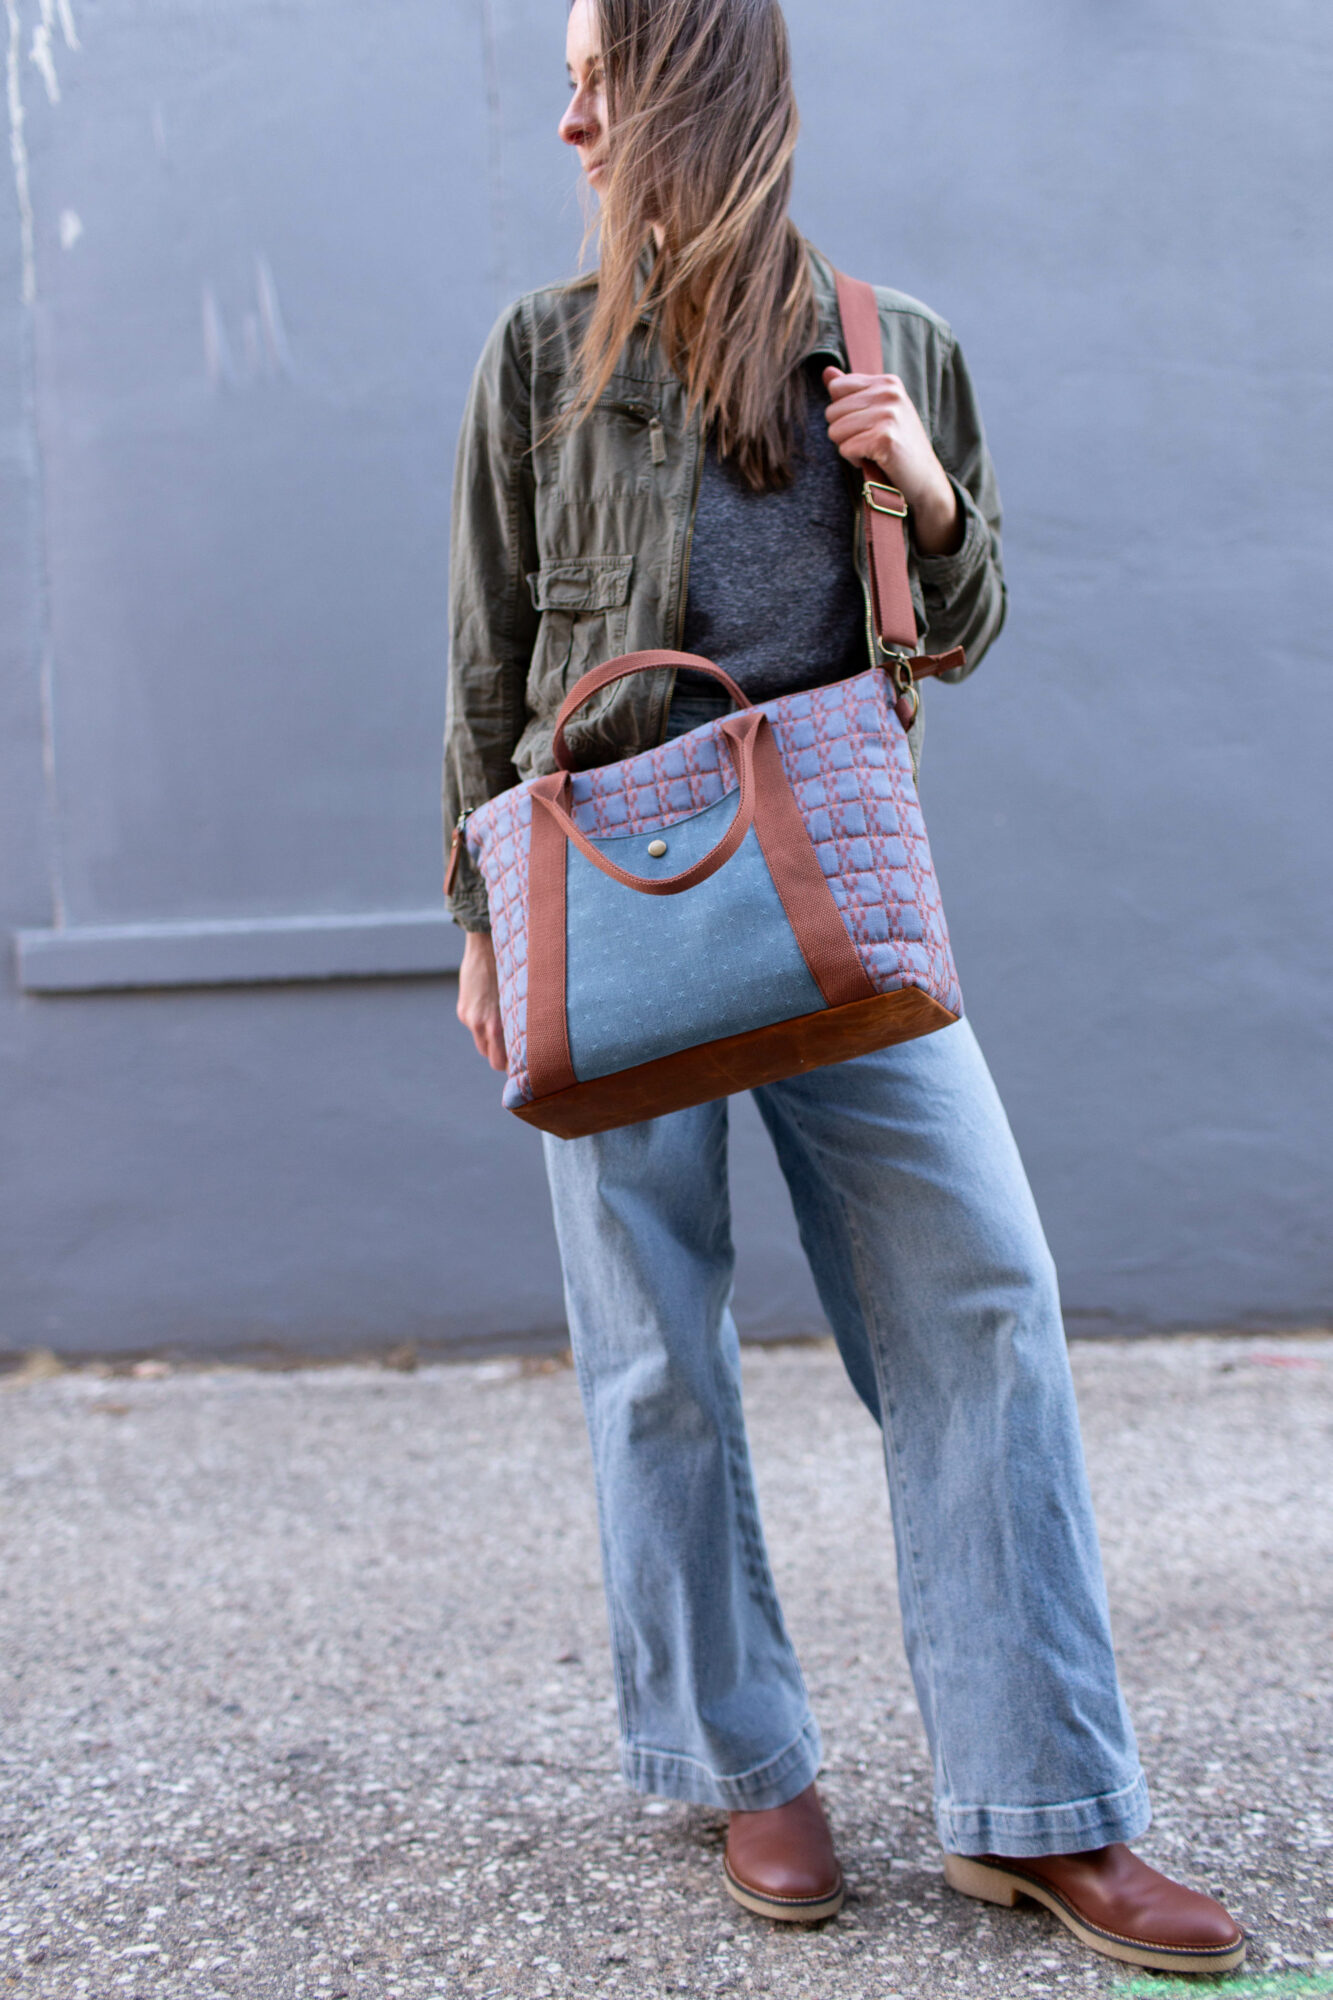
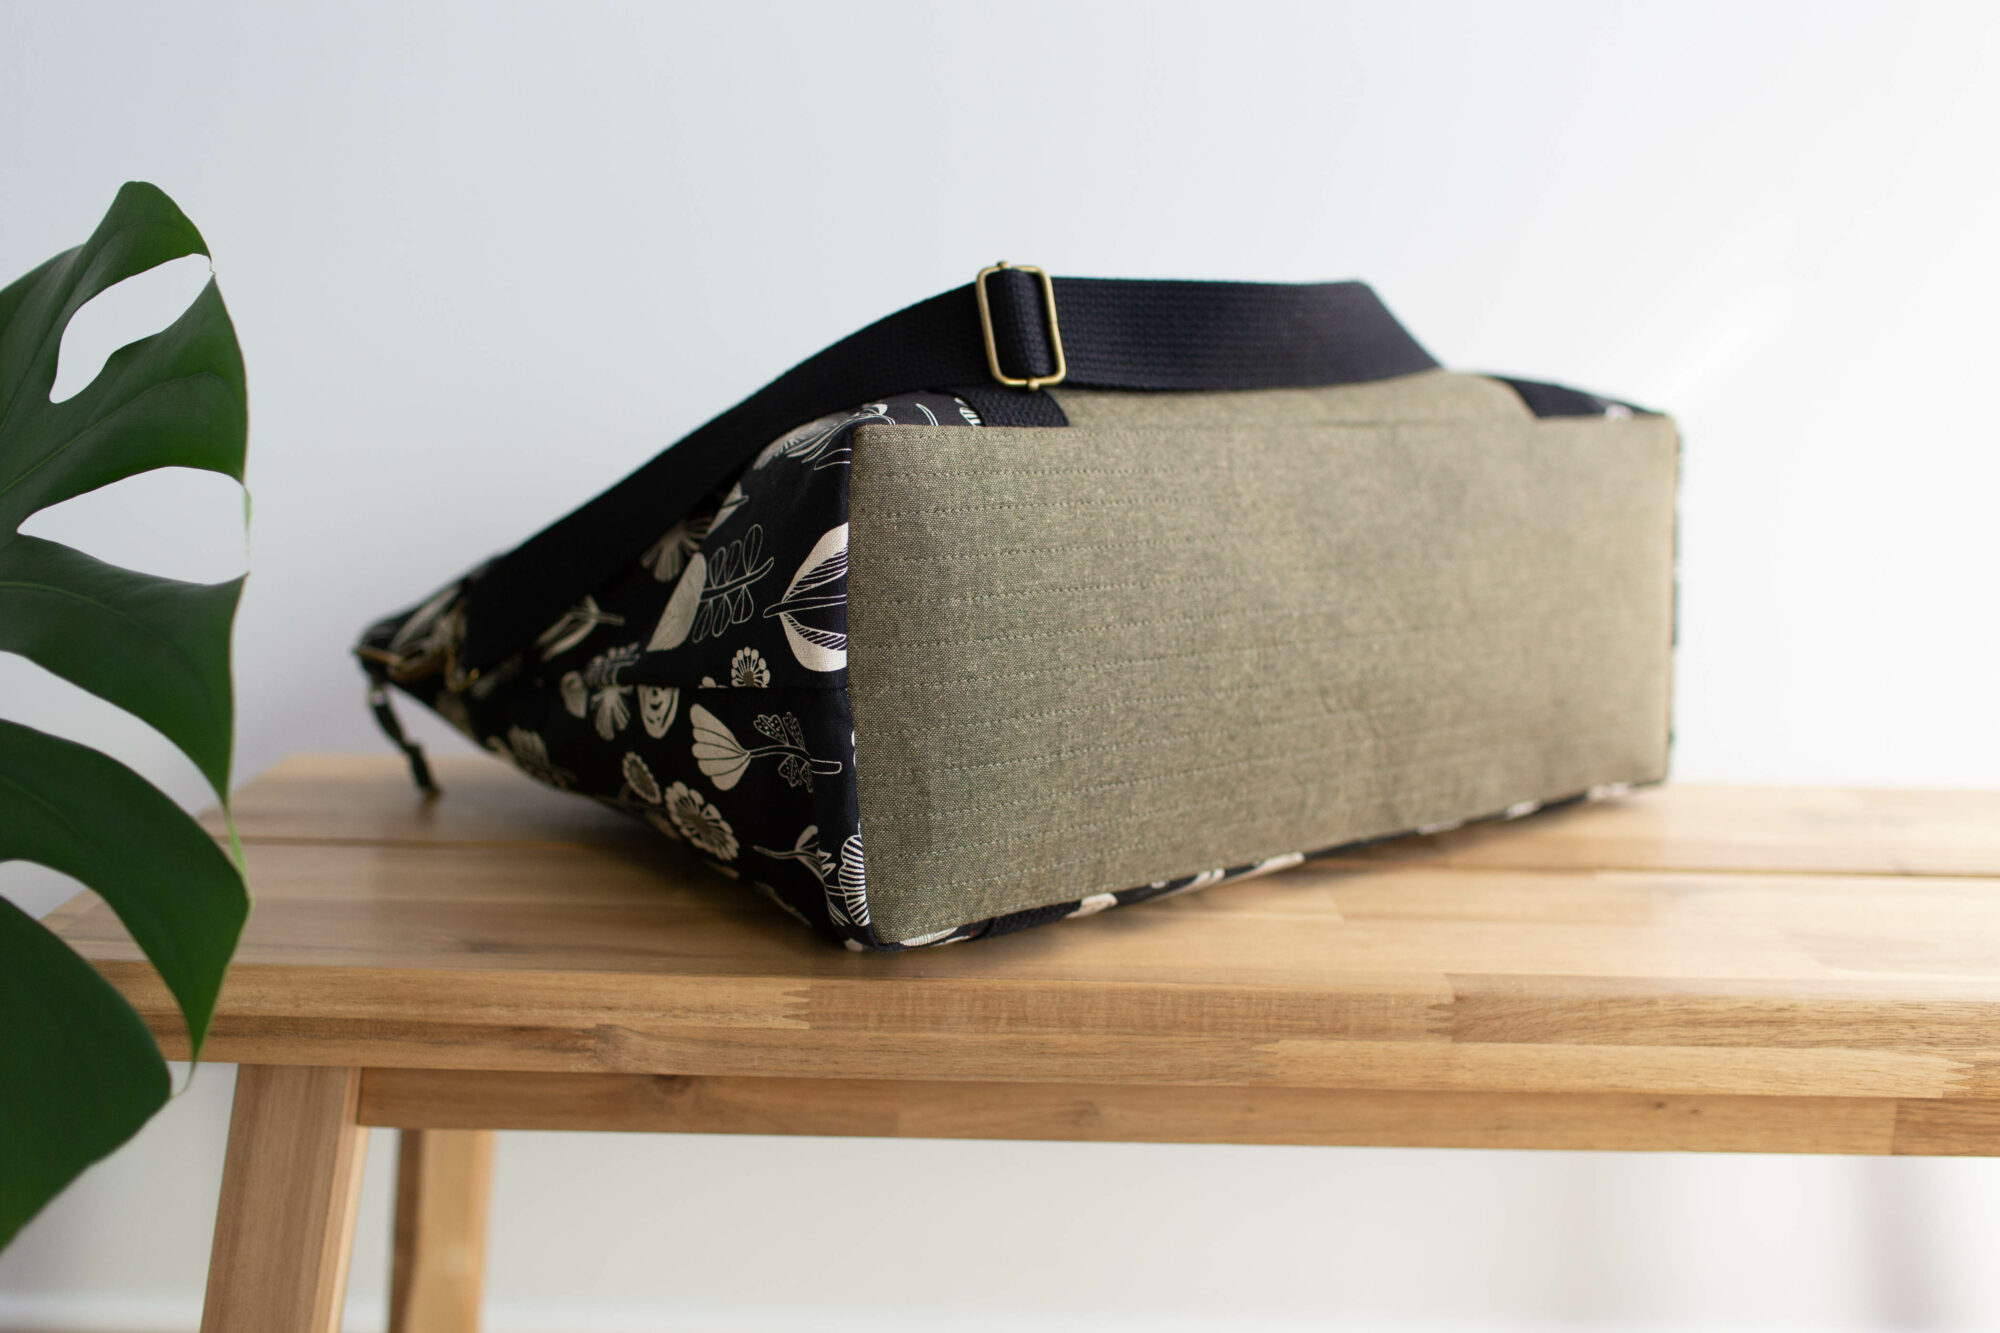
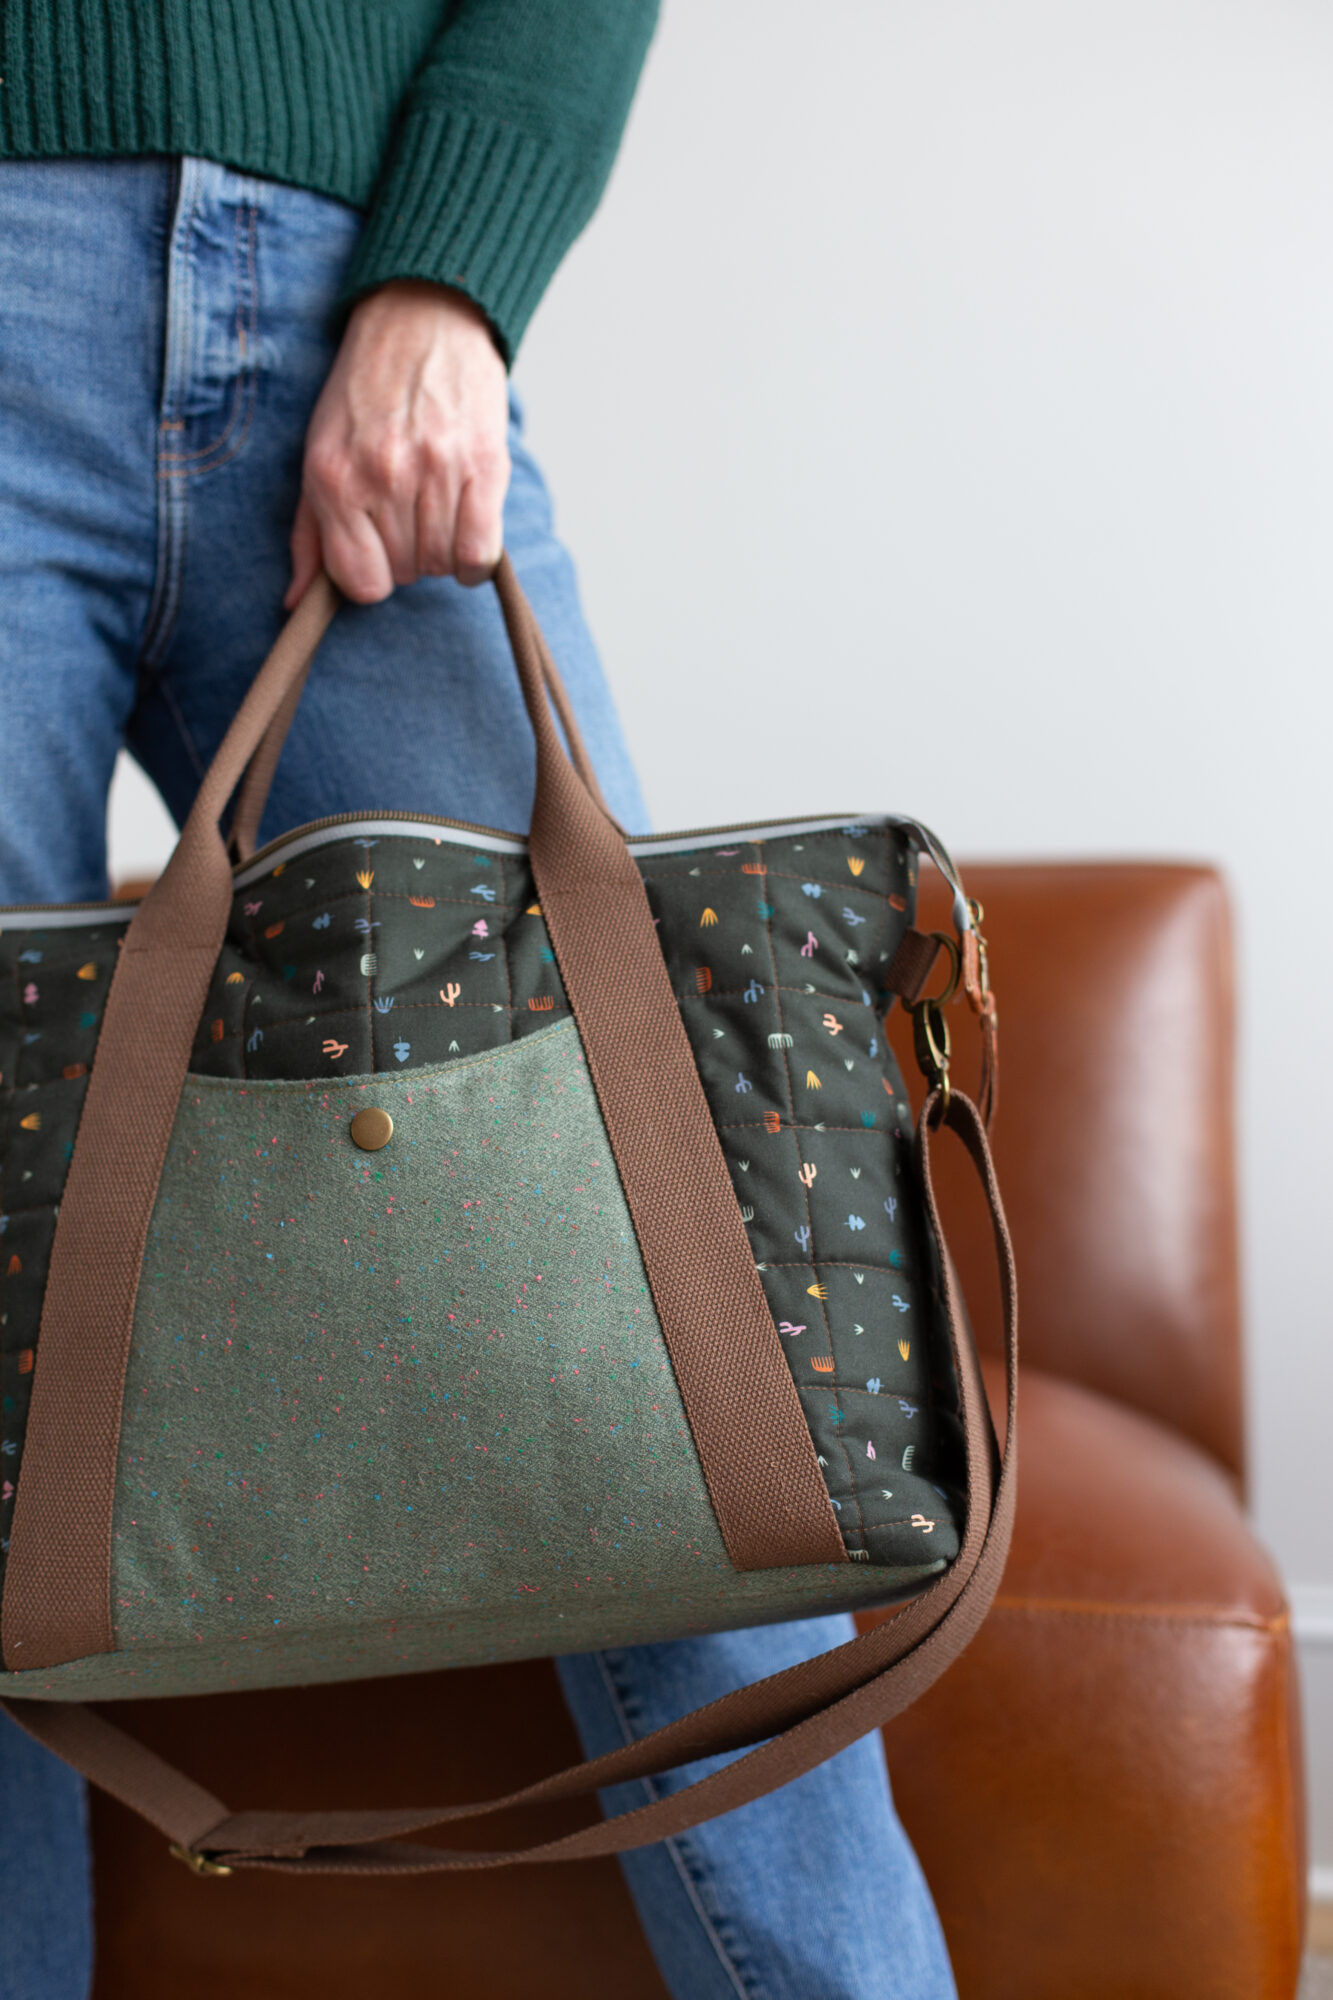
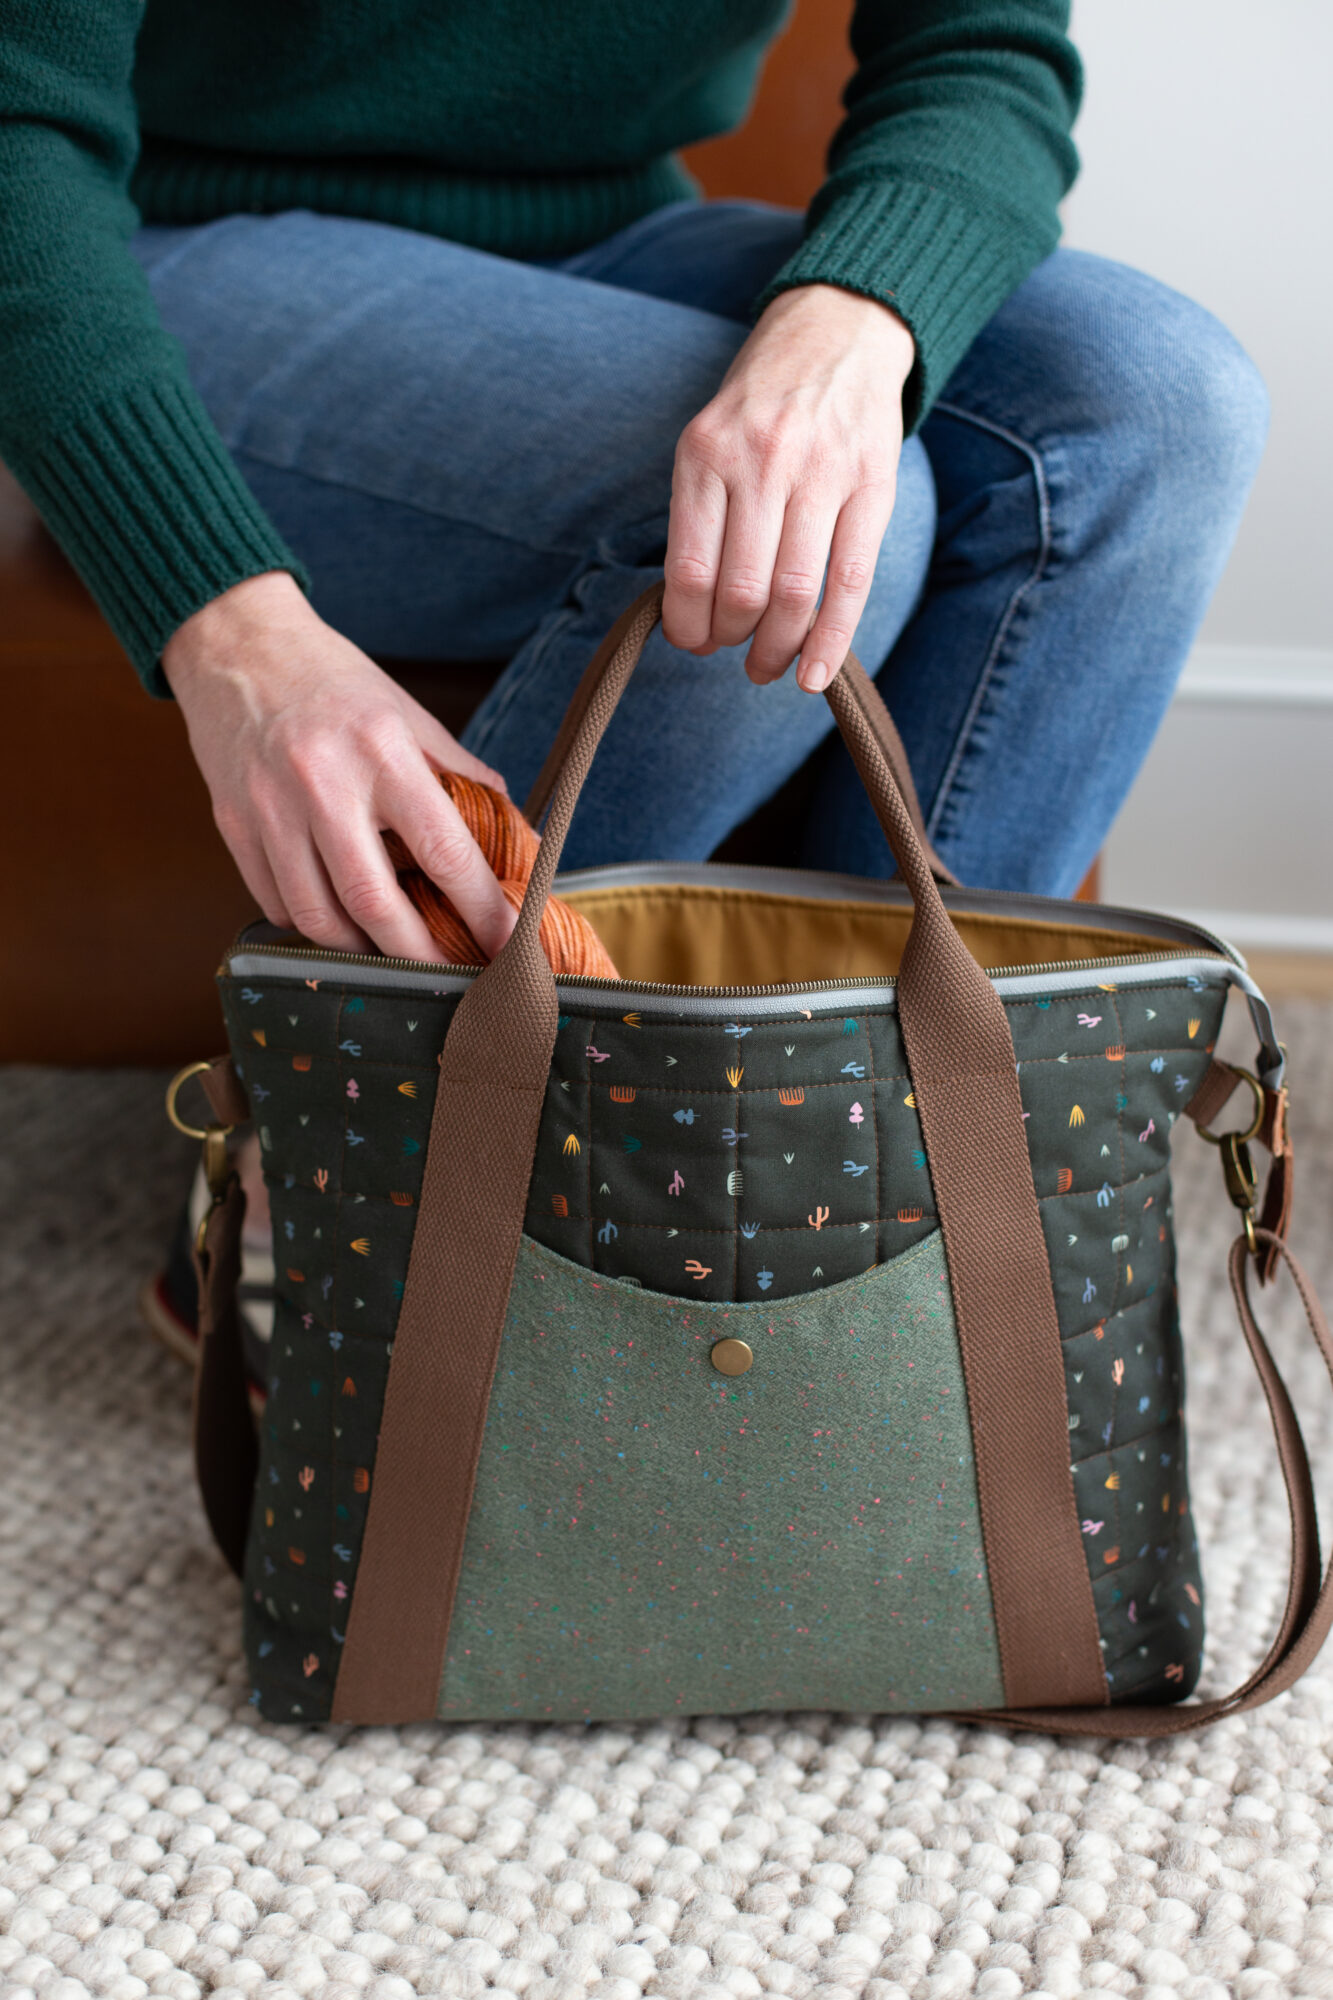
As soon as I saw her new collection, Yuma, I scooped some up right away from Hawthorne Supply Co. I picked up a few prints and it was fun to mix and match them with other fabrics. I combined her Howdy print as the main body of the bag and this Shetland Flannel in Olive for the accent fabric (pocket & reinforced base).
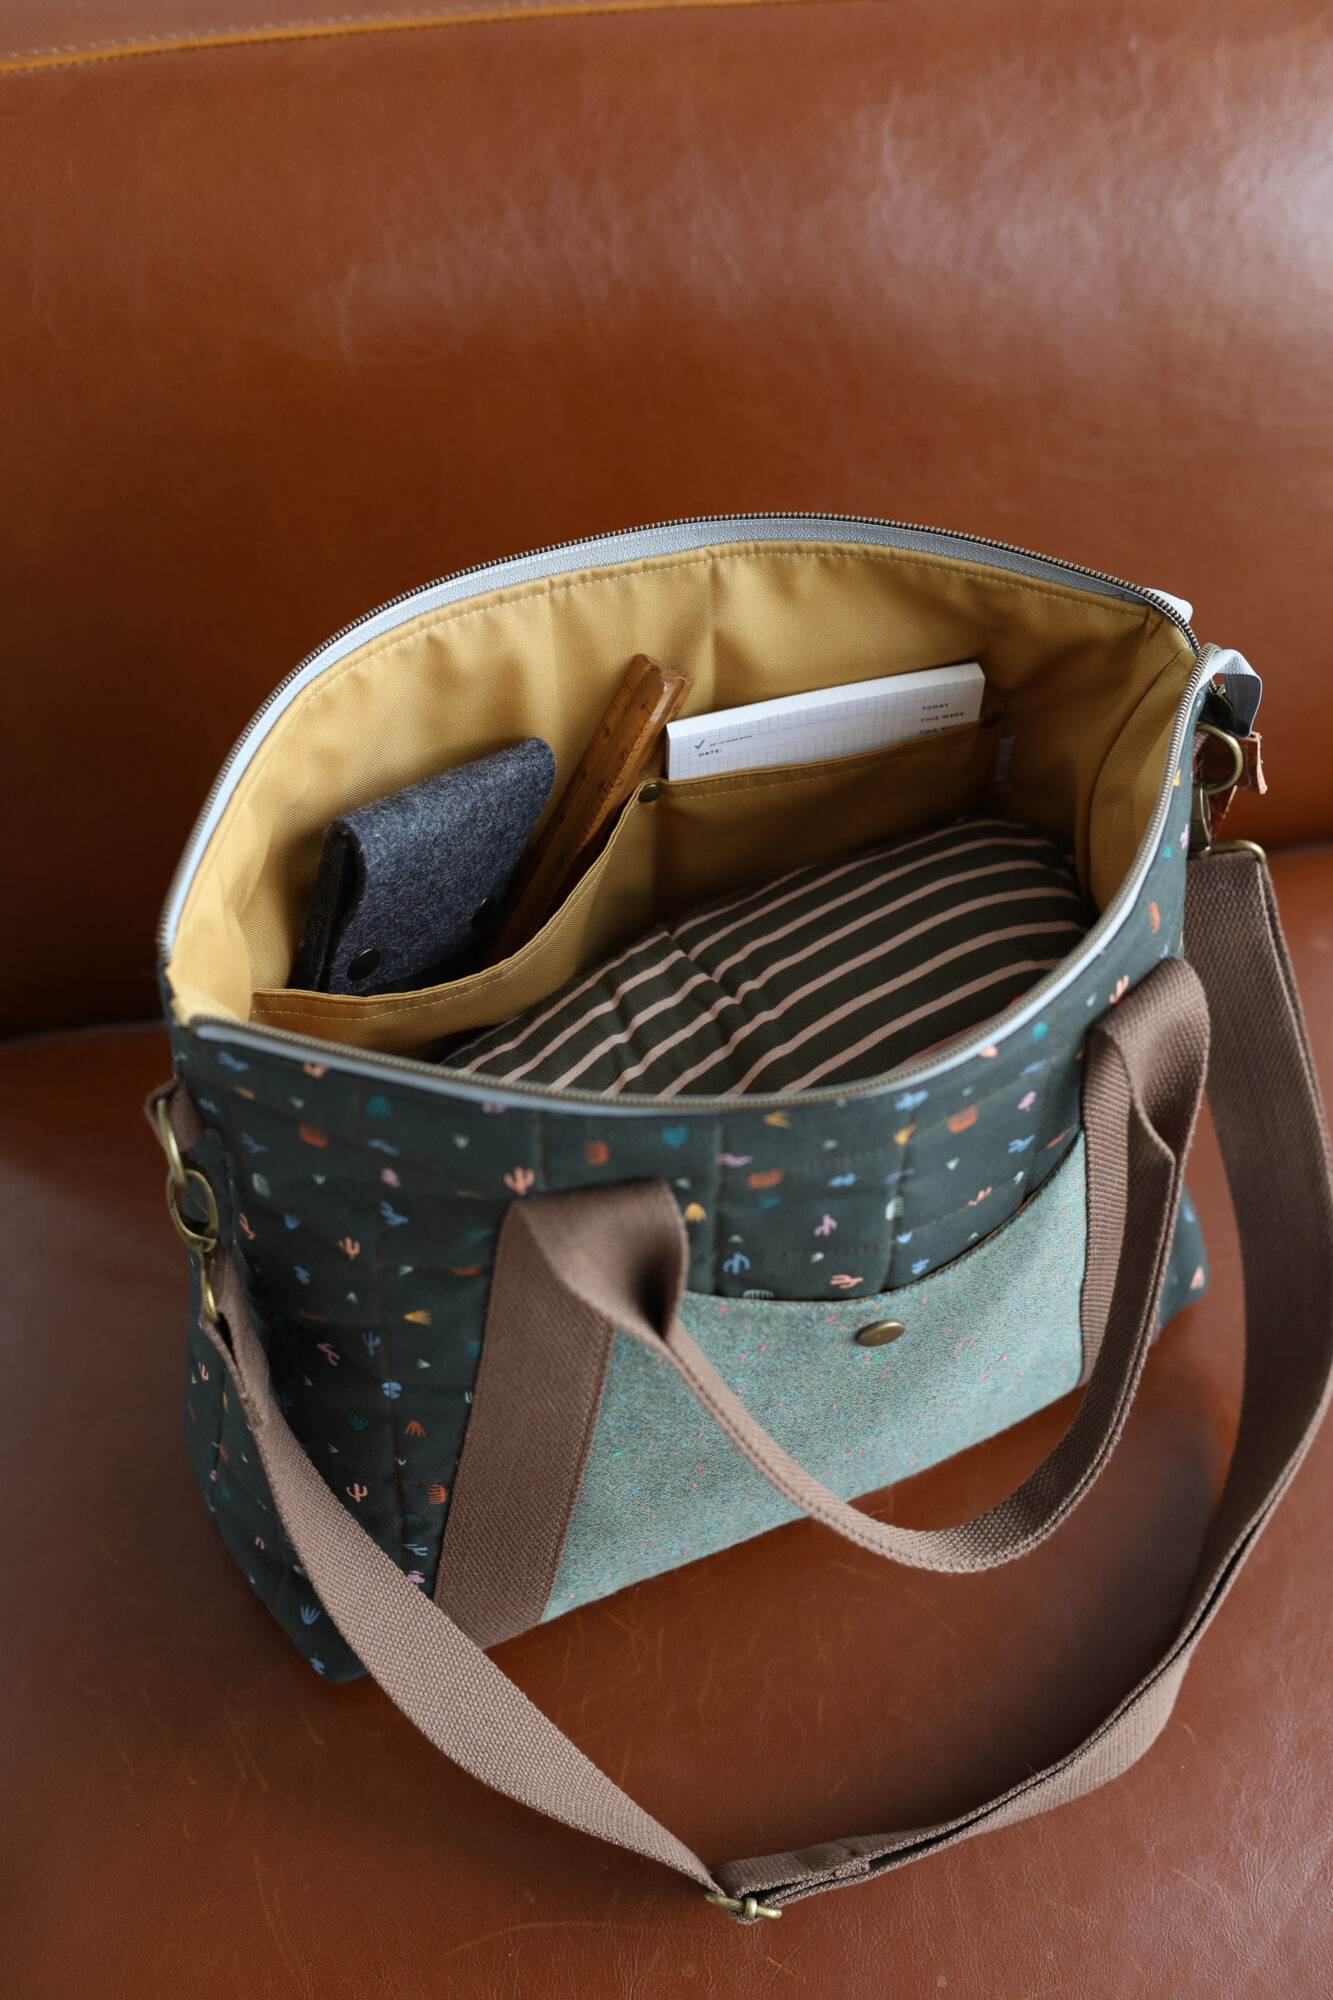
I had a really hard time deciding on webbing for this one! There are so many great colors in this print, all of them went really well with the webbing I have. In the end, I decided on Acorn (available in my shop). And I used waterproof canvas from Sullivan’s Trim for the lining. I really love any fabric that I don’t have to use interfacing with (yes, bag making is my job and I there are things I don’t like to do as much either!), and it’s been fun trying out a somewhat new-to-me substrate.
Coming up…
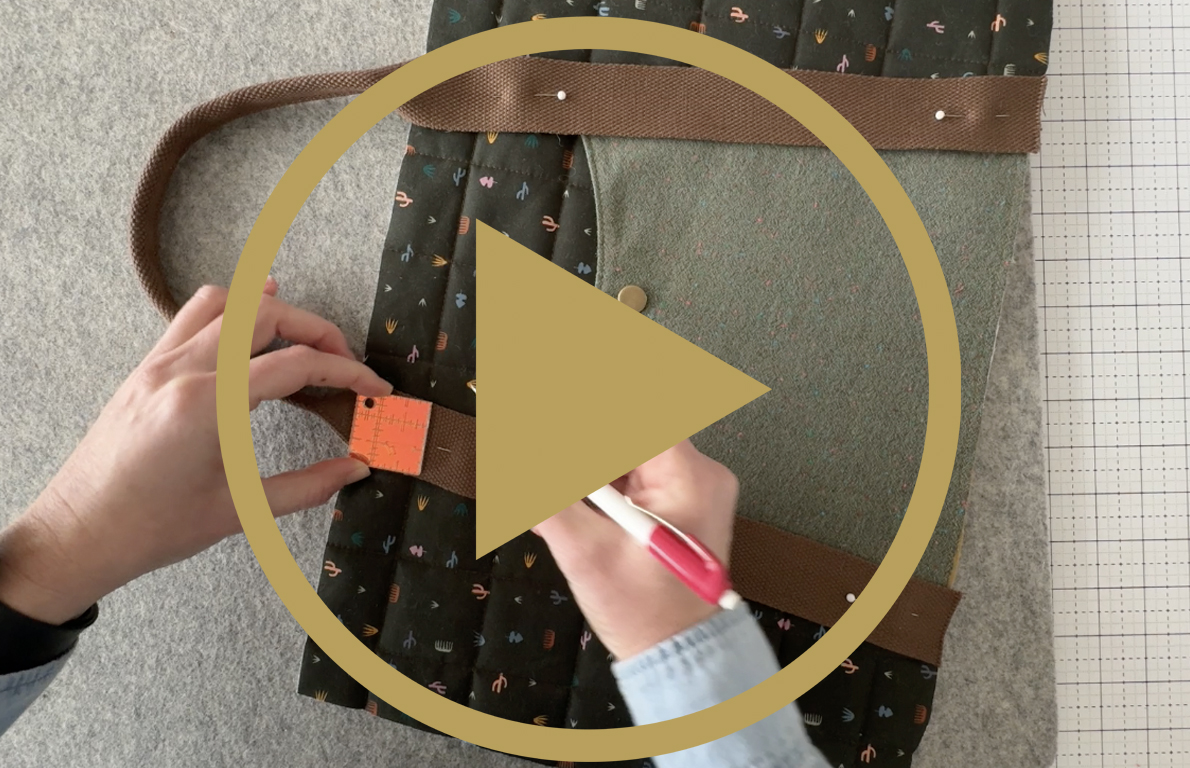
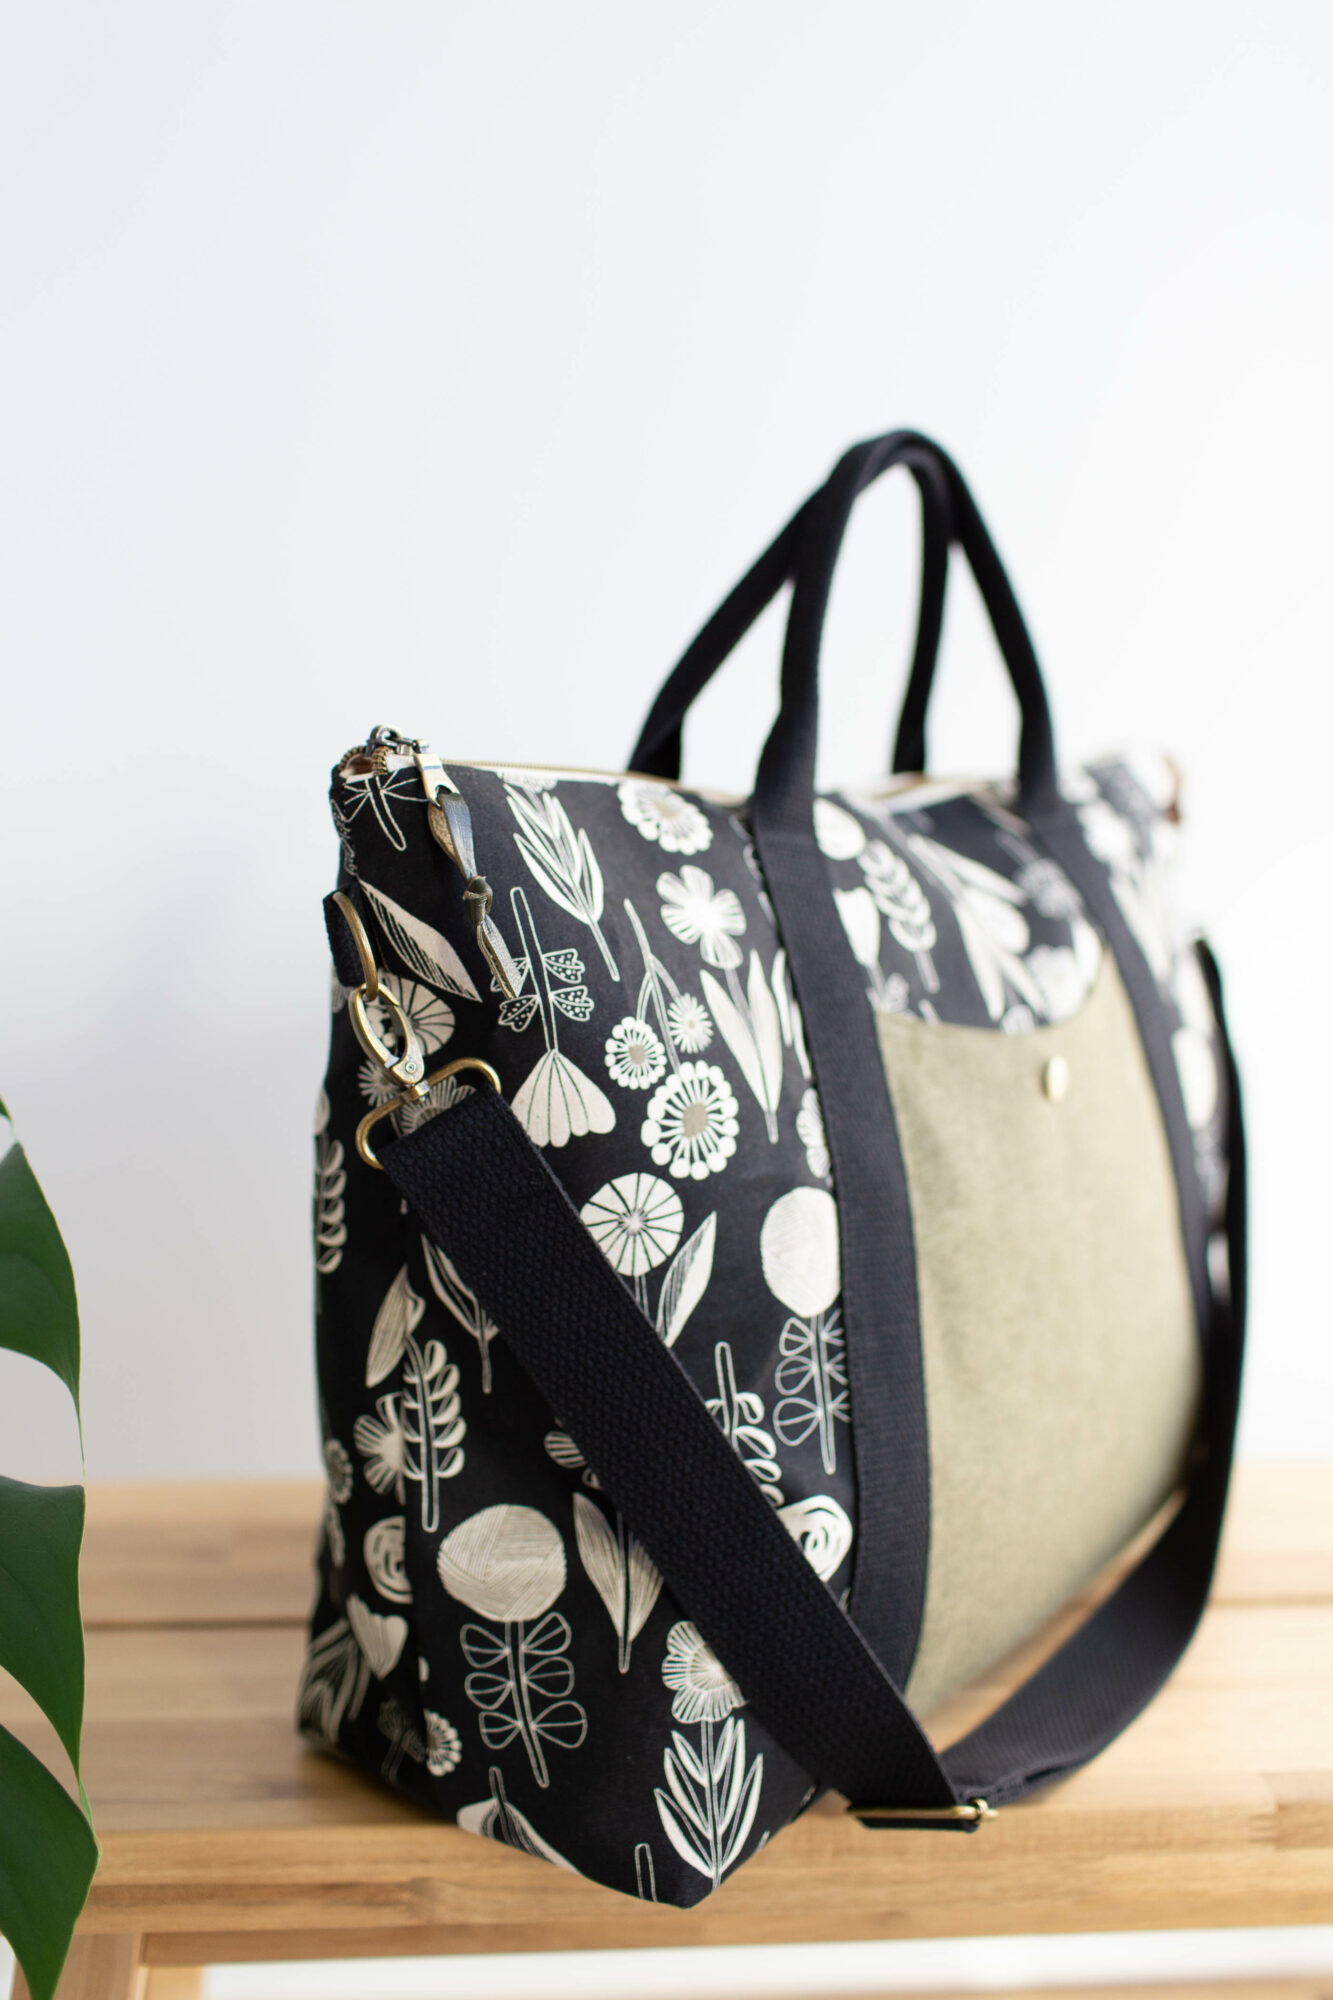
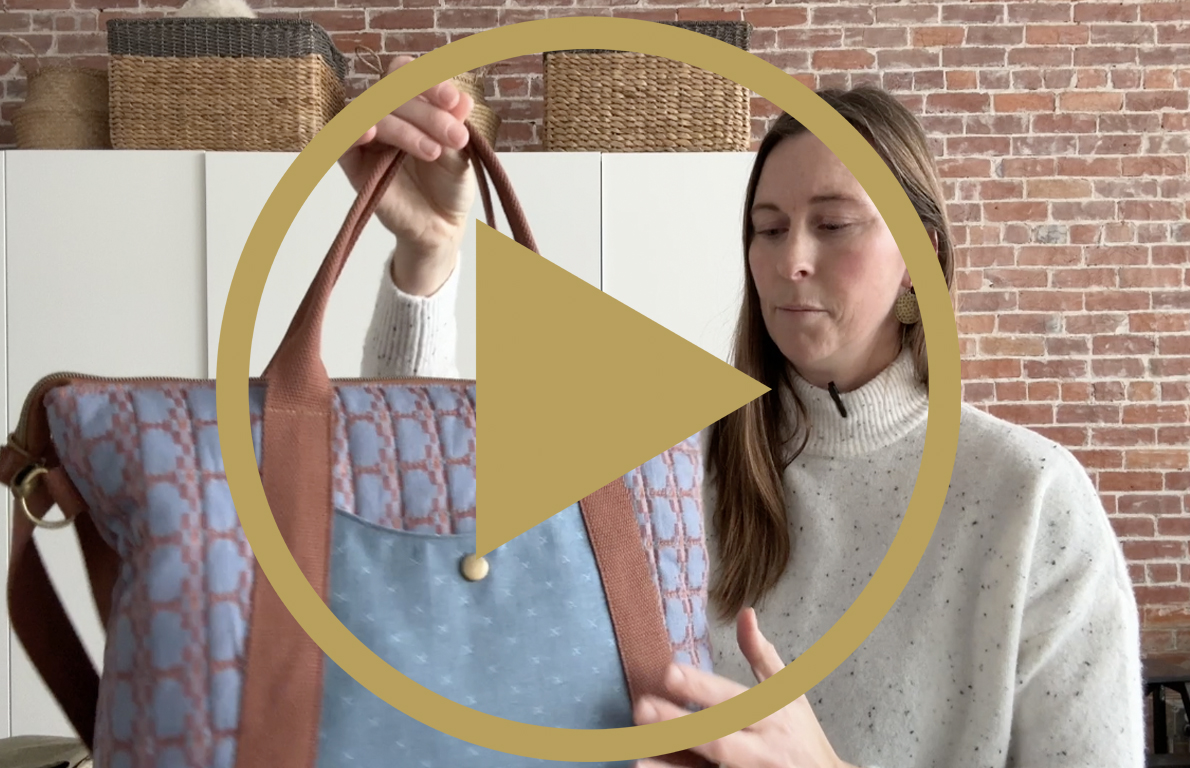
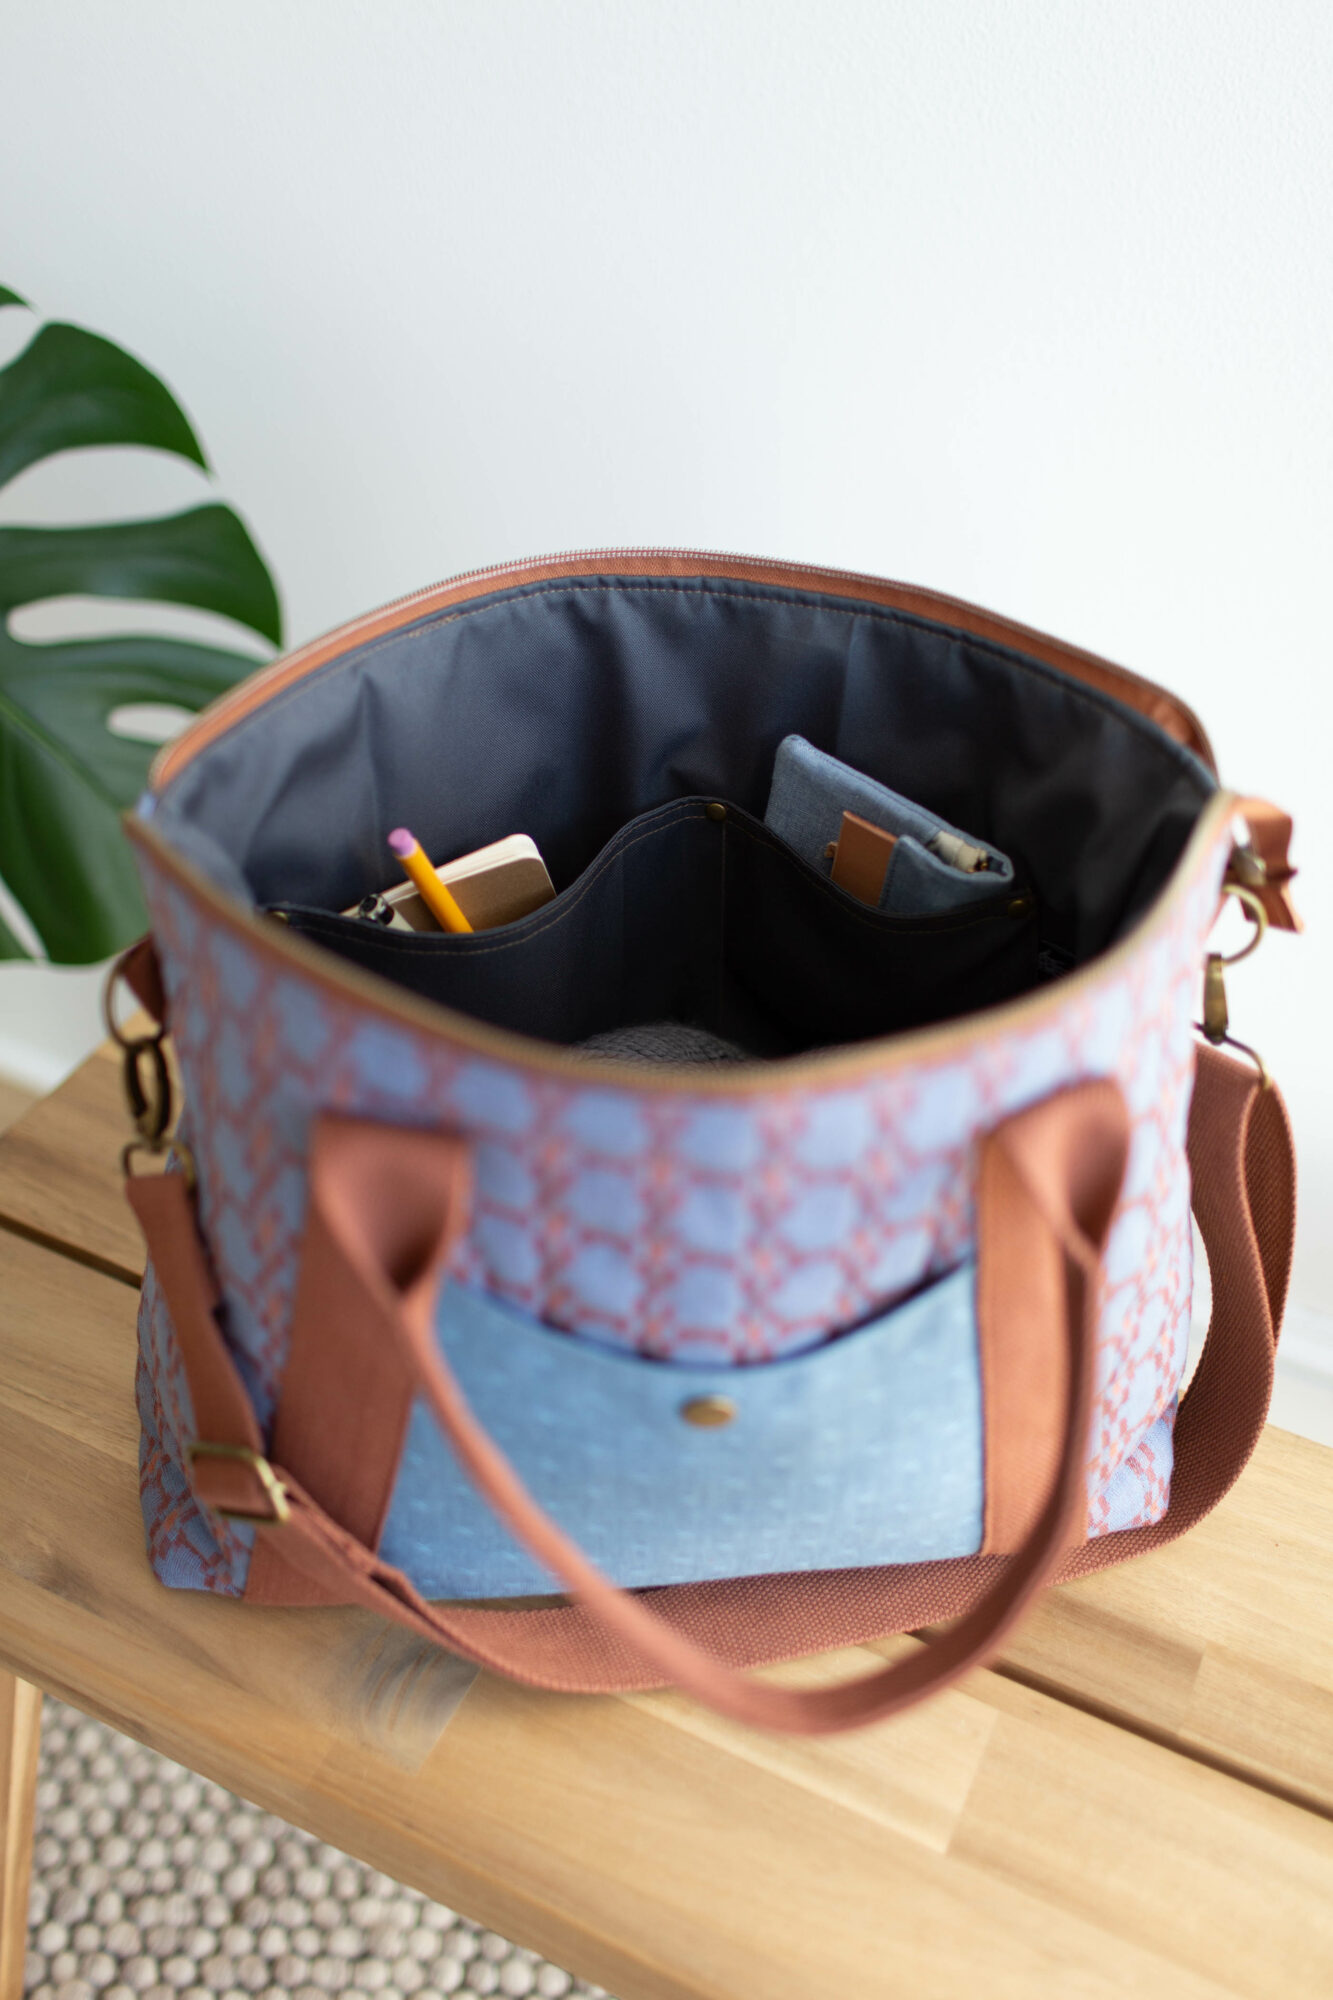
Did you watch my sew-along videos for the Oxbow yet???? I made this tote during my sew-along videos for the Oxbow. I’m really happy with how it turned out. I used a metal snap on the front pocket just for fun. It was fun quilting it up, too!
I put together one more little video (Part 3) for some alternate crossbody strap connector options. I write my patterns so a MAJORITY of people can make them without special equipment and without too much hassle. The side strap connectors are geared so the most amount of people can be successful with the pattern. It’s the easiest route to go! But I like having options, and I think there’s never a limit as to what you can do – you’re the artist, YOU get to decide. That, in my opinion, is the absolute best thing about sewing!
I’ve been recovering from the flu ever since my last video, and now I’m finally feeling *almost* back to normal. It’s been a few weeks! So, check that out. It’s on my YouTube channel.
Project Details
- Pattern: Oxbow Tote (Regular size), quilted Main Panels (two layers per panel, 80/20 batting)
- Fabrics used:
- Exterior fabric is Yuma (Howdy print) by Leah Duncan for Cloud9 Fabrics, purchased from Hawthorne Supply Co.
- Accent fabric (front pocket & reinforced base) is Shetland Speckle in Olive by Robert Kaufman Fabrics (also purchased from Hawthorne)
- Lining is waterproof canvas purchased from Sullivan’s Trim (the color I used is out of stock at the moment, but there are lots of other great colors to choose from!)
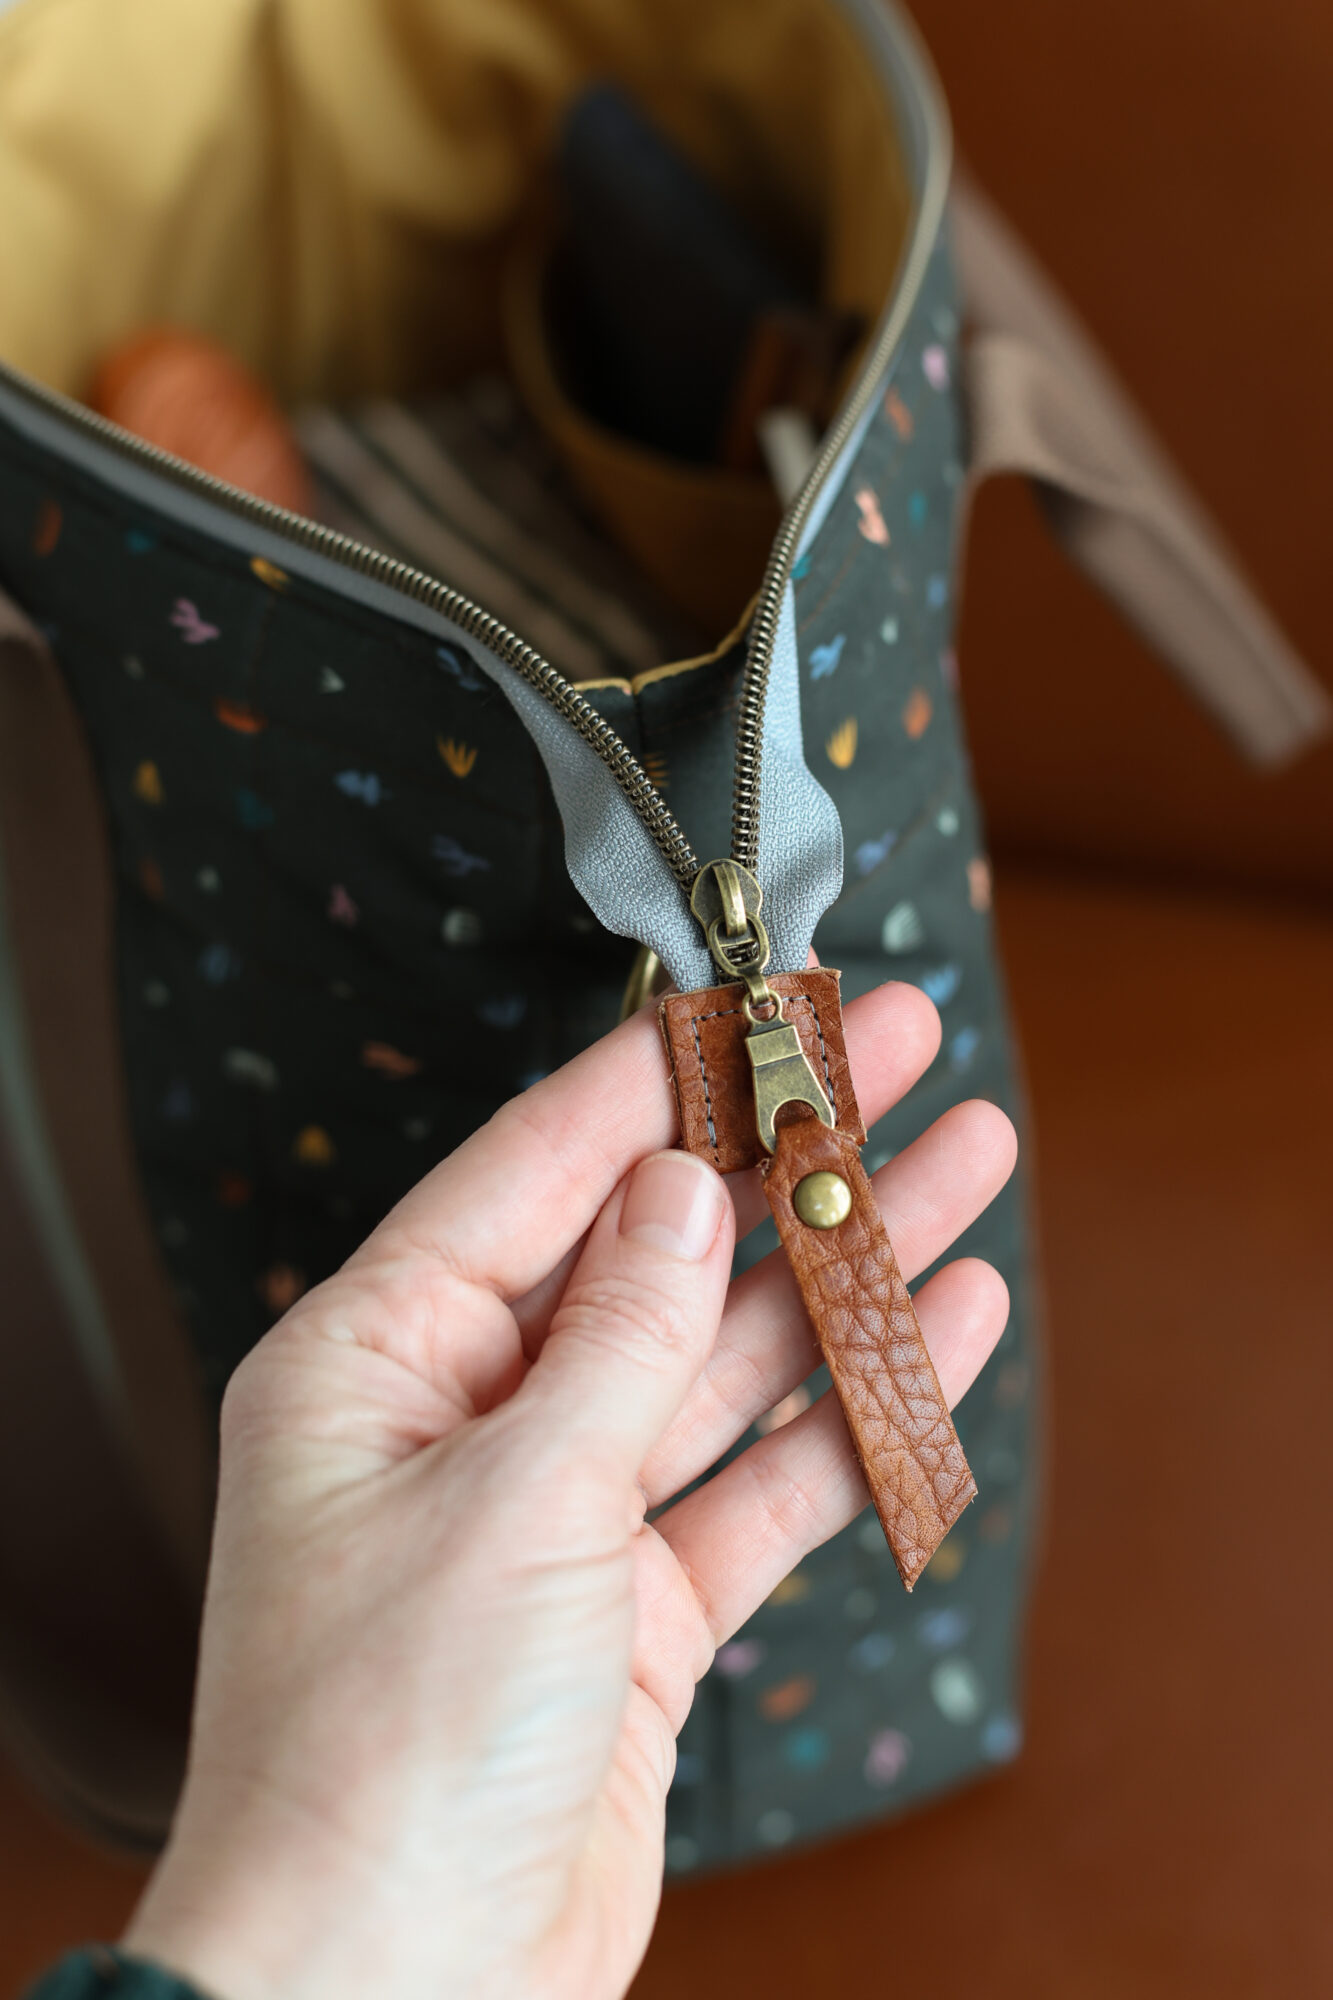
- Zipper by the yard/zipper pull is from Zipper Valley
- Webbing is available in my shop (I used Acorn and am currently waiting on a restock, hopefully soon!) Be sure to purchase a quantity of 4!!
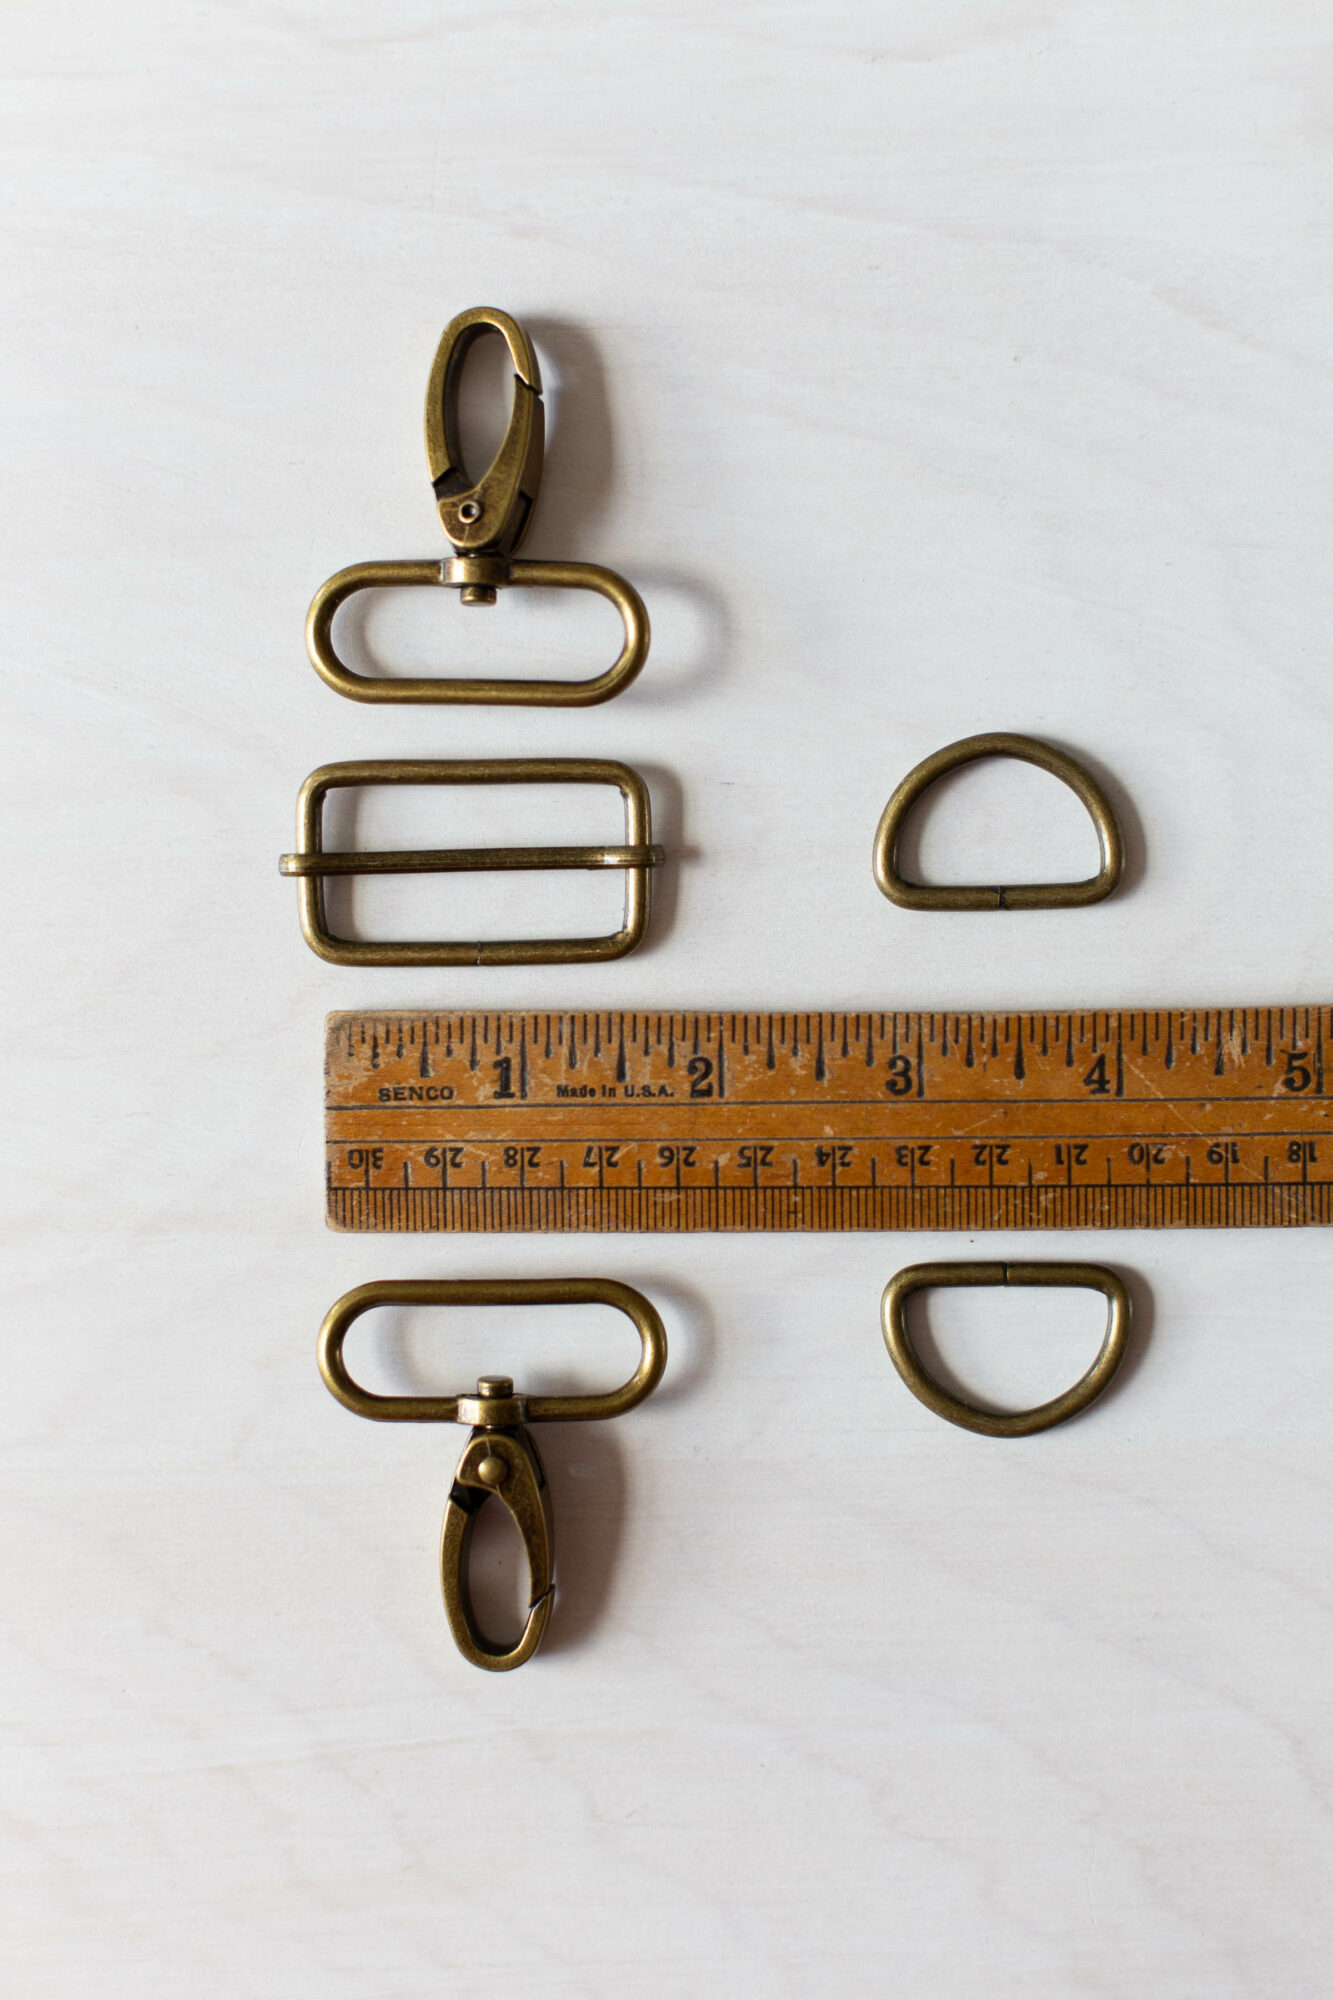
- Hardware kit available in my shop
- Snap (waiting on a restock in my shop – they’re an affordable beginner-level starter kit), but if you need something sooner I’ve heard great things about KAMsnaps
- scrap leather used for the zipper pull/end tab (I have some scrap packs available but they usually sell out pretty quickly)