Sewing

Buckthorn Backpack + Tote Sew-Along

Welcome to the Buckthorn Backpack + Tote Sew-Along Part 1! I’m so excited to have you join along! 

Here’s the schedule I’ll be following for the sew-along:
Part 1: Friday, September 29th (today), fabric selection, cutting & fusing, preparing webbing/handles
Part 2: October 5th, Assemble Front and Back, assemble exterior
Part 3: October 12th, Make lining, prepare zipper & insert binding

This schedule should allow for plenty of catch up time if you miss a week. Don’t feel pressured to rush along! But if you’re cruising along and having fun feel free to go at your own pace, too. No rules here!

Buckthorn Backpack + Tote Sew-Along

In today’s video (Part 1, linked below) I show an overview and project discussion. I also talk about fabric selection, cutting & interfacing, and then prepare the webbing for each project.

Cutting & Labels

Cutting measurements and cutting layouts are found on pages xxx of the Buckthorn PDF and pages 3-8 of the Buckthorn printed booklet. The majority of the pieces are rectangular pieces. They are to be cut using a rotary cutter, grid ruler, and cutting mat for best accuracy. This pattern doesn’t have a lot of pieces to mix up, but if you prefer, feel free to label your pieces to help keep you organized!

***I’m including a free basic label sheet you can download here!

After this week you should have all the pieces cut and the interfacing fused to all corresponding pieces. You will also have the webbing prepared.

Buckthorn Backpack + Tote Sew-Along

Watch the VIDEO for Part 1 of the sew-along!

Click the image above to watch the video. Or click this link to play the video.


Read a few notes about the project & supplies needed below:

I’m including some fabric and zipper notes below. I chat a bit about them in the video as well.

Fabric Notes

Buckthorn Backpack + Tote Sew-Along
Quilted Buckthorn Backpack

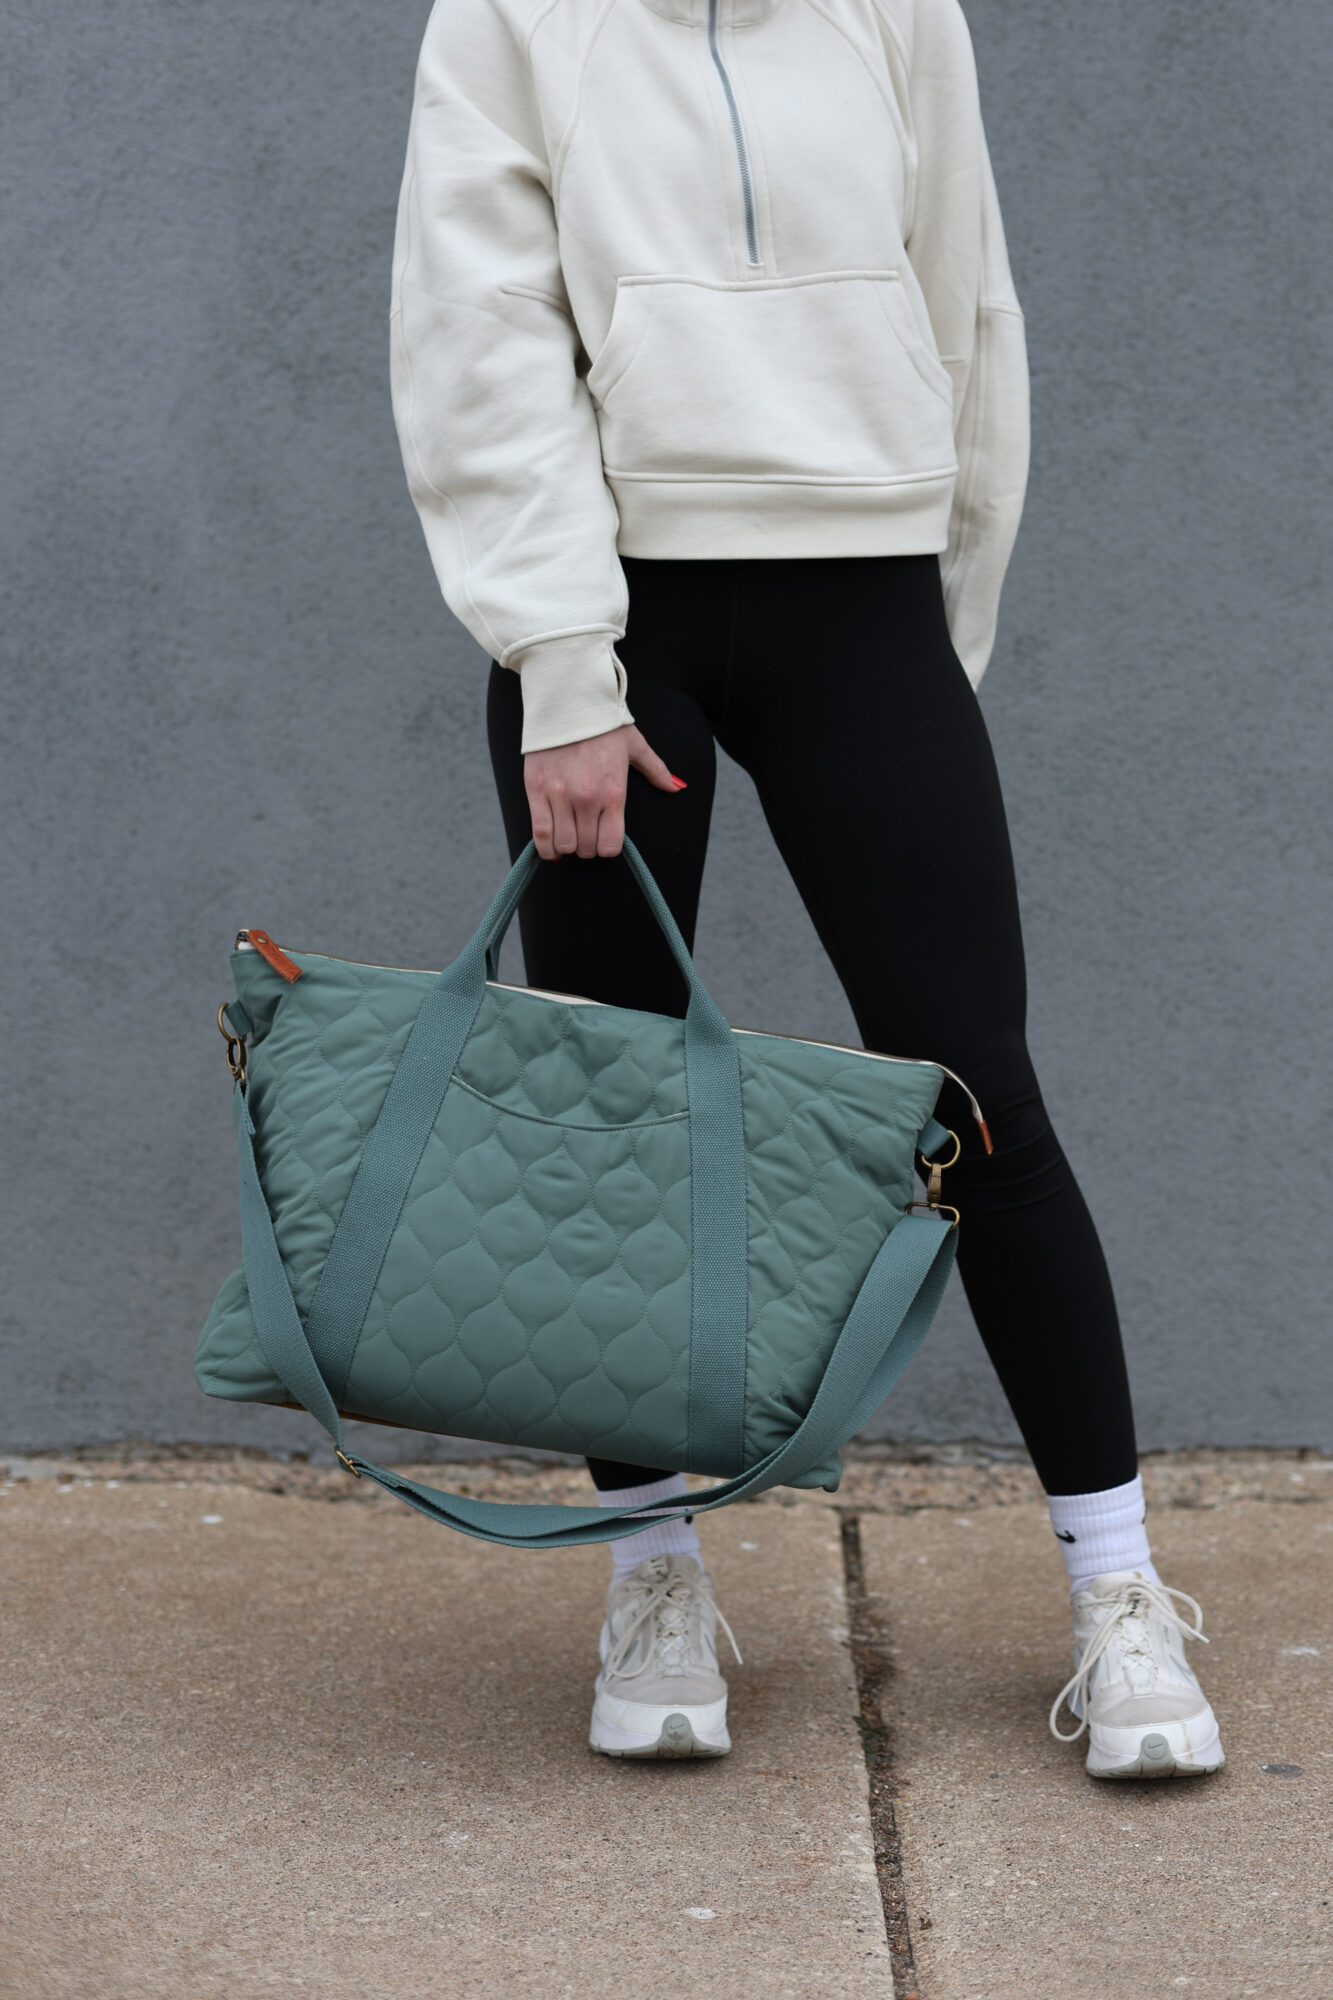
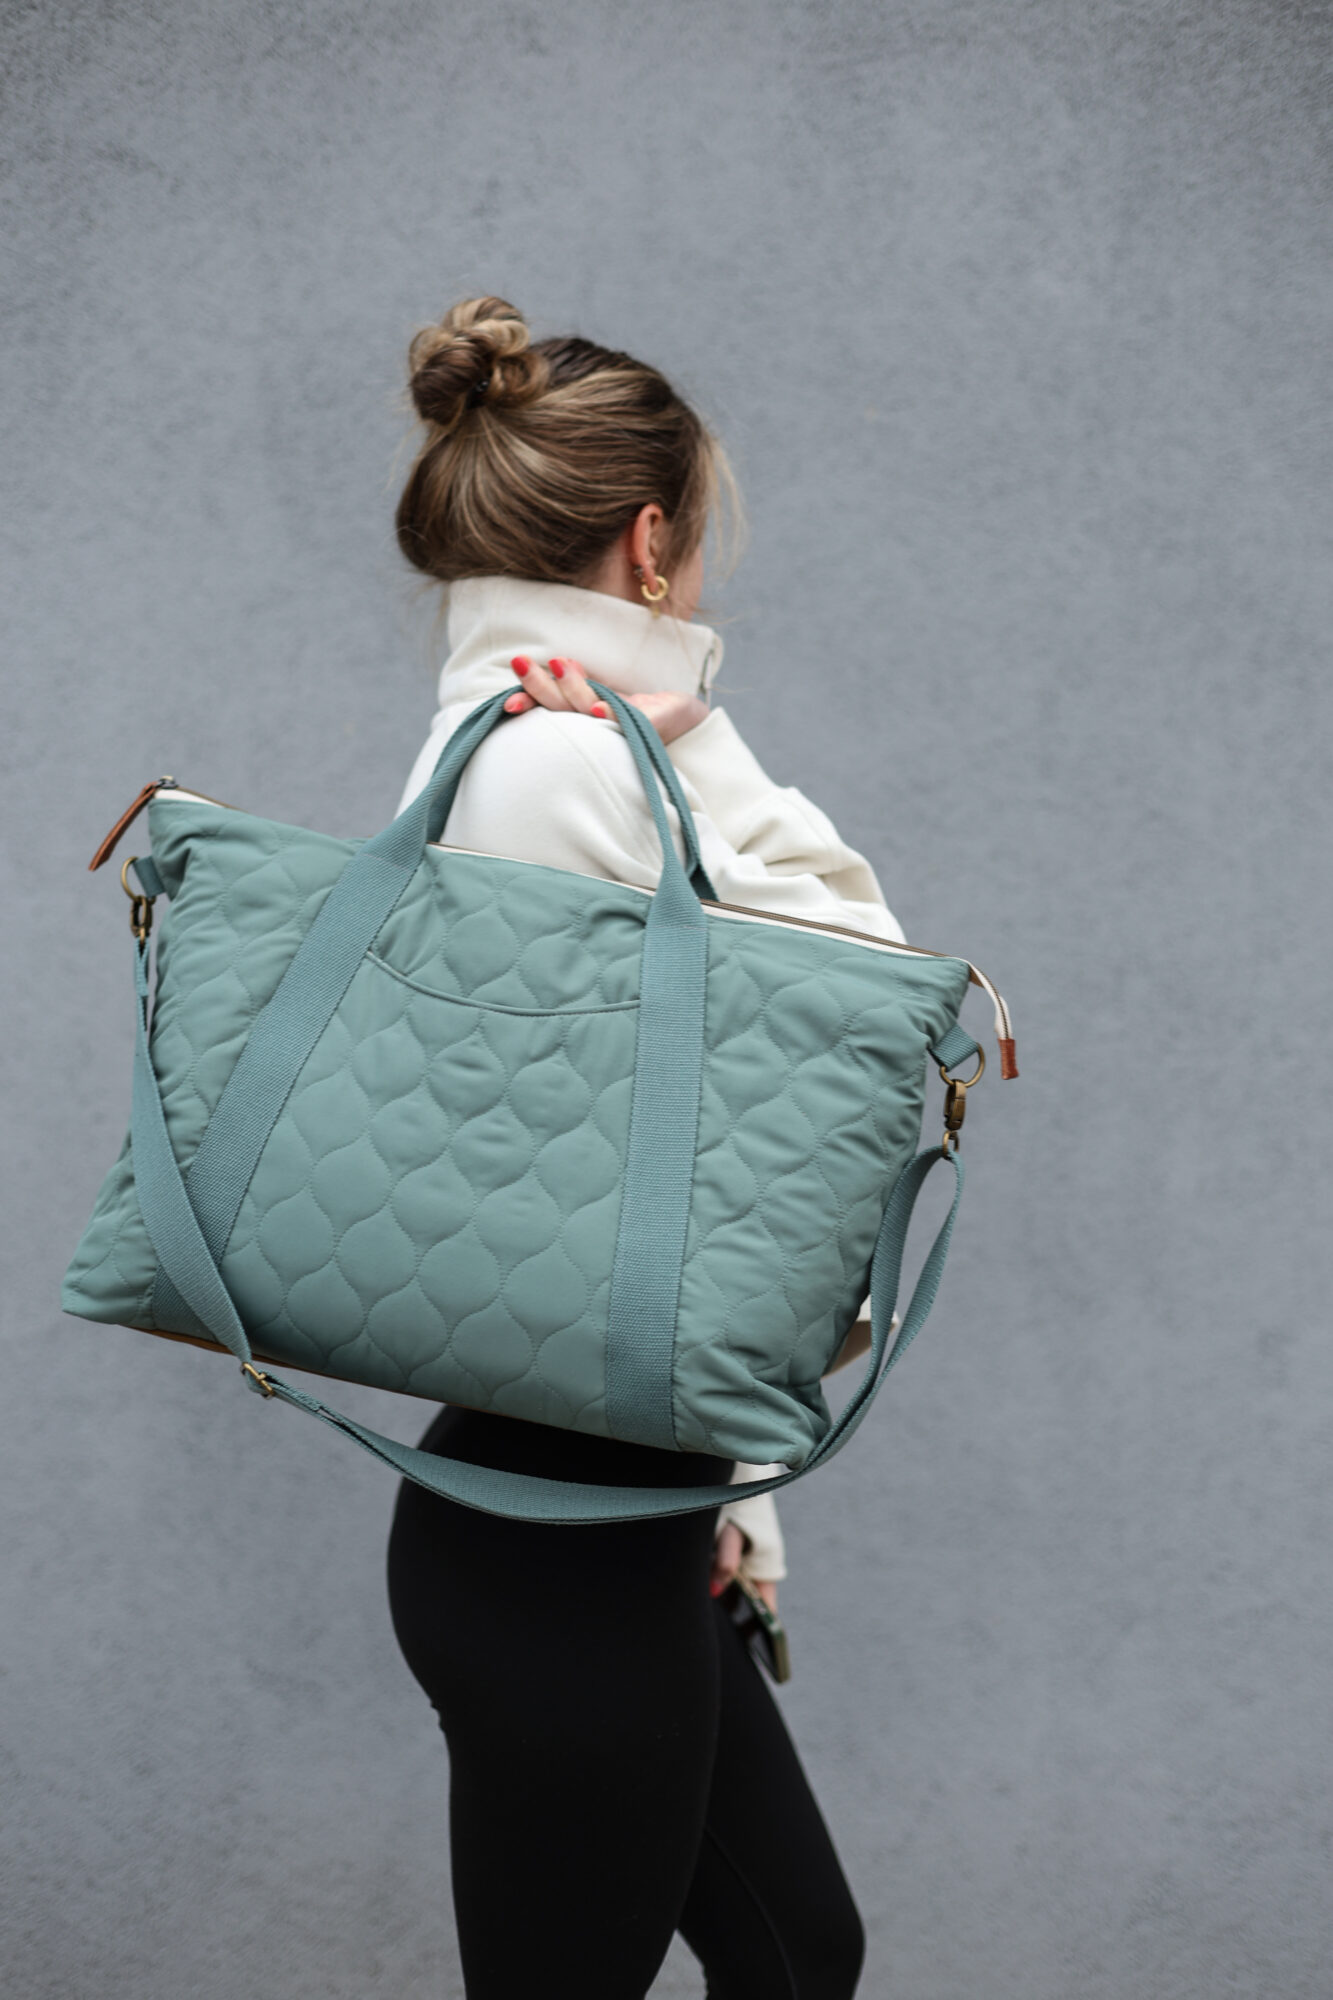
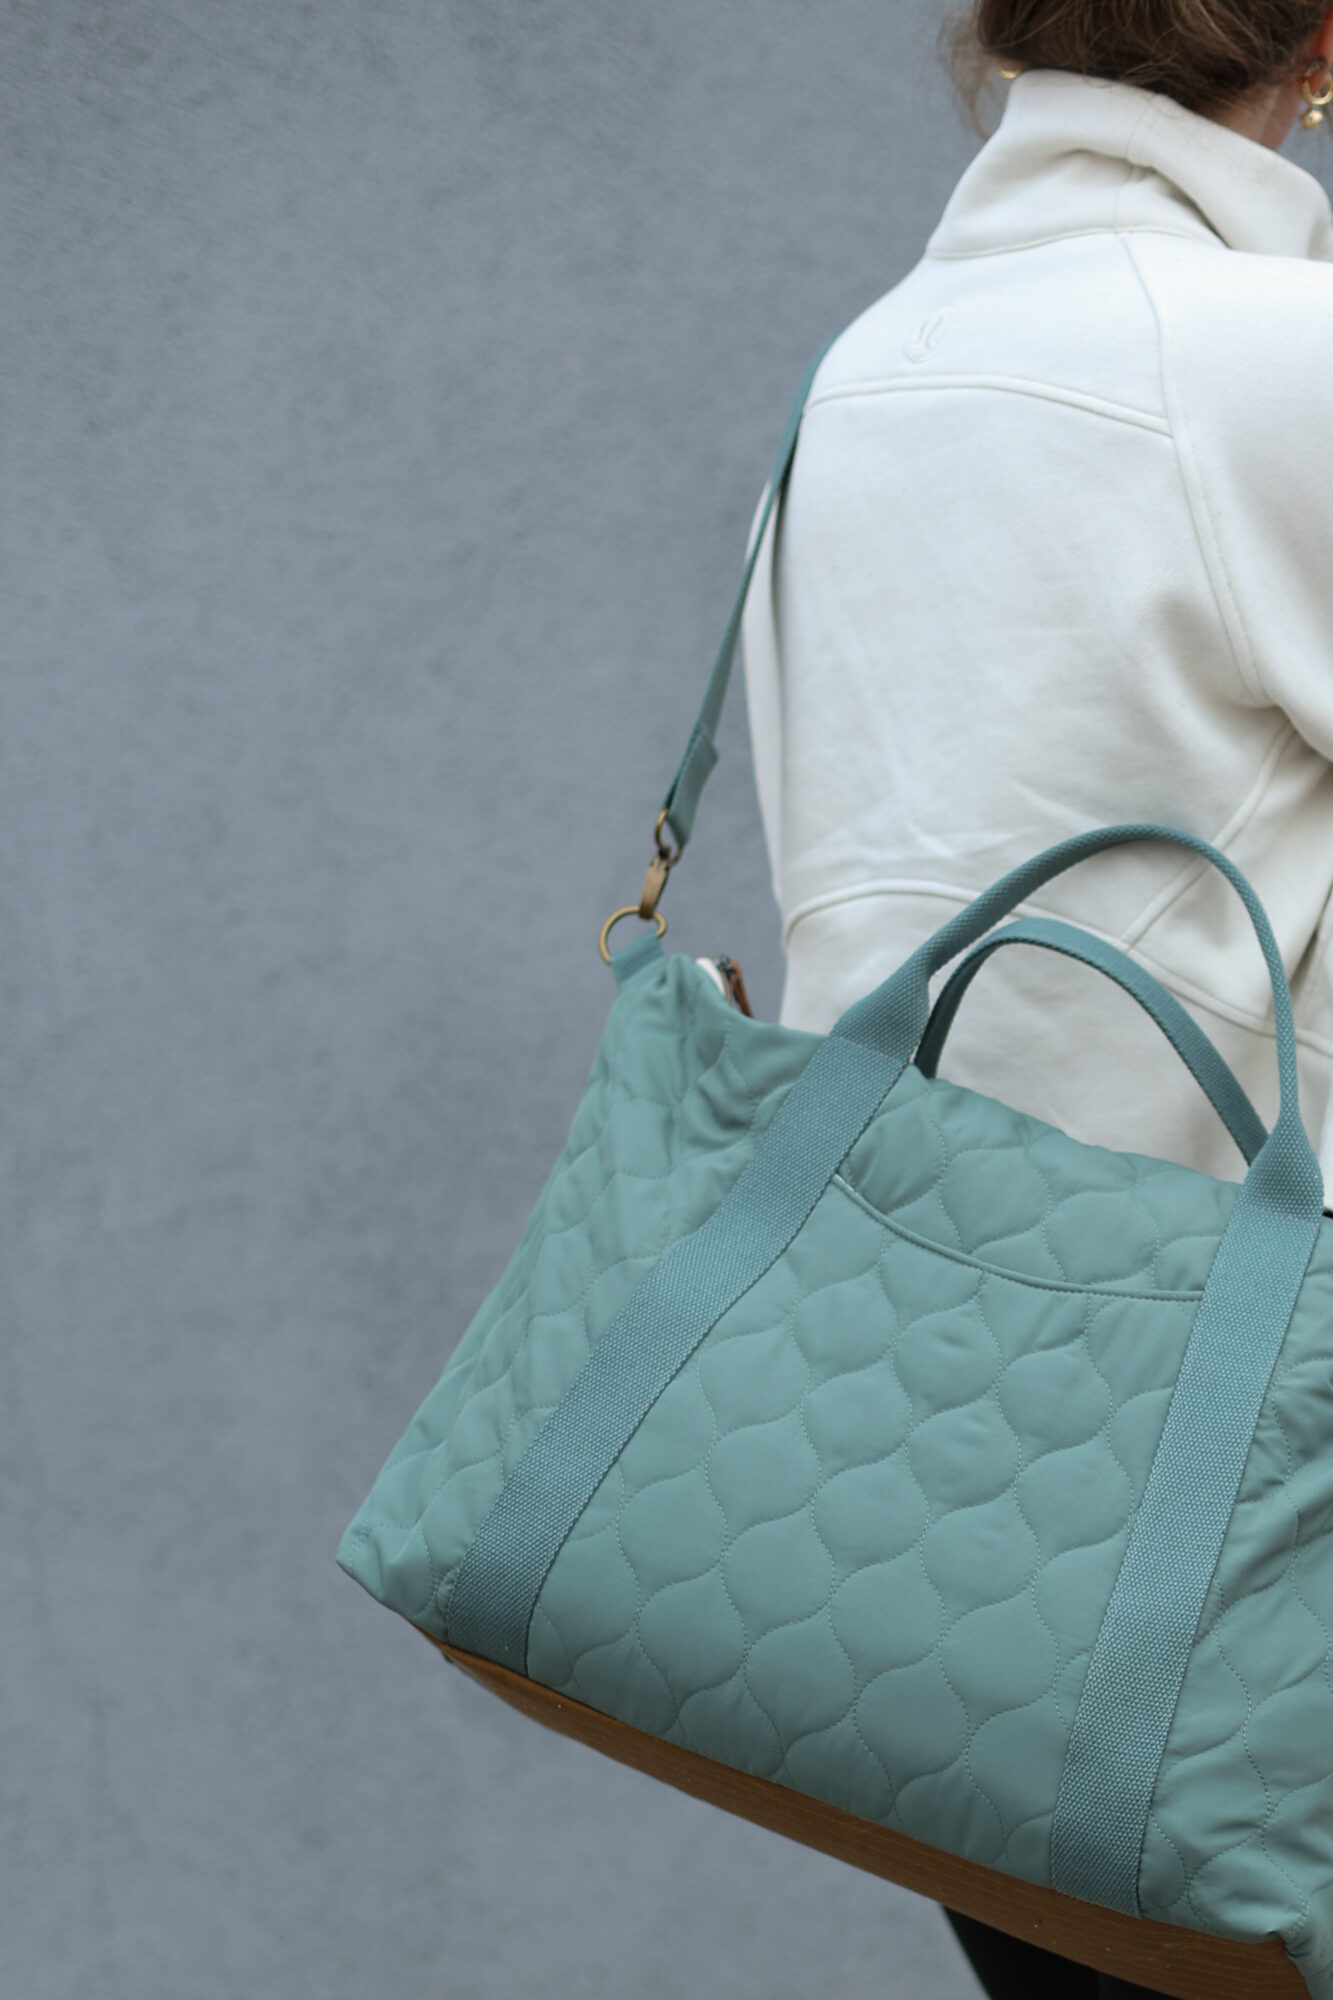
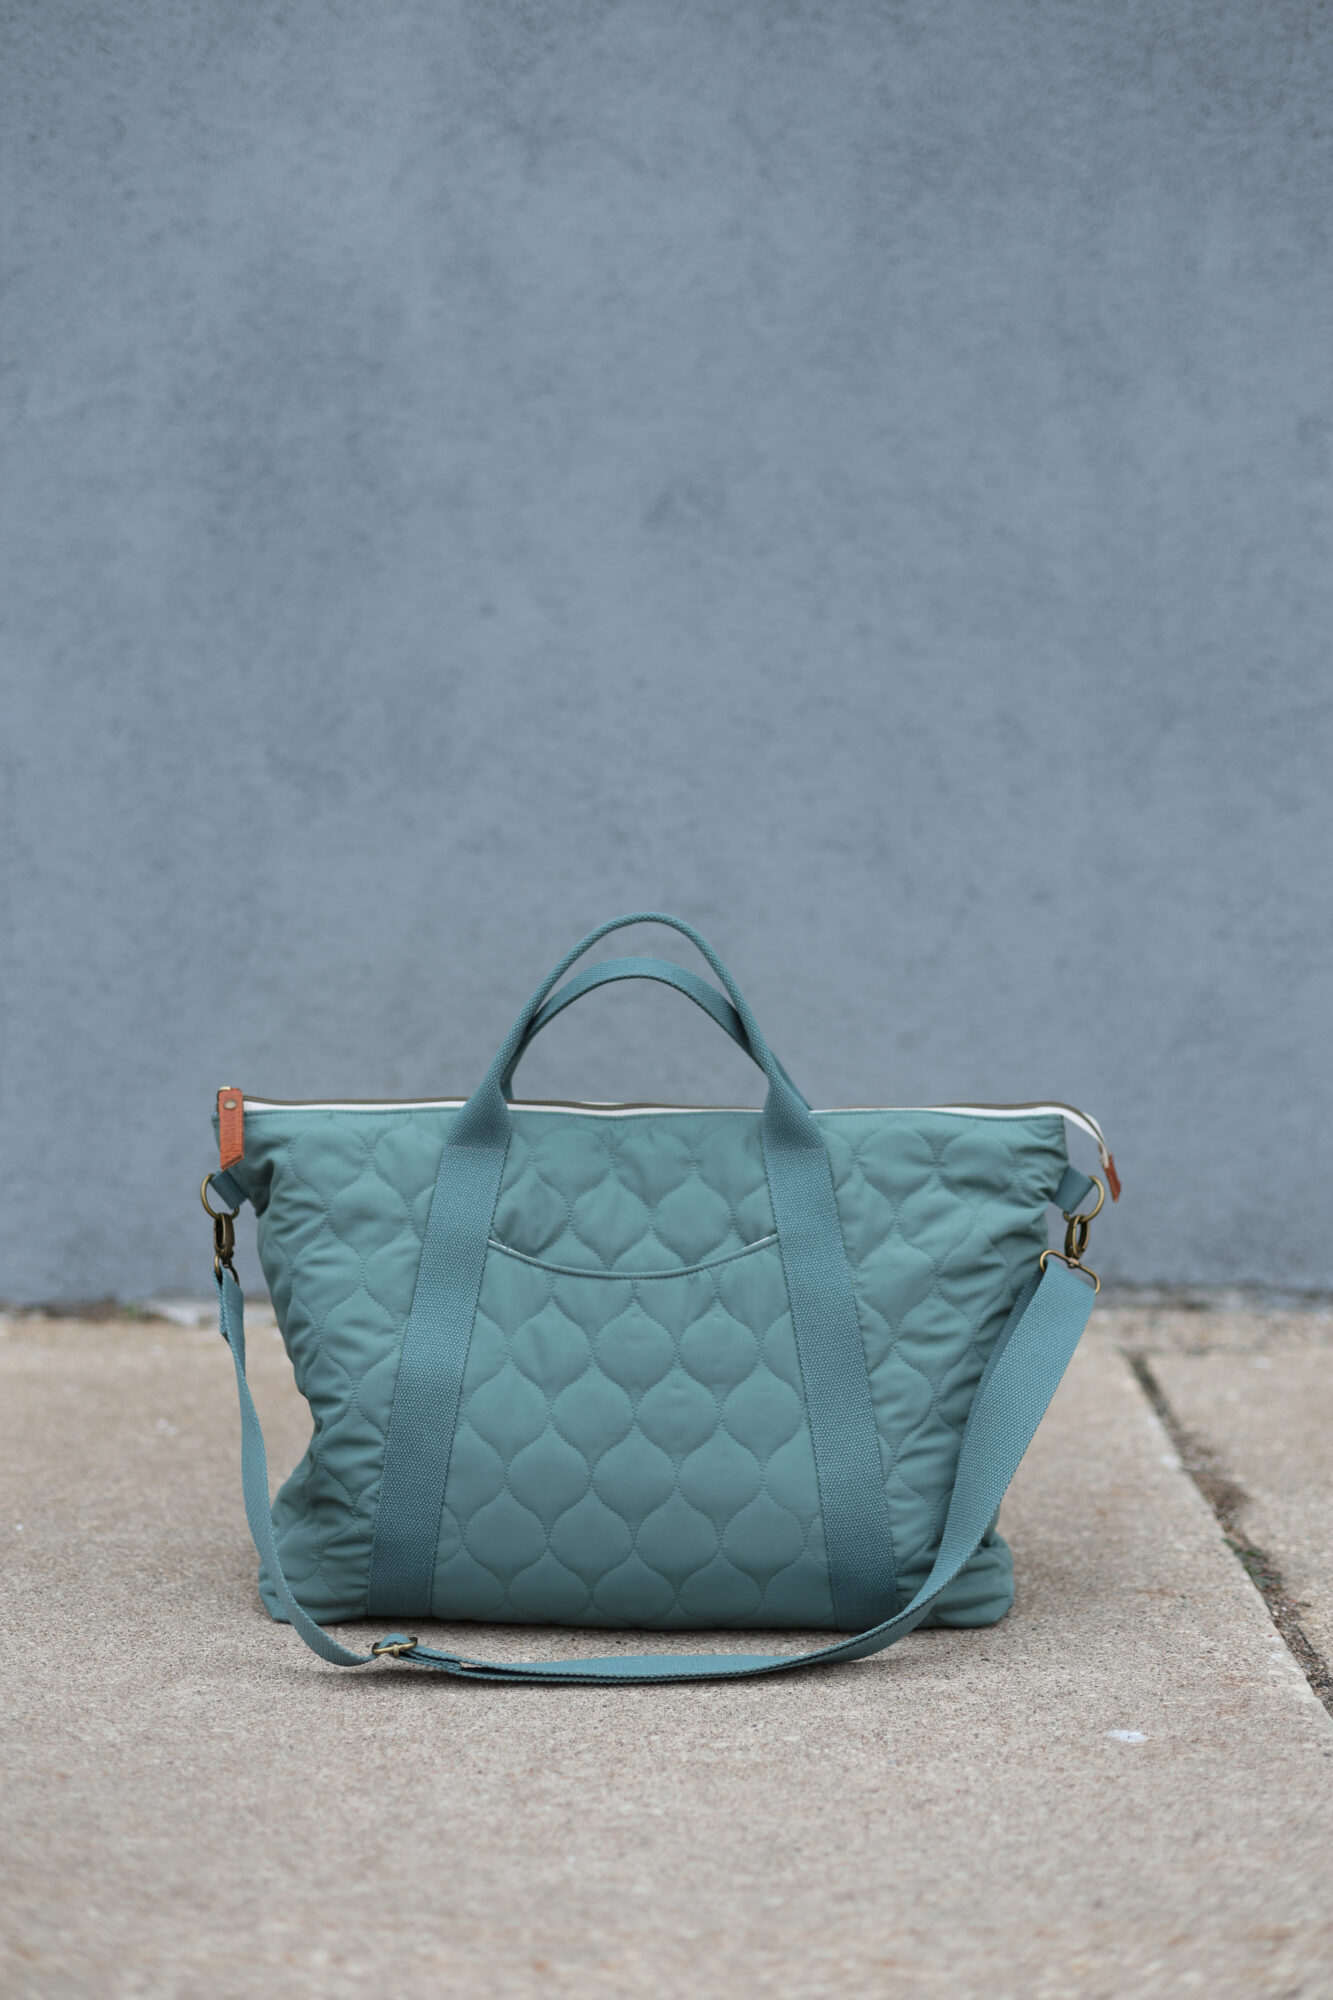
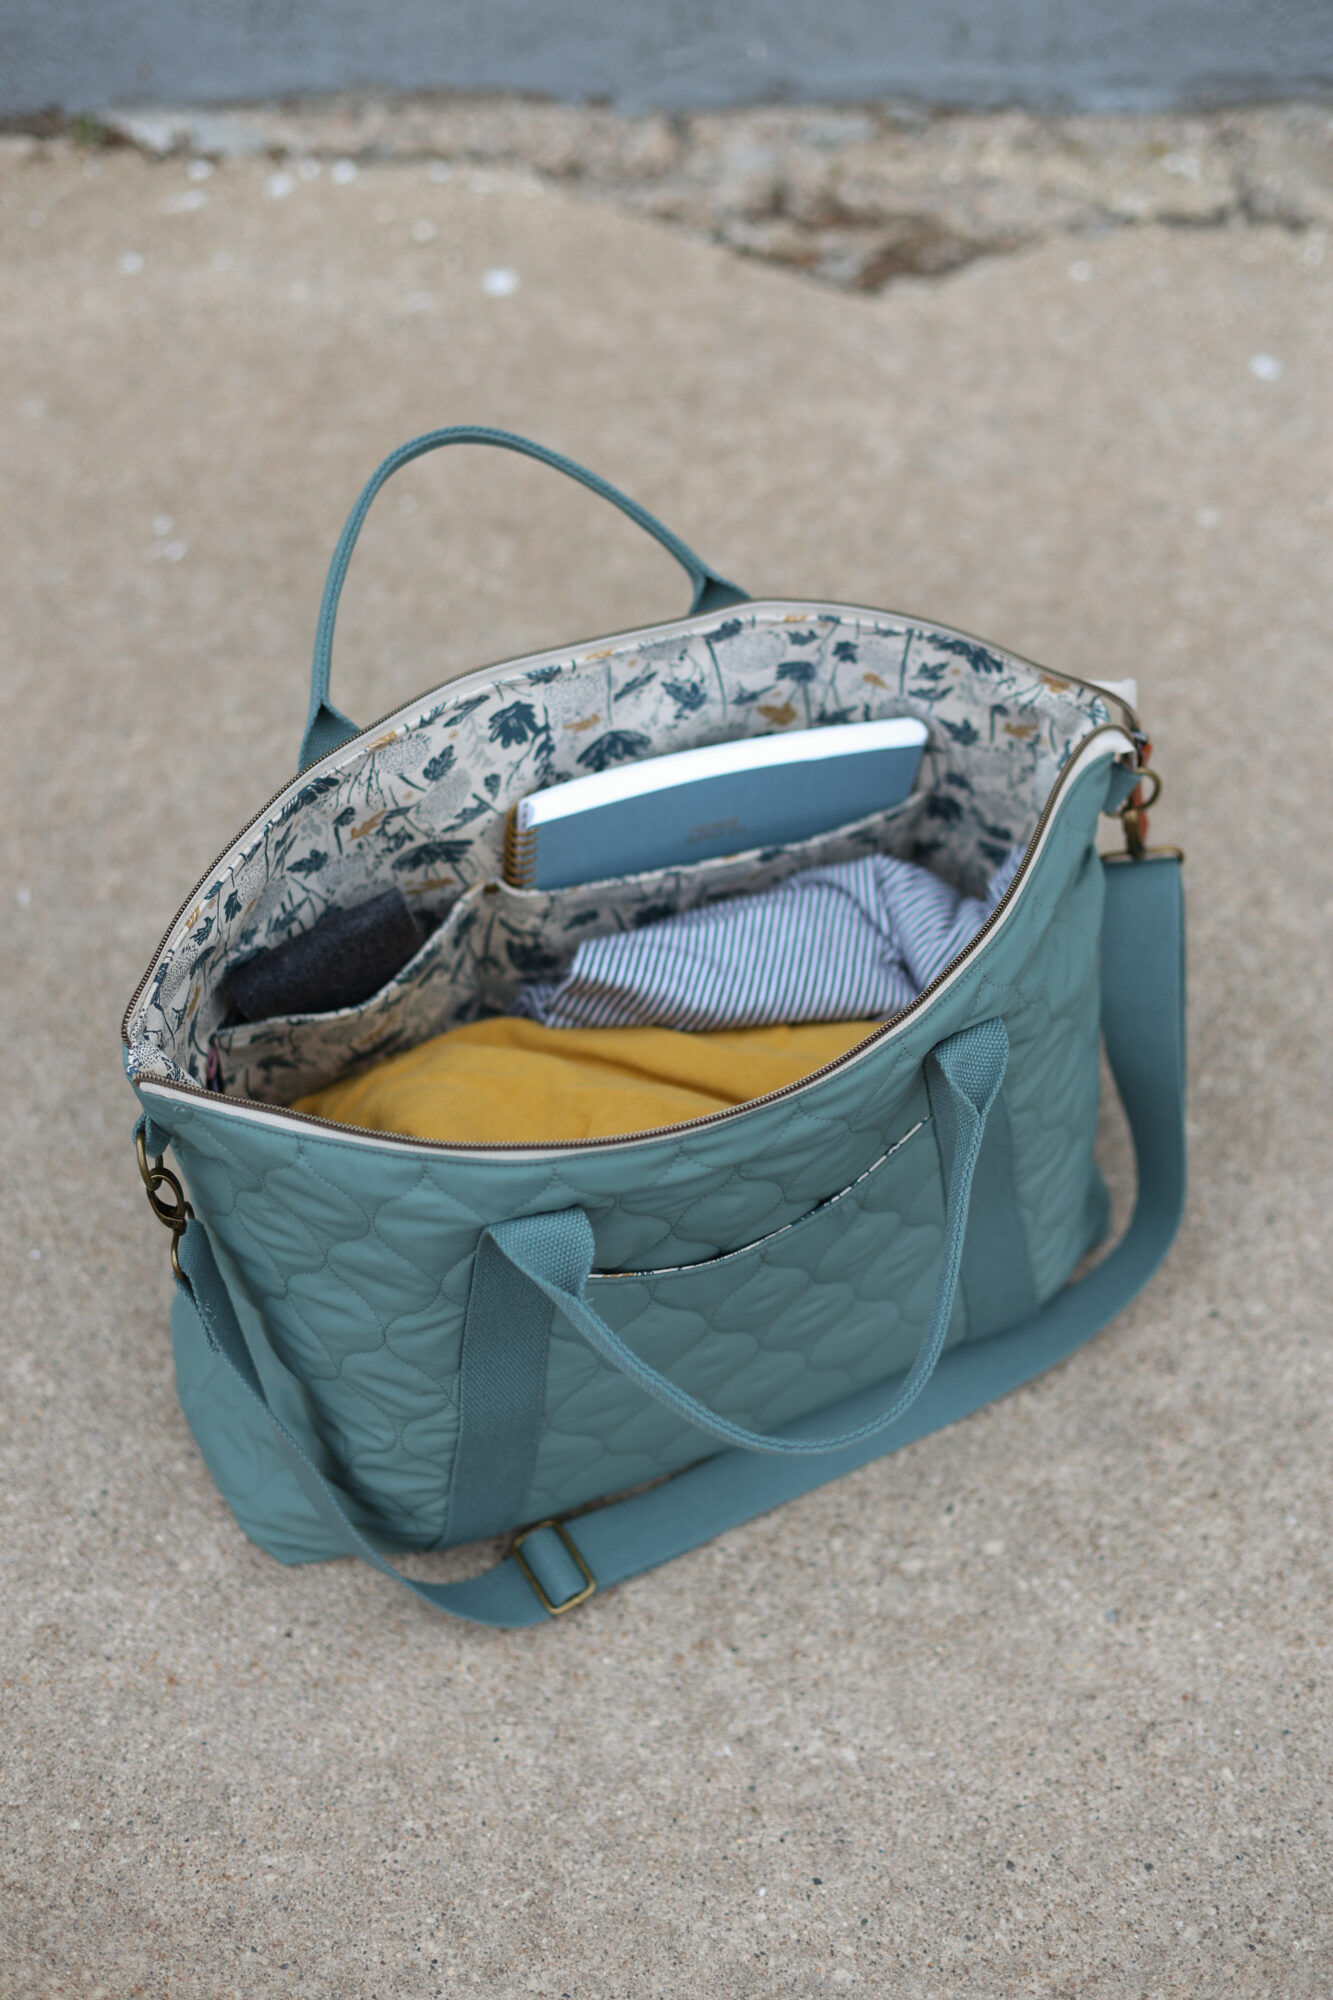
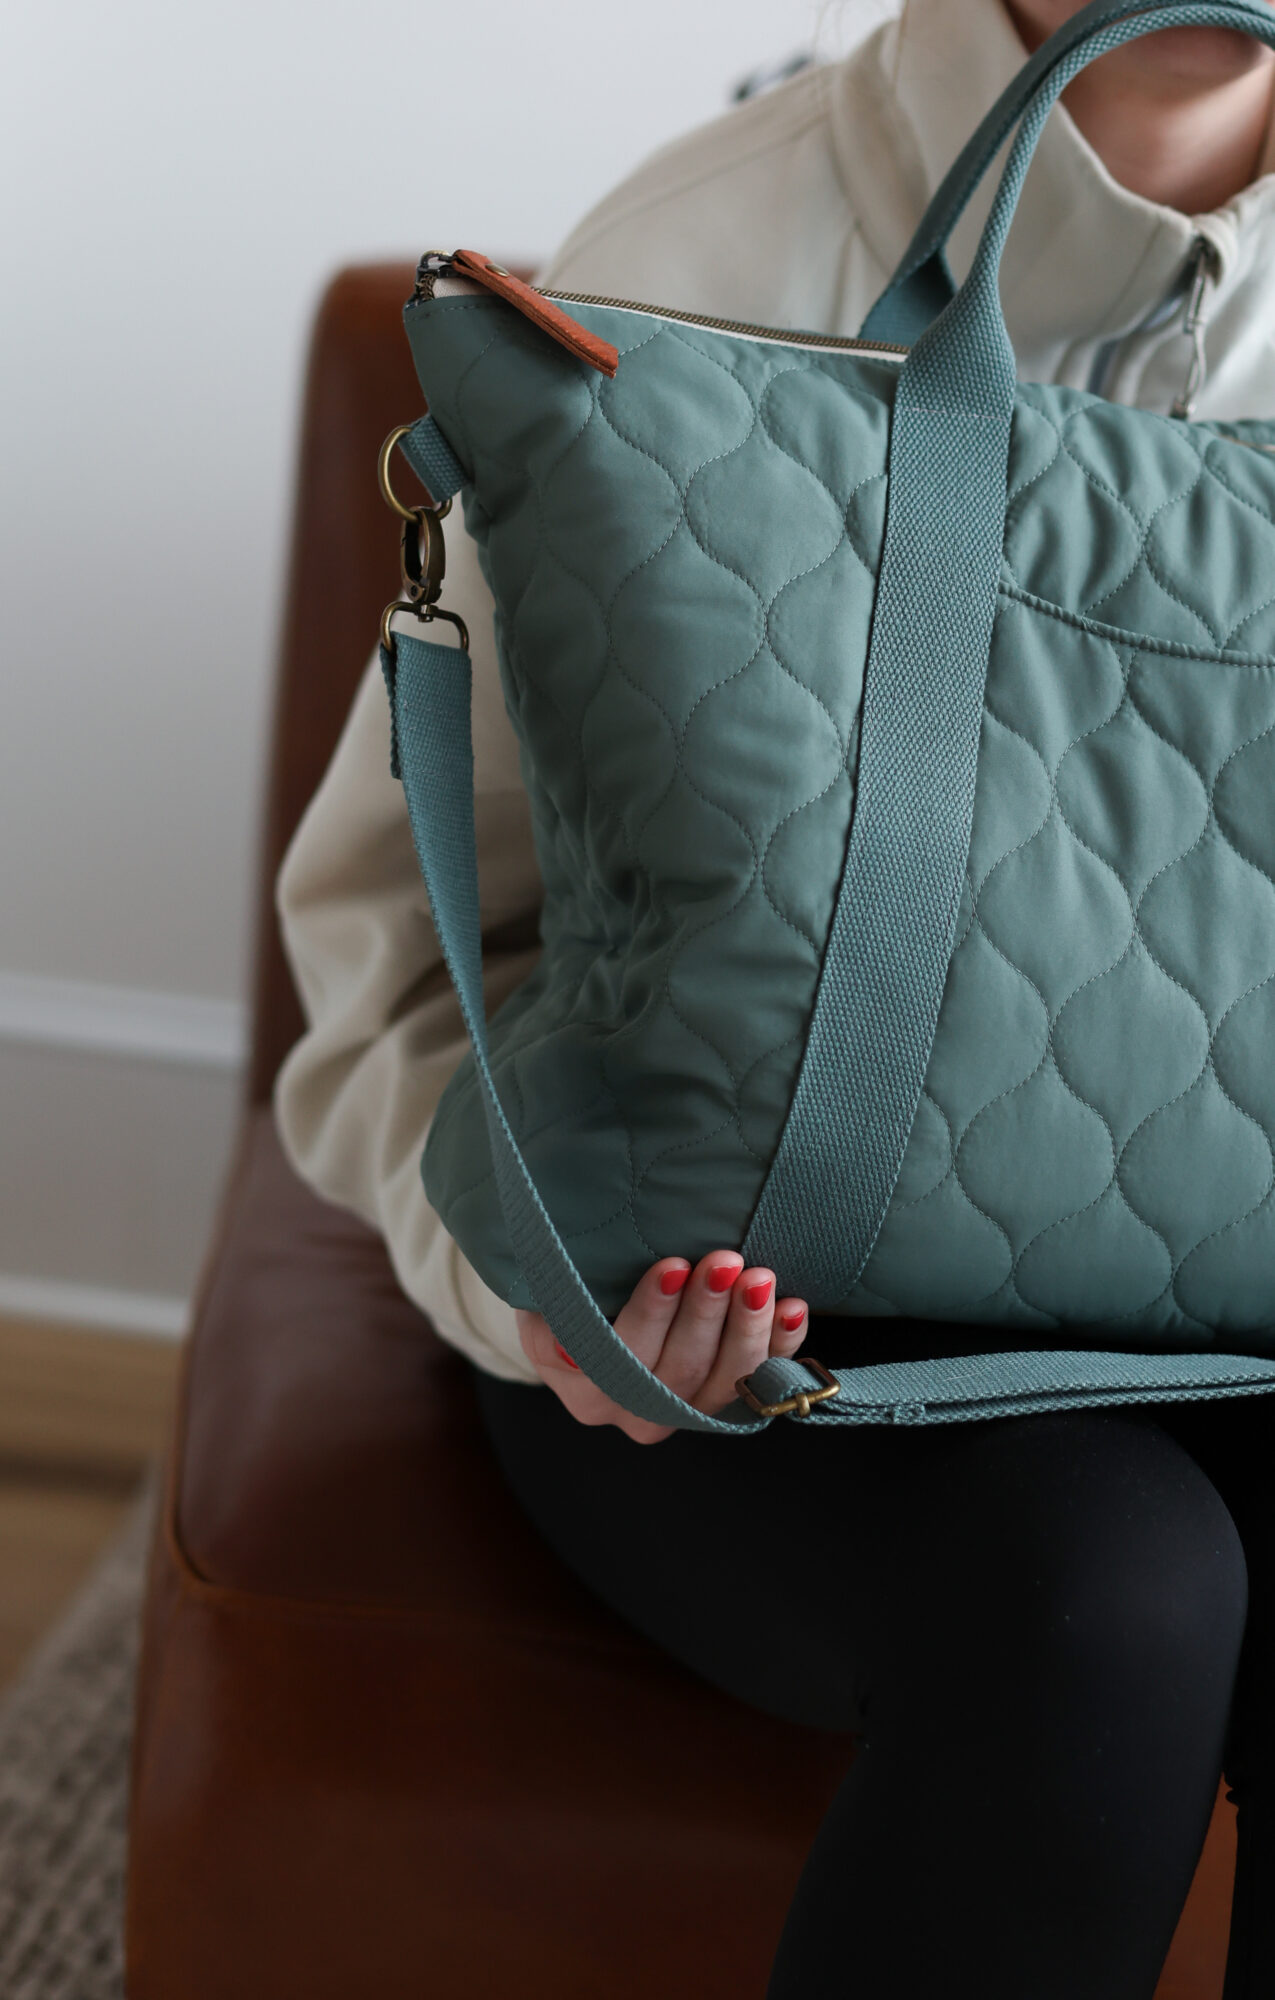
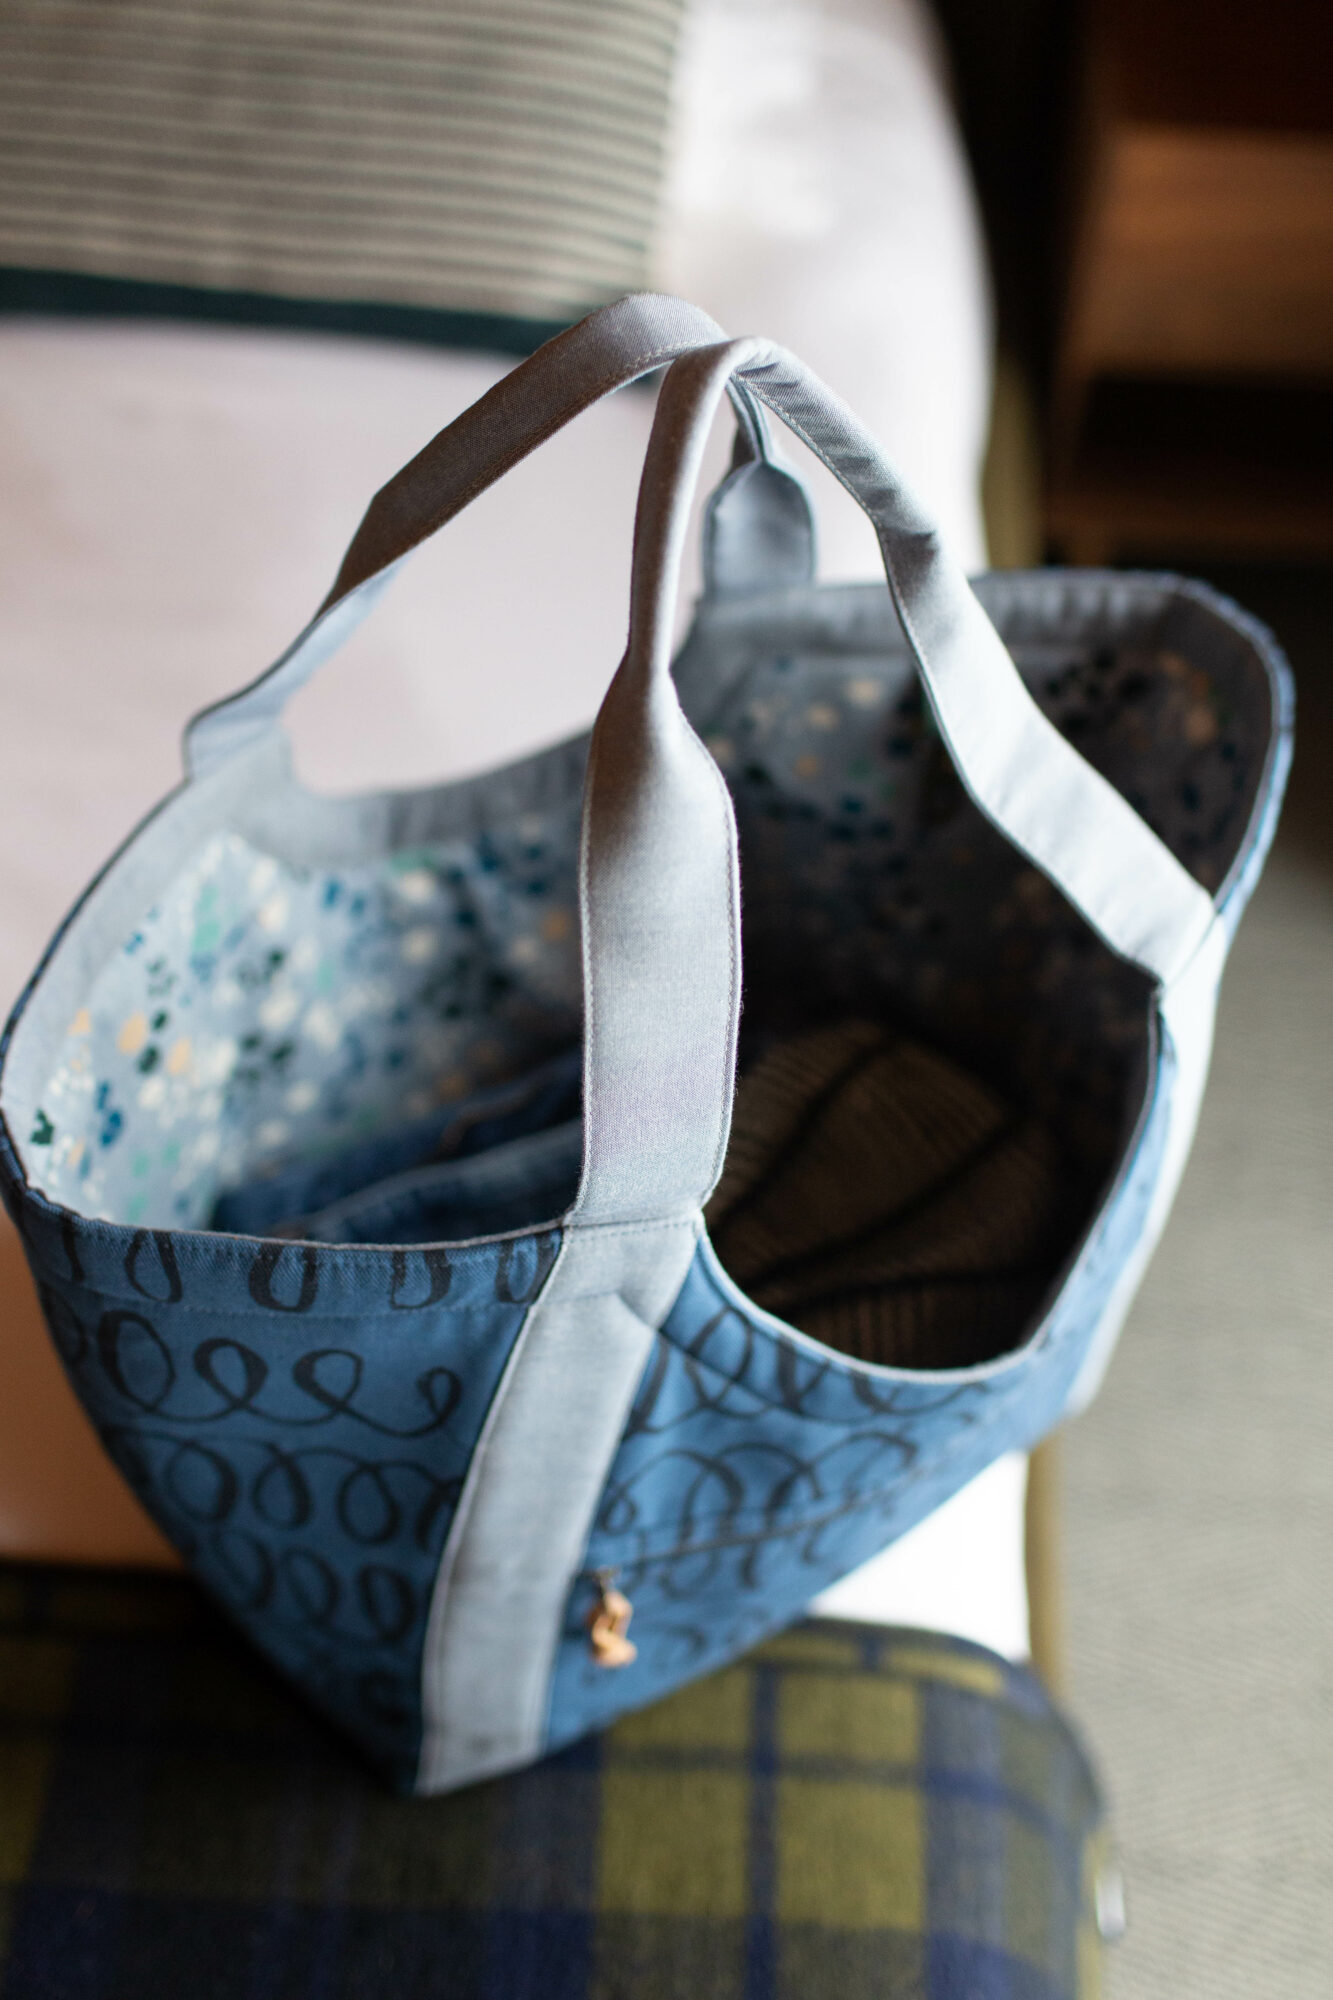
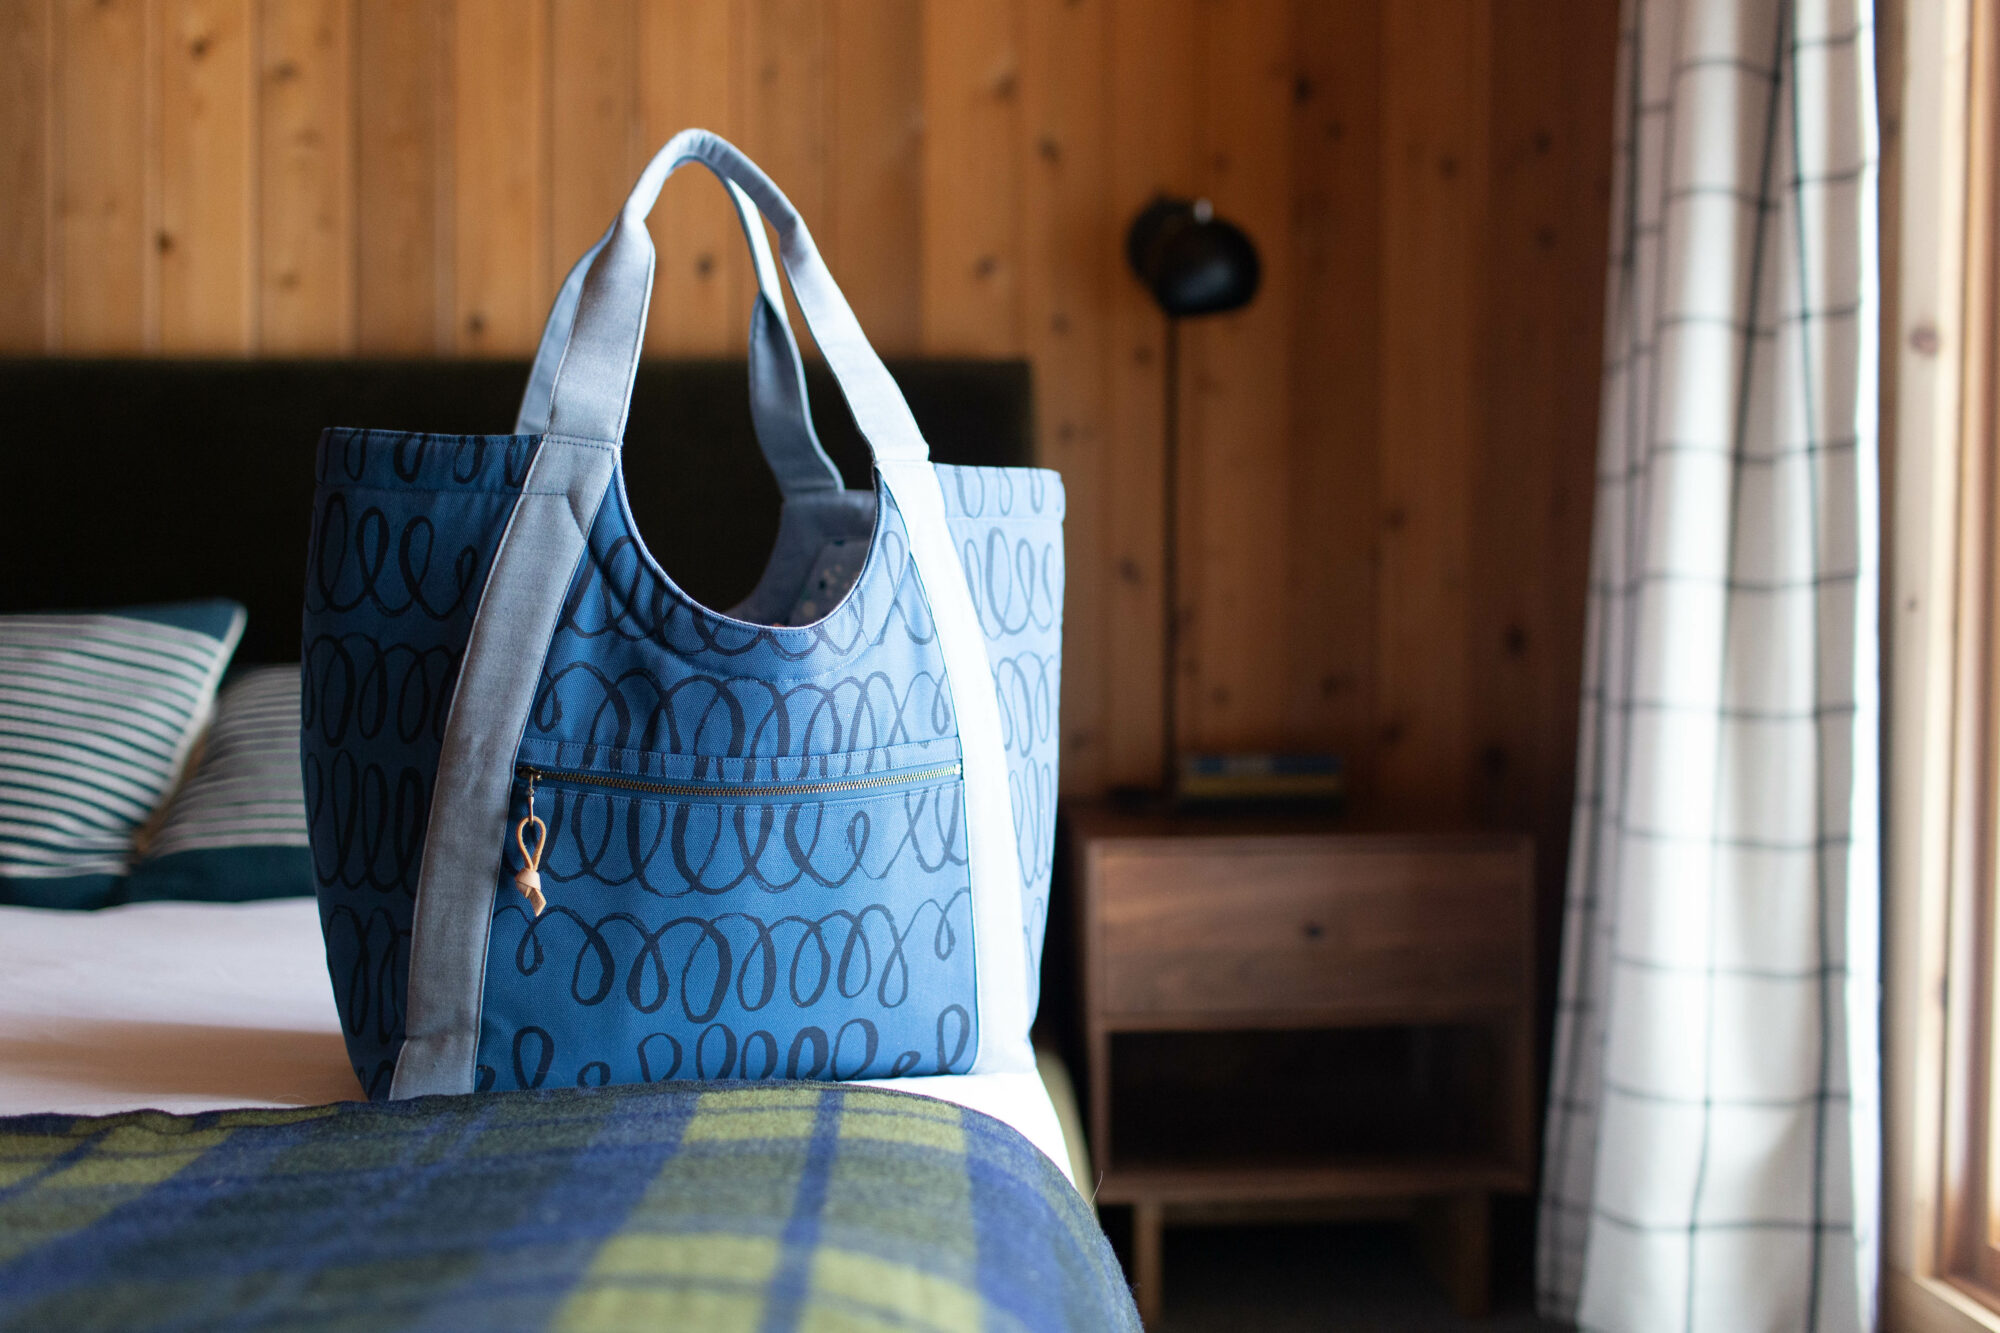
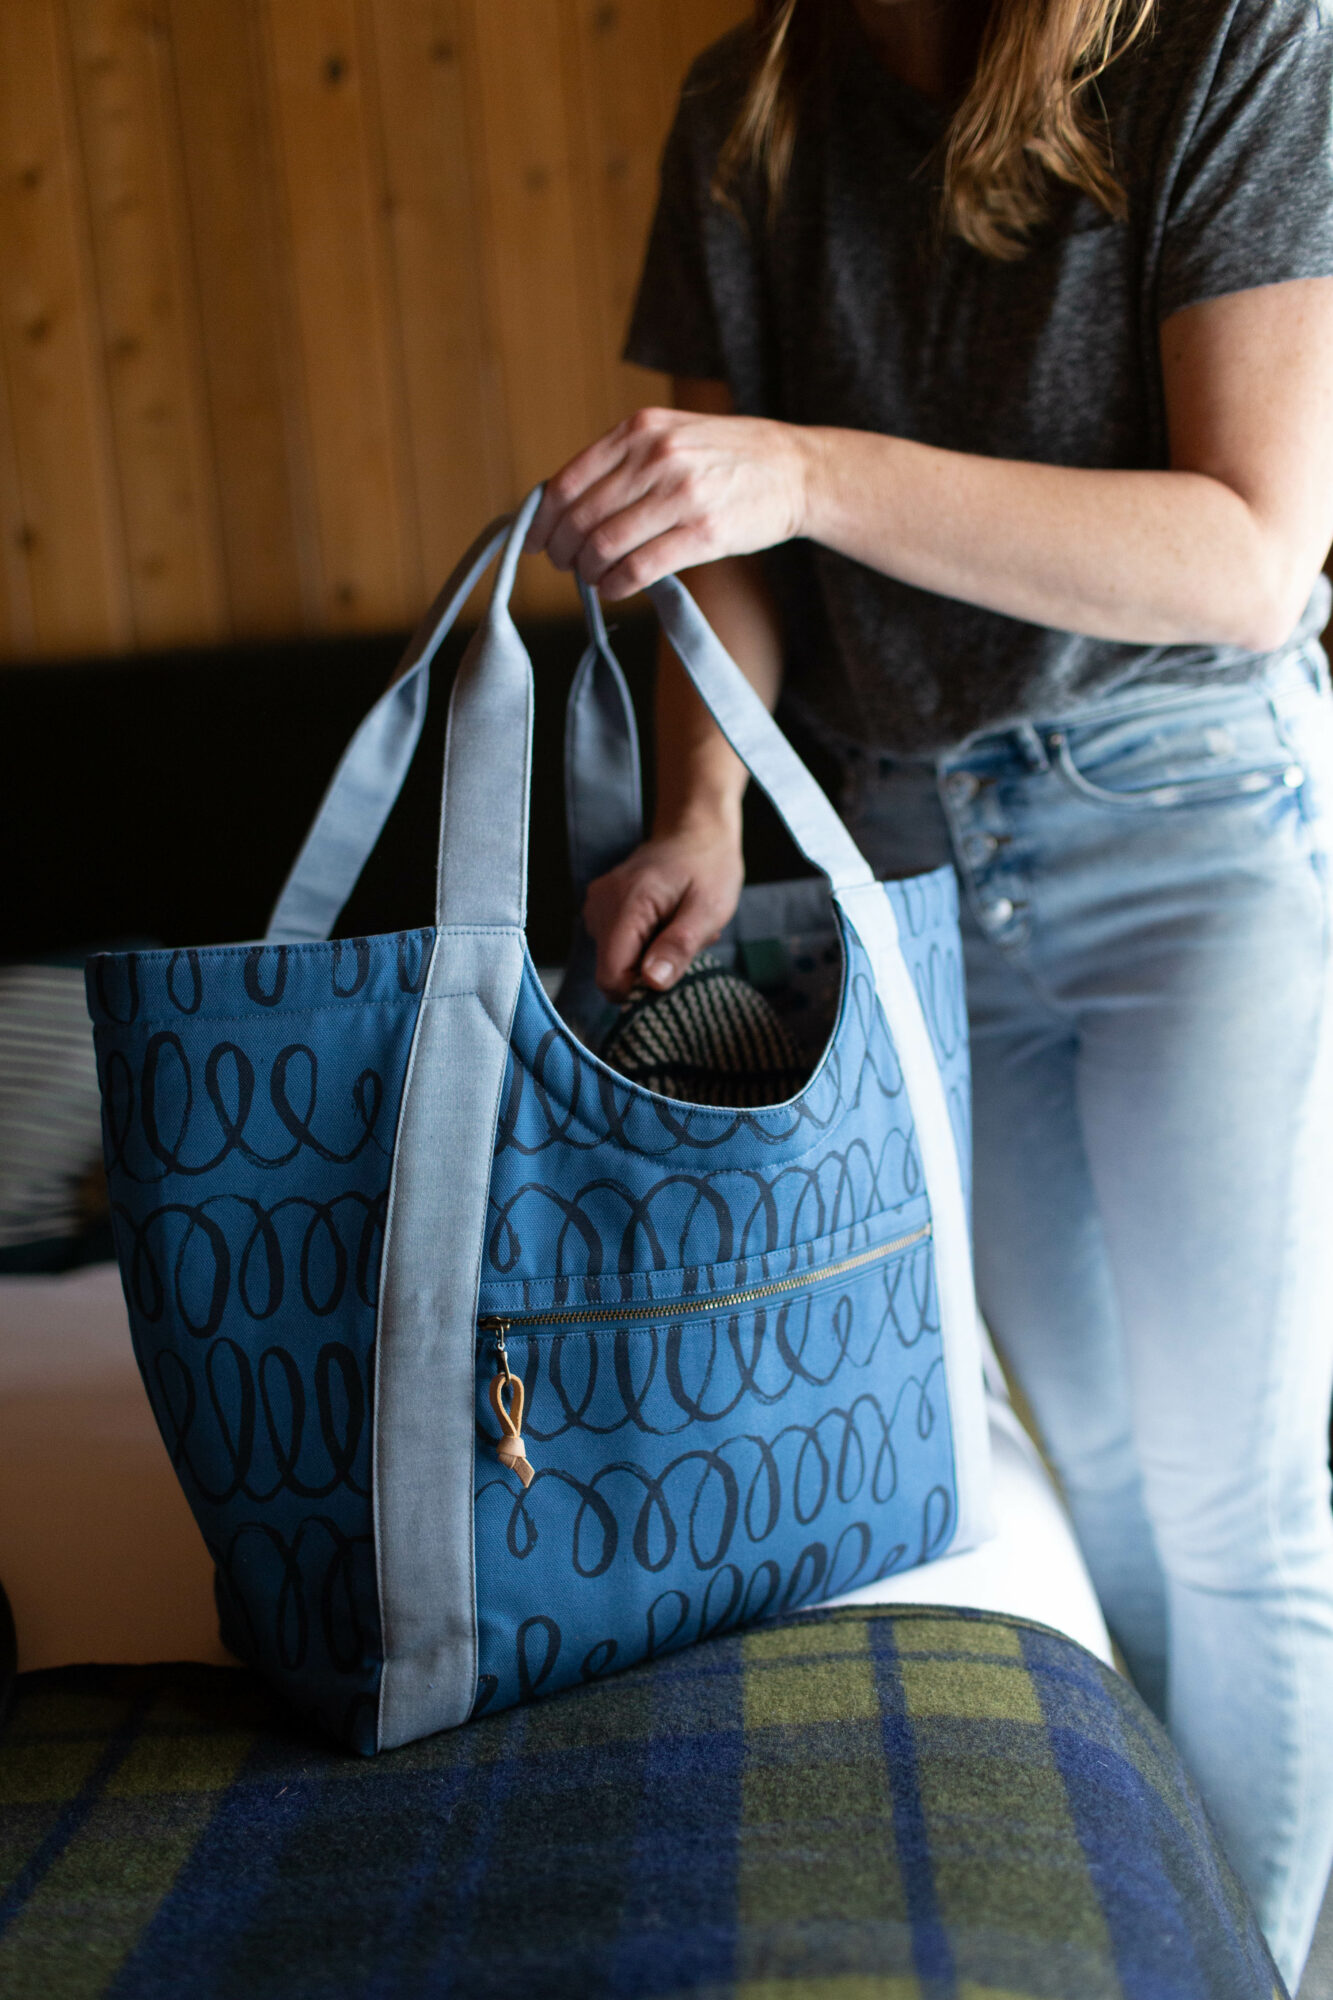
In the video I talk briefly about using a quilting cotton or lighter weight fabric for the exterior fabrics. Here’s a link to the post discussing how I made a quilted Buckthorn Backpack.

First I rough cut my fabric a few inches larger that the piece sizes indicated in the pattern. I layer a plain/inexpensive cotton canvas, then a low-loft cotton batting, and then my fabric on top. I quilt the pieces and then trim them to size using the measurements in the pattern.

It is a bit of prep work, but it’s a beautiful result if you don’t mind the extra steps.

waxed canvas buckthorn

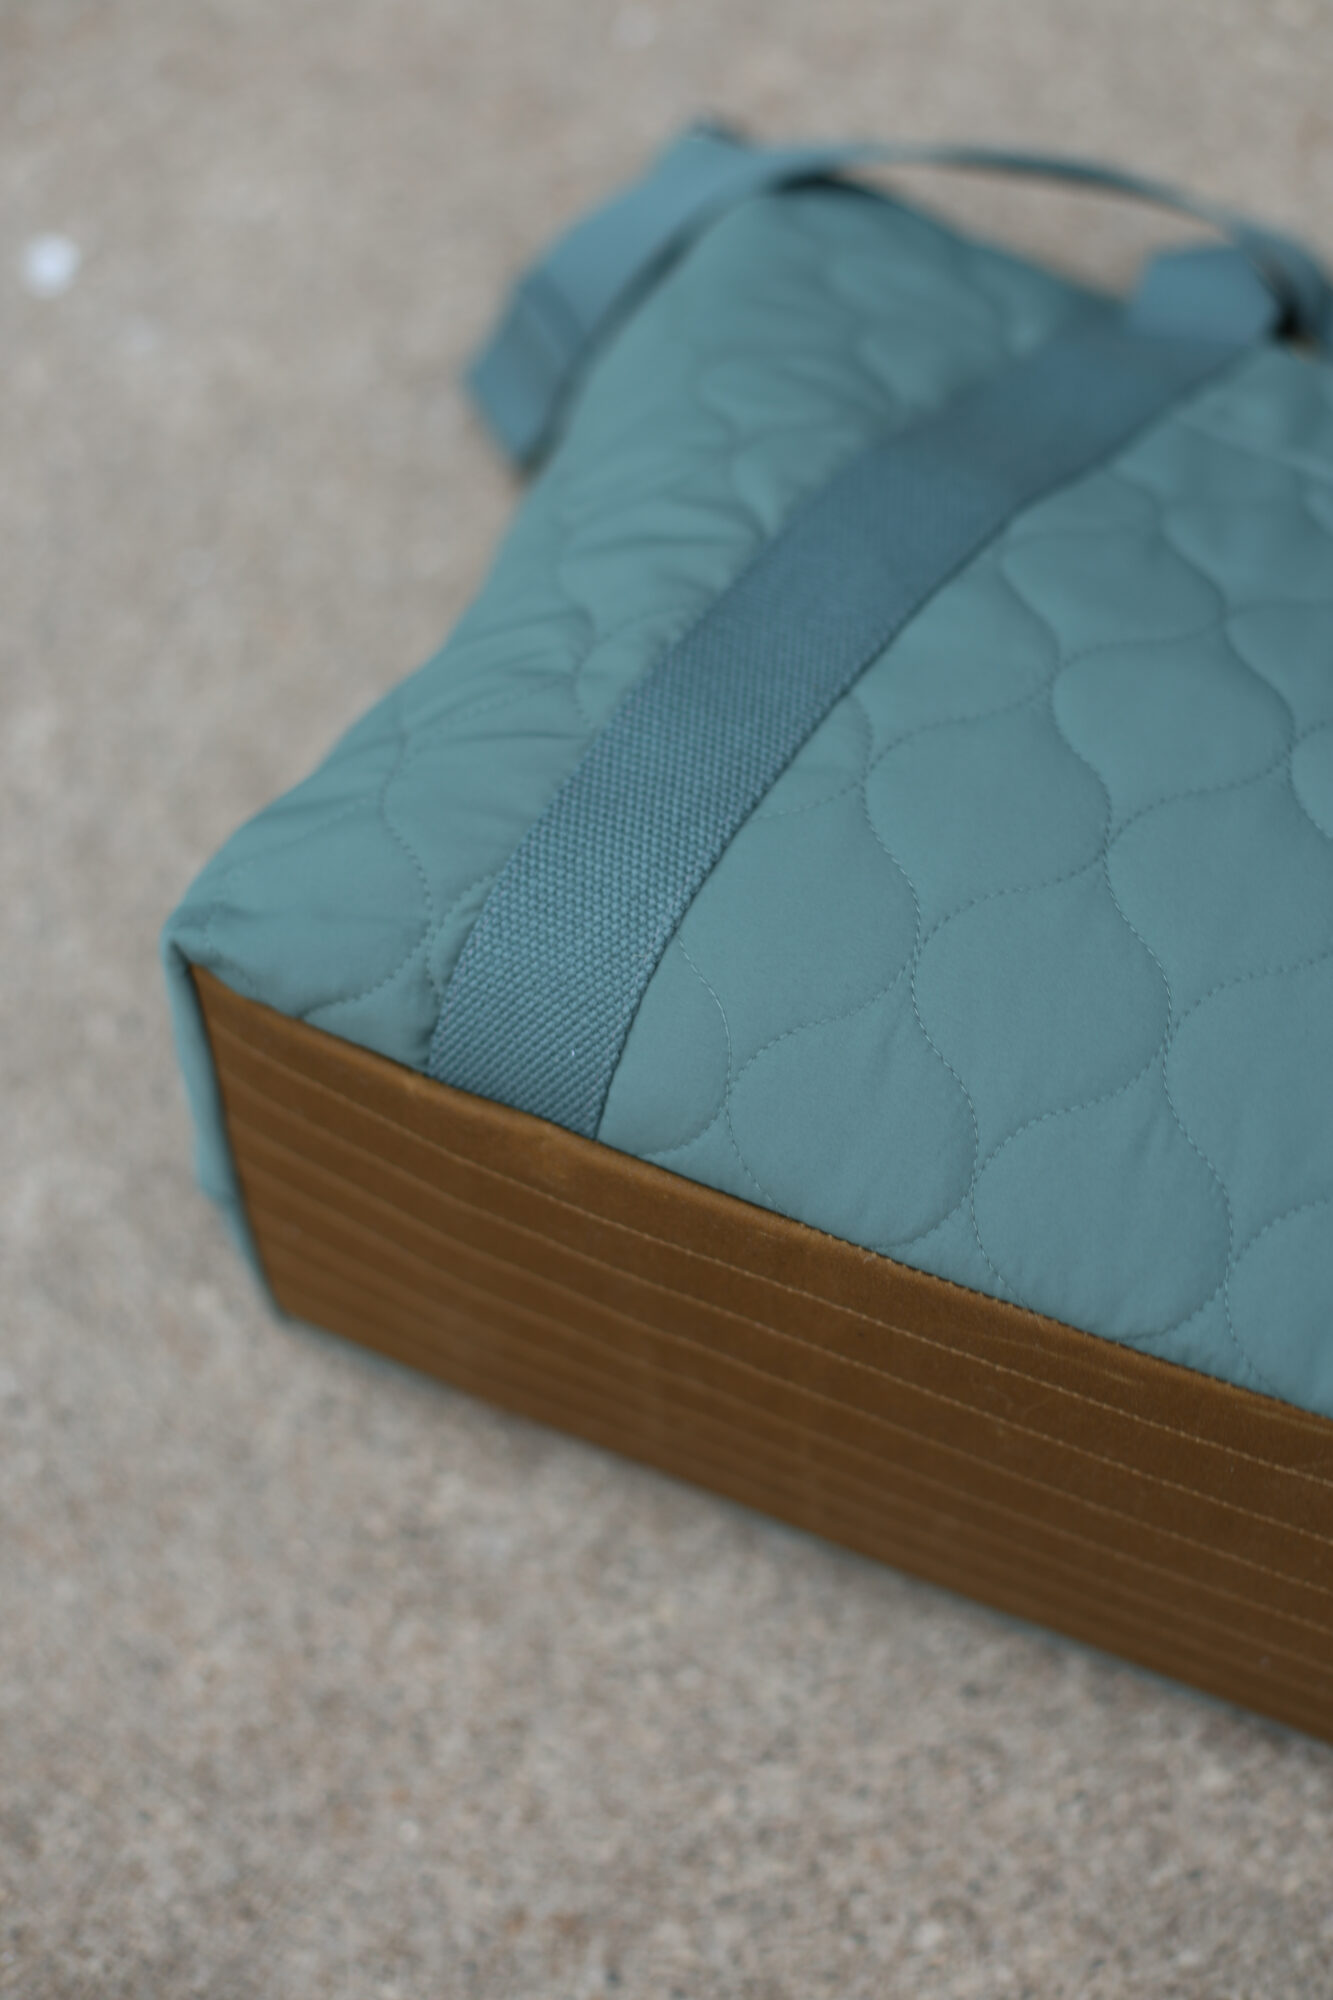
Waxed canvas is another great option for using on the Buckthorn. If you’d like to read more about that, I’ve discussed it in-depth in this blog post.

Zippers Used

Lastly, this pattern is written for traditional fixed-length zippers . In the video I also give tips for using zipper by the yard/continuous zipper. For this type of installation (on the Buckthorn), zipper lengths are fairly interchangeable whether you’re using a fixed-length or zipper tape. So if you’re in a hurry and cut your zipper tape to the fixed-length size, you’ll still be okay!

Looking for supplies for your Buckthorn?

Below are supplies for the Buckthorn Backpack + Tote that are available in my shop.

Backpack

Tote:

Project Details

The Buckthorns in the sew-along video are sewn in the following fabrics:

Thank you so much for your support! I can’t wait to see more Buckthorn Backpacks + Totes! Be sure to tag me on Instagram (@noodlehead531) and use #BuckthornBackpack or #BuckthornTote #noodleheadpatterns

Sewing

Fireside Quilt – Riverbend

I knew I wanted to make a baby quilt using my new collection. So this Fireside Quilt – Riverbend felt just right!

It was honestly hard to choose, baby quilts are just so fun. I feel like they’re such a great way to get to know a pattern without too much commitment. Plus they’re fun to gift or decorate with, too!

Fireside Quilt - Riverbend

Quilt Planning

I grabbed Suzy Quilt’s Fireside Quilt pattern and studied it for quite a while. I think I’ve said this before, but I’m not the planning type when it comes to quilts. For quilting, I feel like I just like to cut the fabric and start sewing.

Fireside Quilt - Riverbend

So when it comes to patterns that require a little bit of planning with color and design I tend to feel a little lost sometimes. But! Suzy has a great post on how to choose fabrics for this quilt. How awesome is that?! It made me feel more confident in my fabric placement and selection. Thank you Suzy!

I was on a deadline to wrap up this project, but it didn’t feel like a chore to put it together. There’s enough variety and interest to keep me motivated.

Project Details

*Riverbend has been arriving in shops! Yay! Be sure to check with your favorite shop! Or try an online search for “Anna Graham Riverbend” or “Riverbend Robert Kaufman” and check out the #RiverBendFabric hashtag on Instagram. Can’t wait to see what you make!!!!

Sewing

Caravan Tote & Pouch – Riverbend

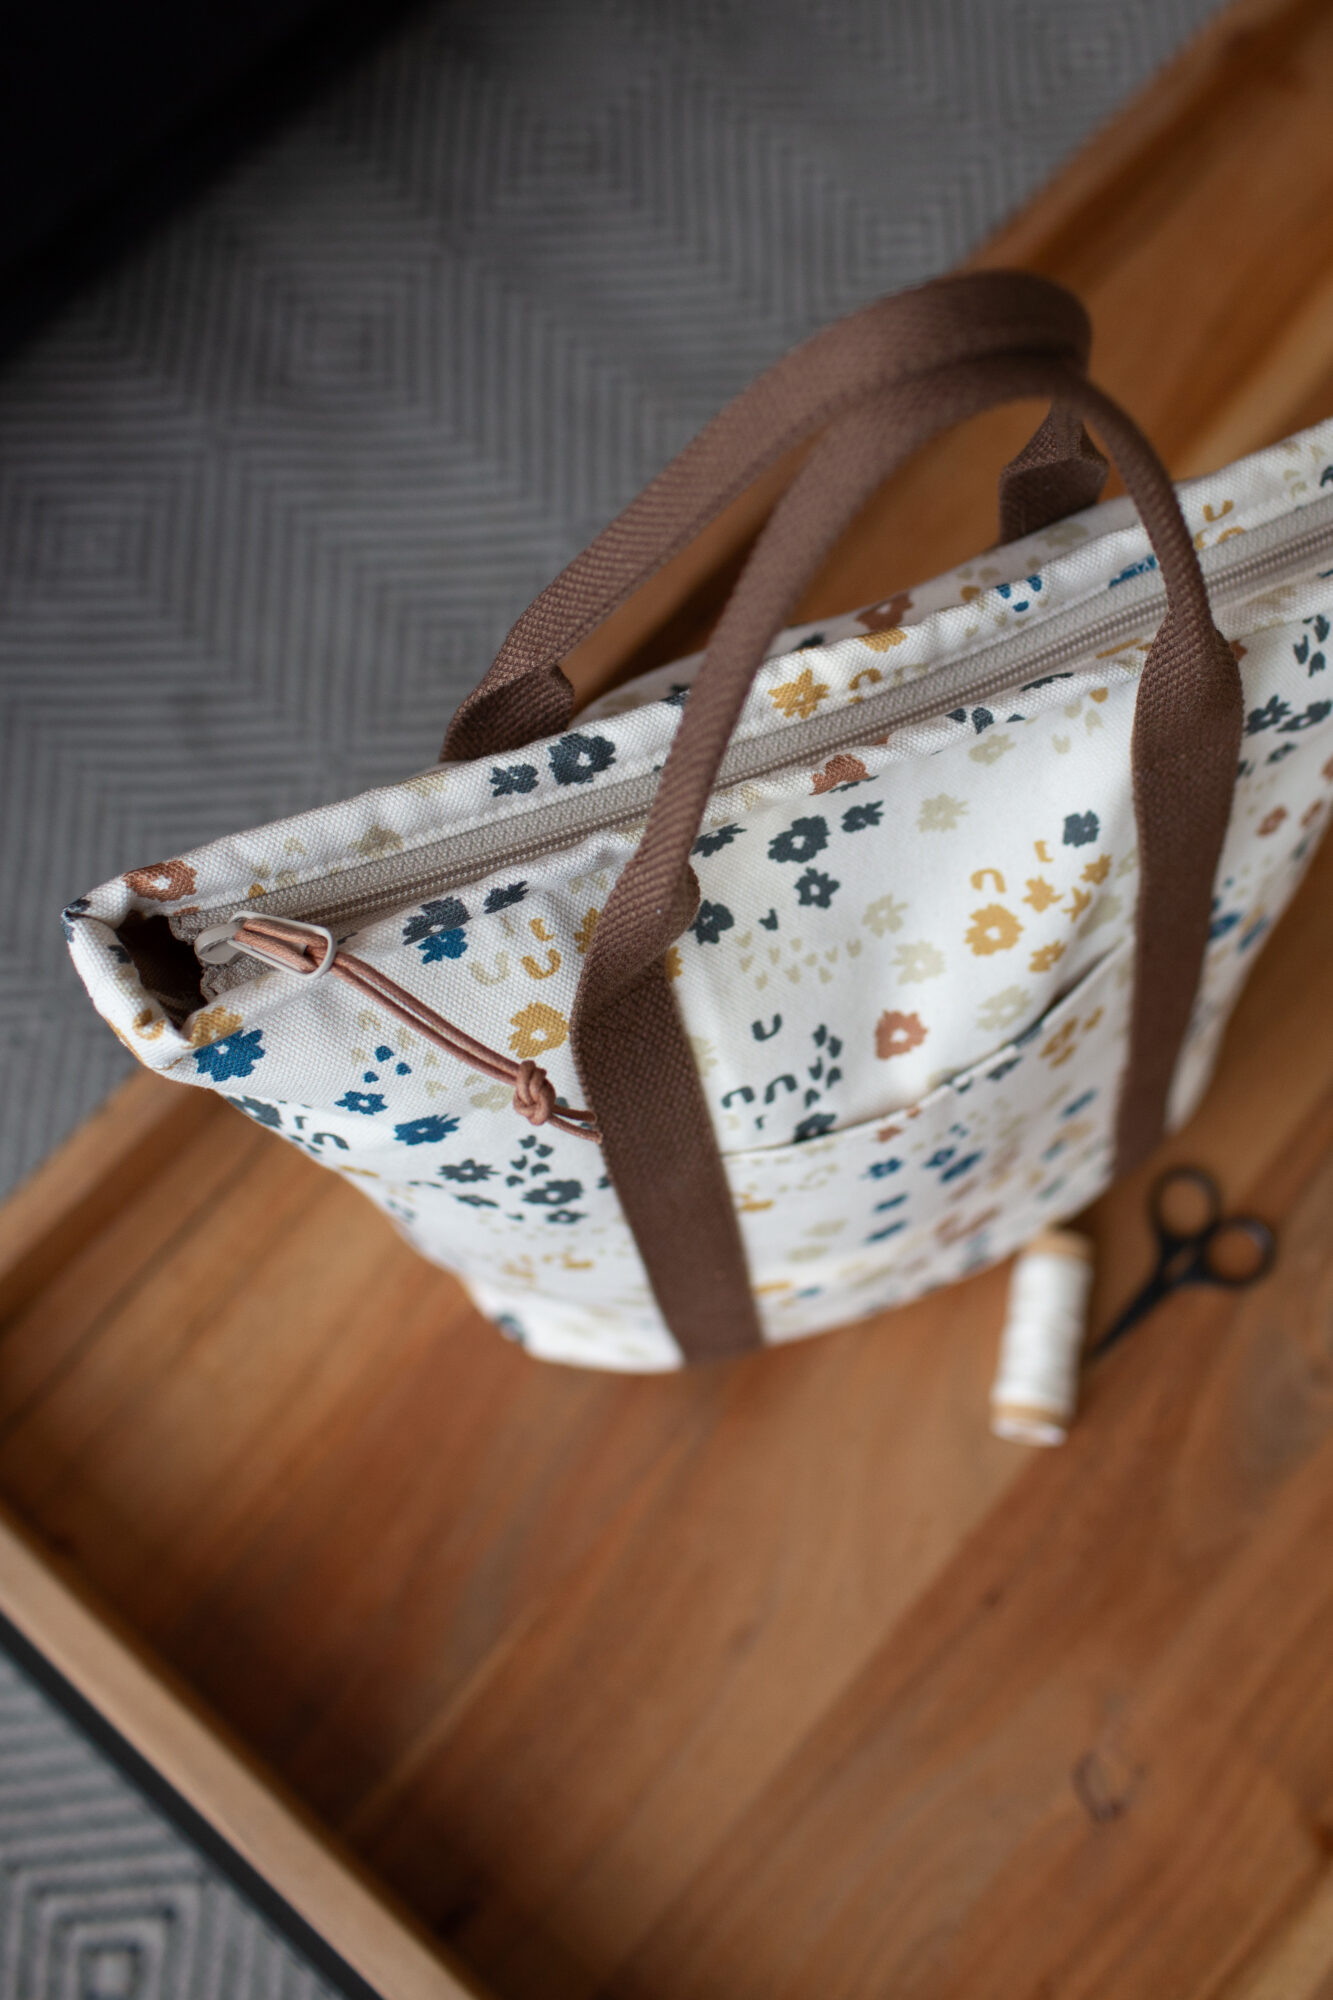
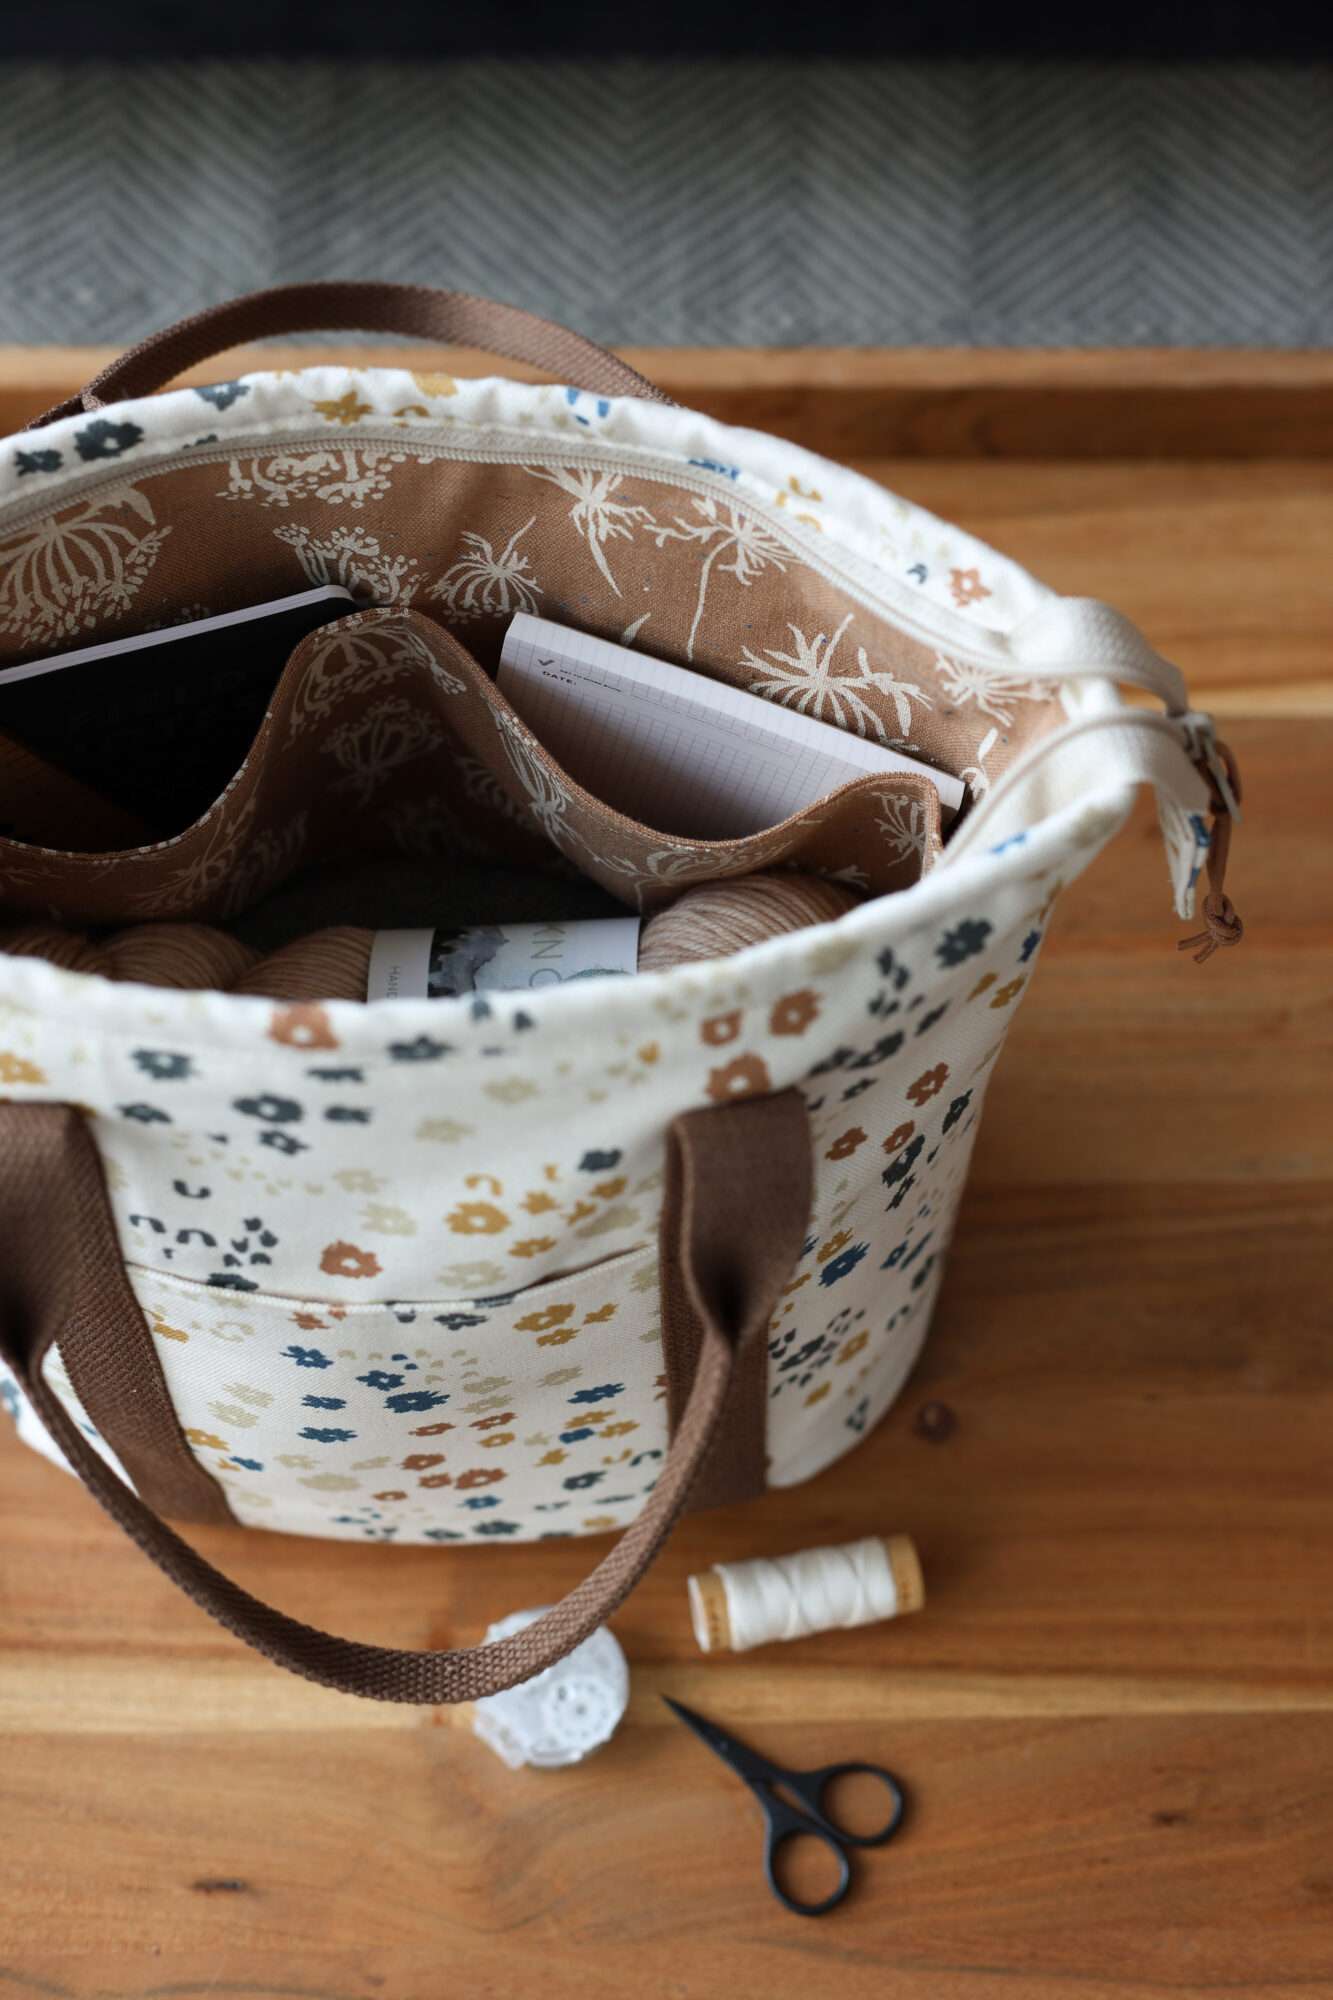
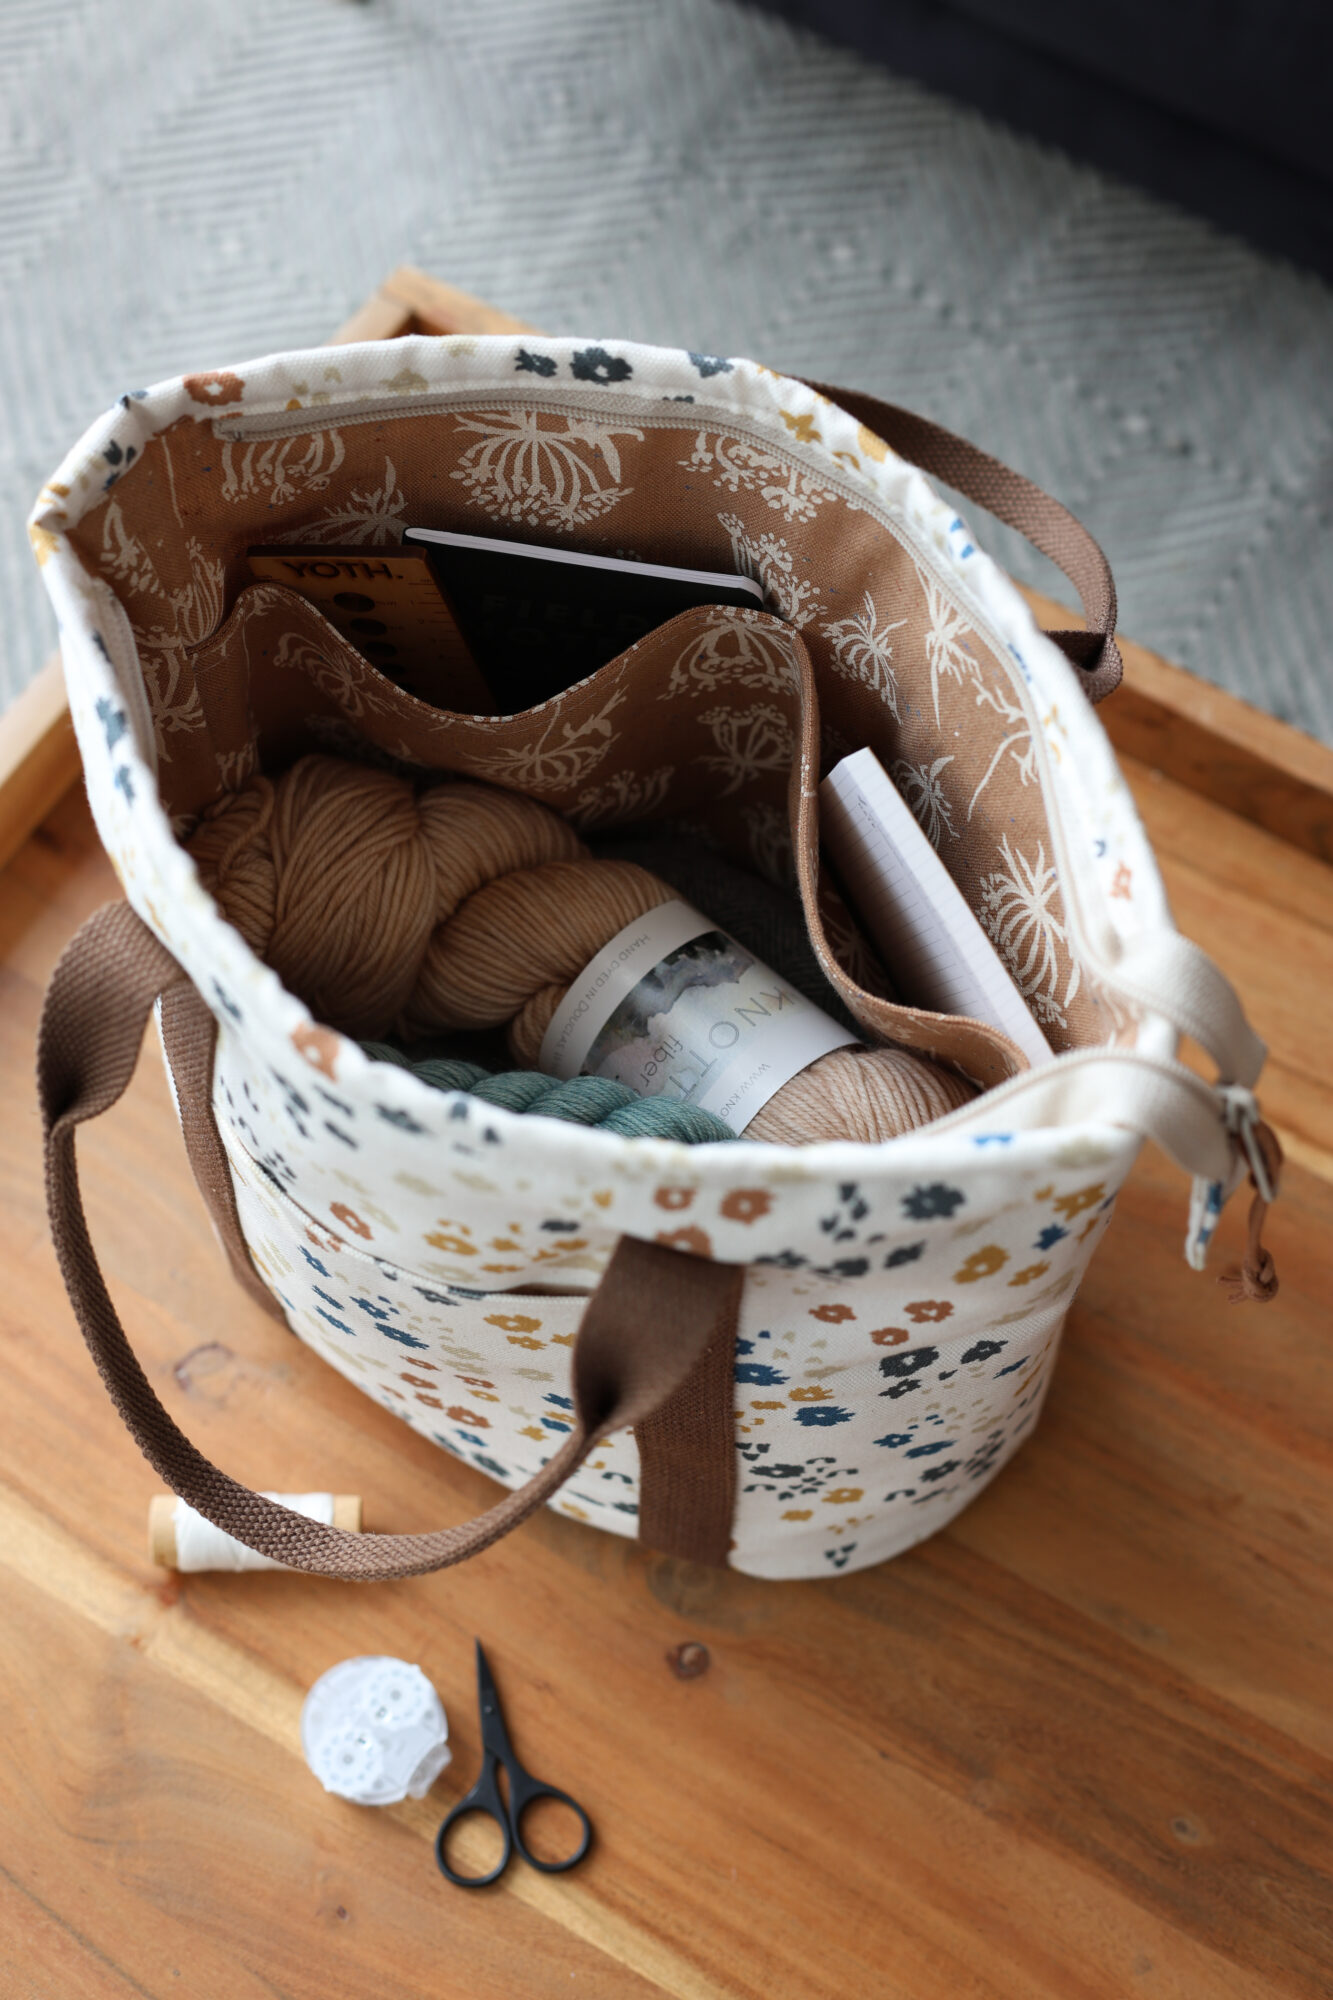
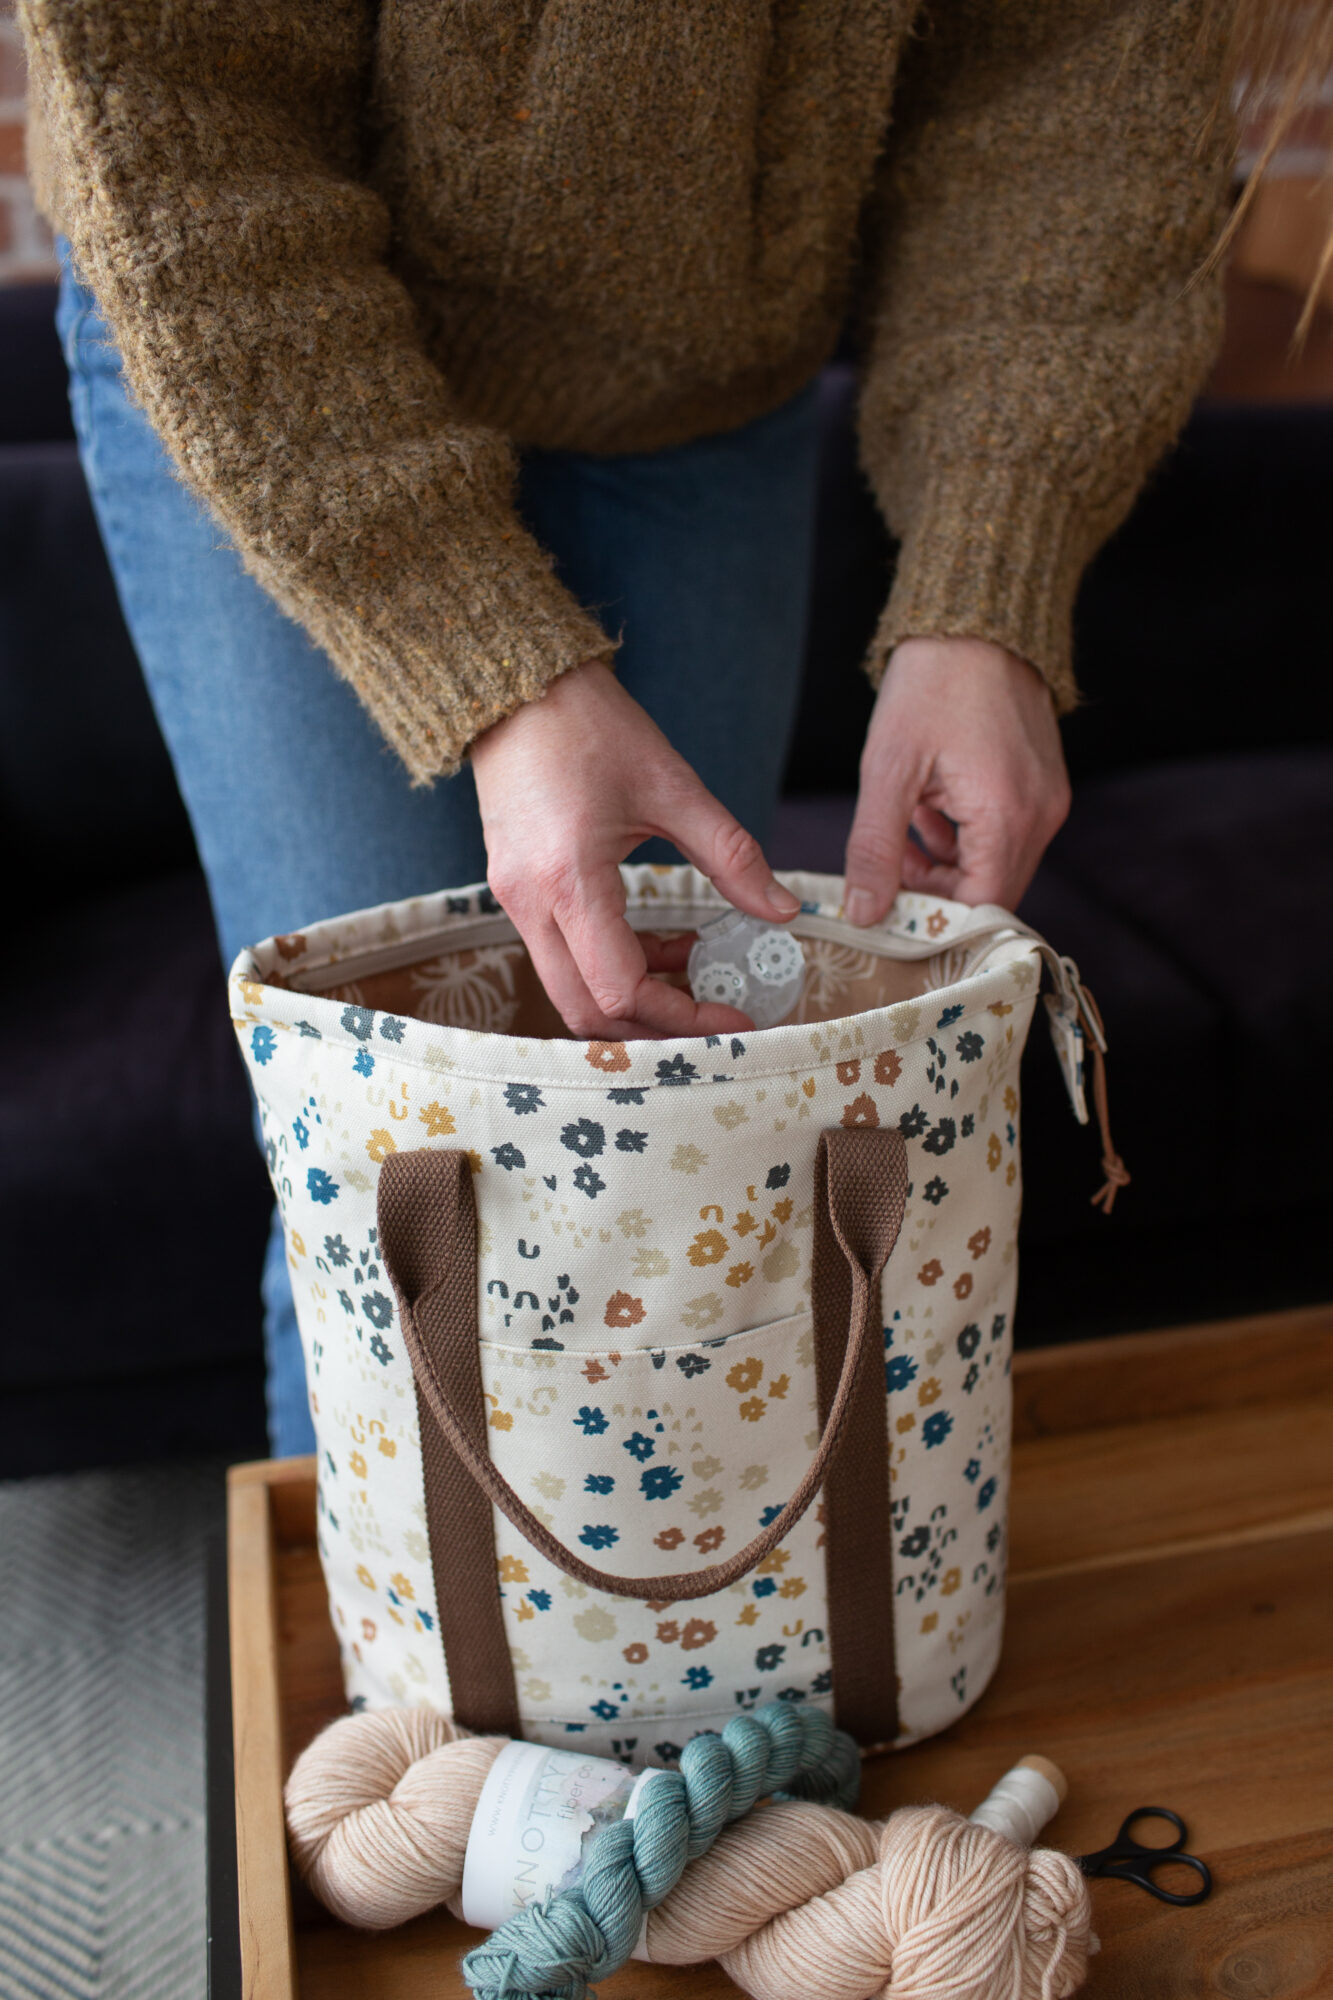
I really enjoyed making this set! This is the Caravan Tote & PouchRiverbend. I started because I wanted to make a new sample using Riverbend. I hadn’t updated the pattern cover for the Caravan Tote & Pouch since it came out, so I was on a mission to sew up and photograph one!

Caravan Tote & Pouch - Riverbend

Revisiting

I ended up remaking a simplified Caravan Tote that I had previously made (and gave away to a friend, thus the remake) from my Quarry Trail collection. It’s fun to show how different a pattern can look by making some pretty simple edits to the design (aka, omitting the front pocket!). So once I was done with that sample, I picked some coordinating fabrics from my new collection, Riverbend!

Caravan Tote & Pouch - Riverbend

I knew I wanted to highlight the Queen Anne’s lace print (from Riverbend Essex collection) and I think it works great with this waxed twill (color is Amber) from AL Frances Textiles. I’ve really been enjoying the waxed twill lately if you can’t tell! It’s a nice weight to work with!

Update Information

I also revisited the instructions (with the help of my tech editor) and made some updates to the file. Nothing too drastic, but a general clean up.

Caravan Tote & Pouch - Riverbend

If you had previously purchased the PDF, you should have already received the updated file via my file host, SendOwl. Please check your spam/promotions folder. You can also login to your account on my site and re-download it (or use this link and enter the email address you used to purchase the file originally and it’ll automatically send you a new link).

Caravan Tote & Pouch - Riverbend

The new update is a zipped folder with an updated print-at-home files for all the pieces (including all rectangles) and a new A0 file for printing at a copy shop.

If you purchased a paper copy and would like a complimentary PDF update, please contact us with proof of purchase. Thanks for your patience and understanding as we work through this, we are a small team.

Caravan Tote & Pouch - Riverbend

Lastly, I wanted to note that I had a ton of fun making these! I’m so glad I can share what I make with you all. Grateful for this community of makers.

Project Details:

Caravan Tote & Pouch - Riverbend

*Riverbend has been arriving in shops! Yay! Be sure to check with your favorite shop! Or try an online search for “Anna Graham Riverbend” or “Riverbend Robert Kaufman” and check out the #RiverBendFabric hashtag on Instagram. Can’t wait to see what you make!!!!