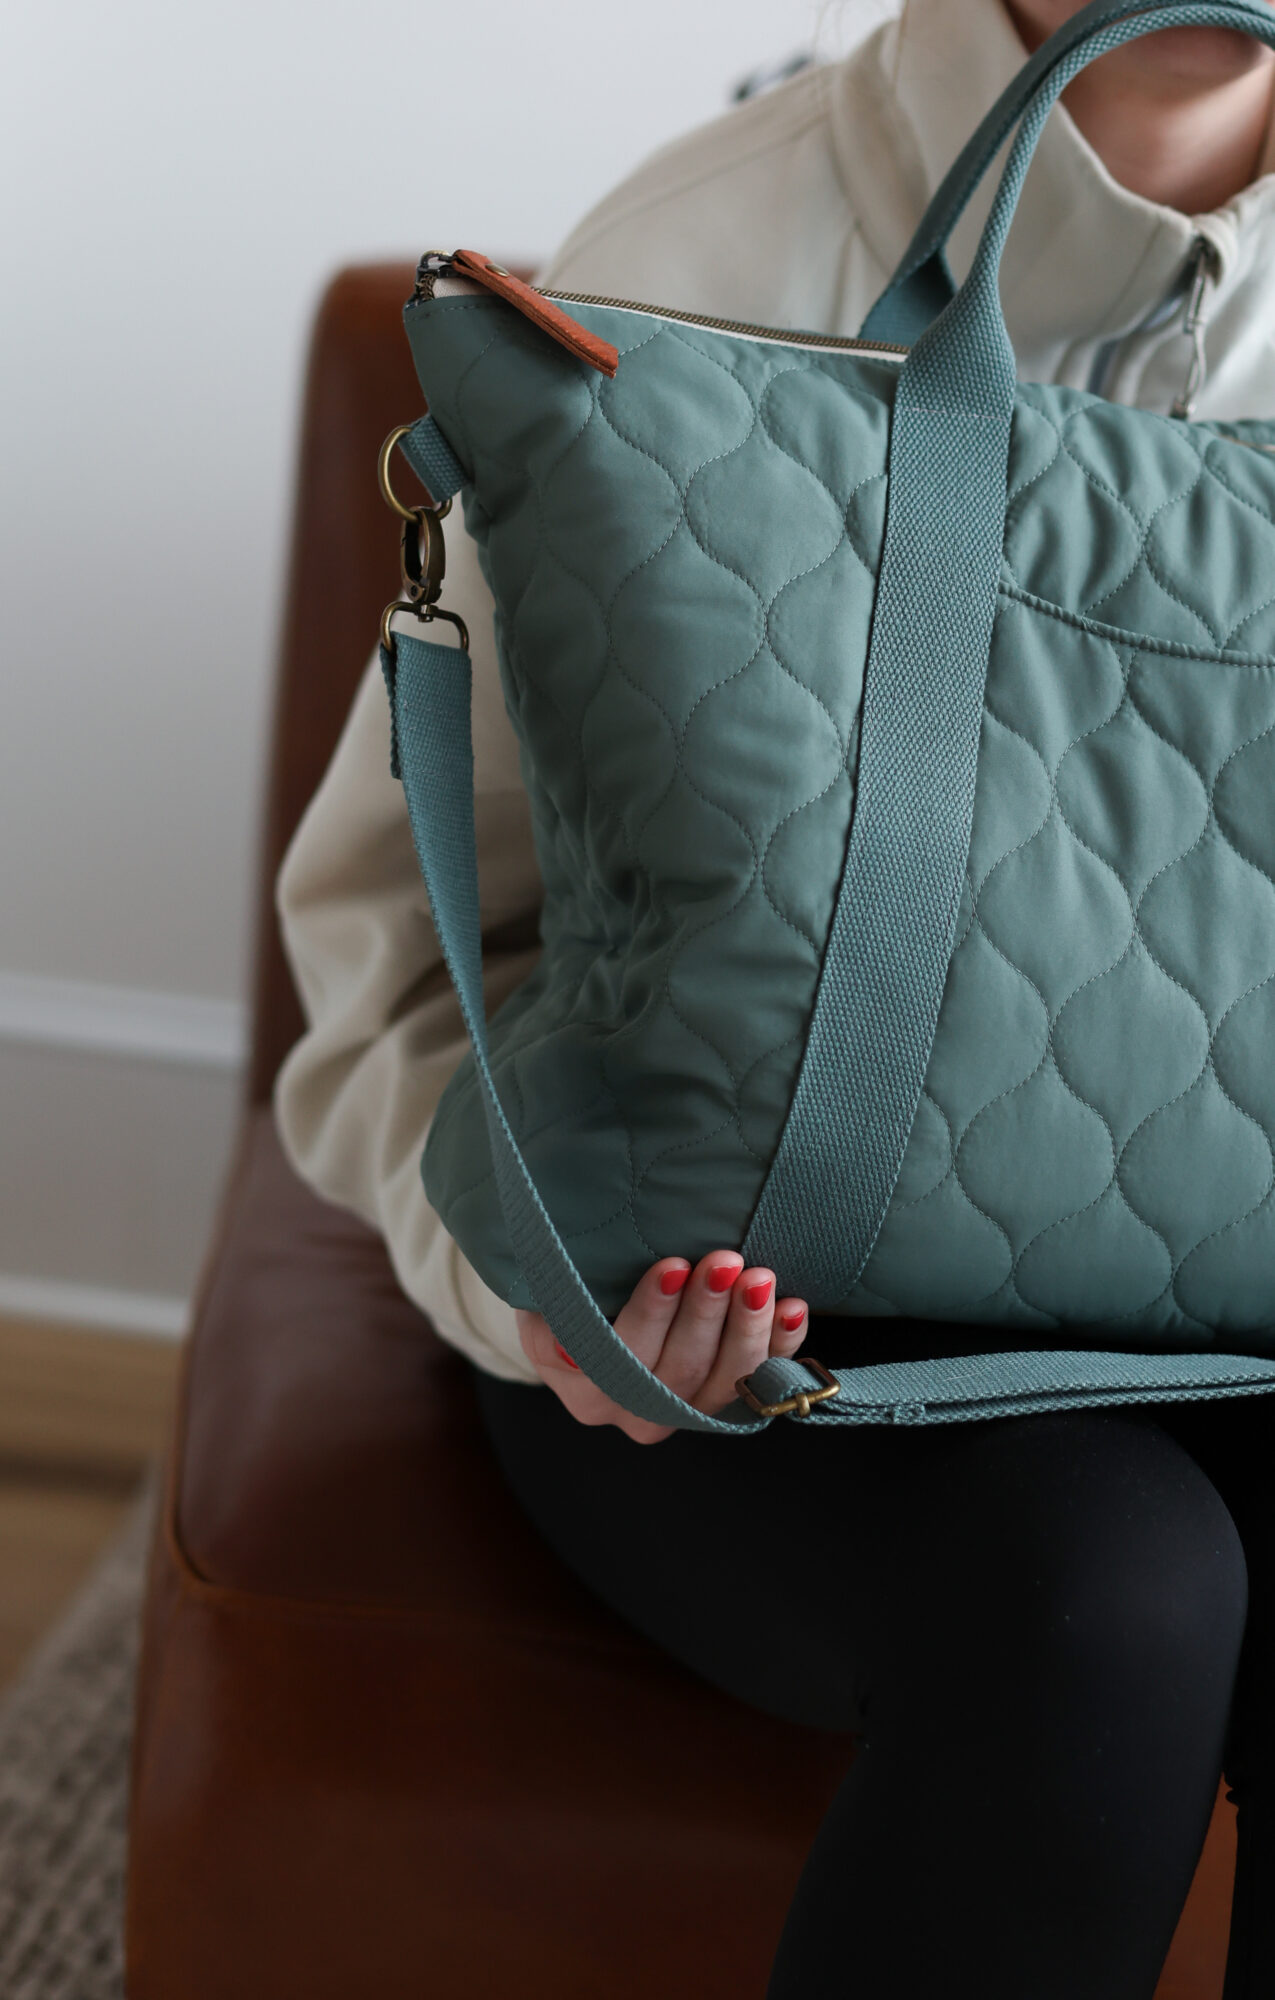
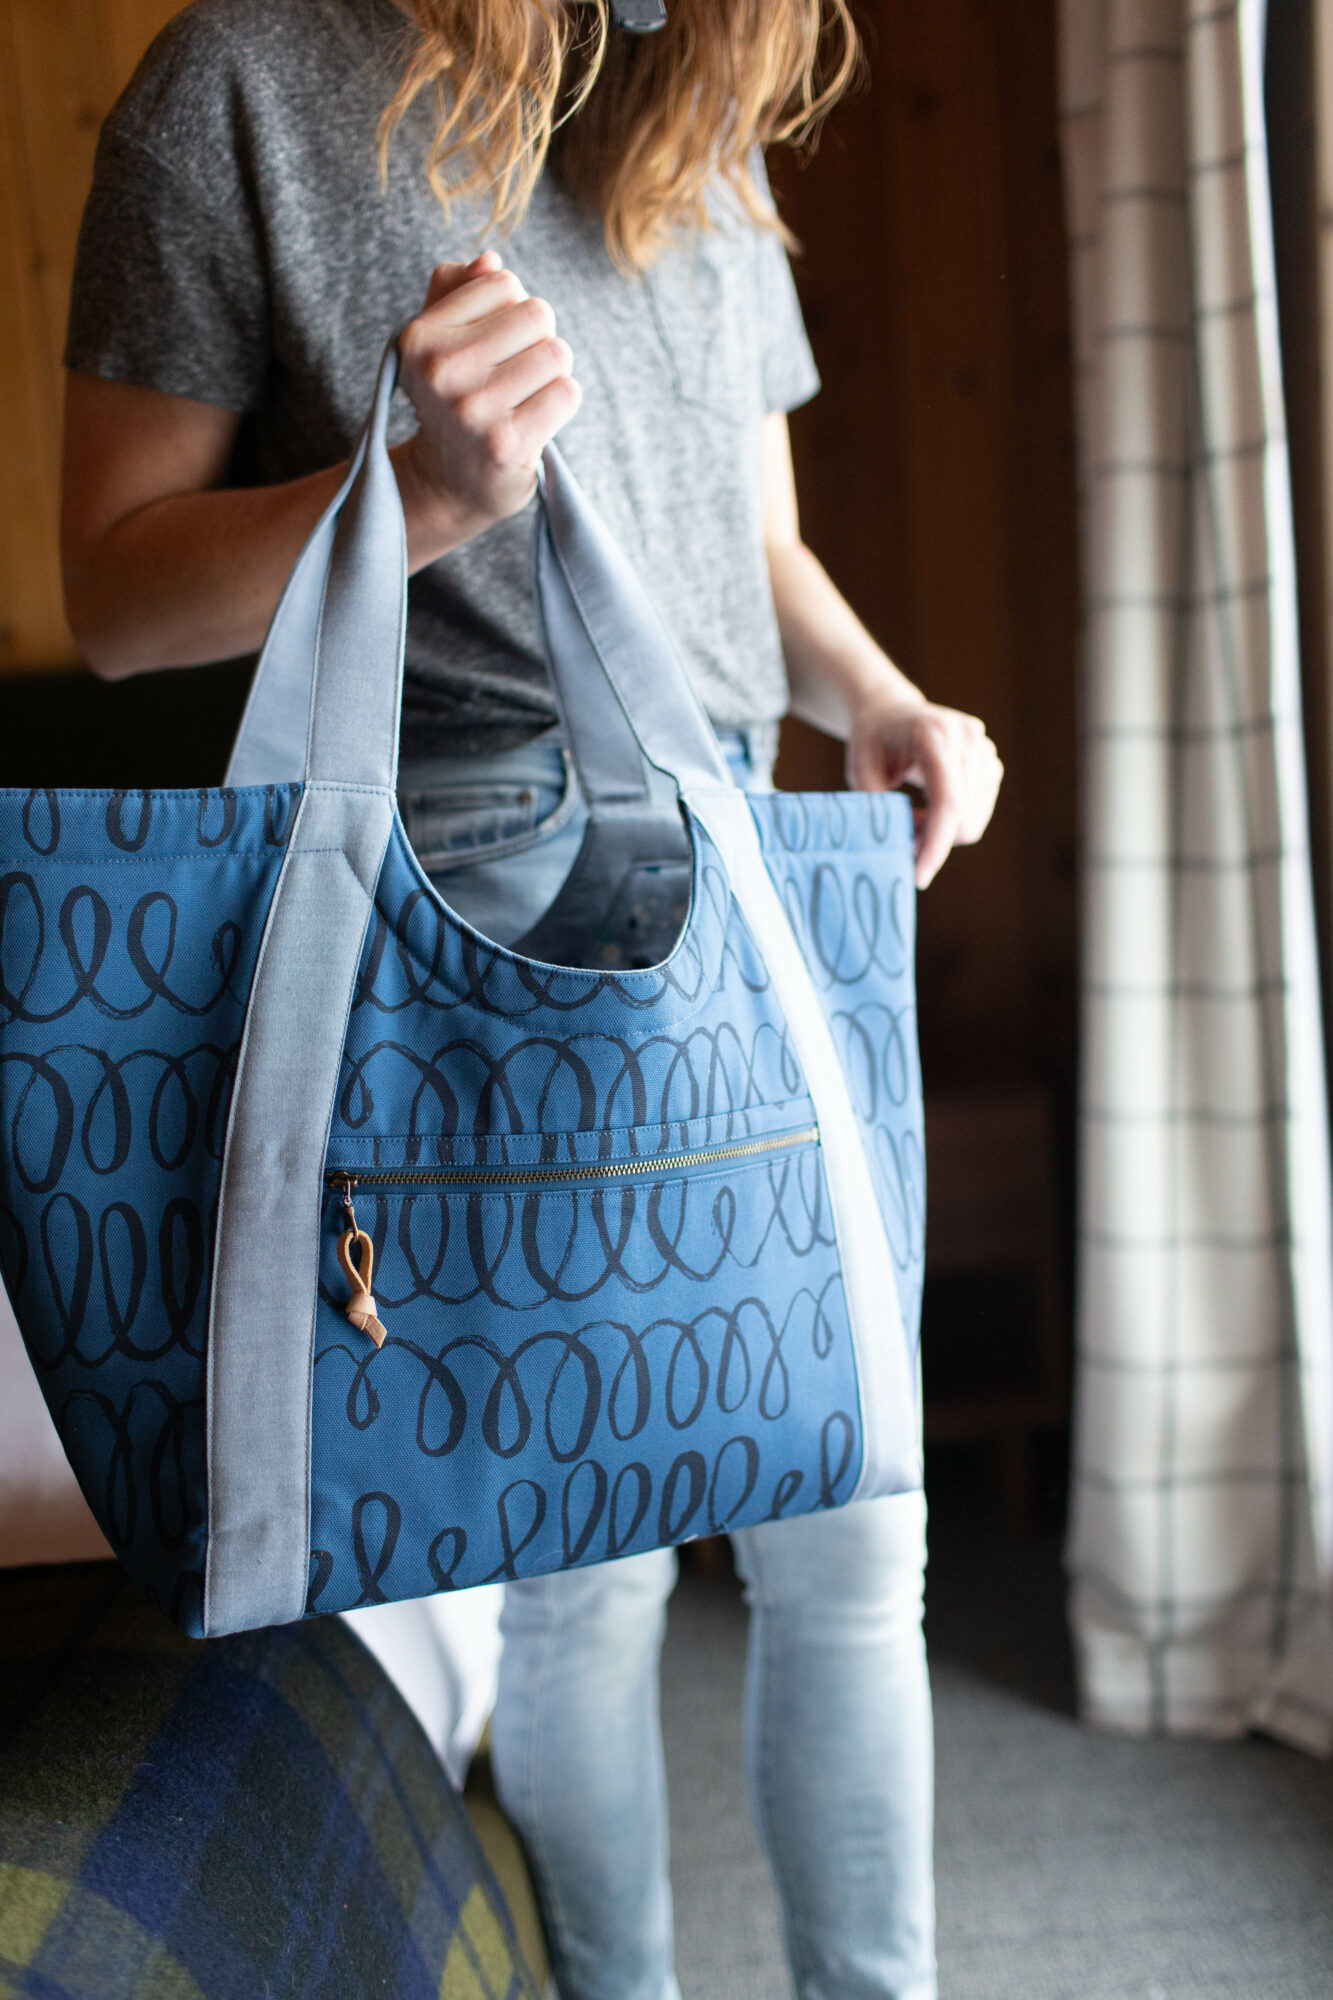
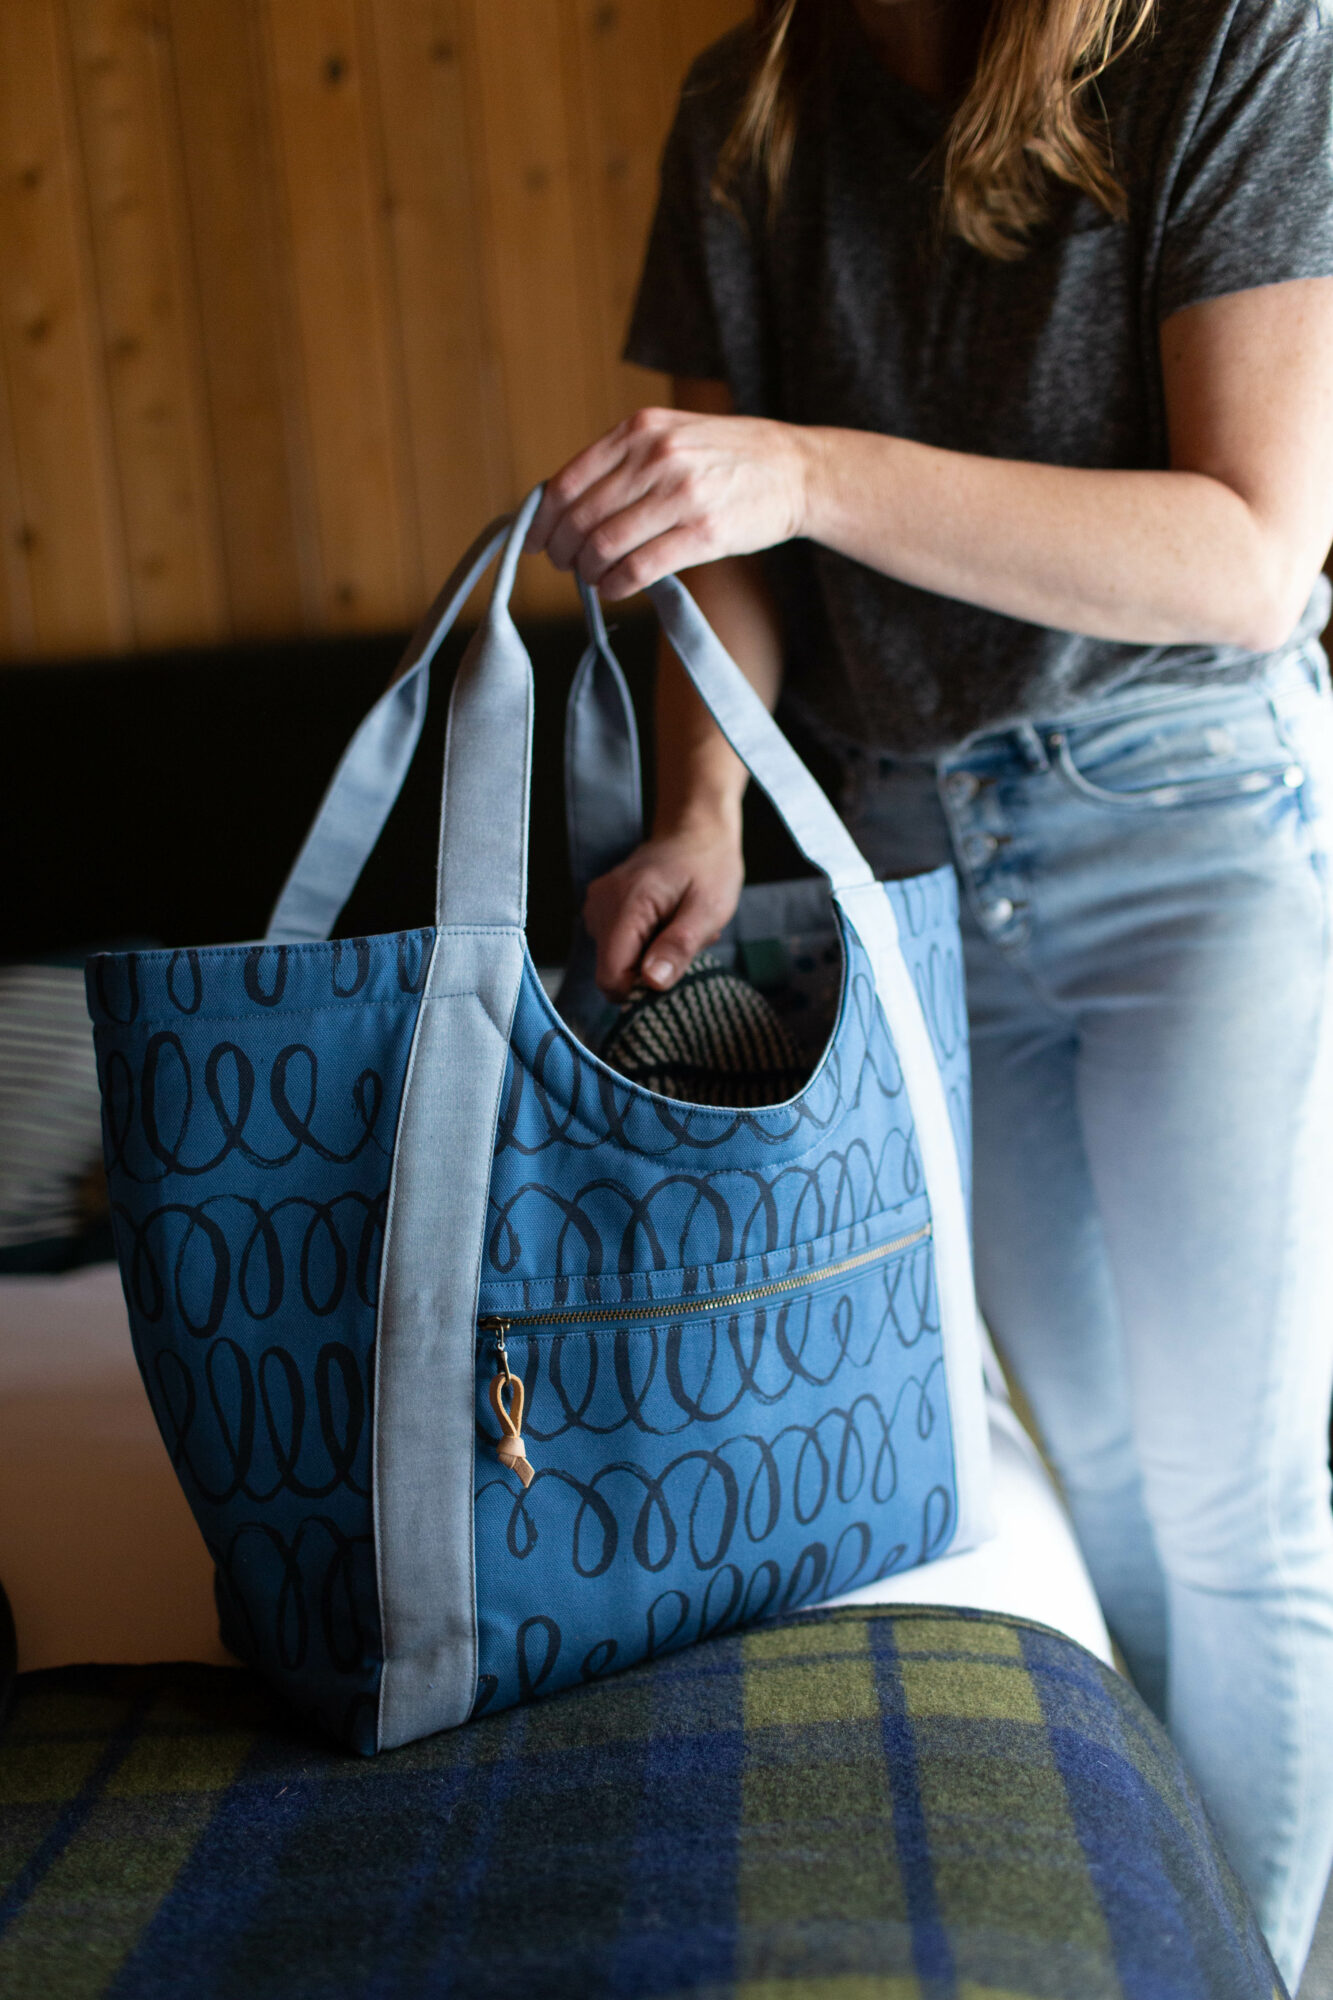
I know, it’s been slow going here on the blog. I’ve been busy not taking pictures of my final projects; even worse, I take them and then don’t even post them. I’m not sure why. I’ve been blogging since 2009 and I still really enjoy it. I guess it feels like it matters less with everything social media. So in steps this pre-quilted Oxbow Tote!
Fabric Buying Slump
I’ve also realized I haven’t been buying much fabric. Honestly, fabric inspires me to sew, so it makes sense that if I don’t have as much fabric, I sew less.
One of the reasons I like browsing fabric shops that carry more than quilting cotton is that it feels more inspiring. I know there are many fabric shops (online and brick & mortar) that carry all types of fabrics! But the ones that have lots of different garment fabrics are especially inspiring to me. I think it’s a different perspective than the quilting focus that attracts me. And I like thinking about how I can incorporate them into bag making.

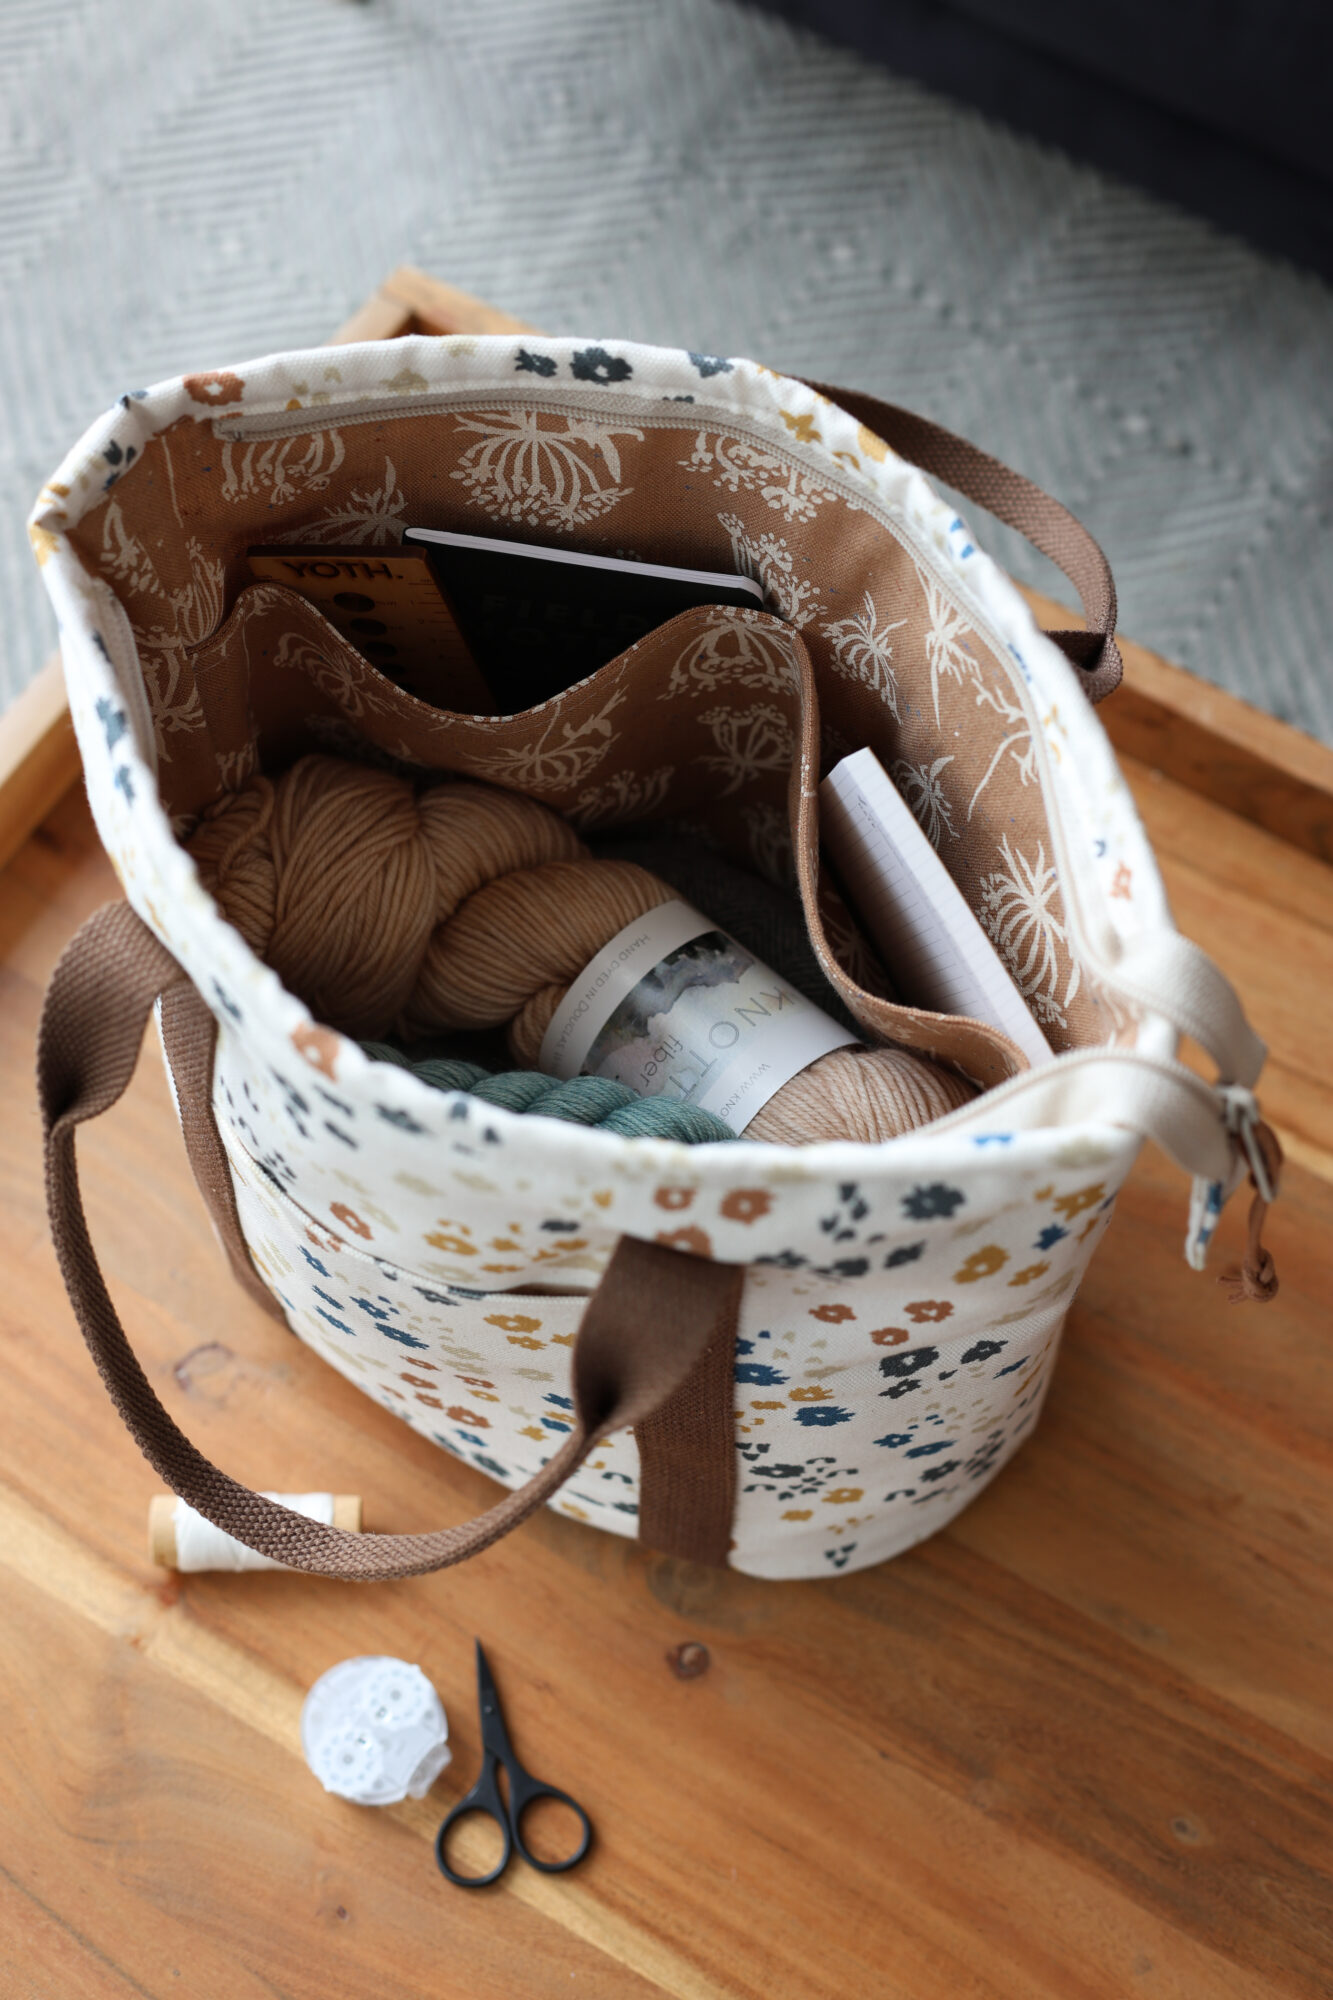
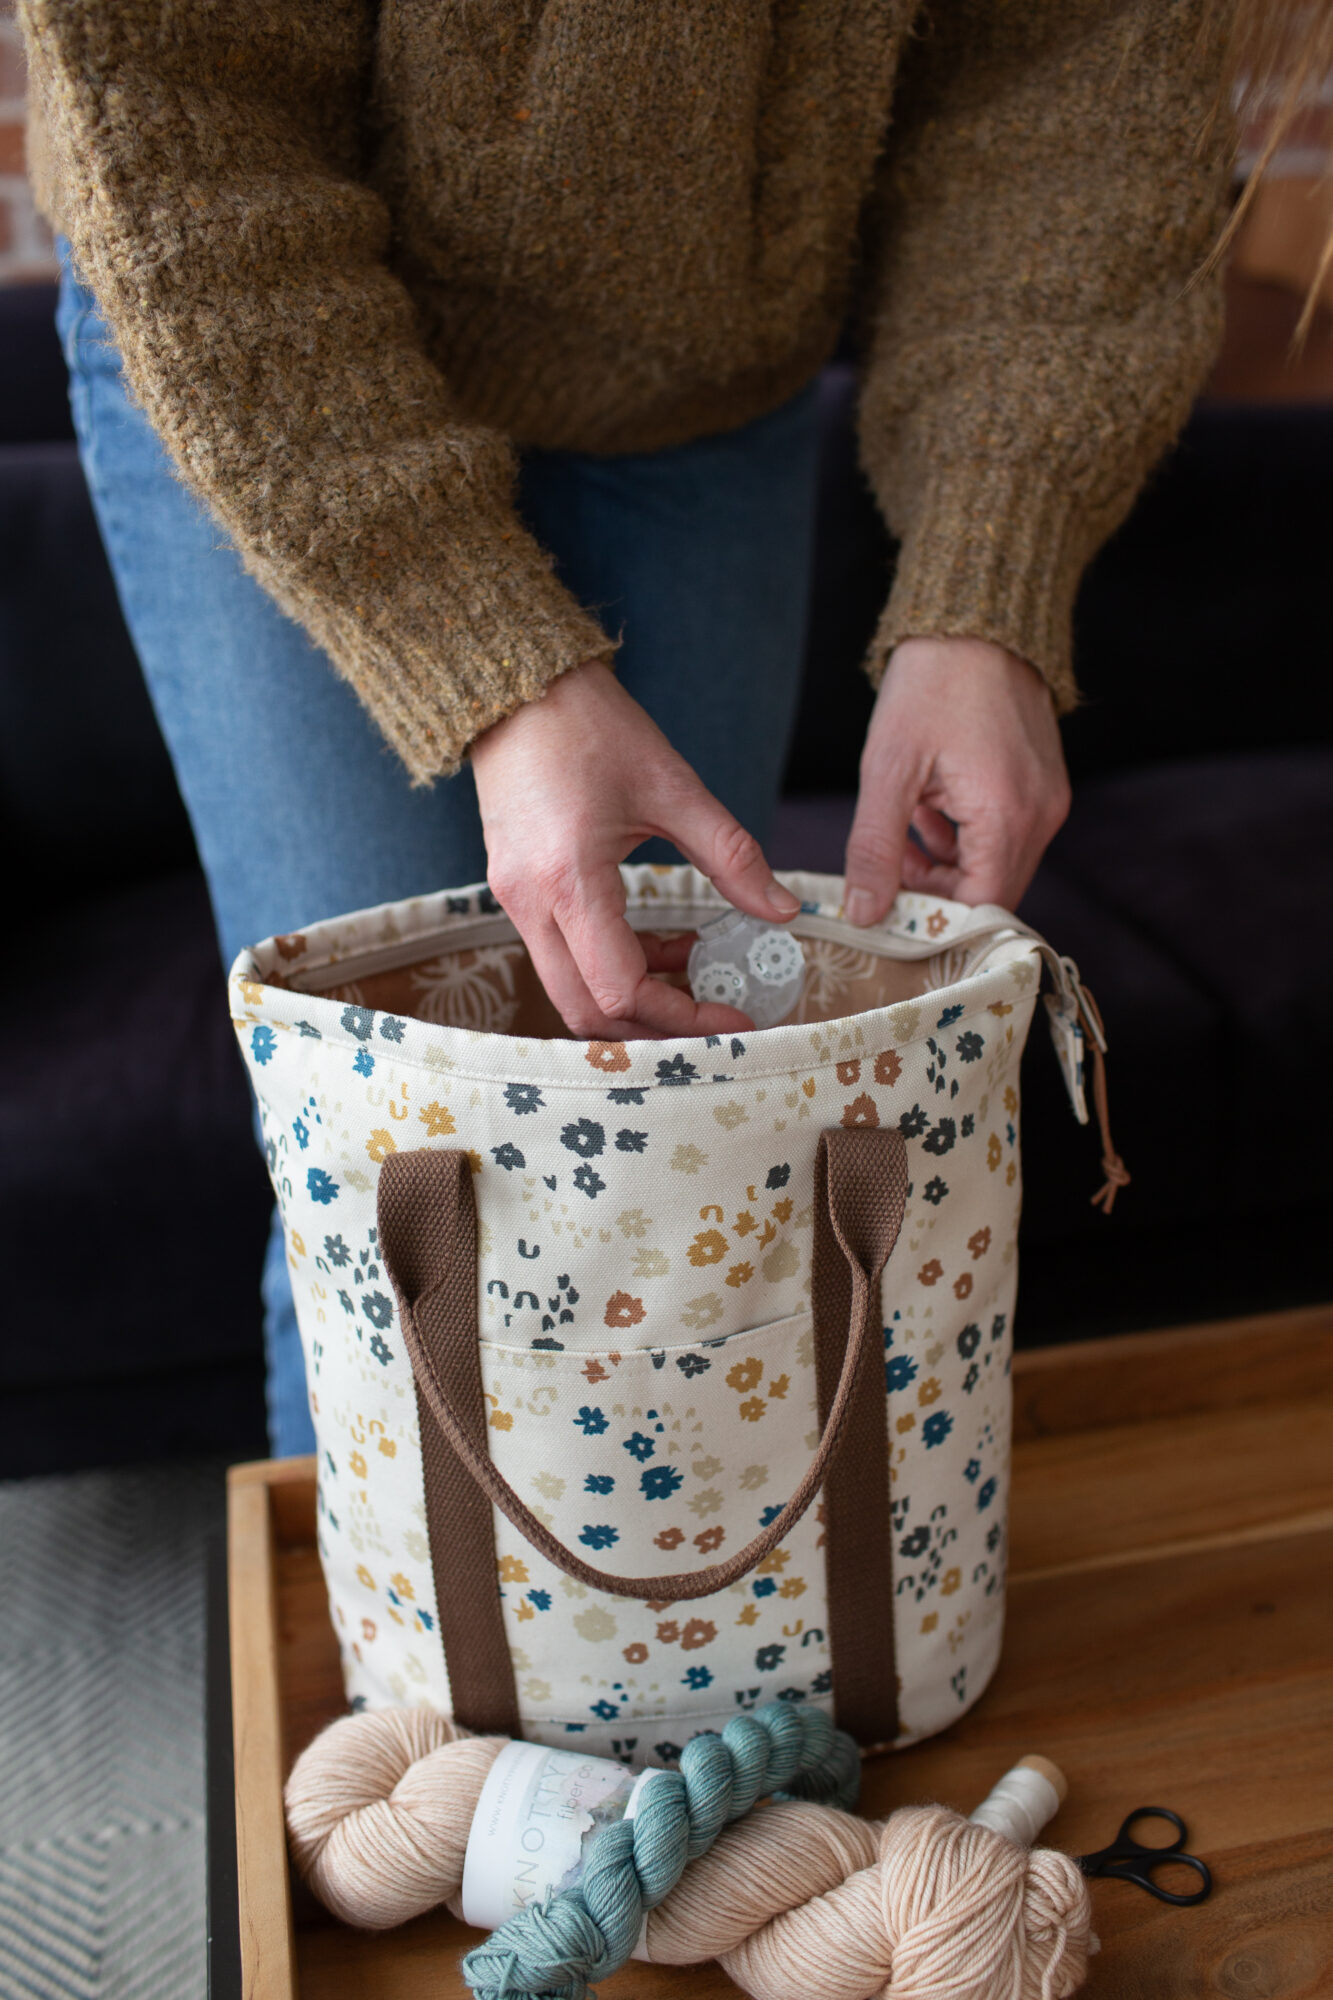
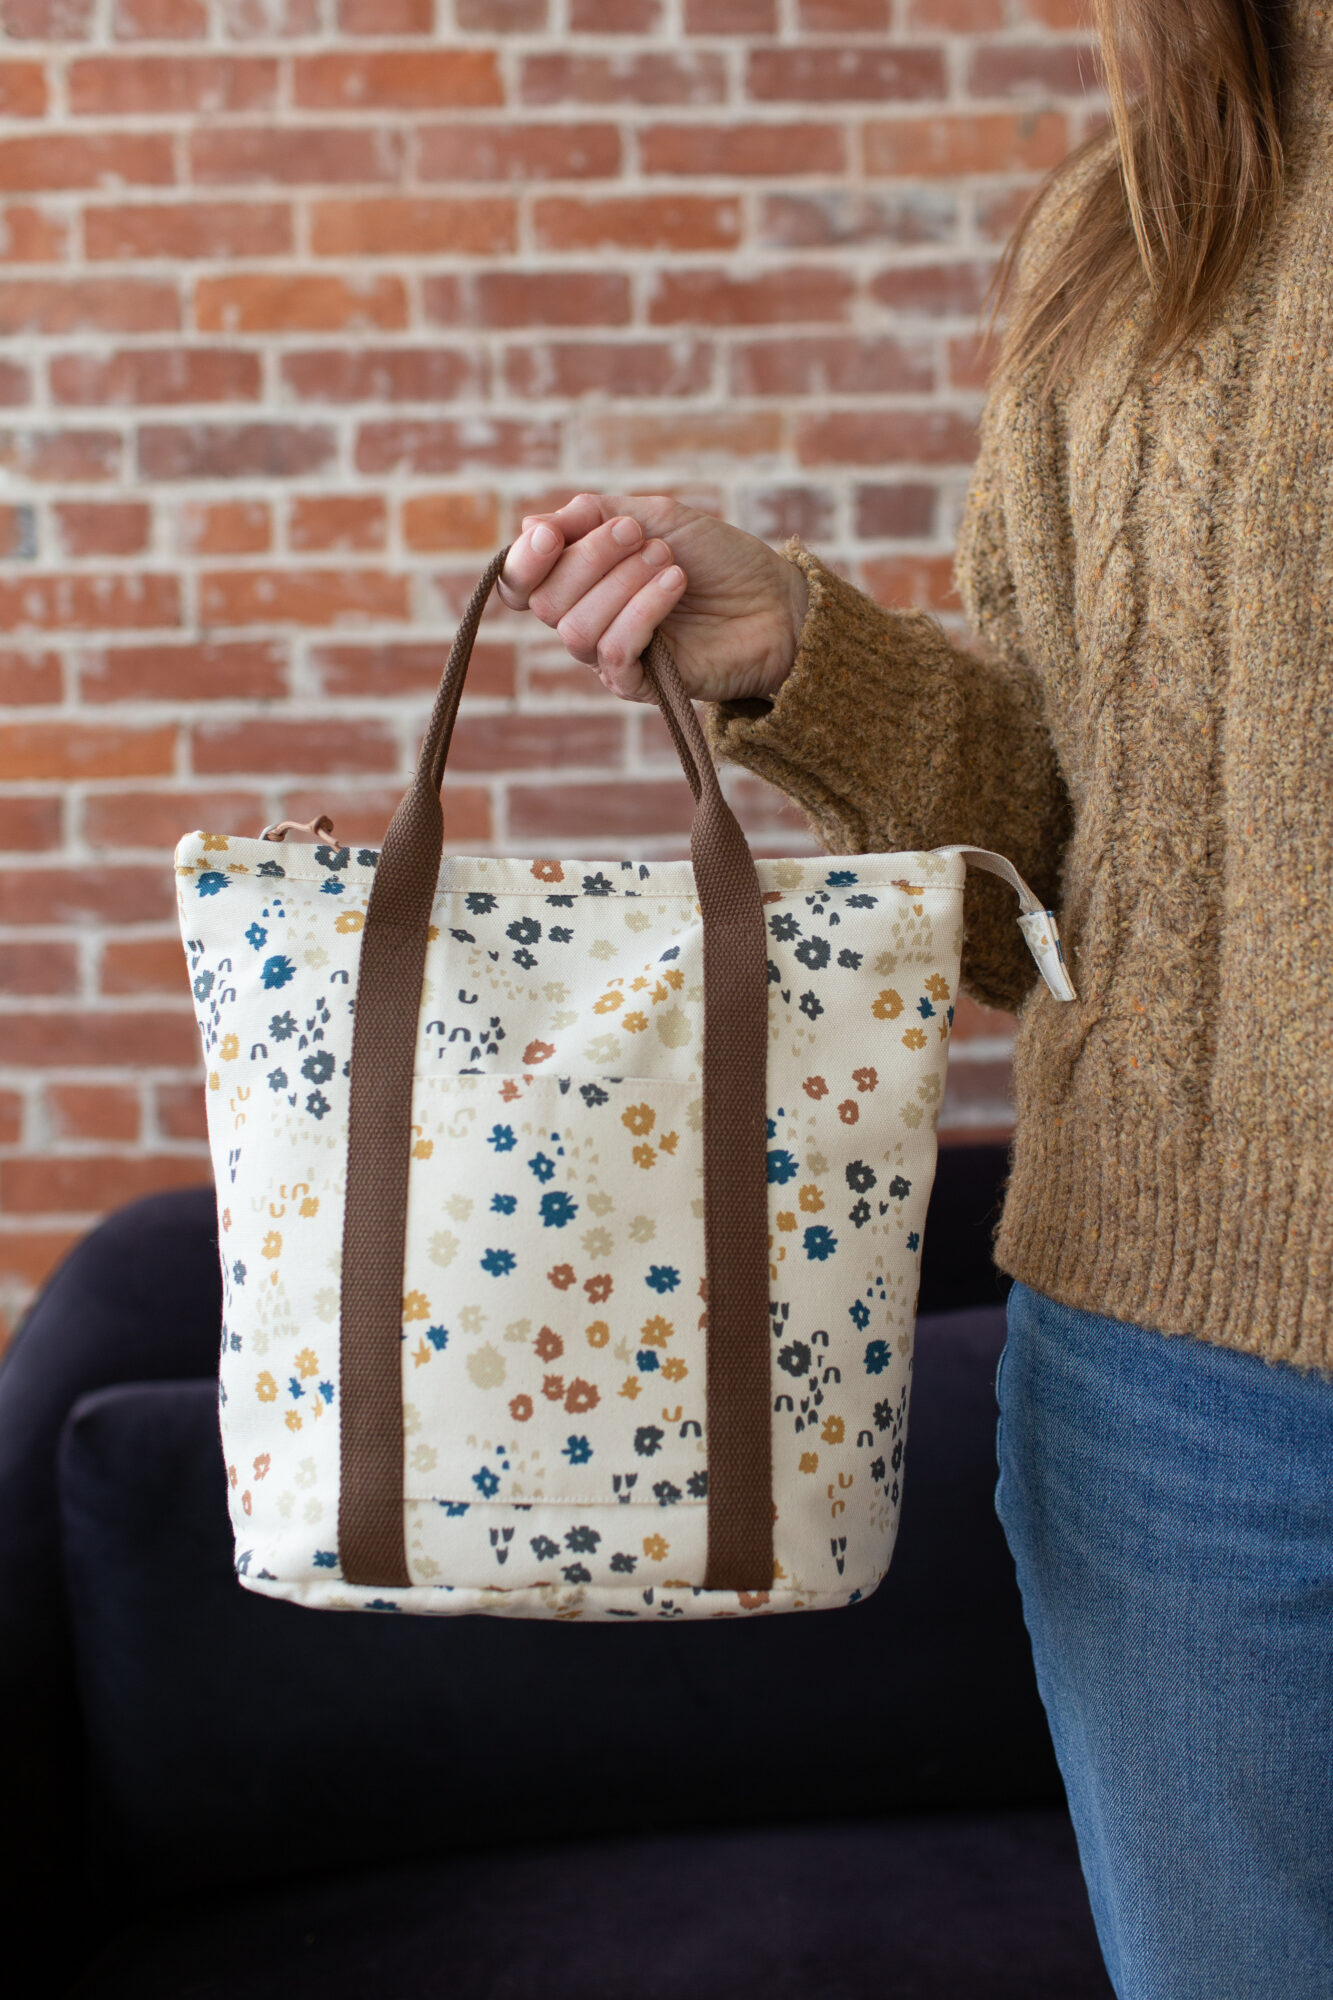
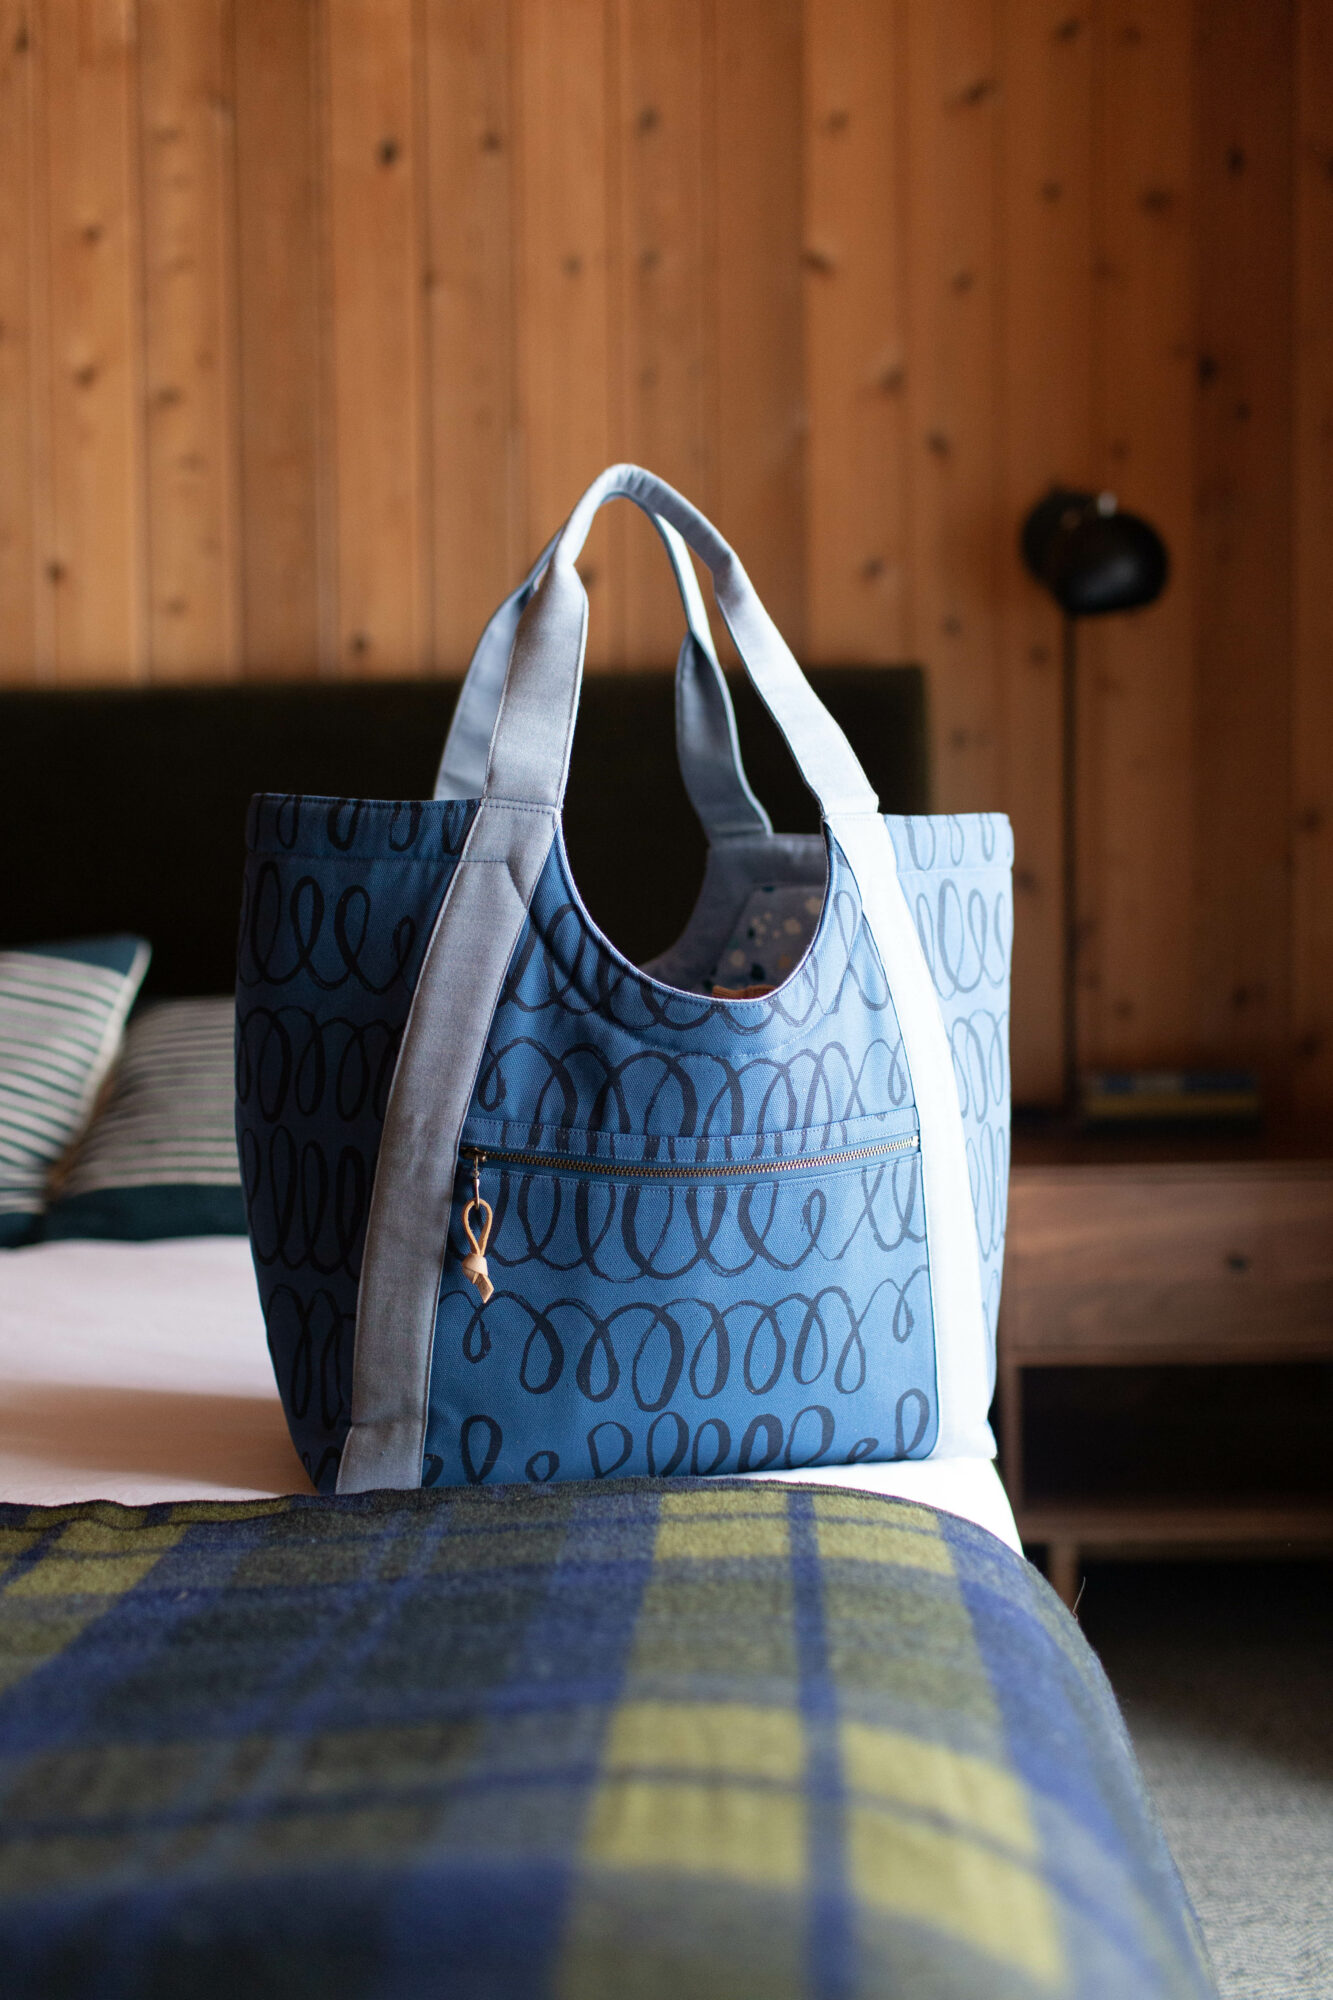
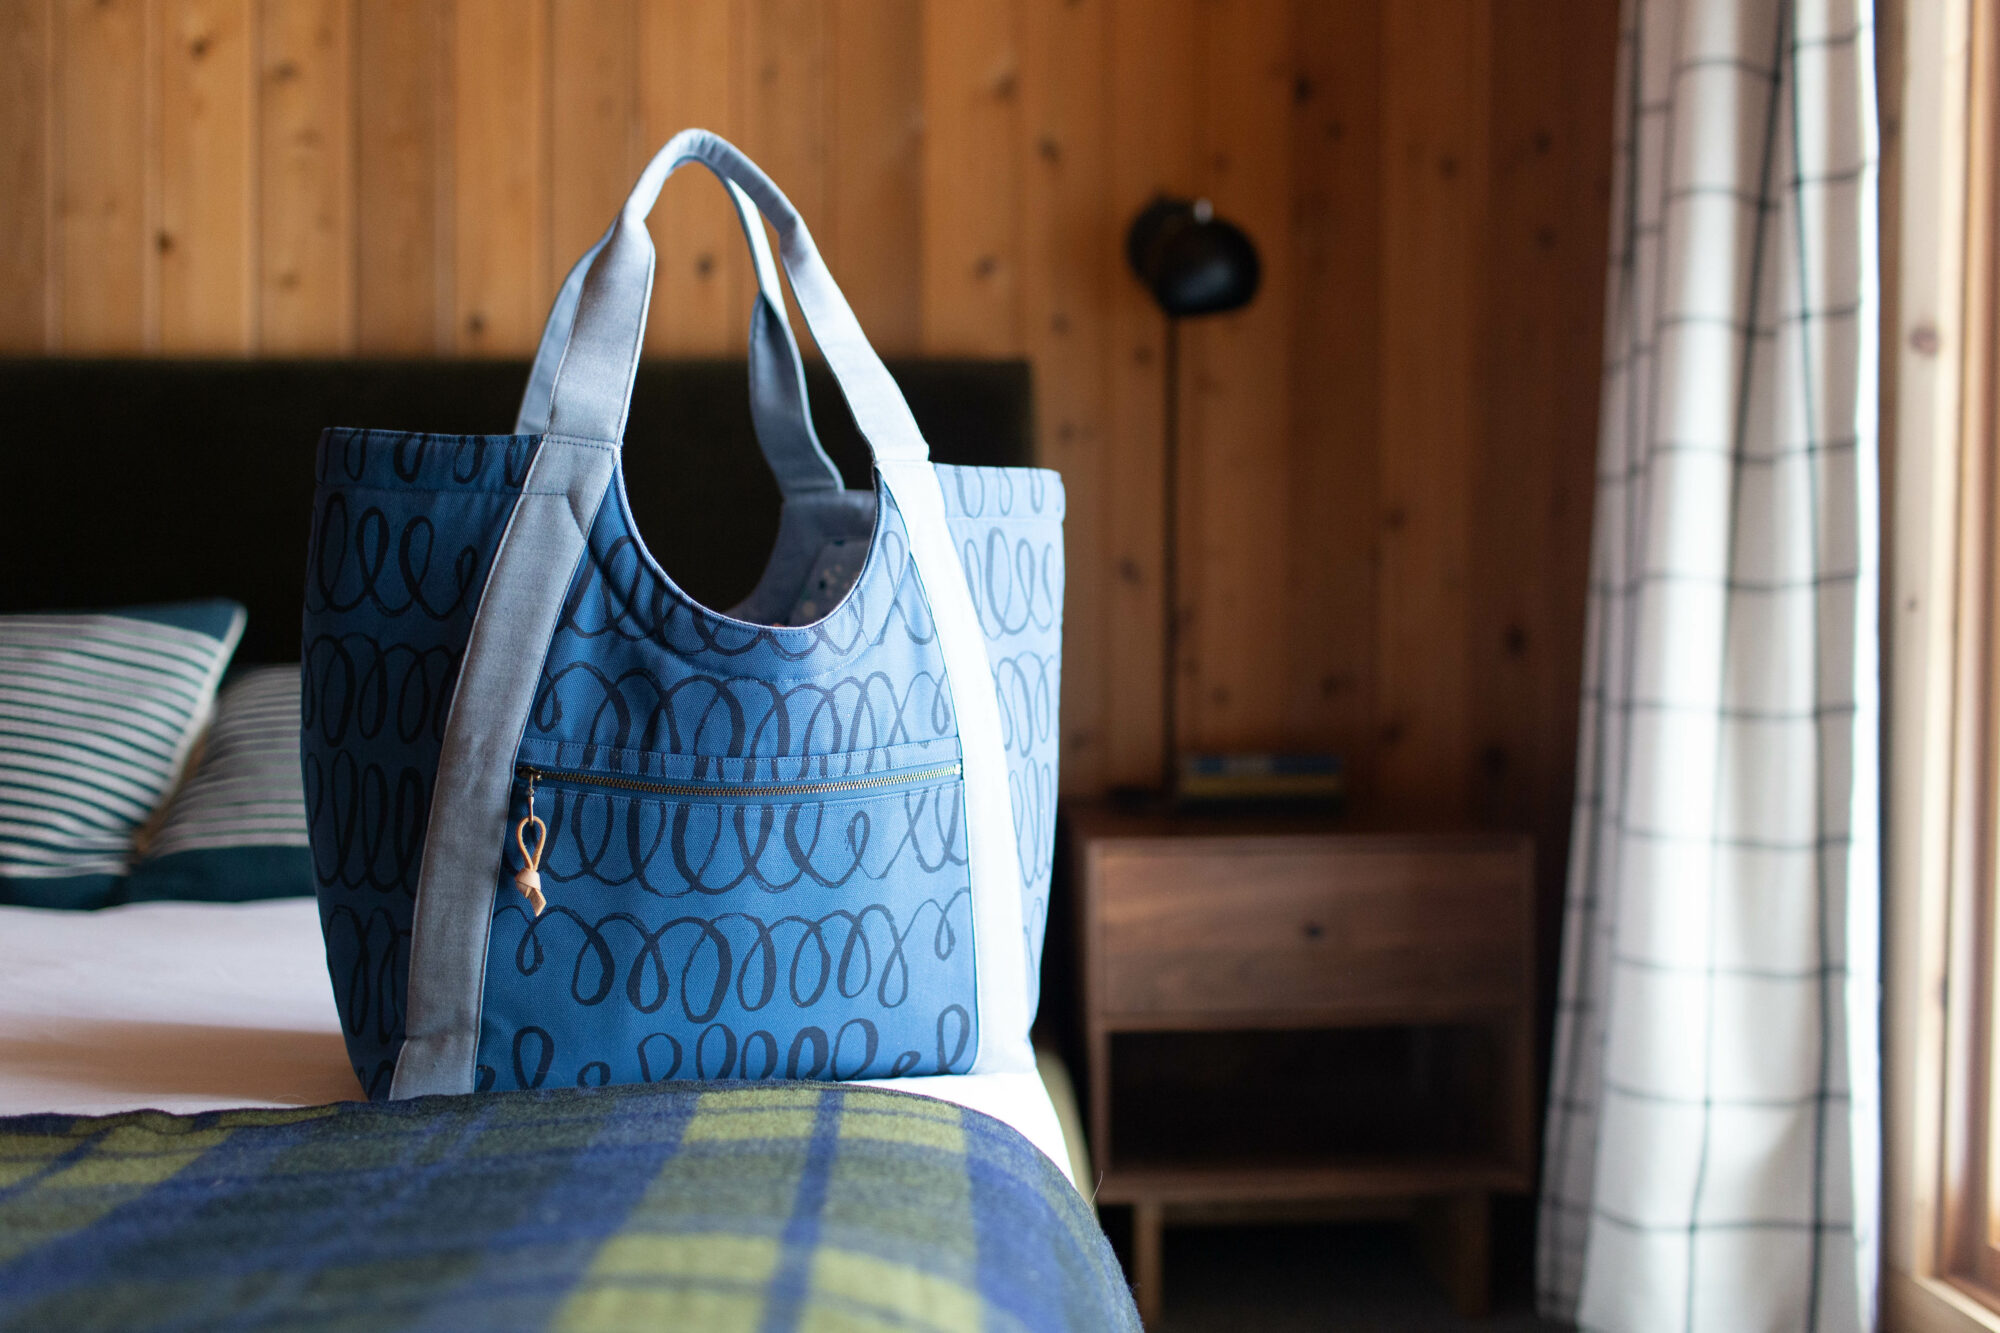
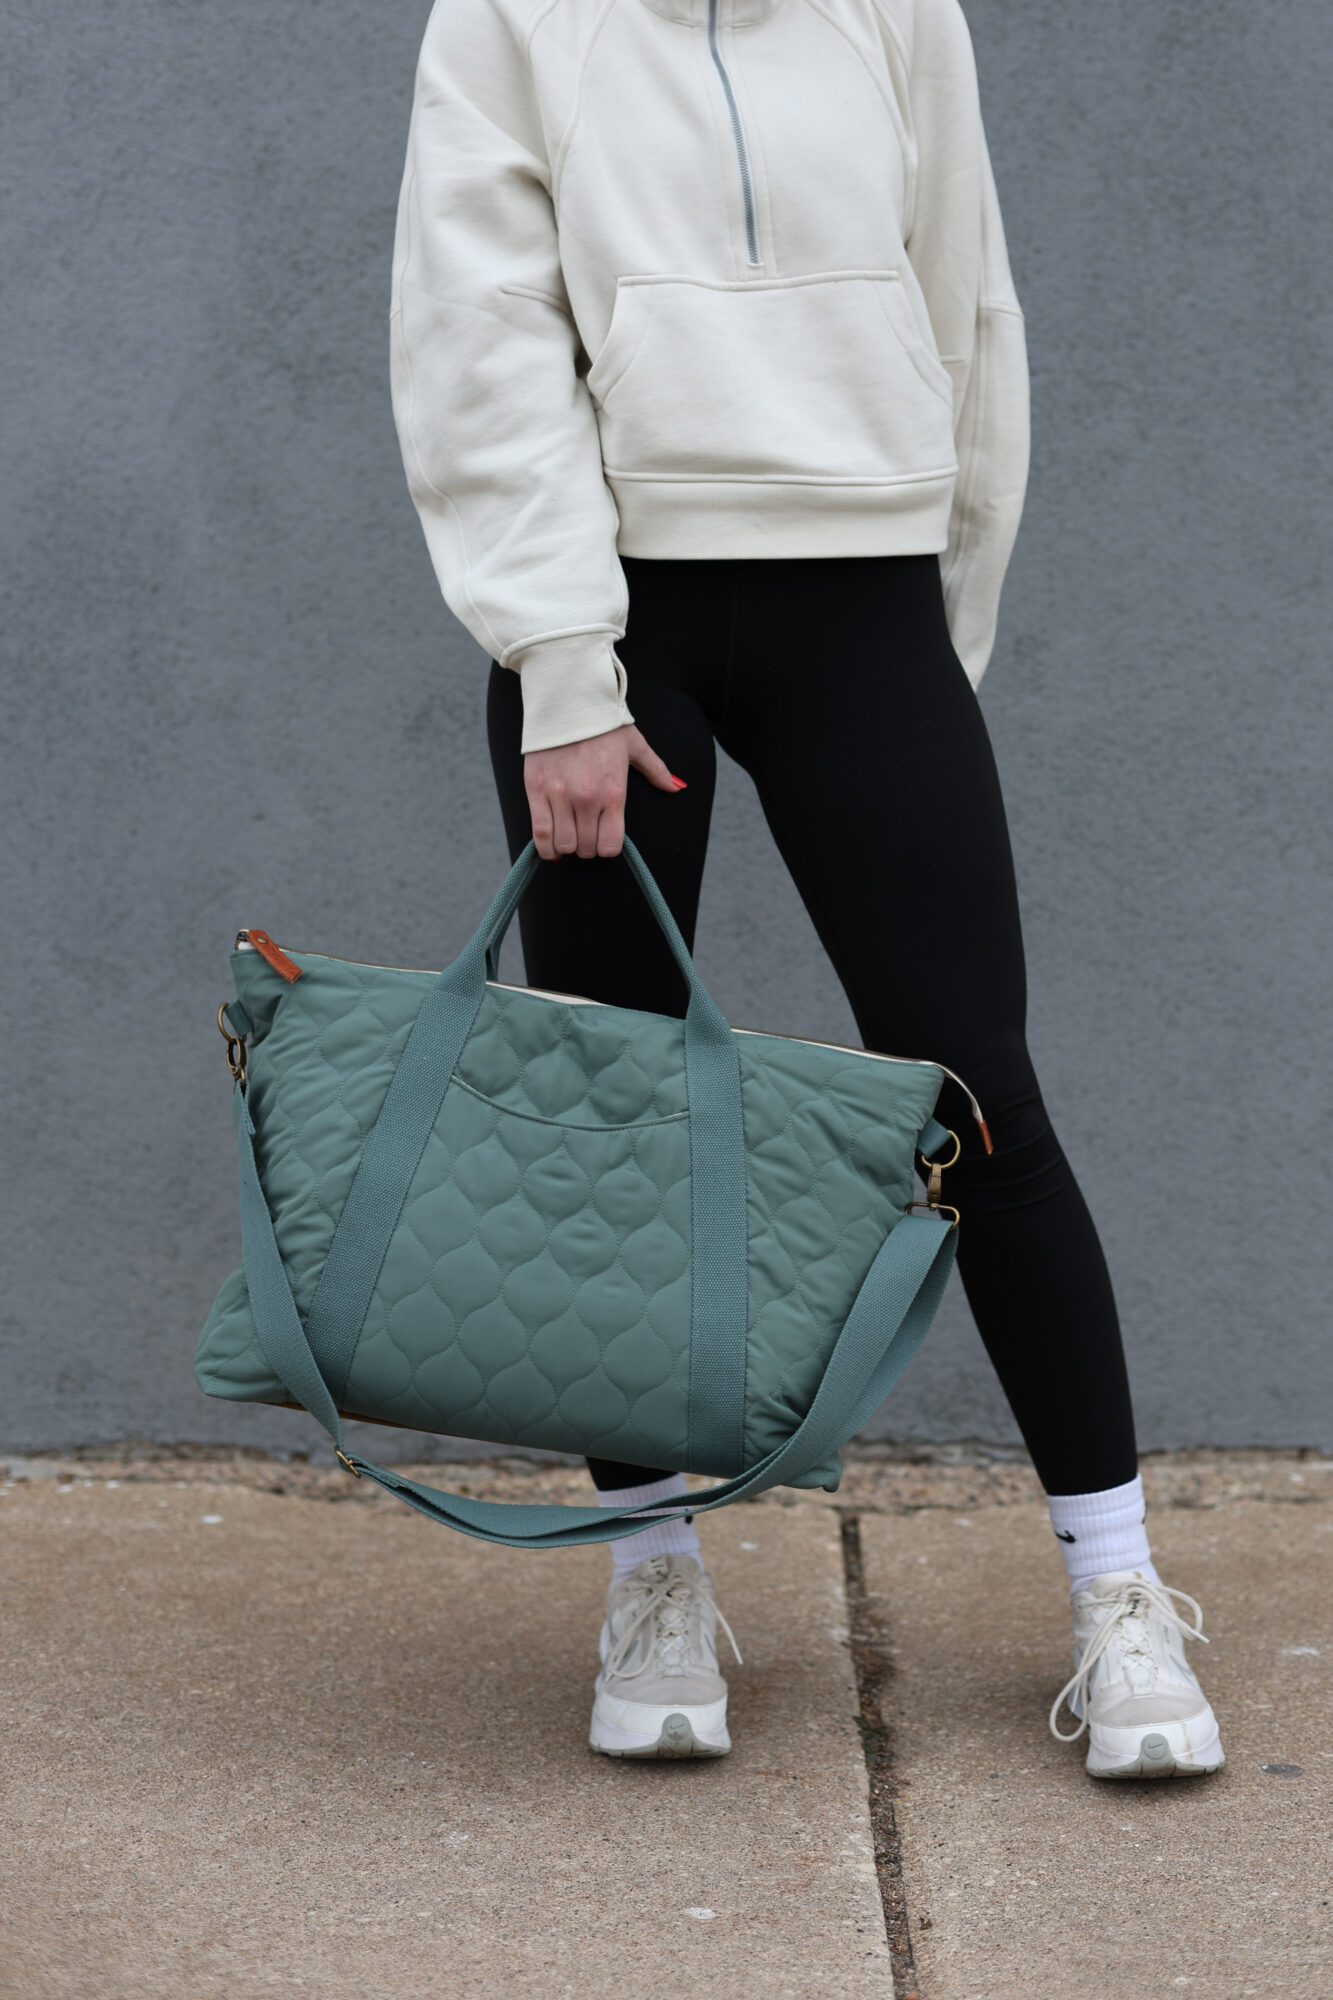
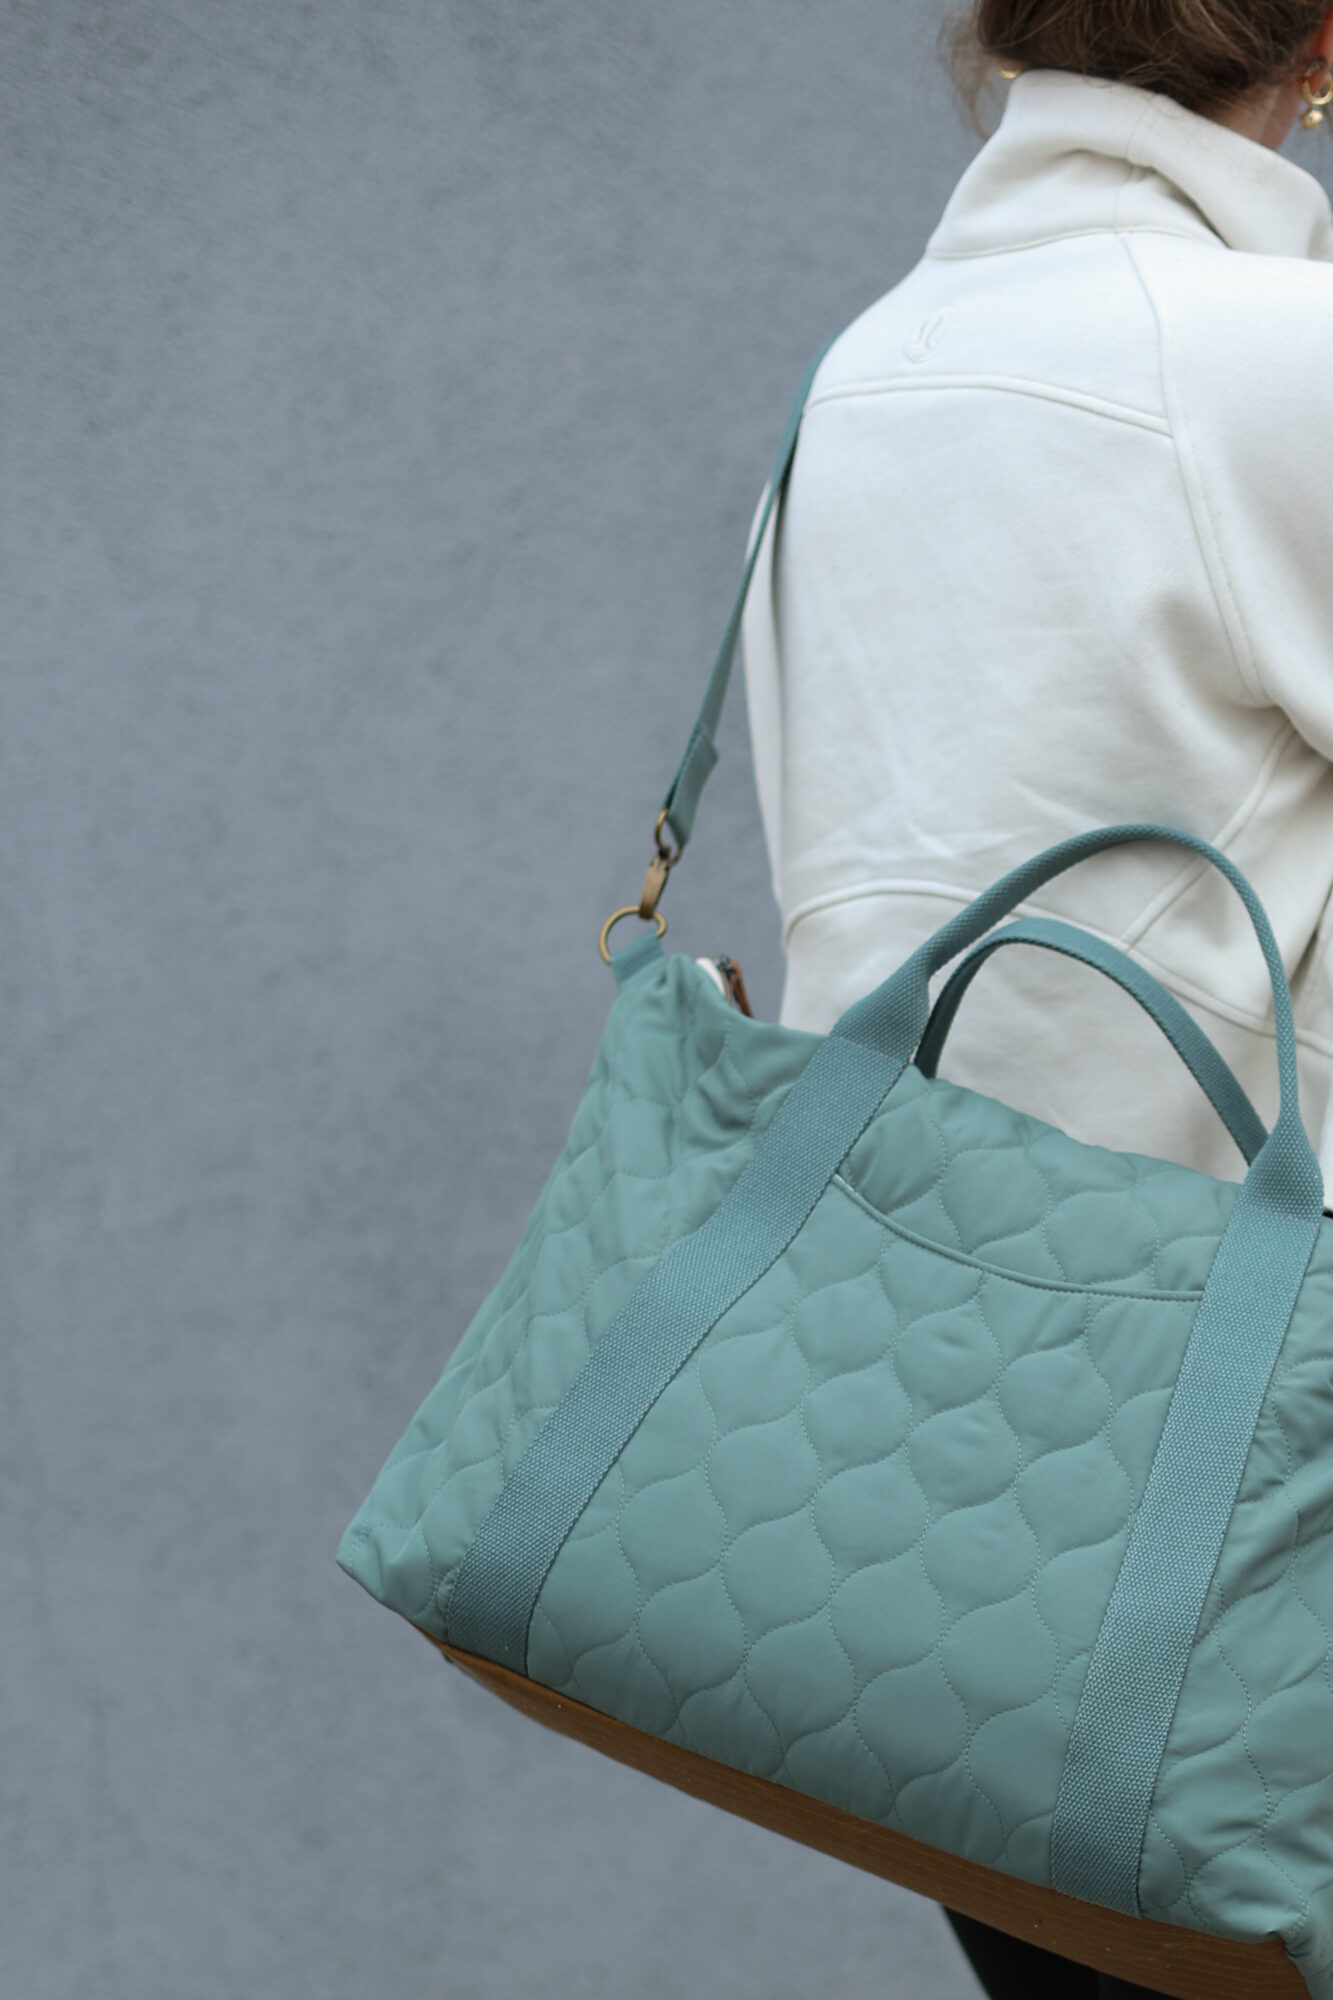
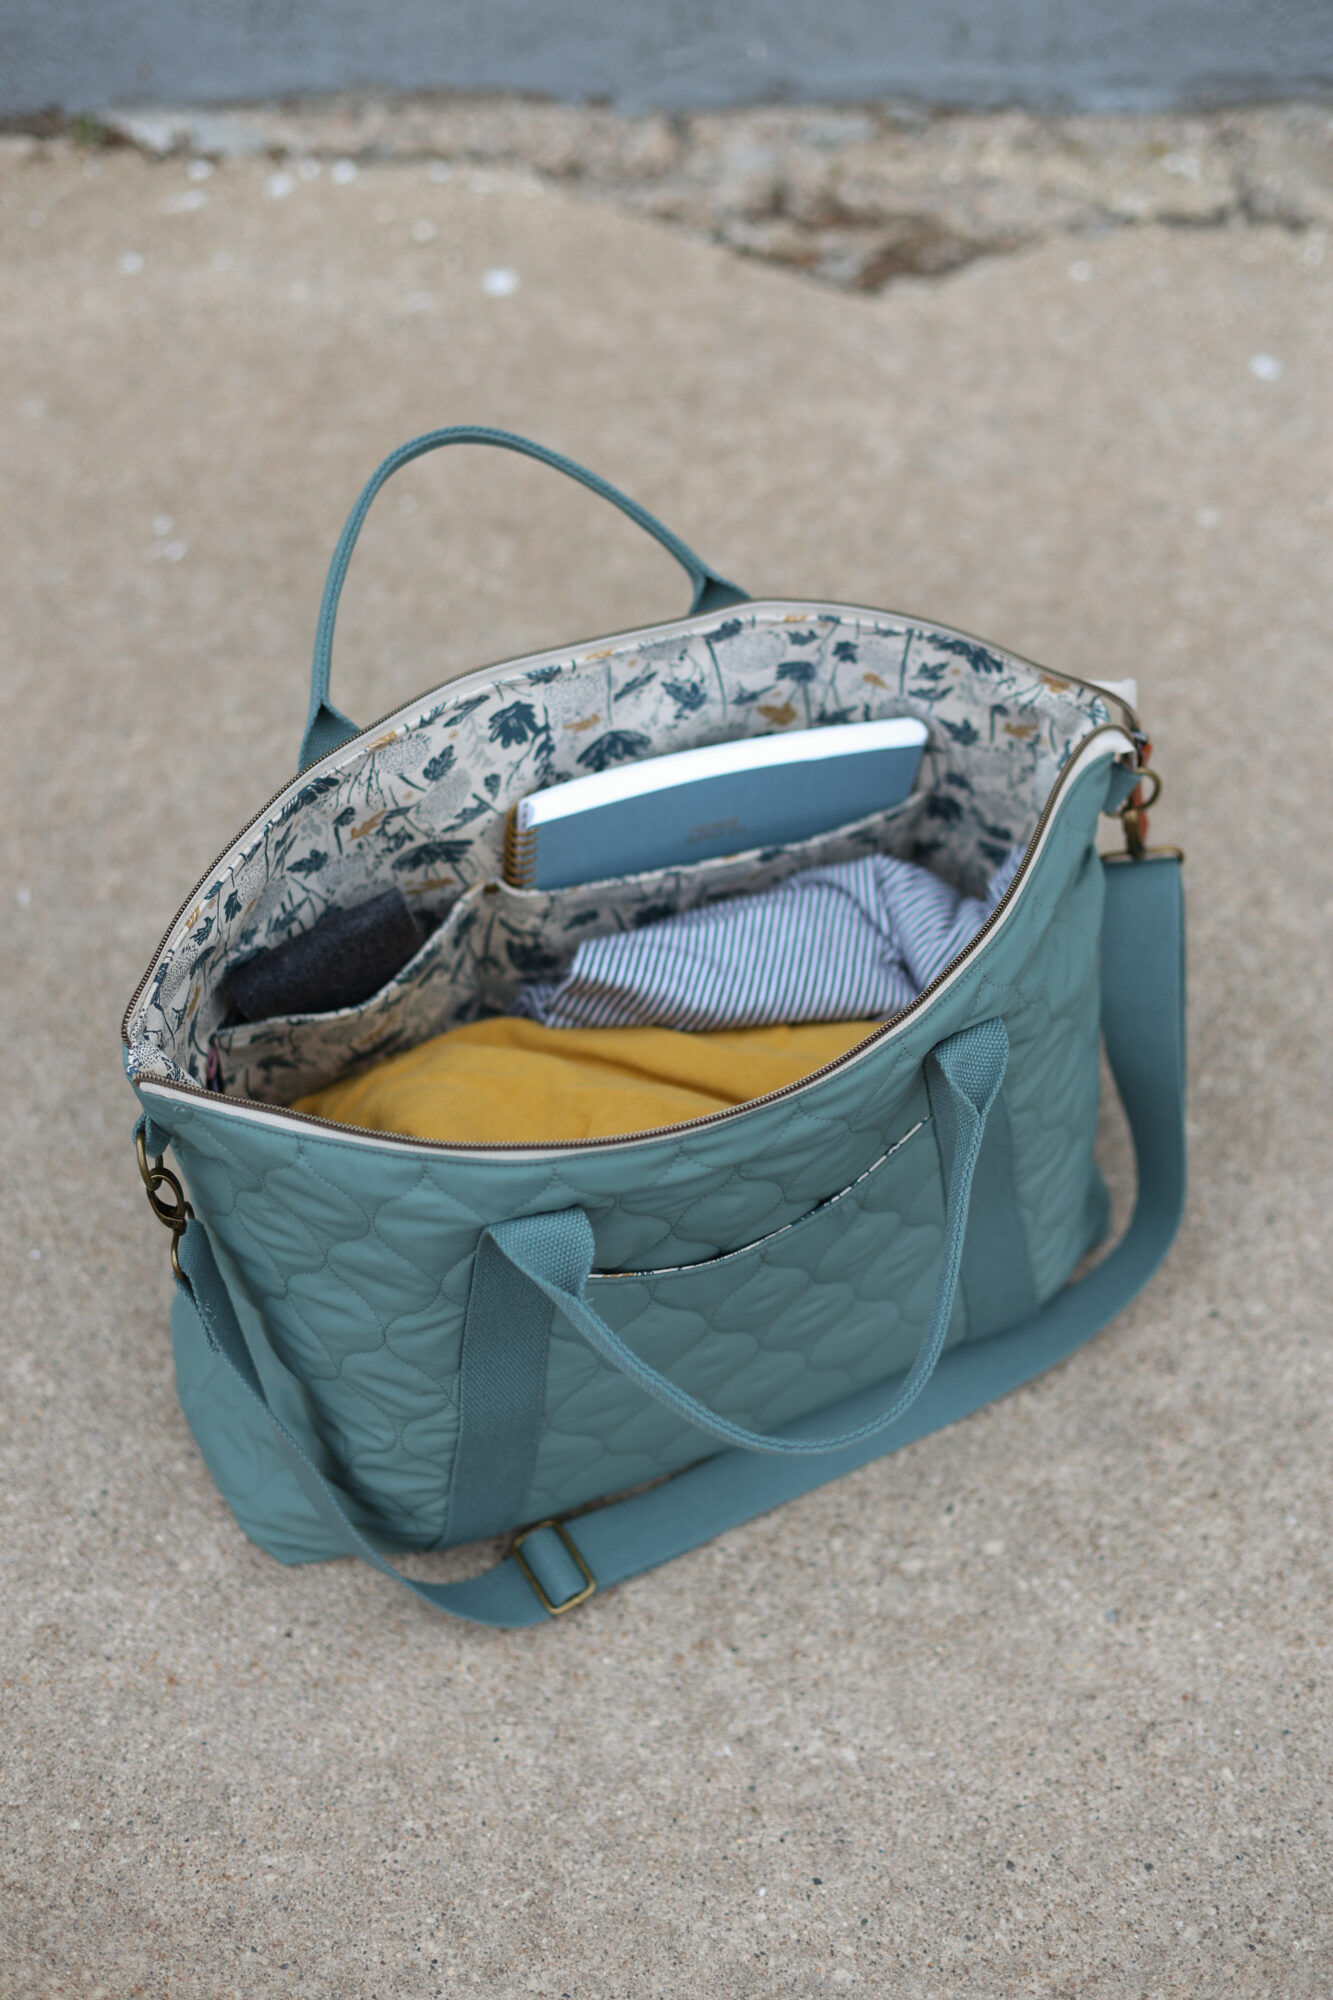
So when I was sewing up samples for the Oxbow Tote I spotted this pre-quilted fabric over at StyleMaker Fabrics and promptly scooped some up! I love looking through their shop when I want to feel inspired! I had it on my cutting table and my youngest daughter liked it, so of course I made it for her! The Sea colored webbing in my shop happens to be a really great match to this fabric, and I found a great canvas print to use for the lining. I love it when projects come together like that!
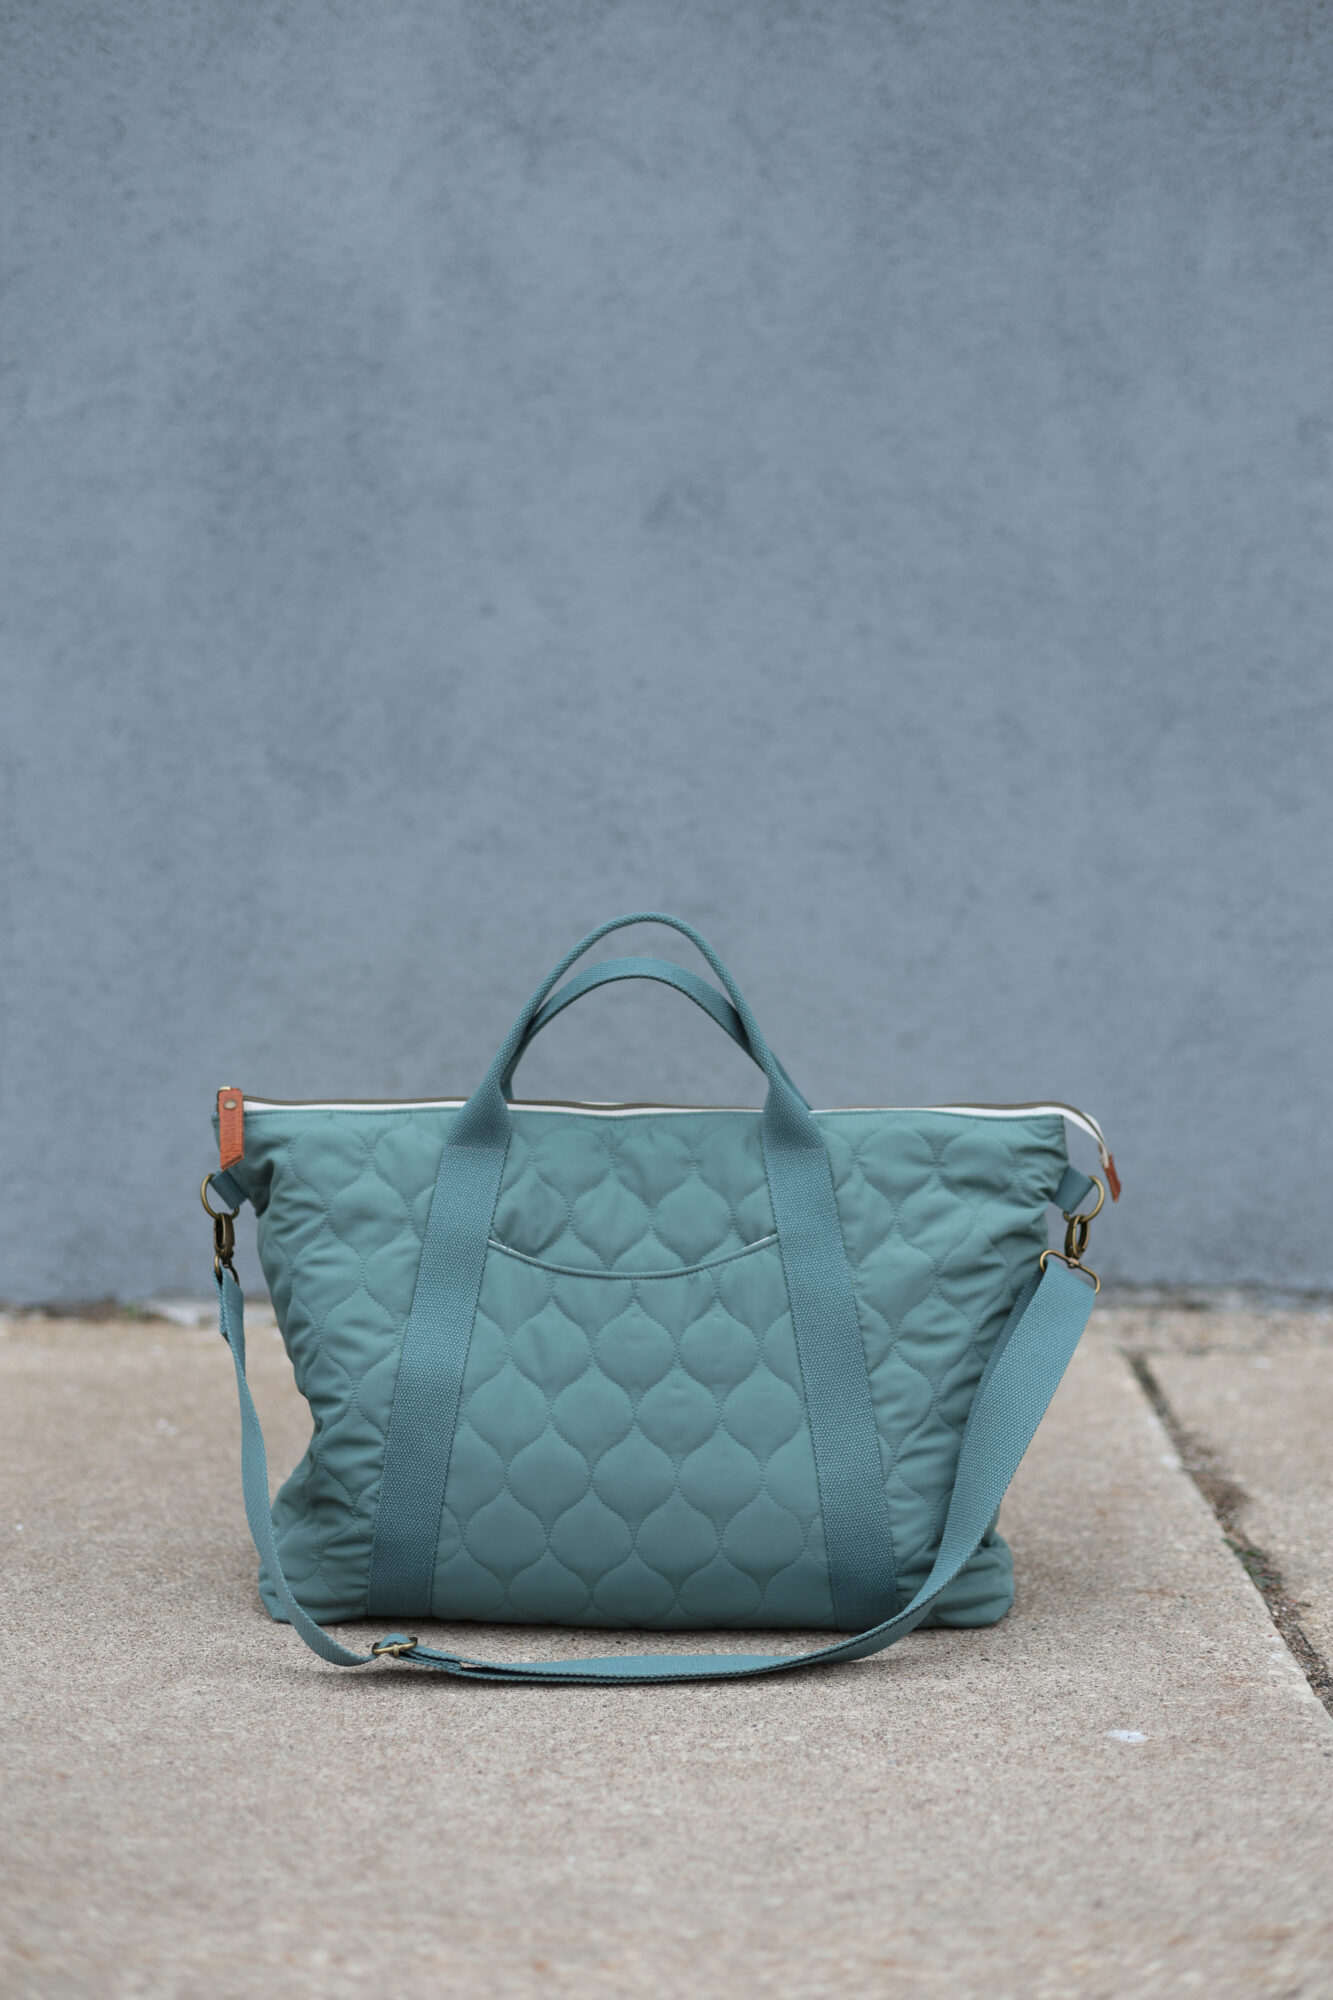
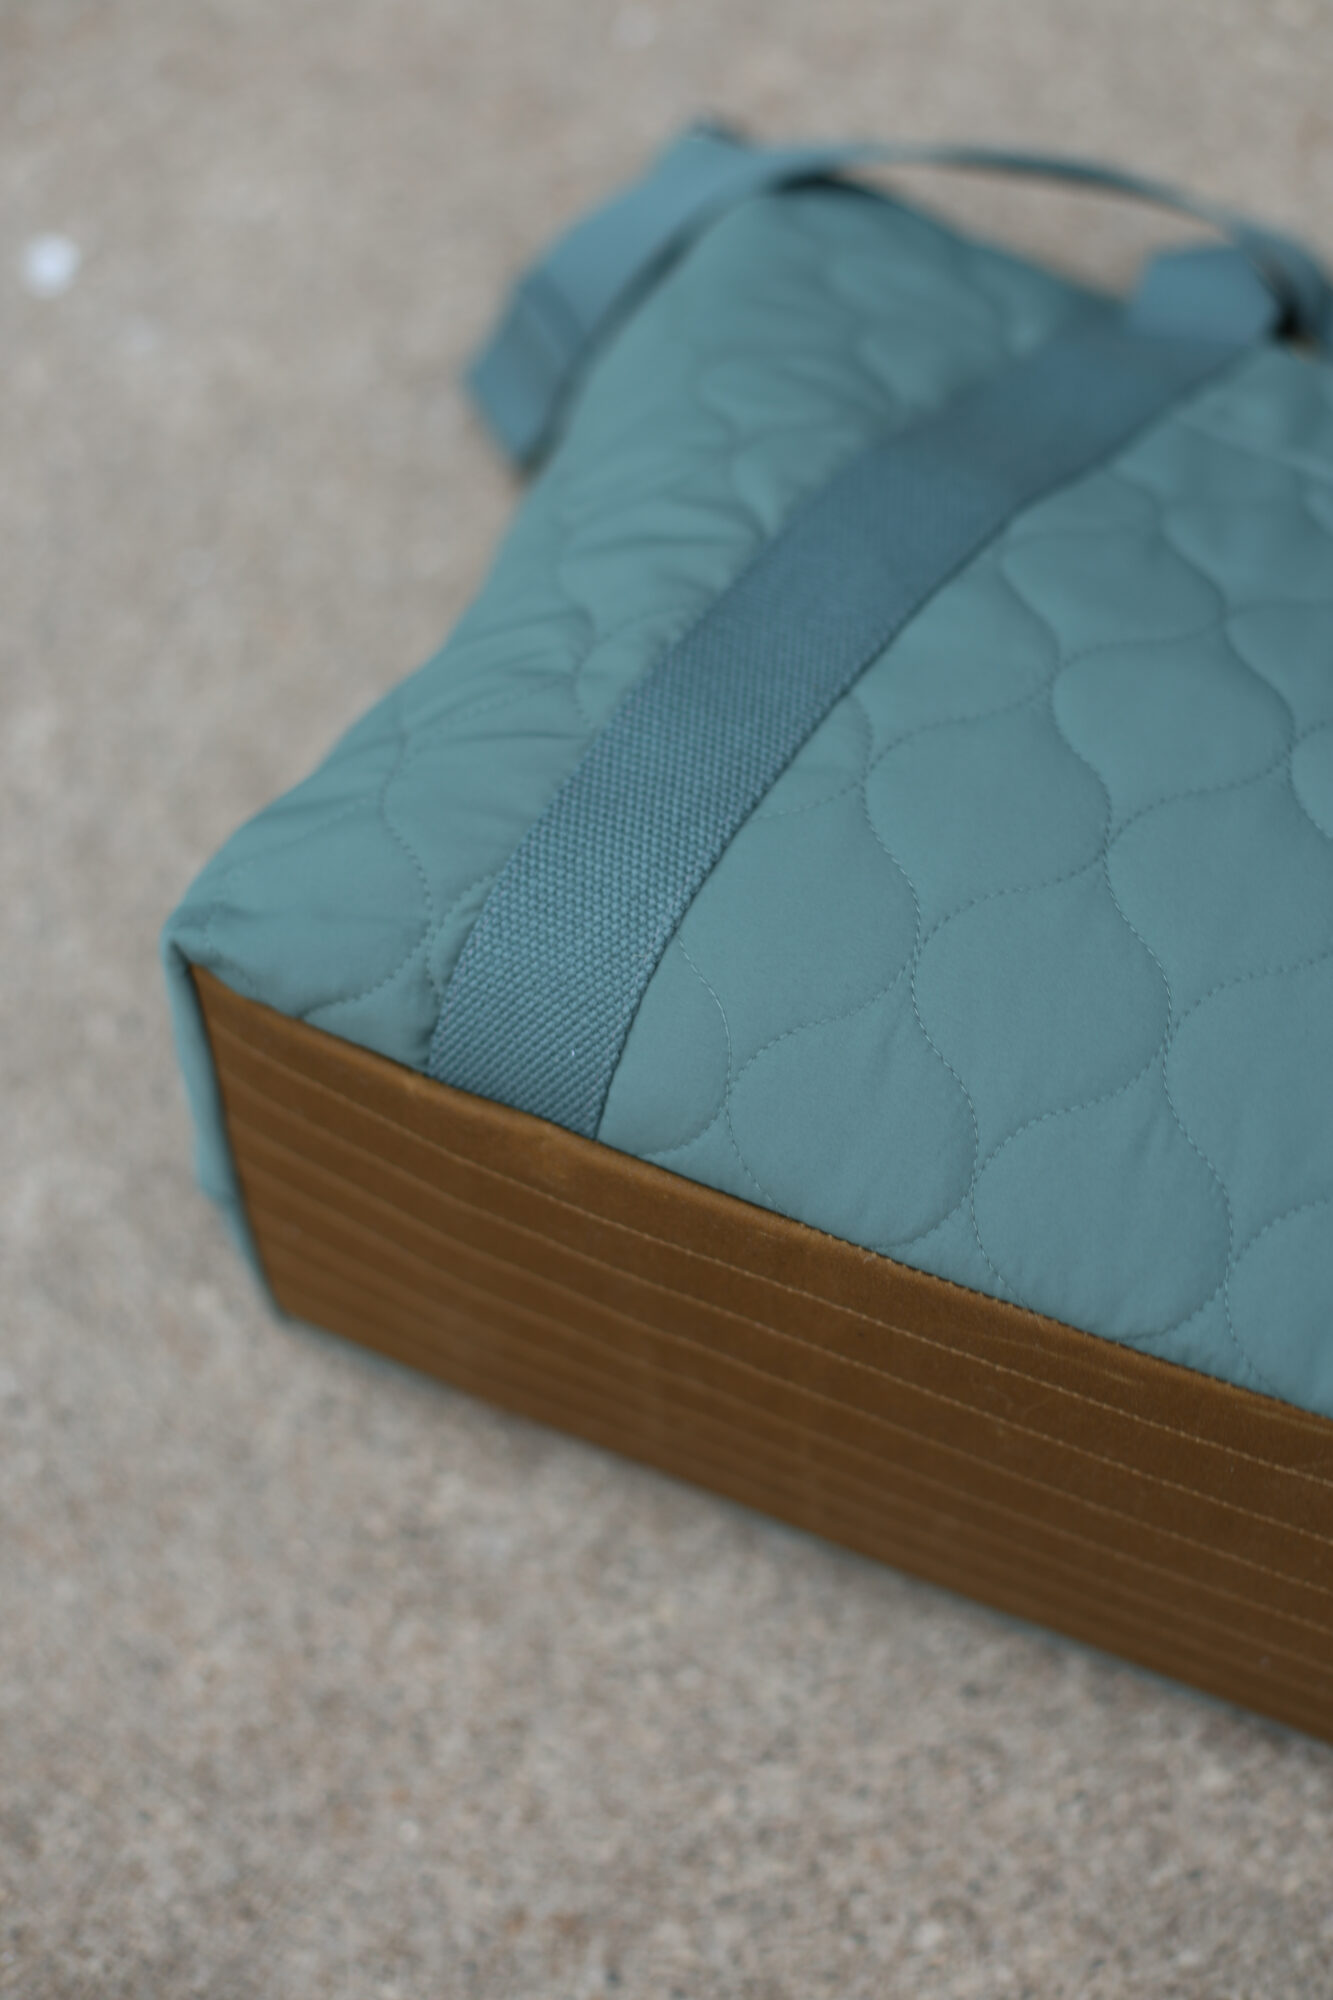
I did add a more medium-weight interfacing to the canvas lining. Just to try and beef it up a bit. The pre-quilted fabric is great, but it doesn’t have a ton of structure on its own. So I ended up adding Emmaline Bags medium fusible woven interfacing on the canvas (Medium EB Fuse). And for the Reinforced Base, I used a scrap of waxed canvas and I was all set. It’s still lightweight and easy to store in her closet, so that’s a win win.
Project Details:
- Pattern: Oxbow Tote (available in my shop as a PDF and paper pattern)- this is the Overnight size!
- Fabrics:
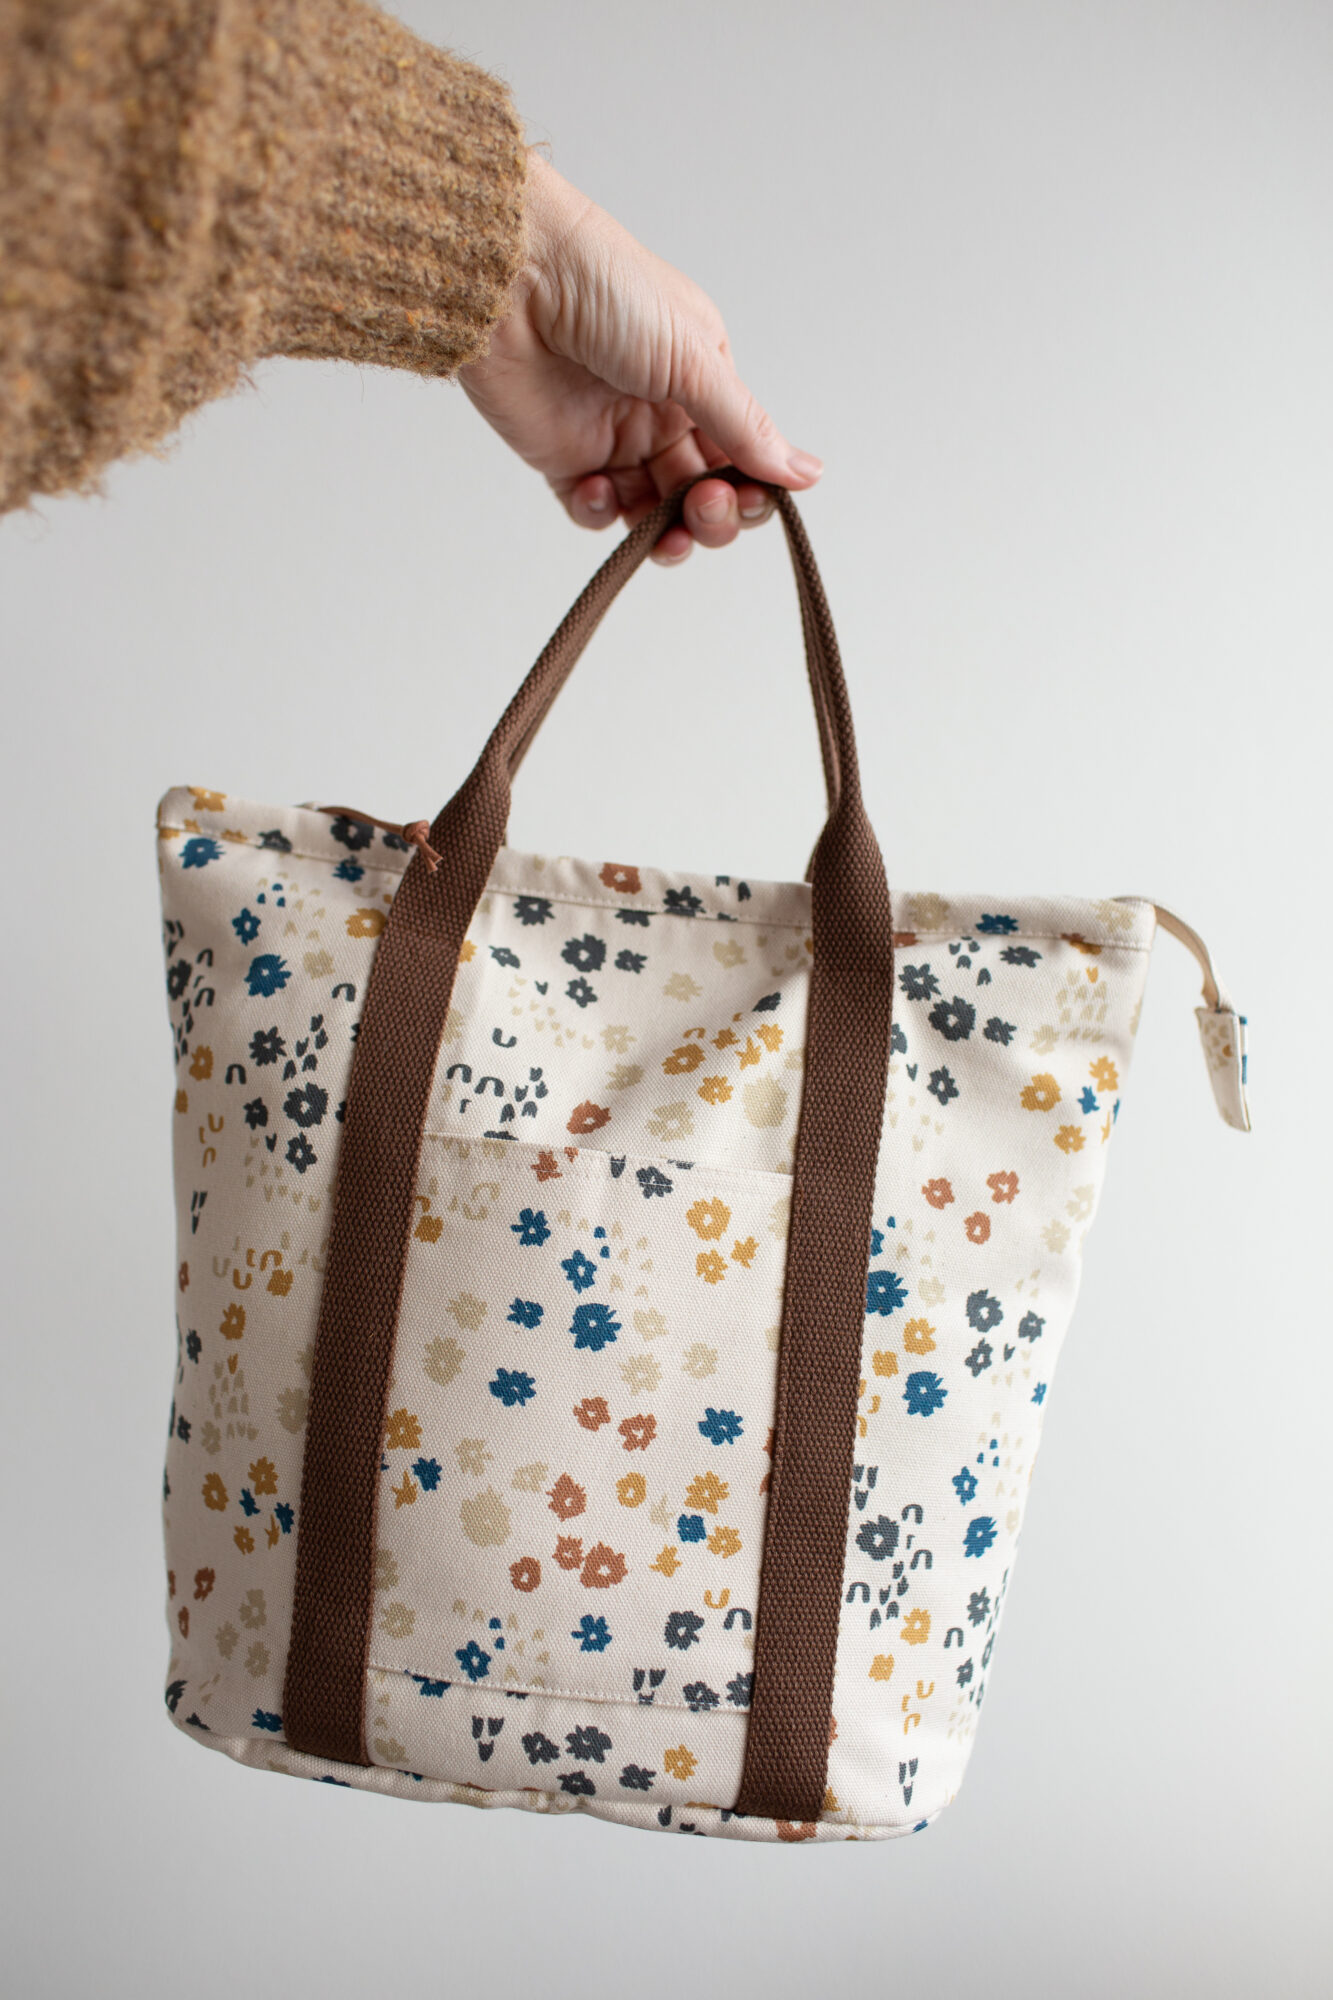
- Exterior: pre-quilted coating from Style Maker Fabrics, I bought some of this type too if you’re looking for more (comes in lots of colors)
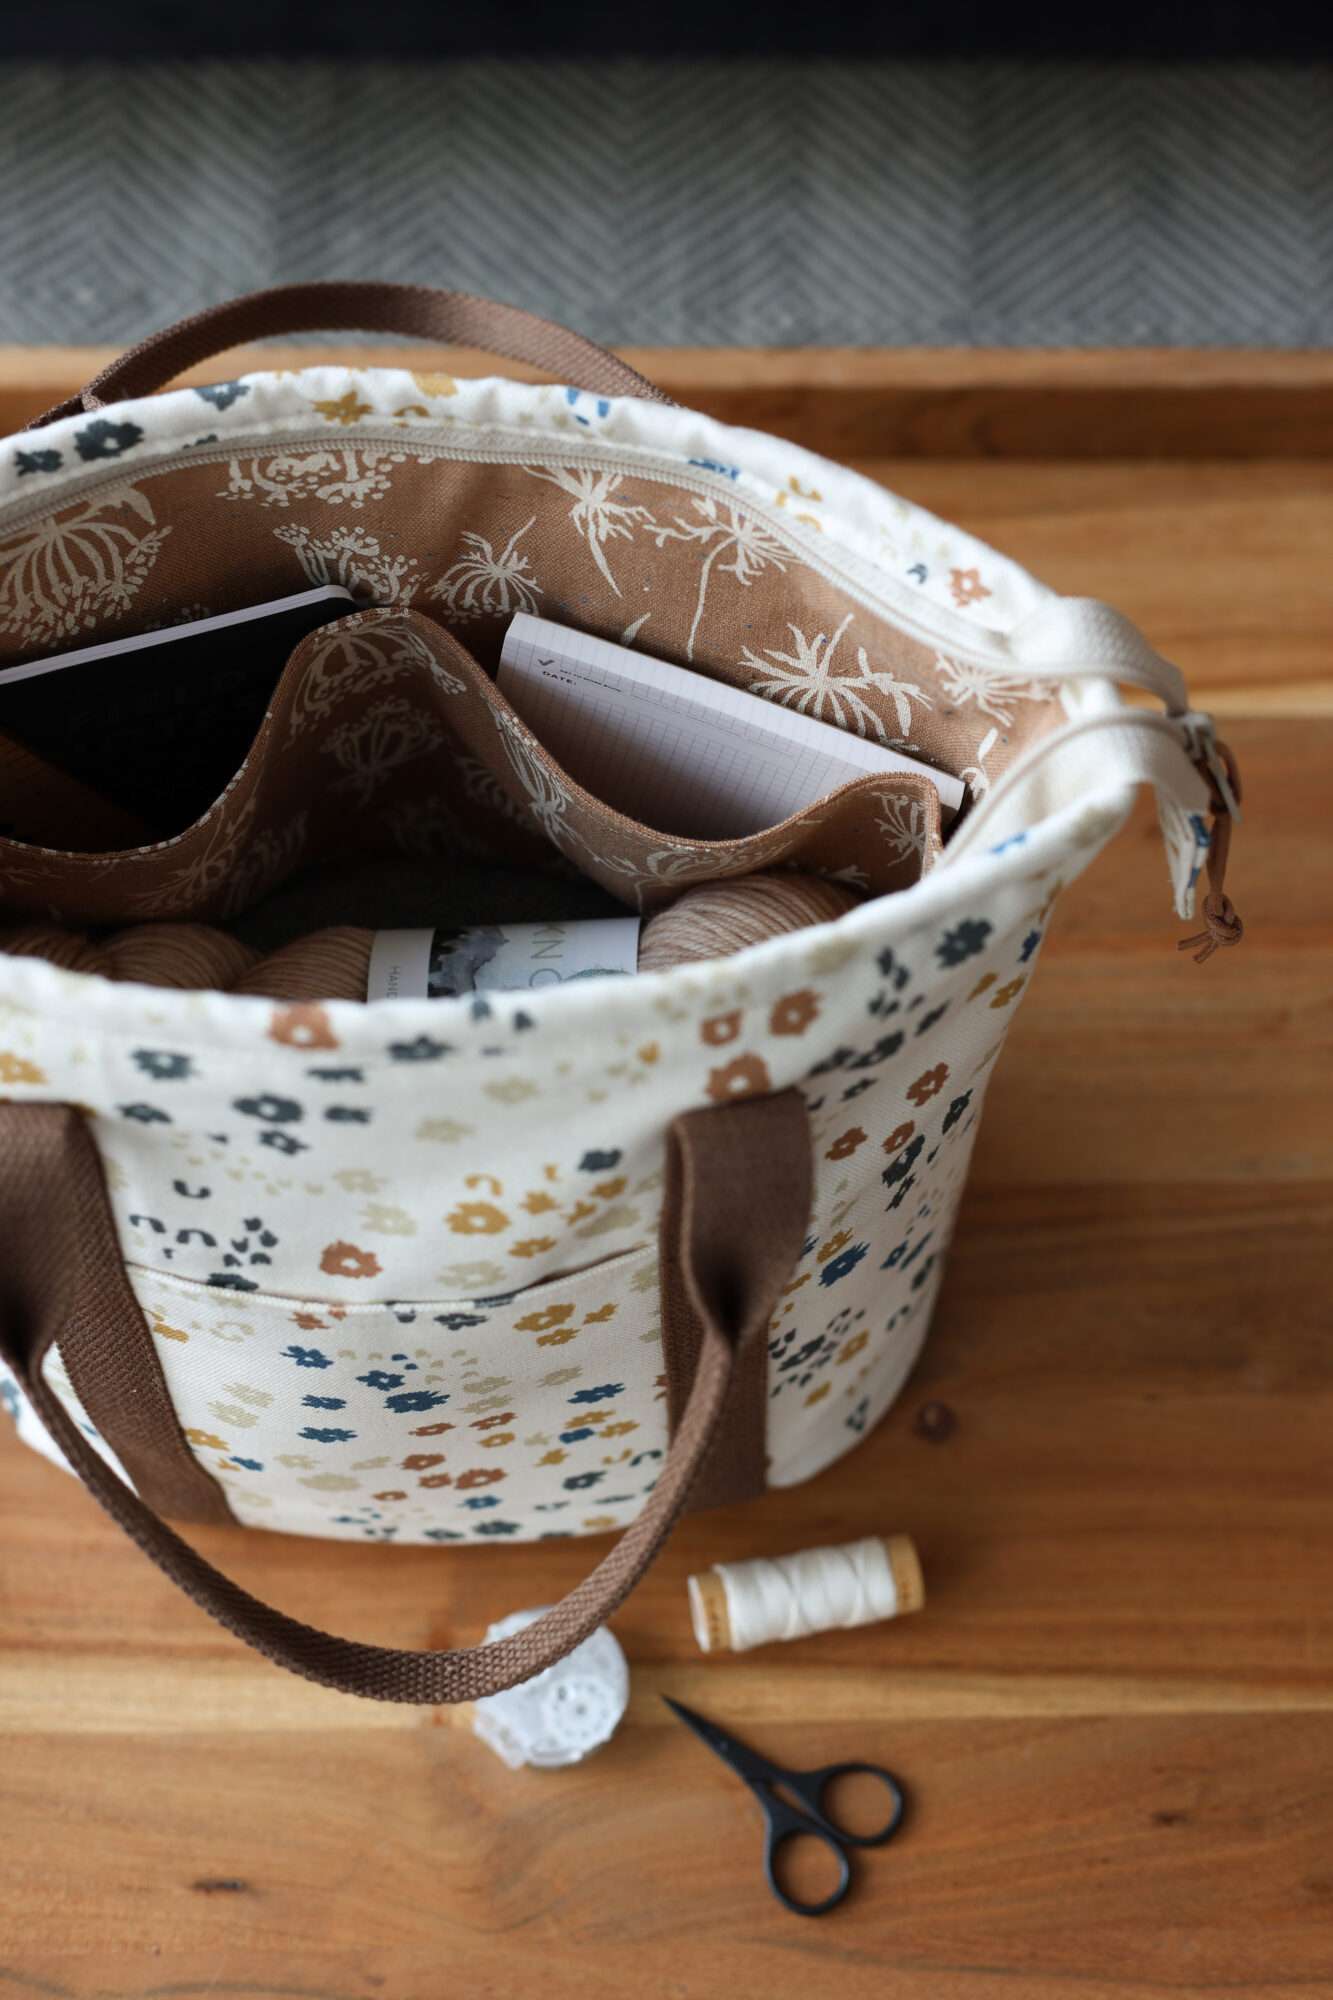
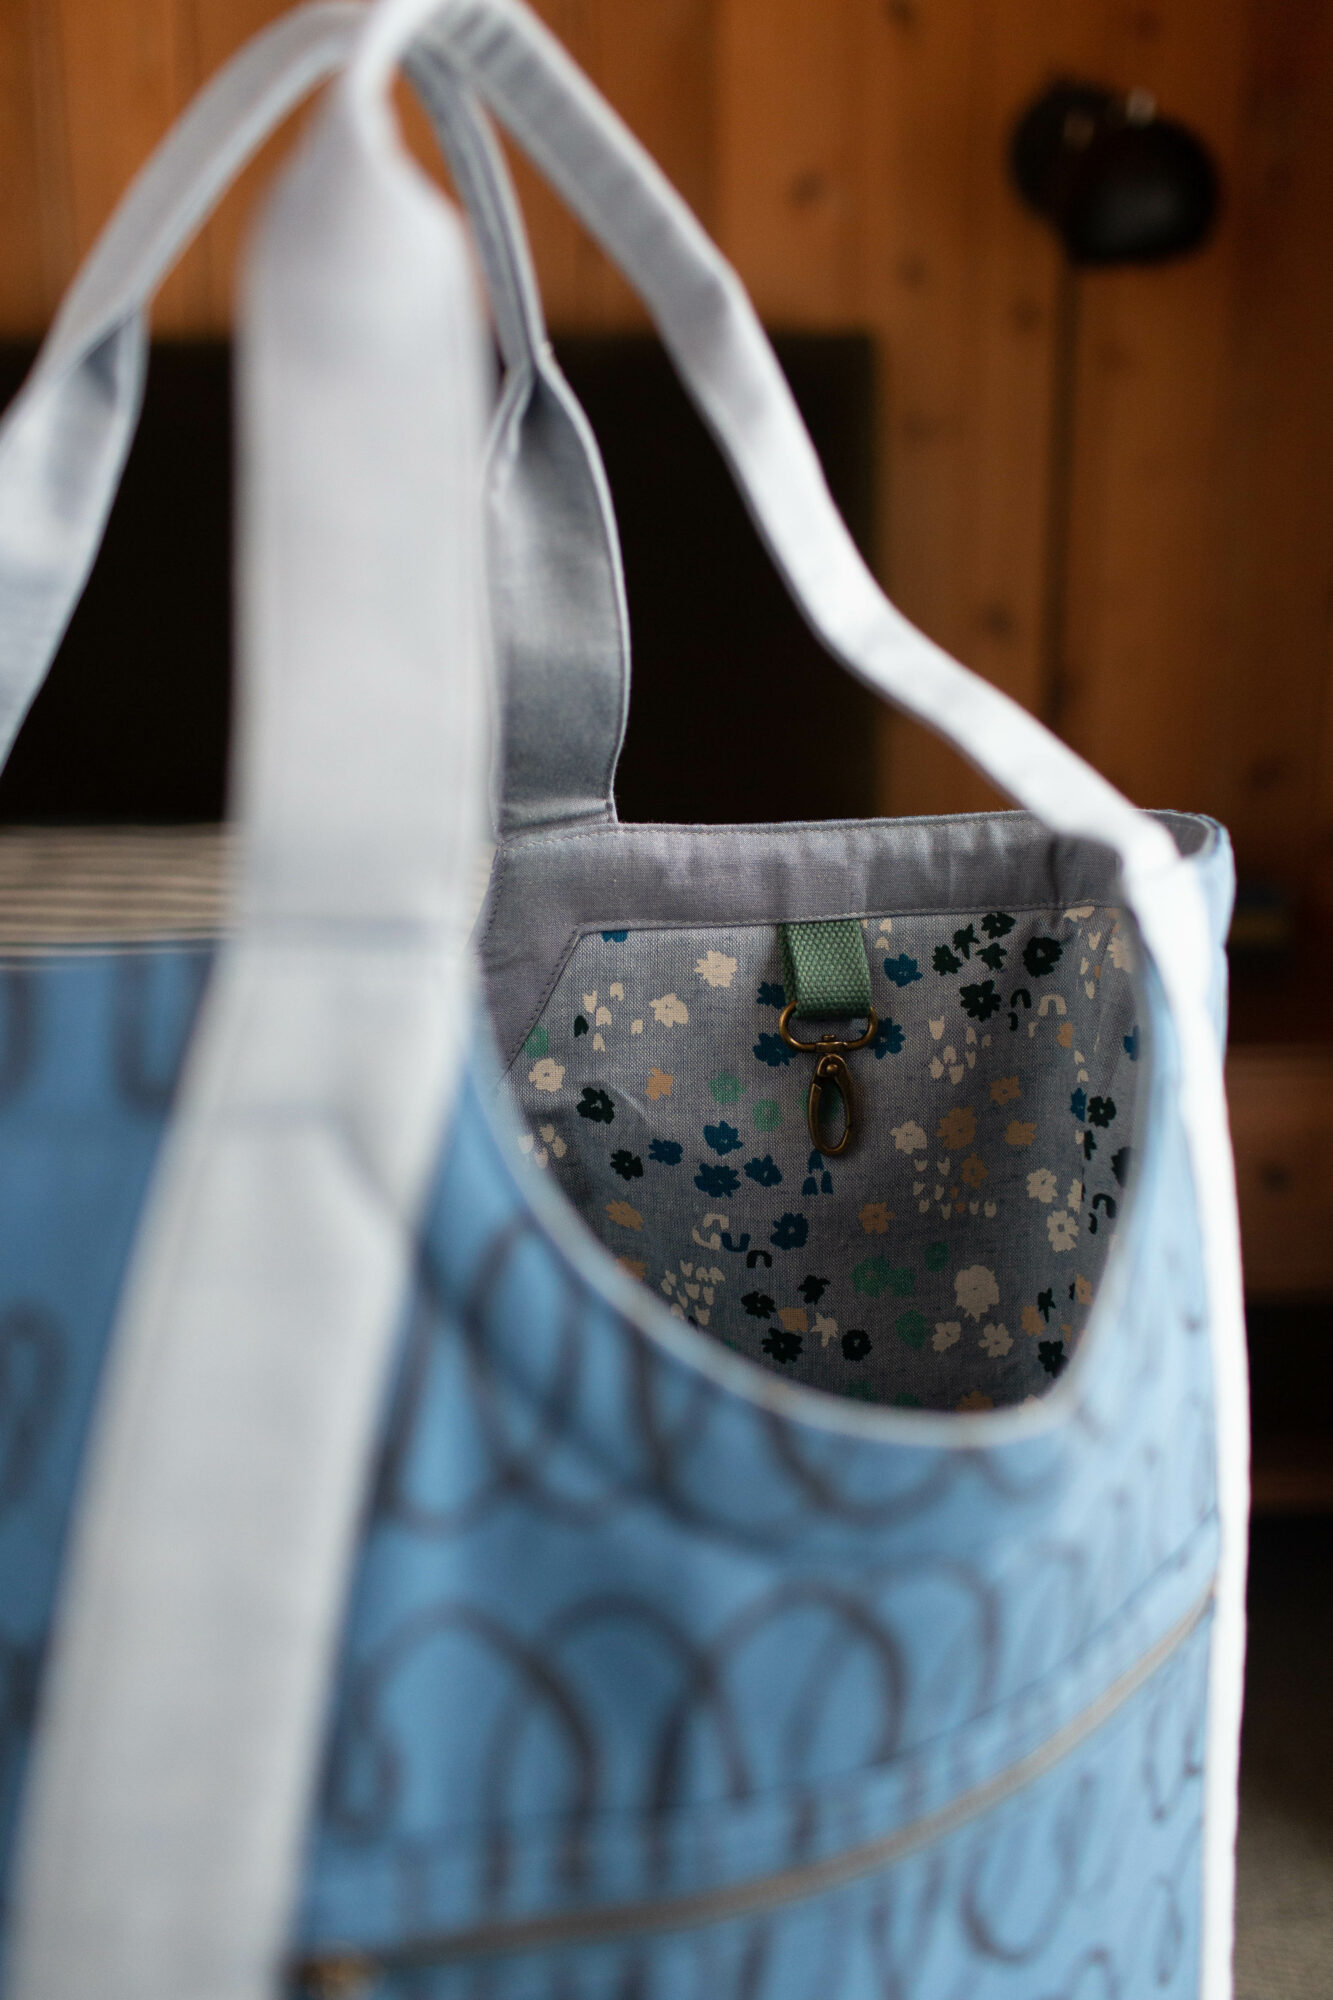
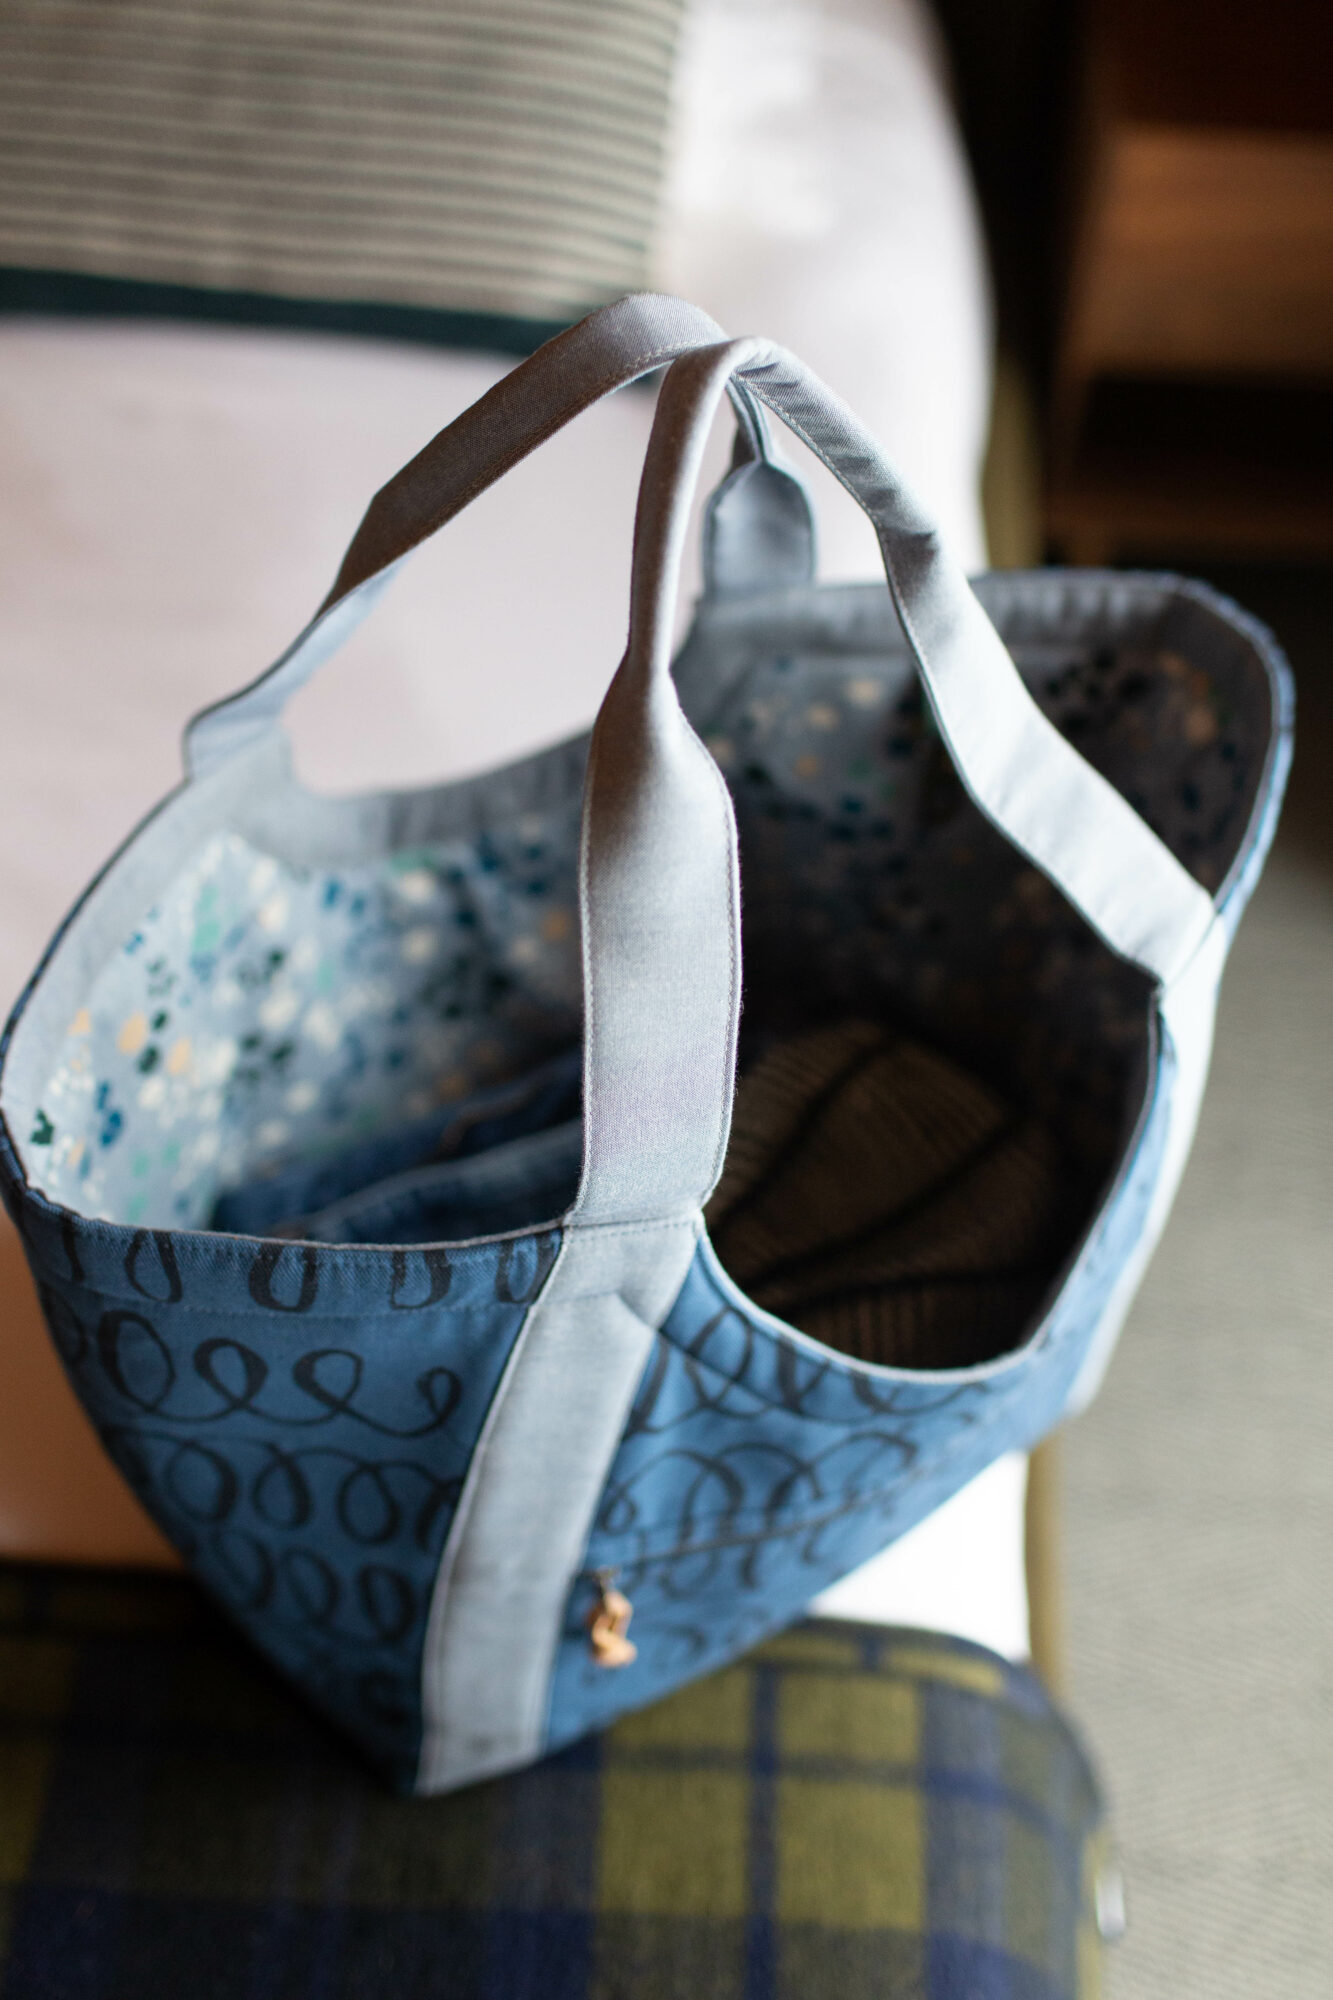
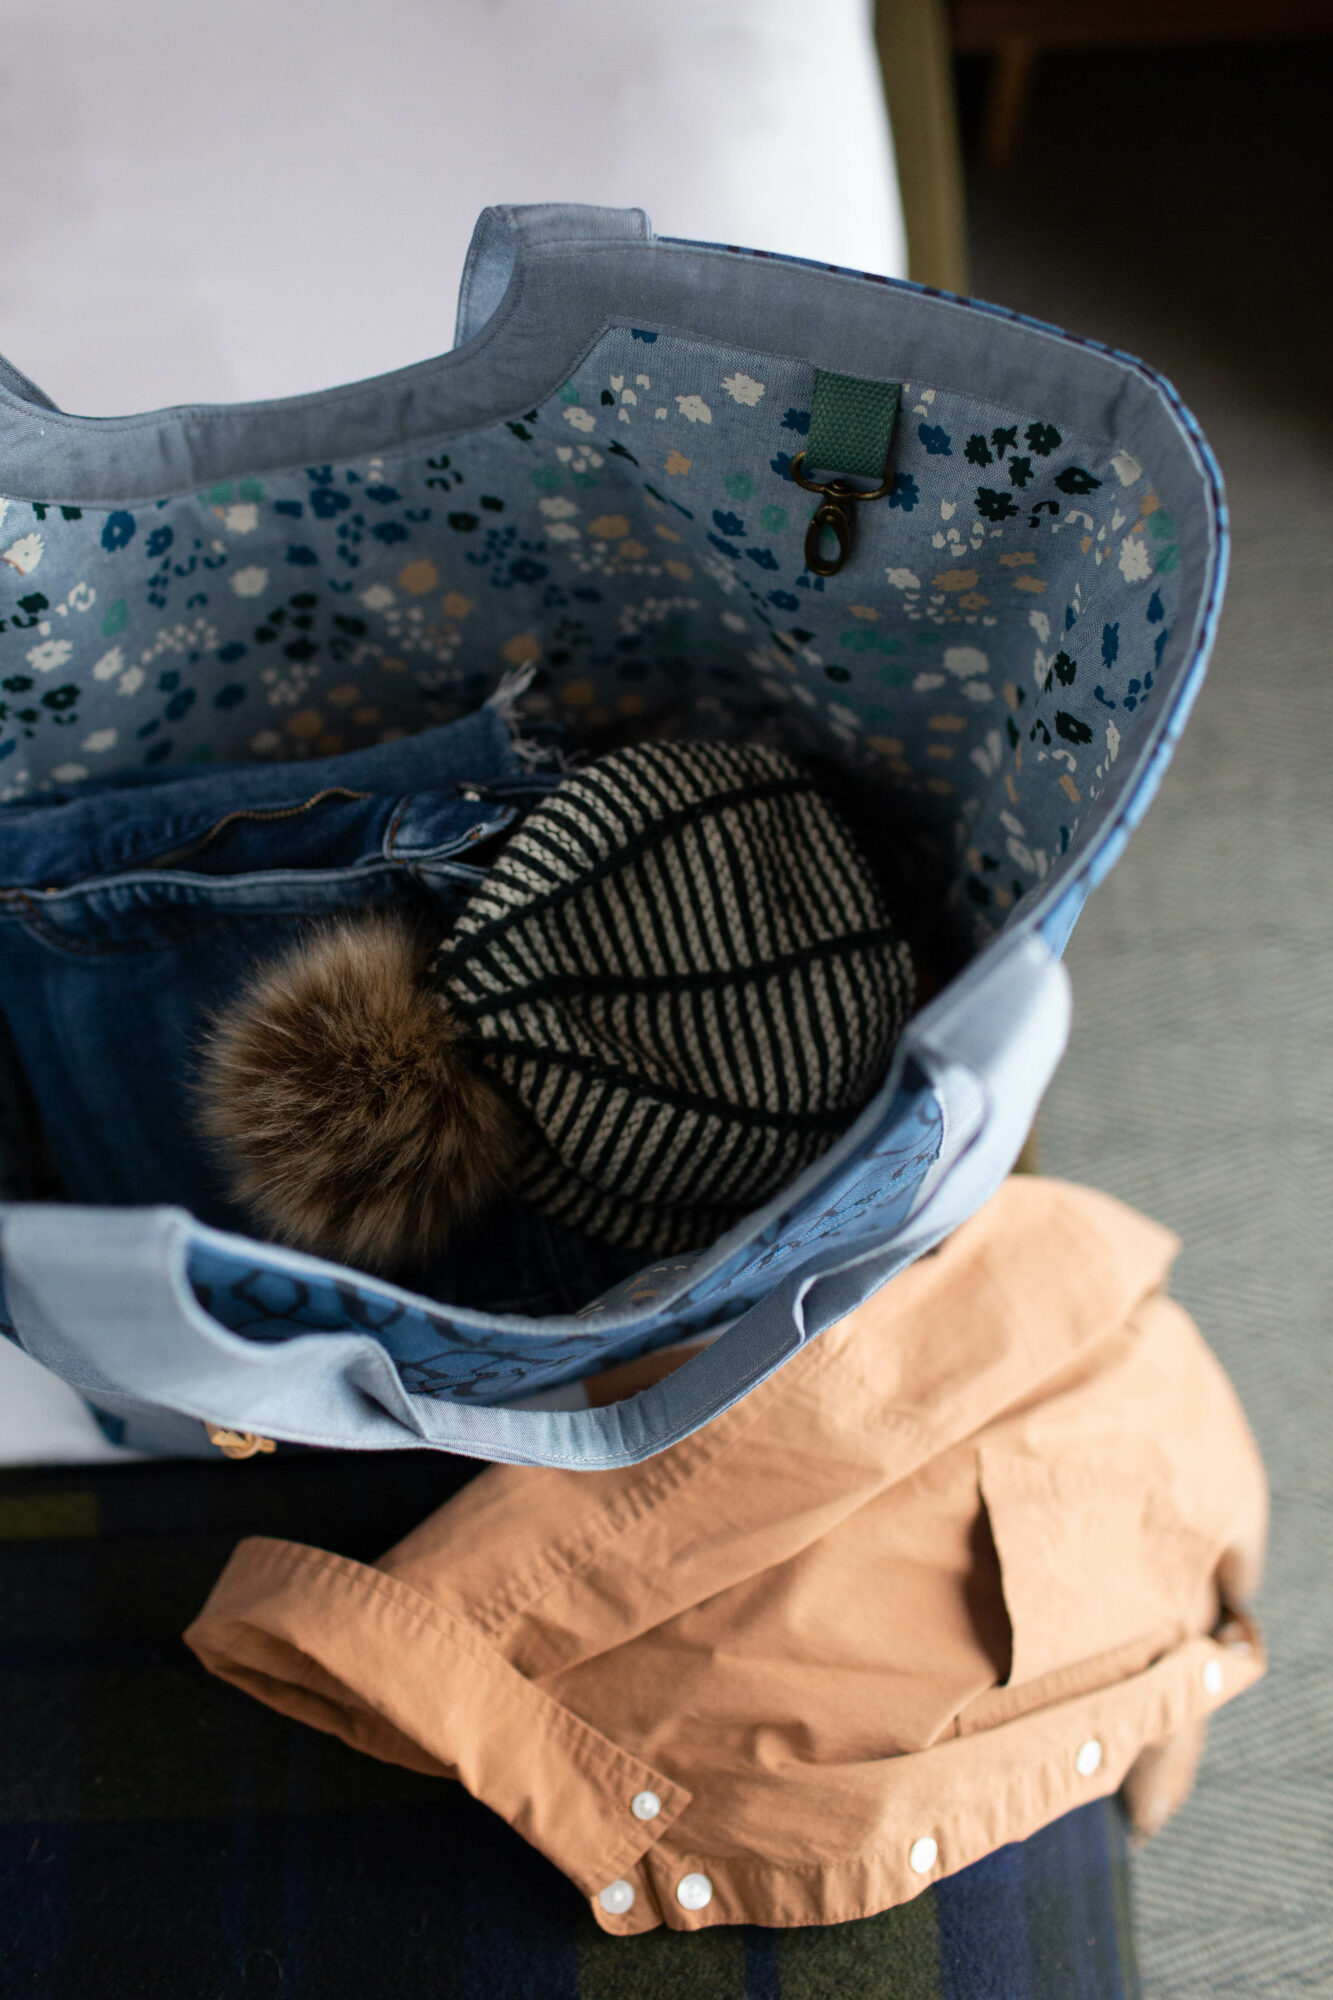
- Lining: canvas by Lissie Teehee for Cotton + Steel (from her Summer Folk collection)
- Accent: waxed canvas from Fabric Funhouse (I’m pretty sure I used the Coyote Brown)
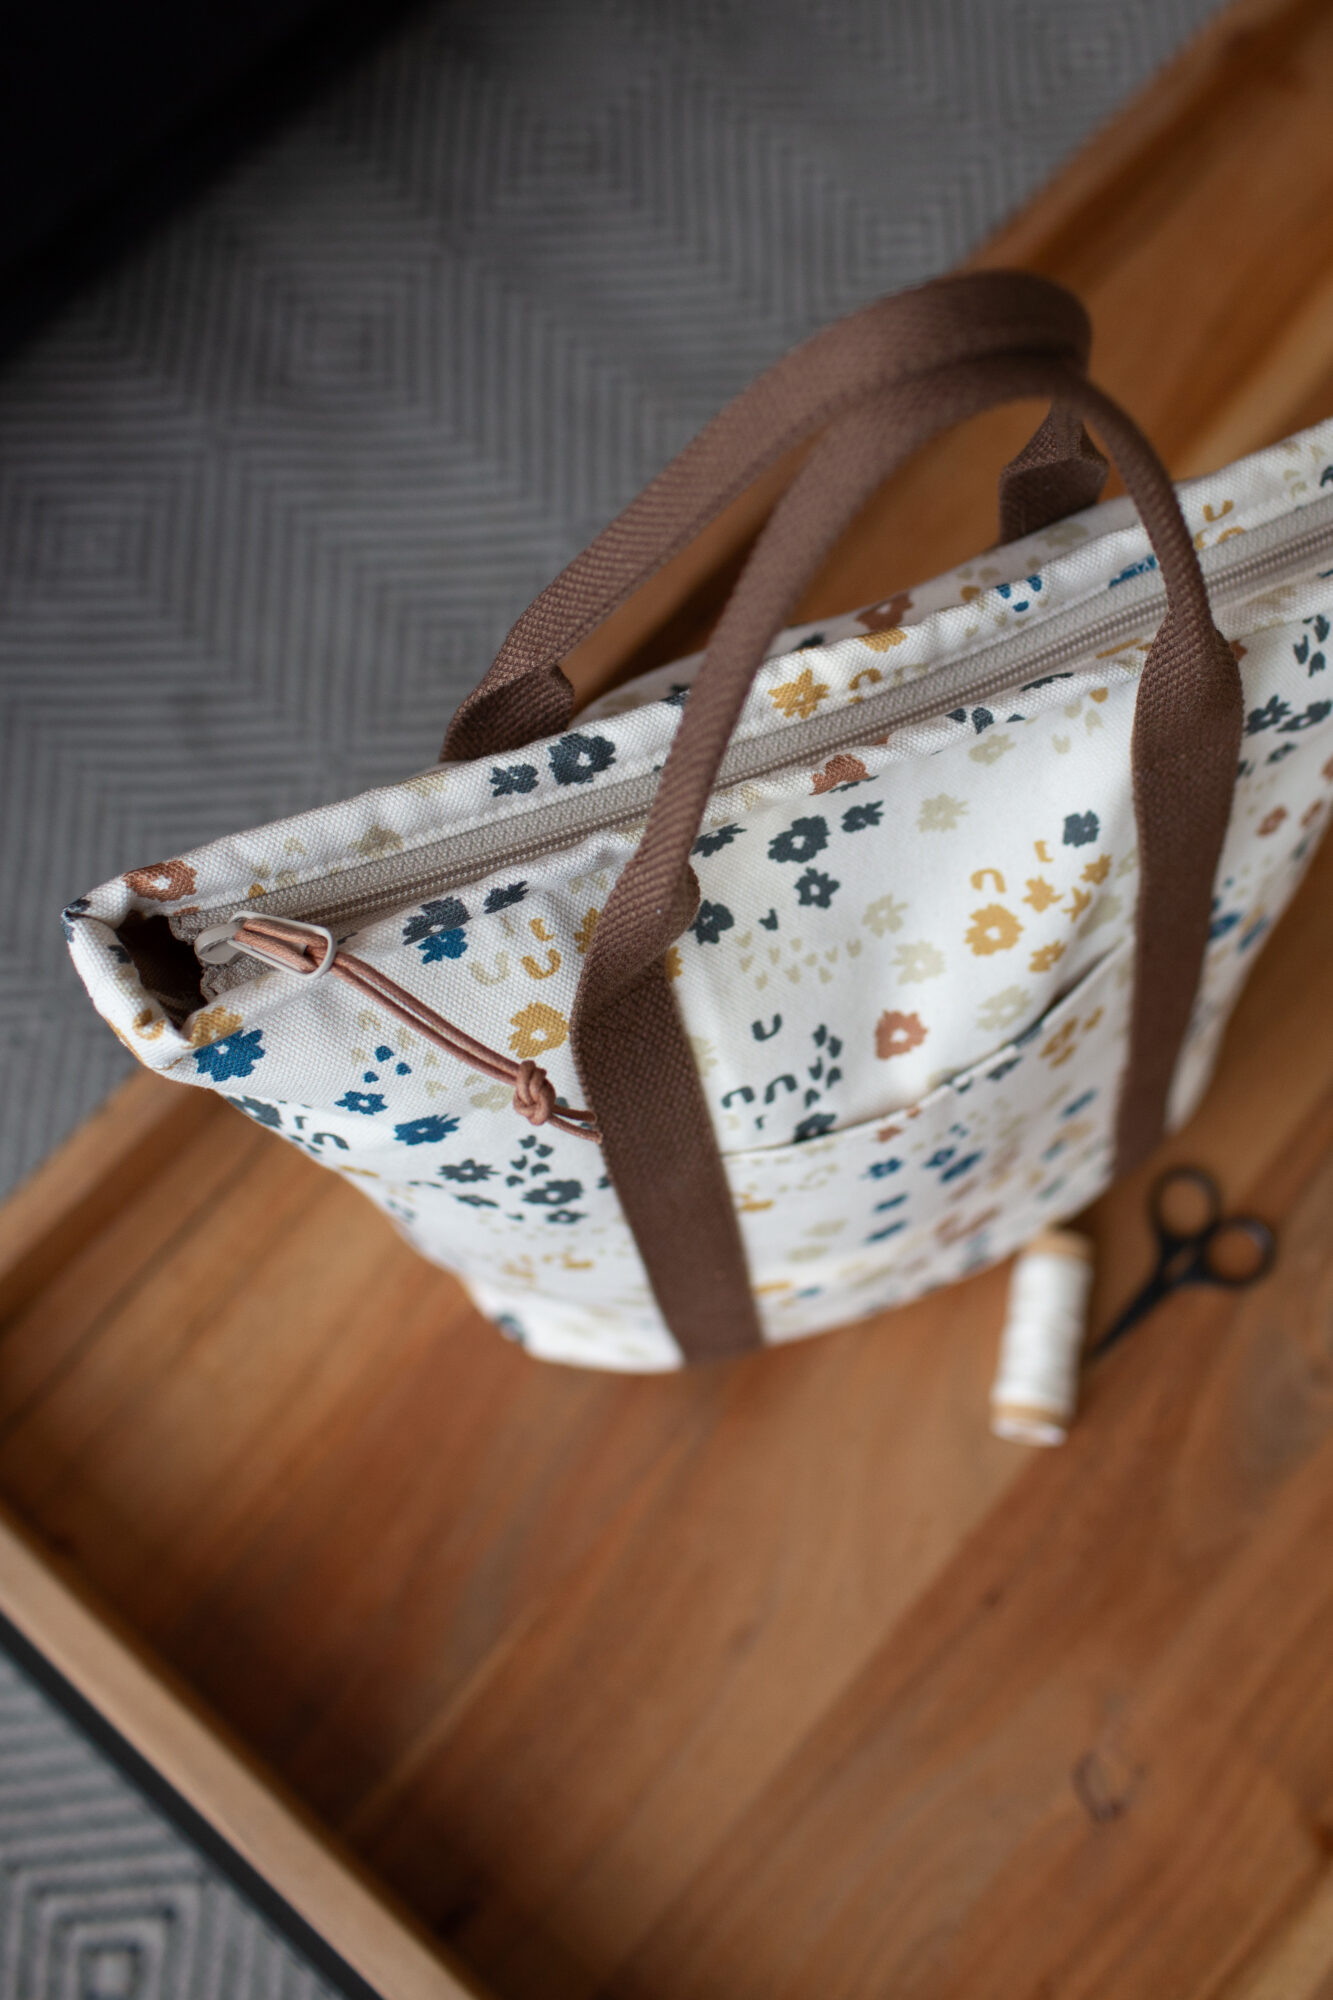
- Zipper is from Zipper Valley, with a leather pull I made myself from some scrap leather
- Hardware kits available in my shop
- Webbing is available in my shop (this is the Sea color webbing)