Welcome to the Oxbow Tote Sew-Along Part 1! I’m so excited to have you join along!
Here’s the schedule I’ll be following for the sew-along:
Part 1: Friday, January 12th (today), fabric selection, cutting & fusing, preparing reinforced base and zipper
Part 2: Friday, January 19th, Assemble Front and Back, insert zipper
Part 3: Possible wrap-up if we don’t finish everything in Part 2!
This schedule should allow for plenty of catch up time if you miss a week. Don’t feel pressured to rush along! But if you’re cruising along and having fun feel free to go at your own pace, too. No rules here!
In today’s video (Part 1, linked below) I show an overview and project discussion. I also talk about fabric selection, cutting & interfacing, quilting, and then prepare the reinforced base as well as prepare the zipper.
Cutting & Labels
Cutting measurements and cutting layouts are found on pages 3-6 of the Oxbow PDF.
- Print pages 15-20 if you are making the Regular size.
- Print pages 21-29 if you plan on making the Overnight size.
- Print page 14 if you plan to cut the rectangular pieces using your gridded mat/ruler.
After this week you should have all the pieces cut and the interfacing fused to all corresponding pieces. You will also have the reinforced base and zipper prepared.
Watch the VIDEO for Part 1 of the sew-along!
Click the image above to watch the video. Or click this link to play the video.
Read a few notes about the project & supplies needed below:
I’m including some fabric and zipper notes below. I chat a bit about them in the video as well.
Fabric Options & Quilting
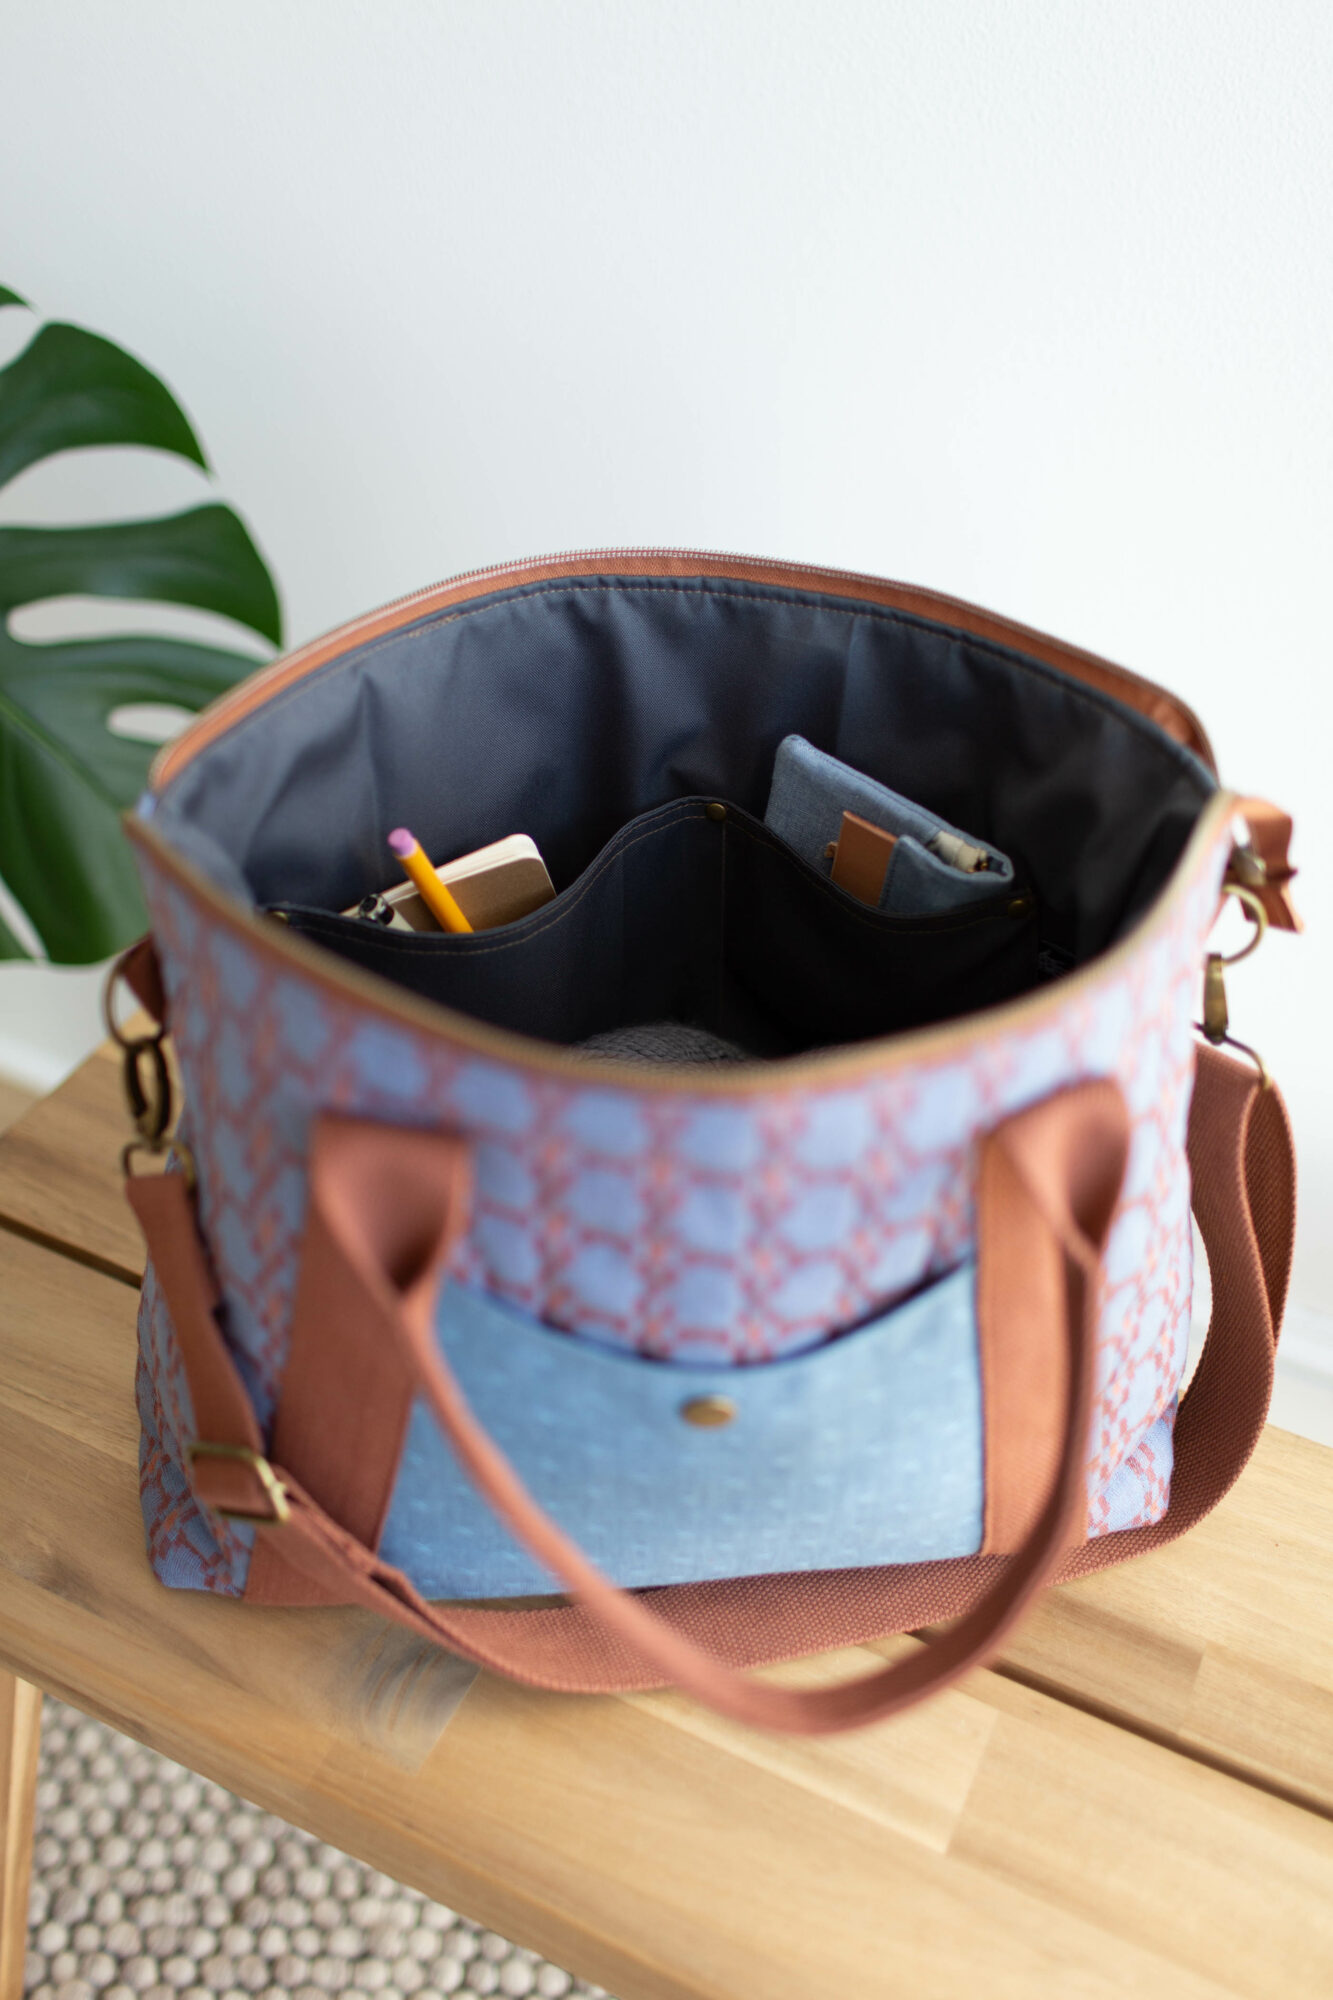
In the video I discuss about using a quilting cotton or lighter weight fabric for the exterior fabrics and a how to for marking and quilting your Main Panel pieces.
First, I rough cut my fabric a few inches larger than the Main Panel pattern piece. I use two layers of 80/20 batting, and then my fabric on top. I quilt the pieces and then trim them to size using the pattern piece.
It is a bit of prep work, but it’s a beautiful result if you don’t mind the extra steps.
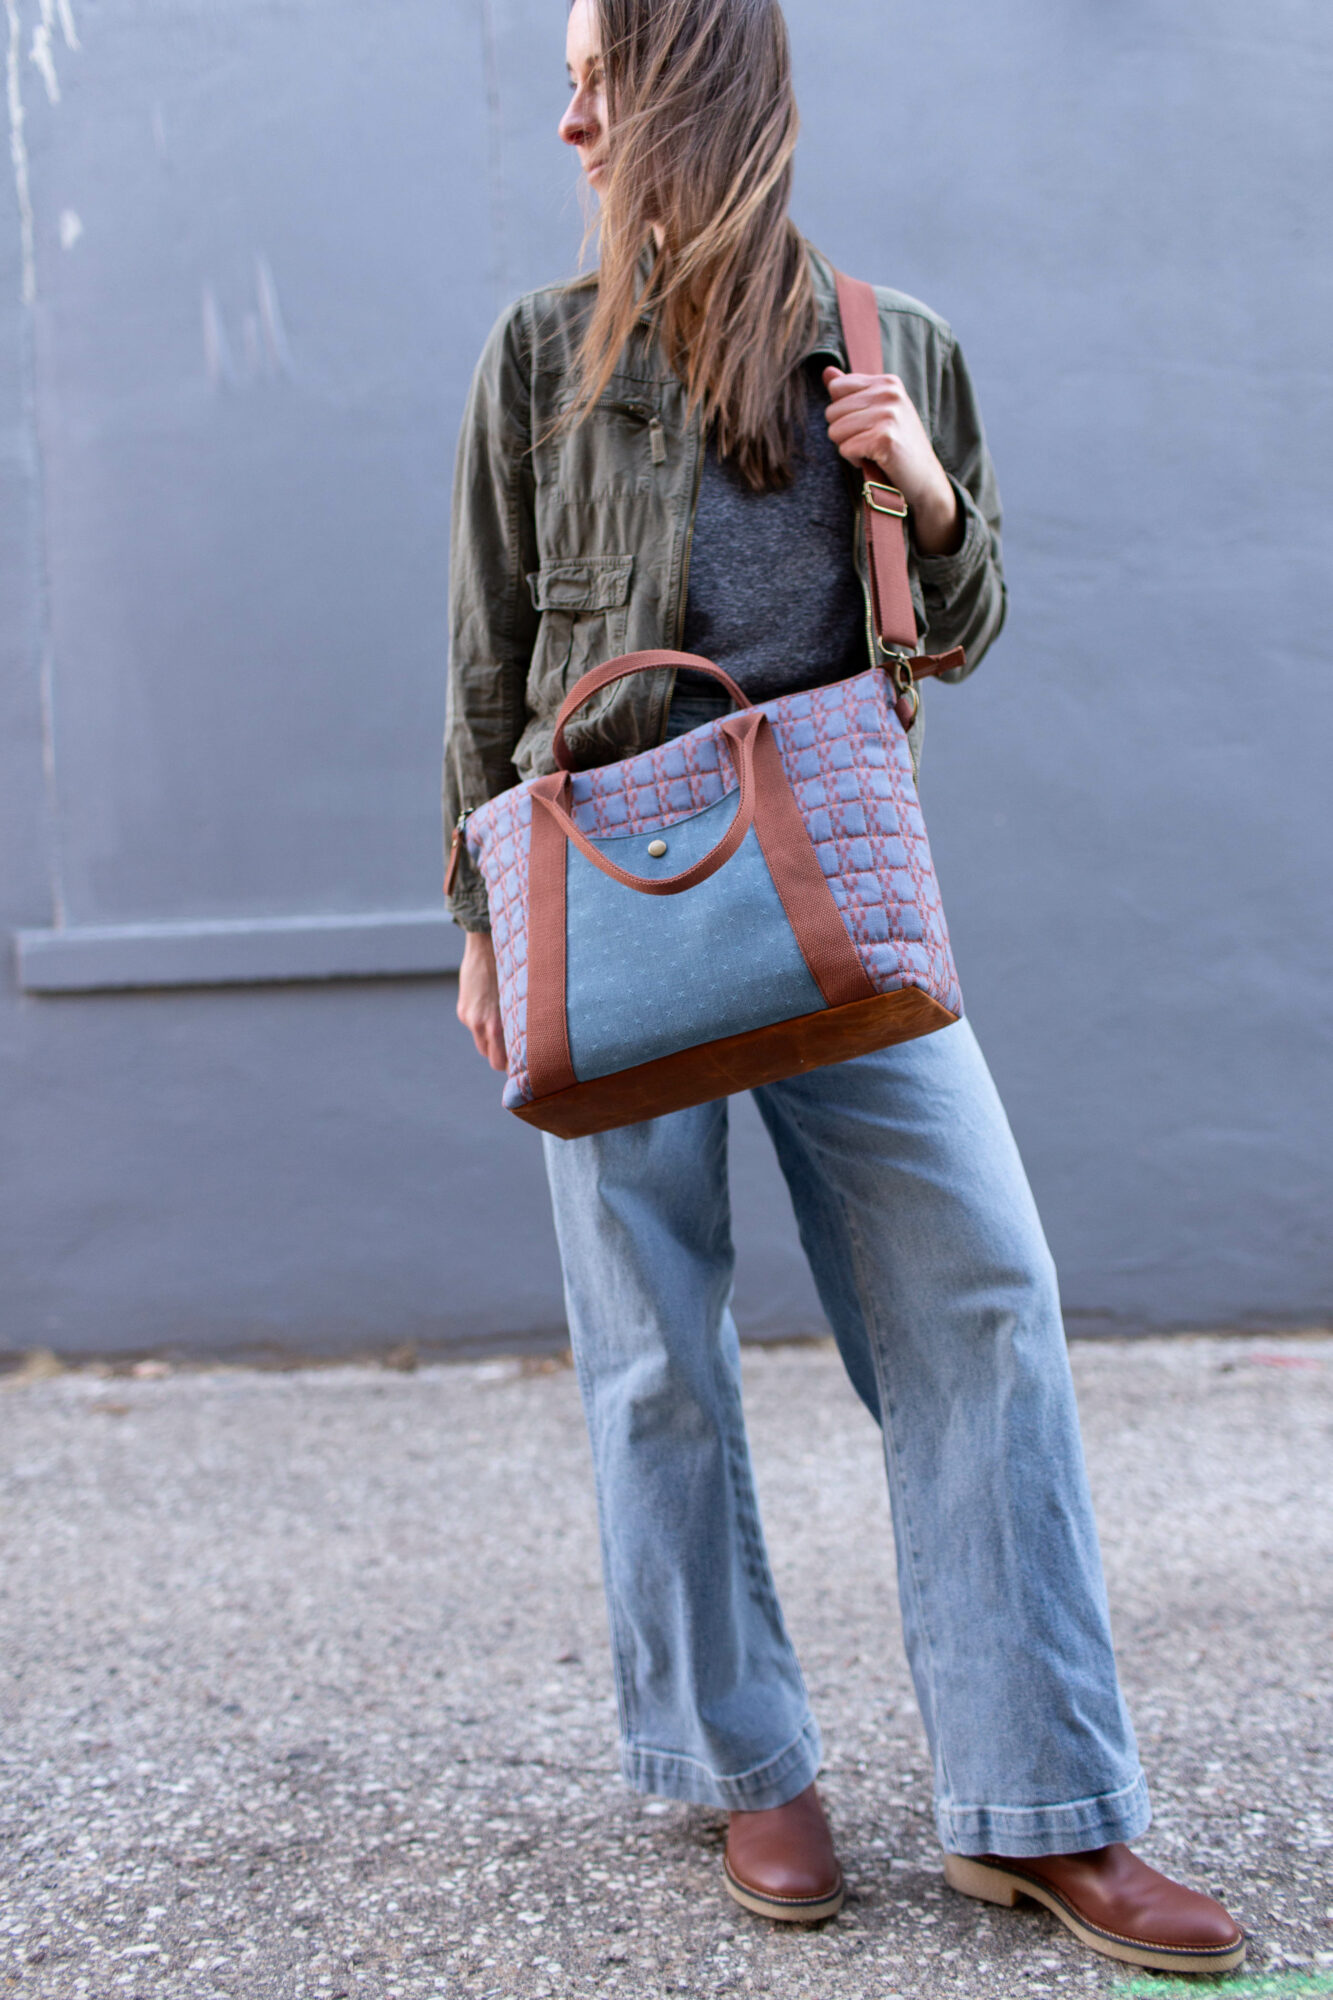
Waxed canvas is another great option for using on the Oxbow. If you’d like to read more about that, I’ve discussed it in-depth in this blog post.
Zippers Used
Lastly, this pattern is written for traditional fixed-length zippers. In the video and the pattern I also give tips for using zipper by the yard/continuous zipper. For this type of installation (on the Oxbow), zipper lengths are fairly interchangeable whether you’re using a fixed-length or zipper tape. So if you’re in a hurry and cut your zipper tape to the fixed-length size, you should still be okay!
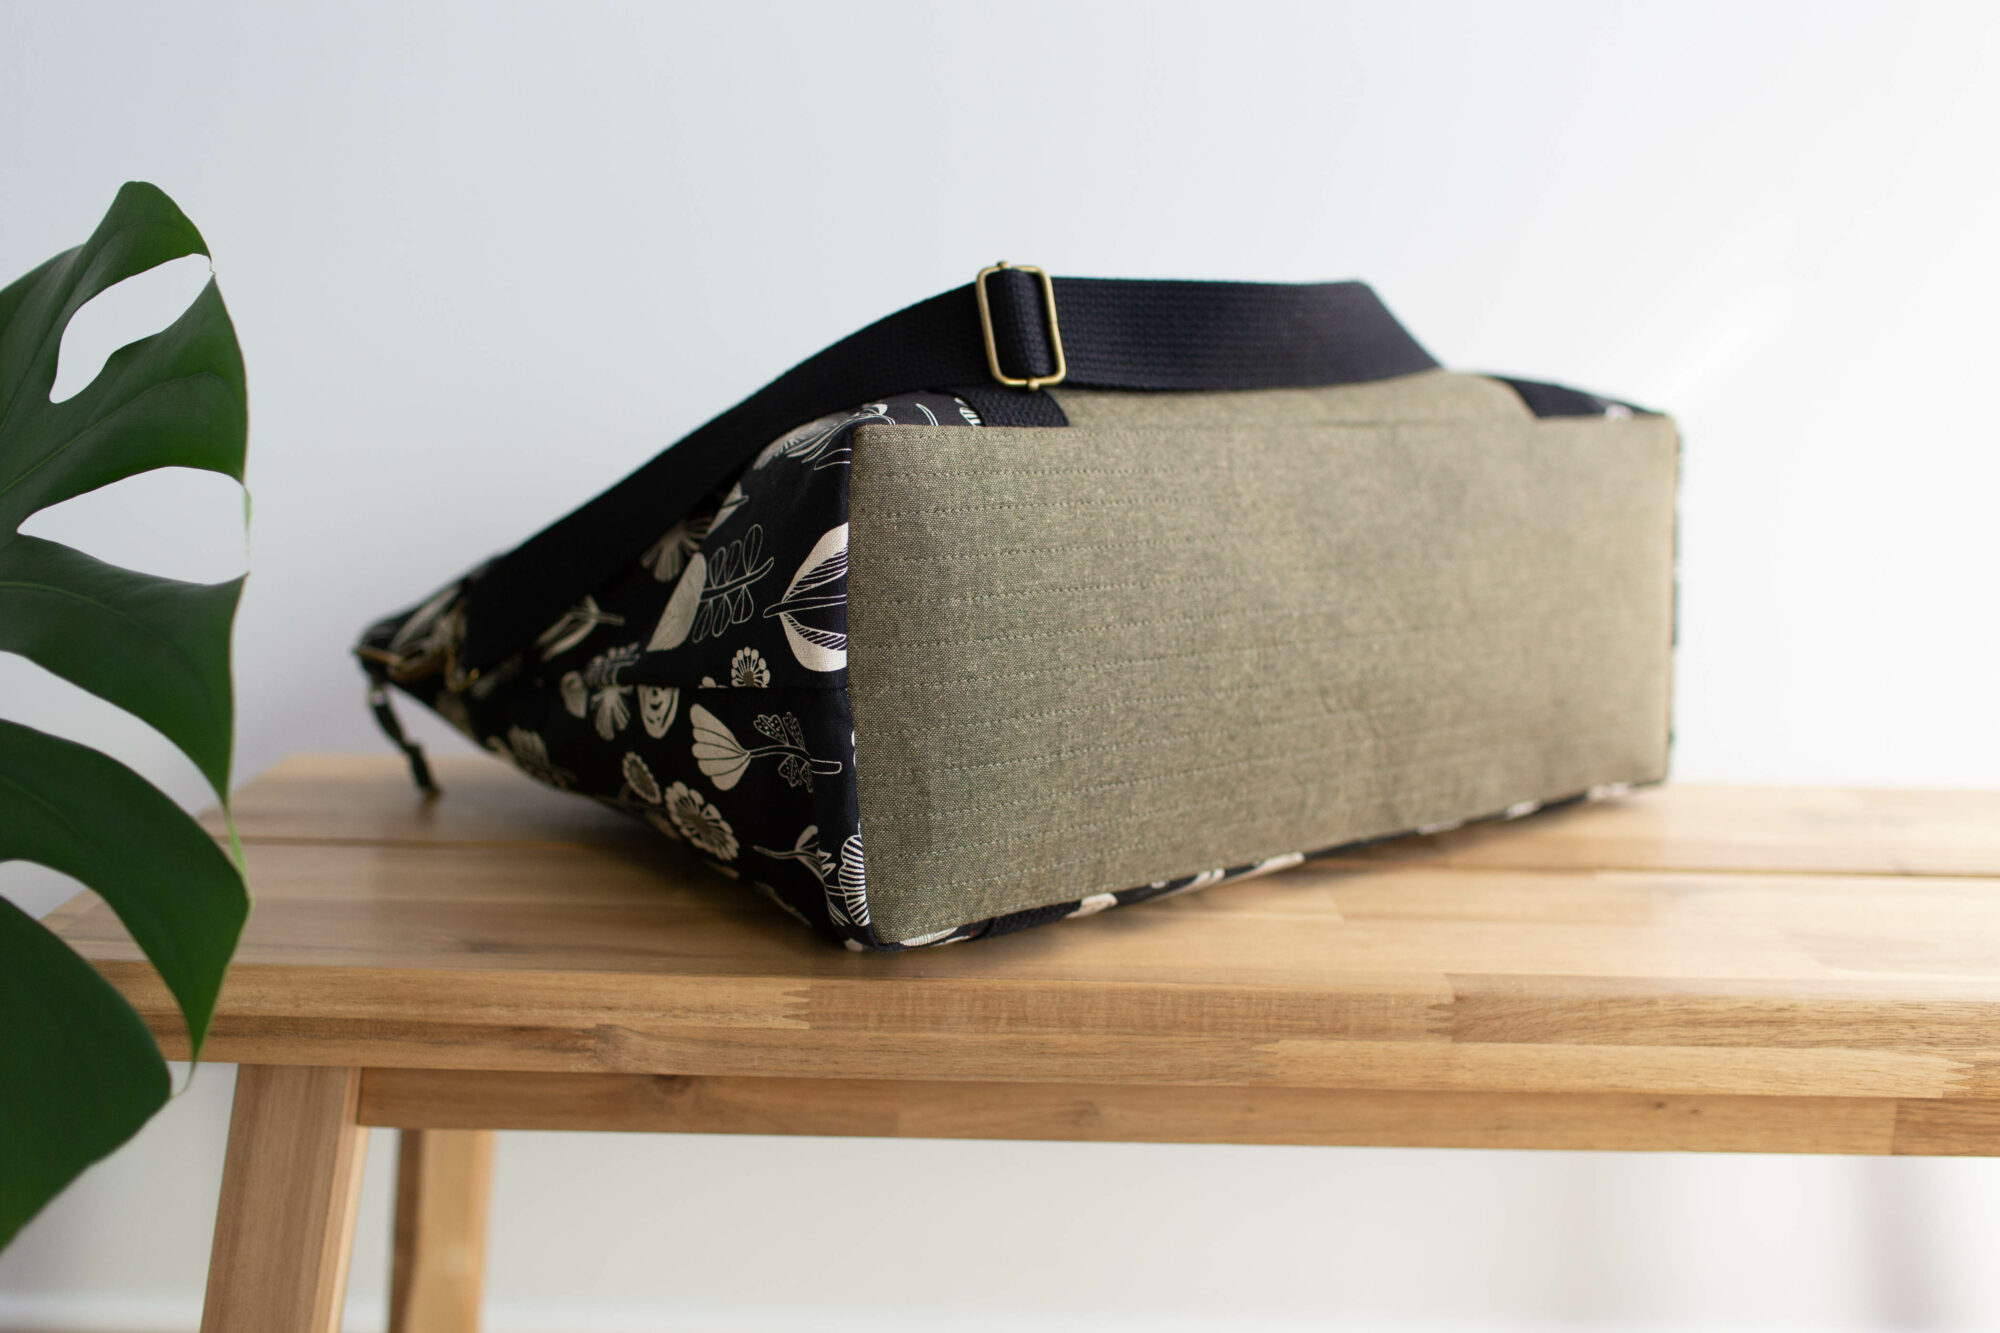
Looking for supplies for your Oxbow?
Below are supplies for the Oxbow Tote that are available in my shop.
For both the Regular and Overnight size tote:
- Oxbow Tote Pattern (available in PDF and paper coming soon!)
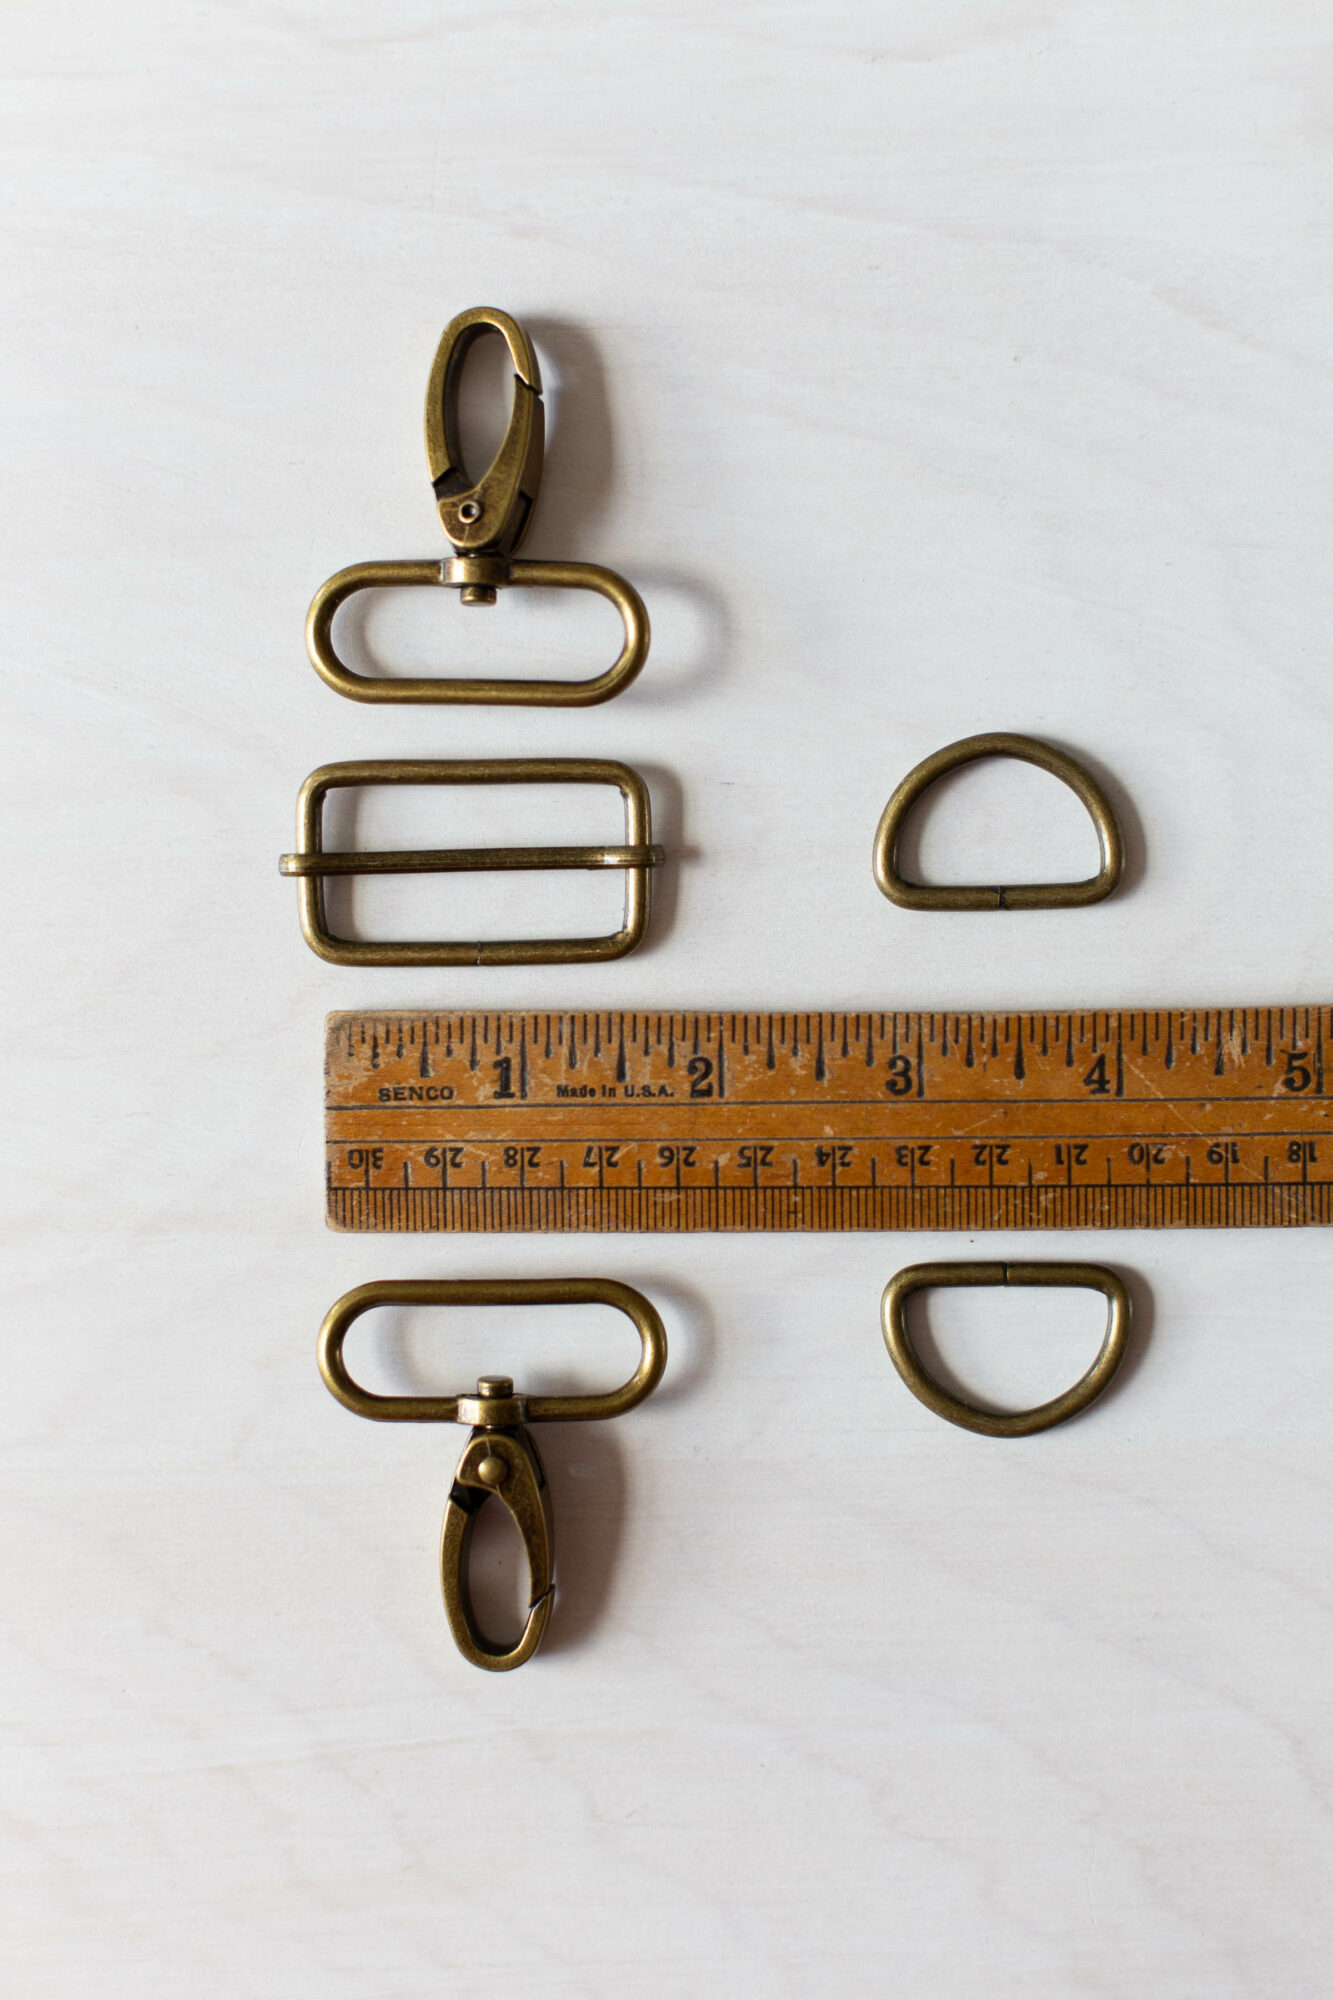
- strap hardware kits (antique brass & nickel)
- zipper for top closure (18″ zipper for Regular size OR 24″ for Overnight size)
- 1.5″-wide/38mm webbing for handles, straps, etc. (in a variety of great colors!) available by the yard (you’ll need to purchase a quantity of 4 for the Oxbow)
- leather zipper pulls
Project Details
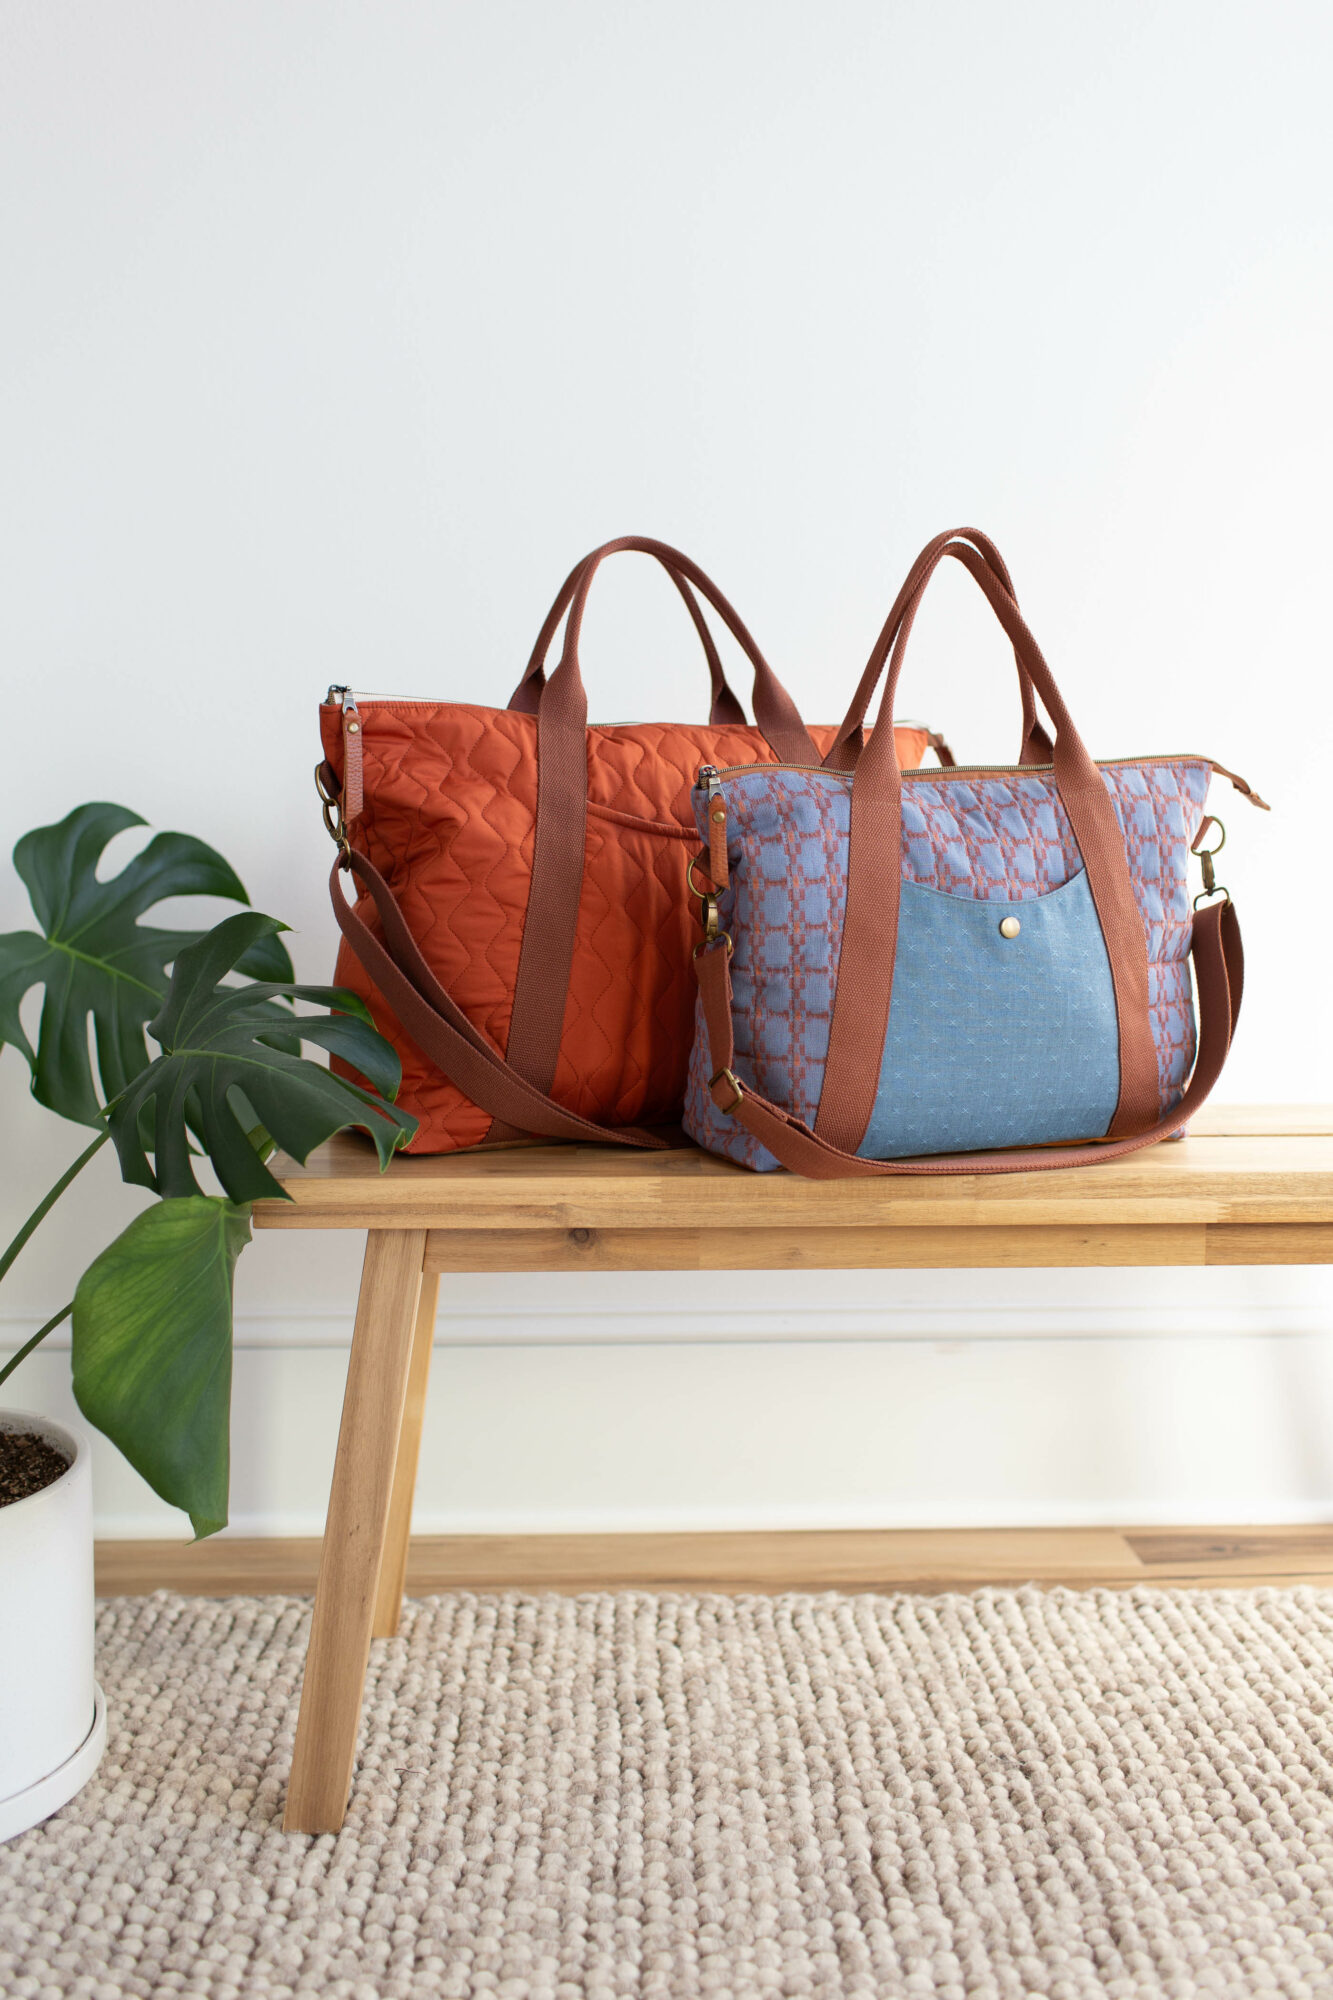
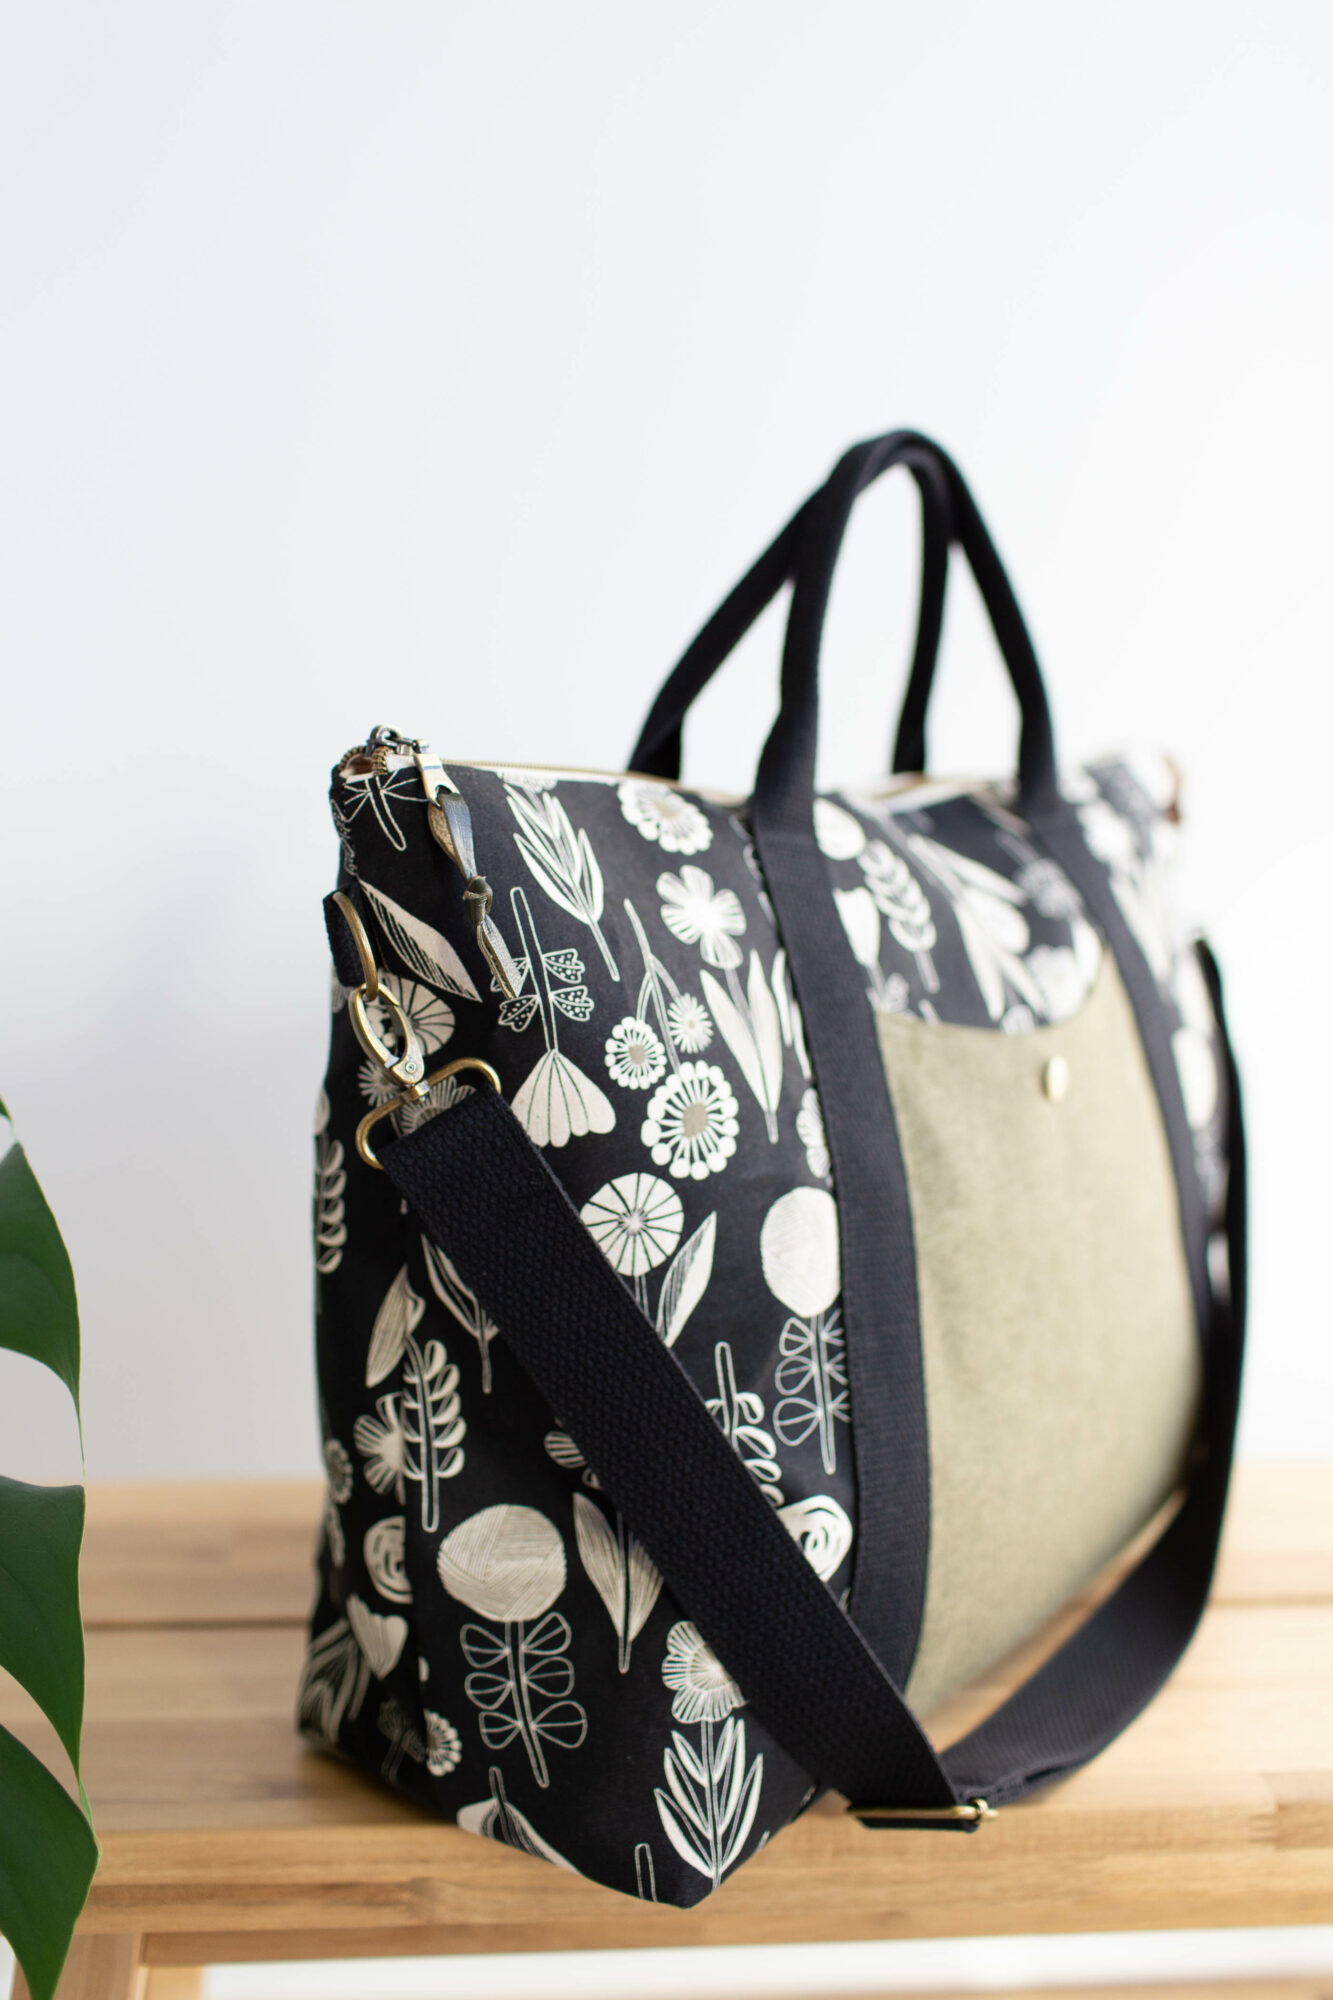
The Oxbow in the sew-along video is sewn in the following fabrics:
- Leah Duncan Yuma collection (for Cloud9 Fabrics) for the exterior – I purchased mine from Hawthorne Supply Co.
- Accent fabric is Shetland Speckle Flannel in Olive (Robert Kaufman Fabrics), I purchased mine from Hawthorne Supply Co.
- Lining is Waterproof Canvas purchased from Sullivans Trim (the color I used appears to be out of stock at the moment, but there are lots of great colors to choose from!)
Thank you so much for your support! I can’t wait to see more Oxbow Totes! Be sure to tag me on Instagram (@noodlehead531) and use #OxbowTote #noodleheadpatterns
