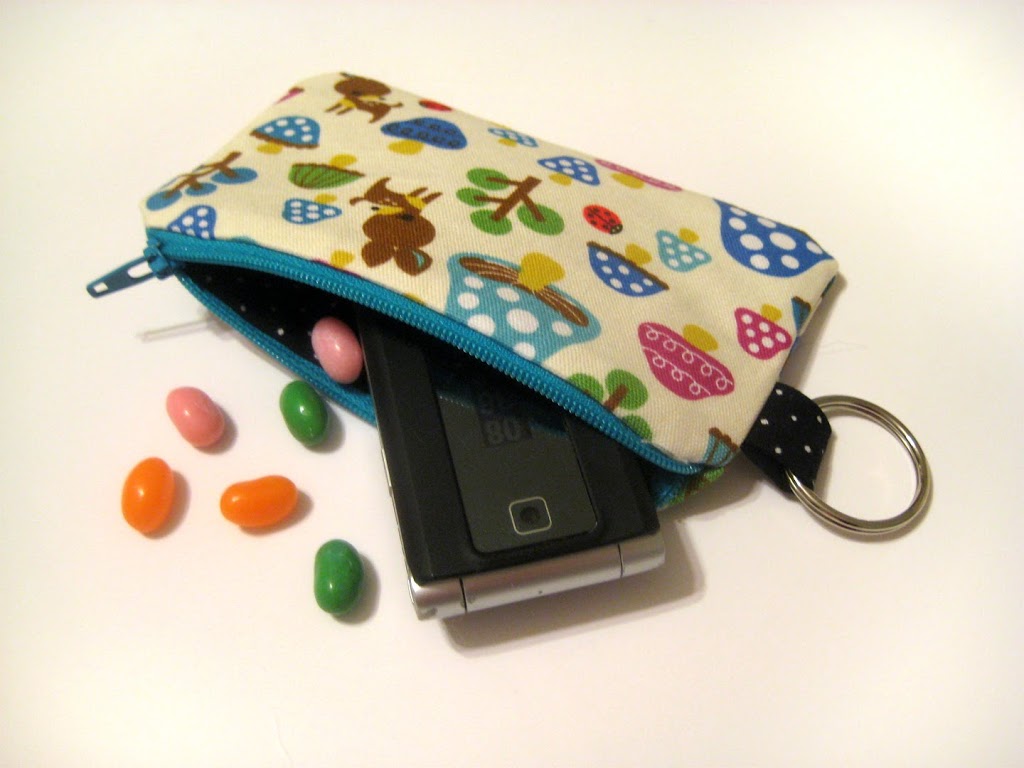
Ask and ye shall receive! Here’s the tutorial for the Lil Cutie Pouch.

You need:
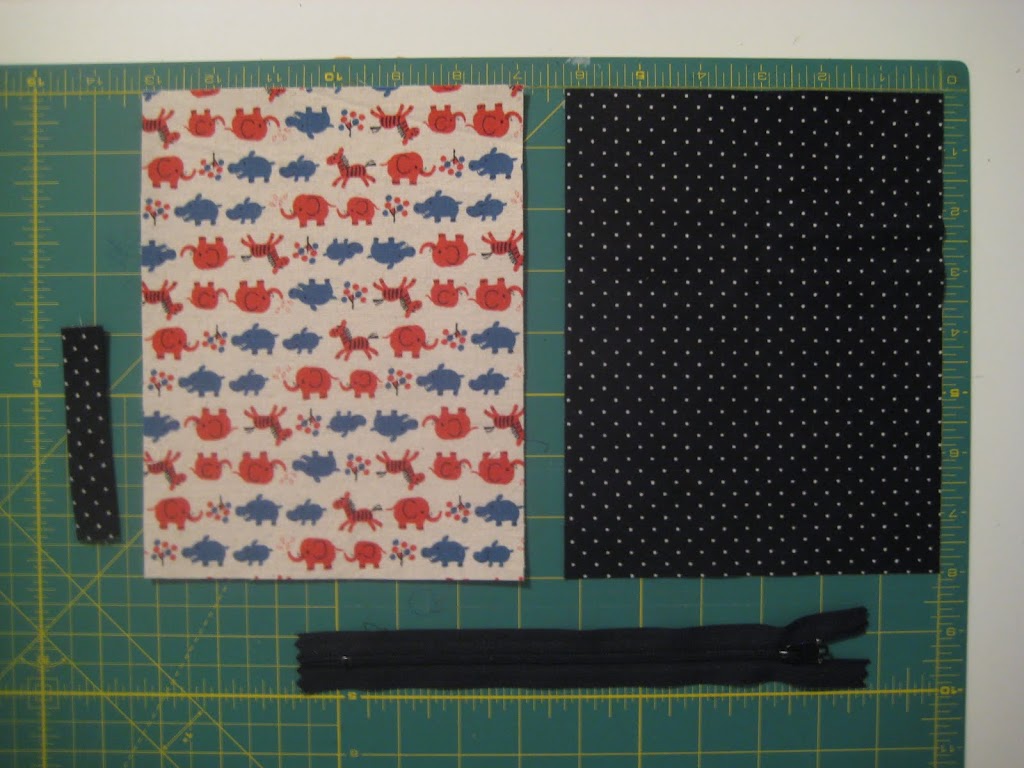
- (1) 8″ tall x 6.25″ wide piece of exterior fabric (interfaced)
- (1) 8″ tall x 6.25″ wide piece of lining
- (1) 2″ x 3″ piece of fabric for key ring loop
- split key ring
- 8″ zipper
This one’s quick! Make a couple at a time and keep one for yourself this time (I did!).
{1/4″ seam allowances throughout}
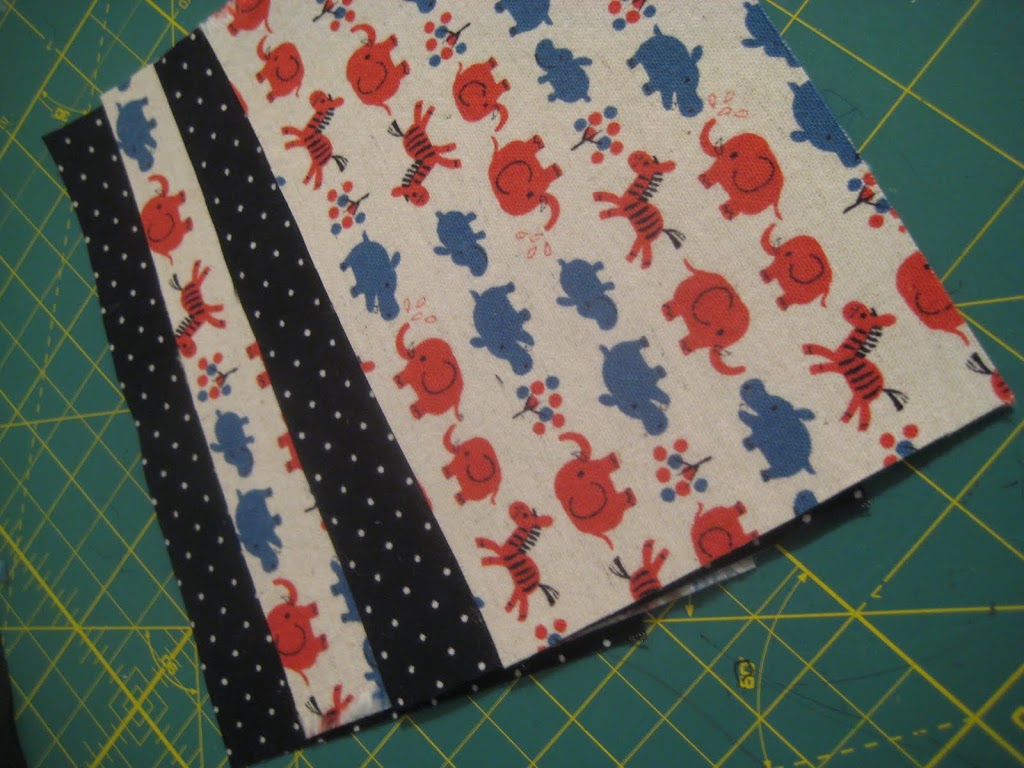
Cut your exterior & lining pieces in half (they’ll measure 4″ tall x 6.25″ wide each, you’ll have 4 pieces total)
Take your 2″ x 3″ piece of fabric, fold right sides together the long way, sew. Turn right side out and press with the seam in the middle of the fabric. Press in half to make a loop, baste raw edges together if desired. Set aside.
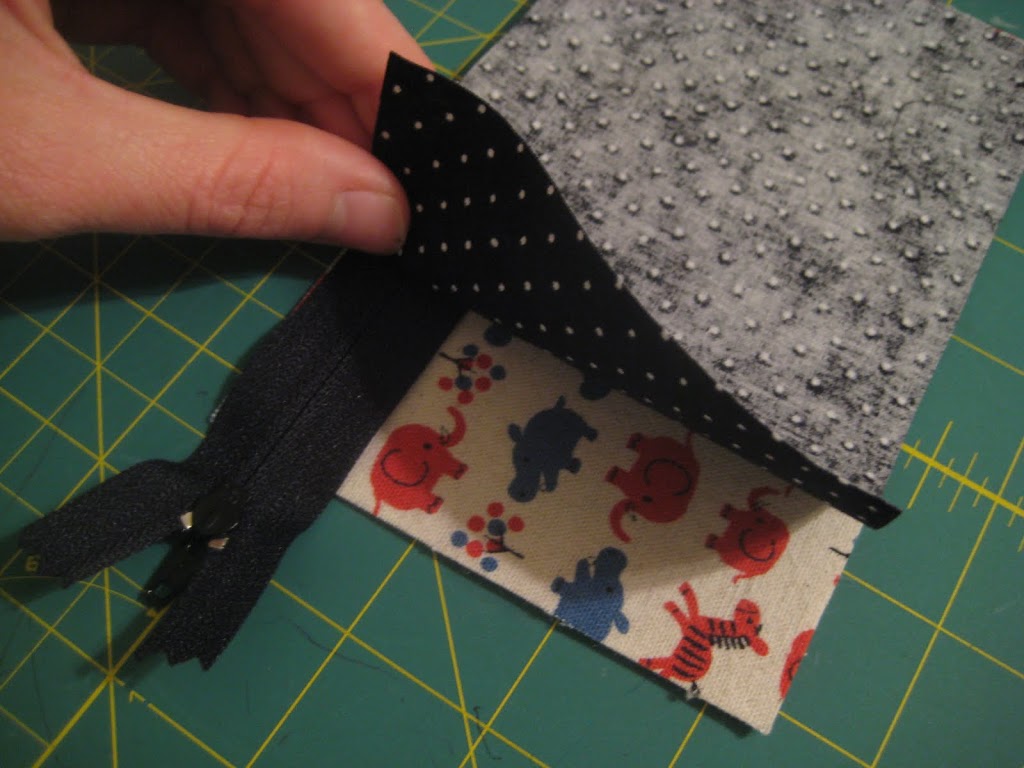
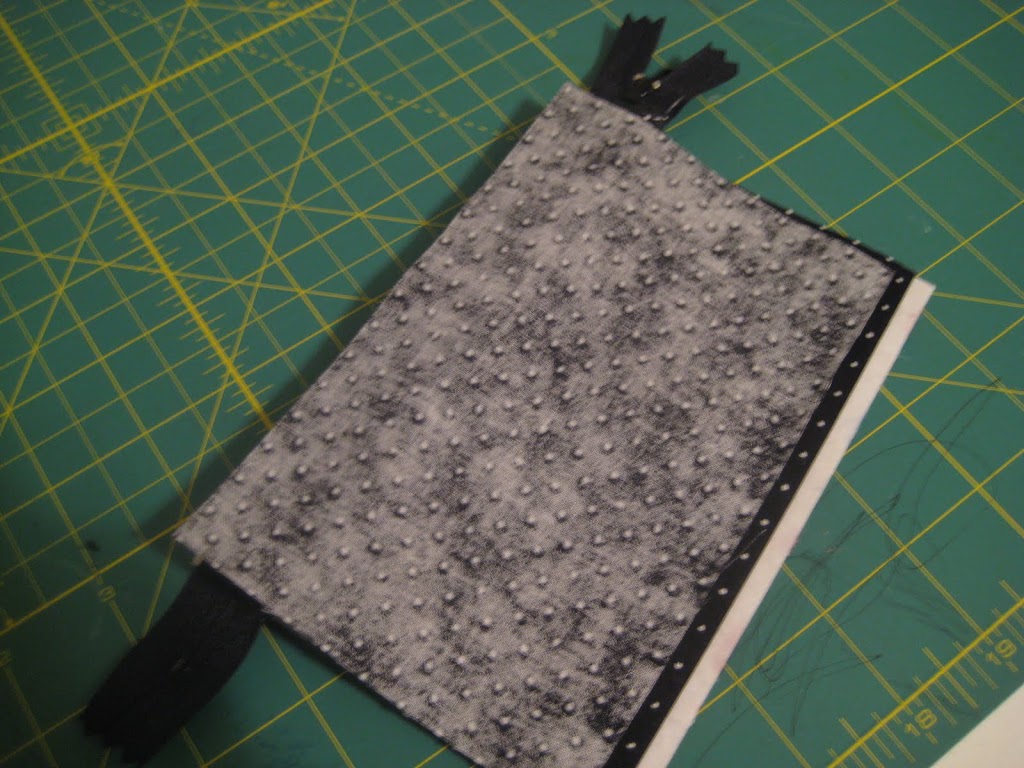
Lay down the first exterior fabric right side up, place your zipper teeth side down with the zipper pull to the left. Lay one of the lining pieces right side down. Pin if you’d like. Using your zipper foot sew together.

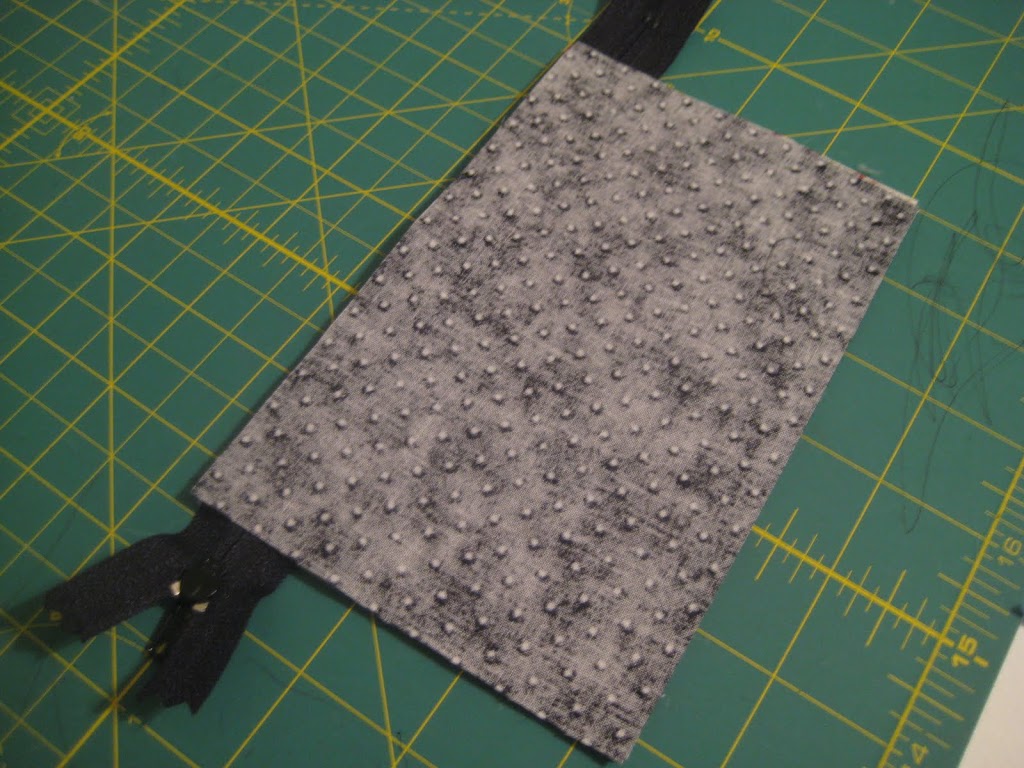
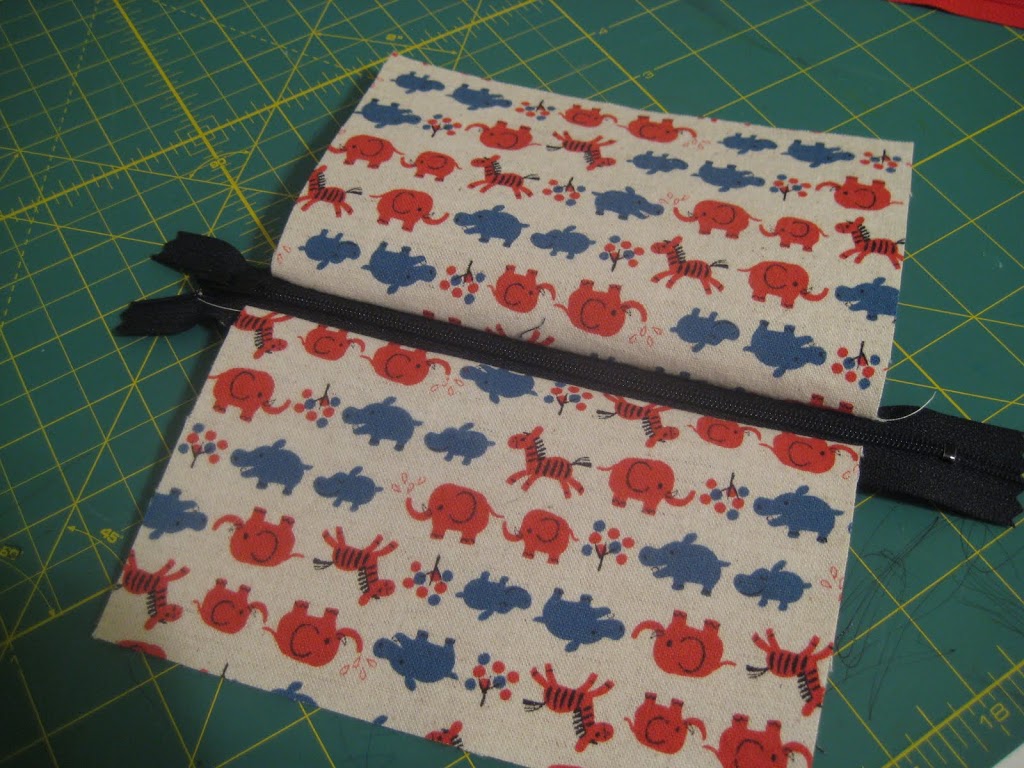
Flip wrong sides together. Next lay your remaining exterior fabric piece right side up, place your zipper teeth side down with the zipper pull to the right this time. Lay the remaining lining piece right side down on top of the zipper. Pin. Sew. Flip wrong sides together, press.
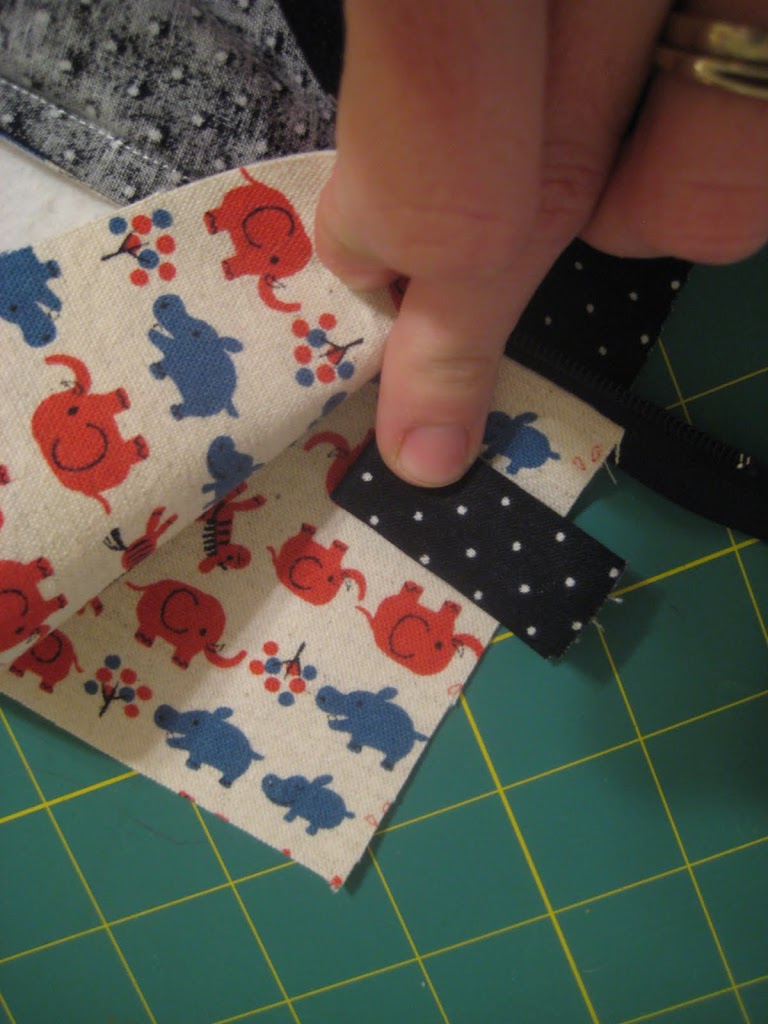
Flip right sides together (be sure to open your zipper about half way now). Tuck in your tab that you made earlier between the exterior pieces of fabric, with the tab’s raw edges facing out.
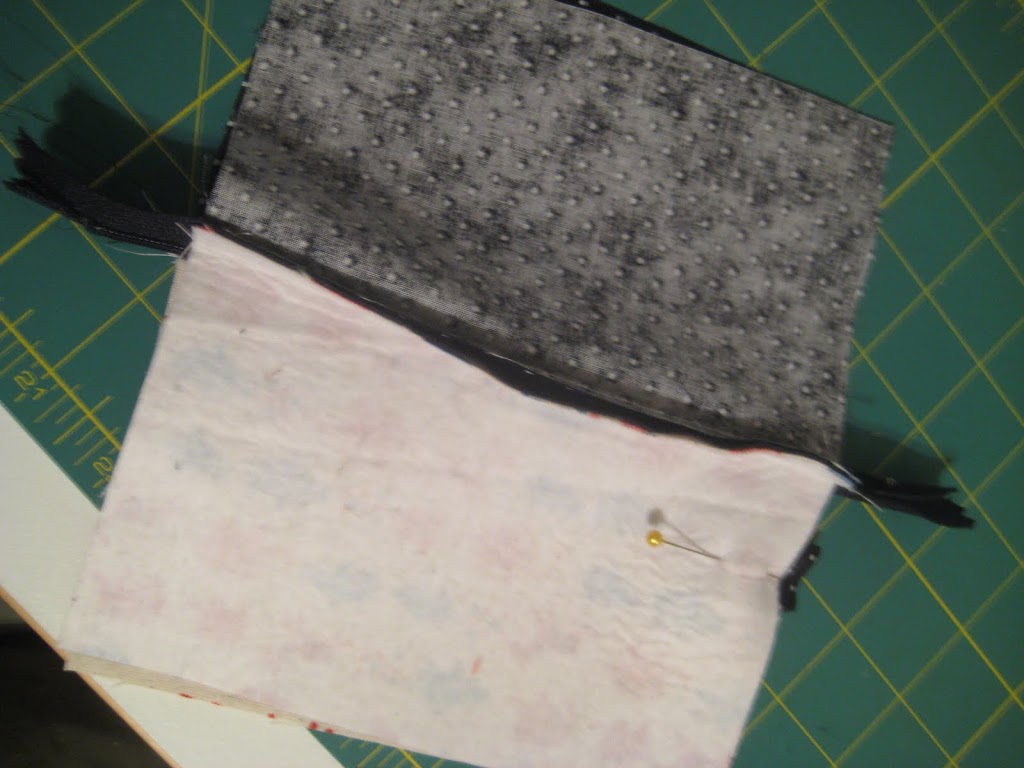
Sew around entire perimeter leaving a 2-3″ opening in the lining for turning.

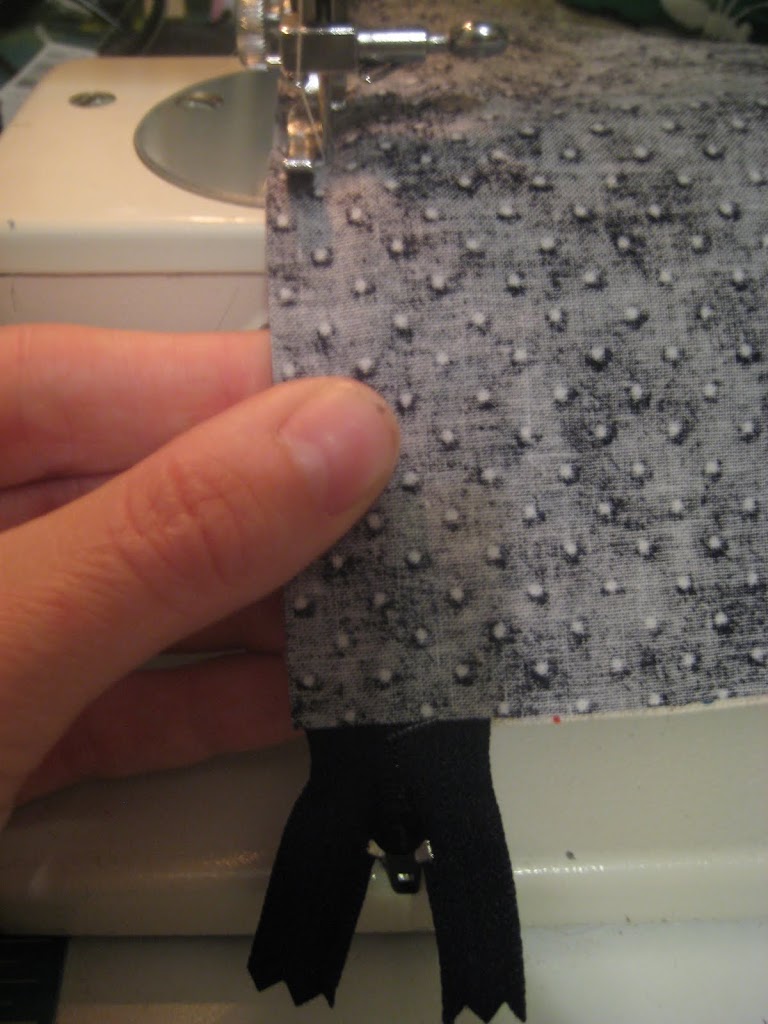
When I’m sewing around the perimeter, I make sure to push the zipper towards the exterior fabric on both sides when sewing across the zipper (zoom in on the above picture if you need to). Clip corners, trim excess zipper. Pull inside out through the opening. Use chopstick to push out corners. Tuck raw edges of opening in, sew opening in lining shut with small seam allowance, or stitch closed by hand. Push lining into exterior. Press.
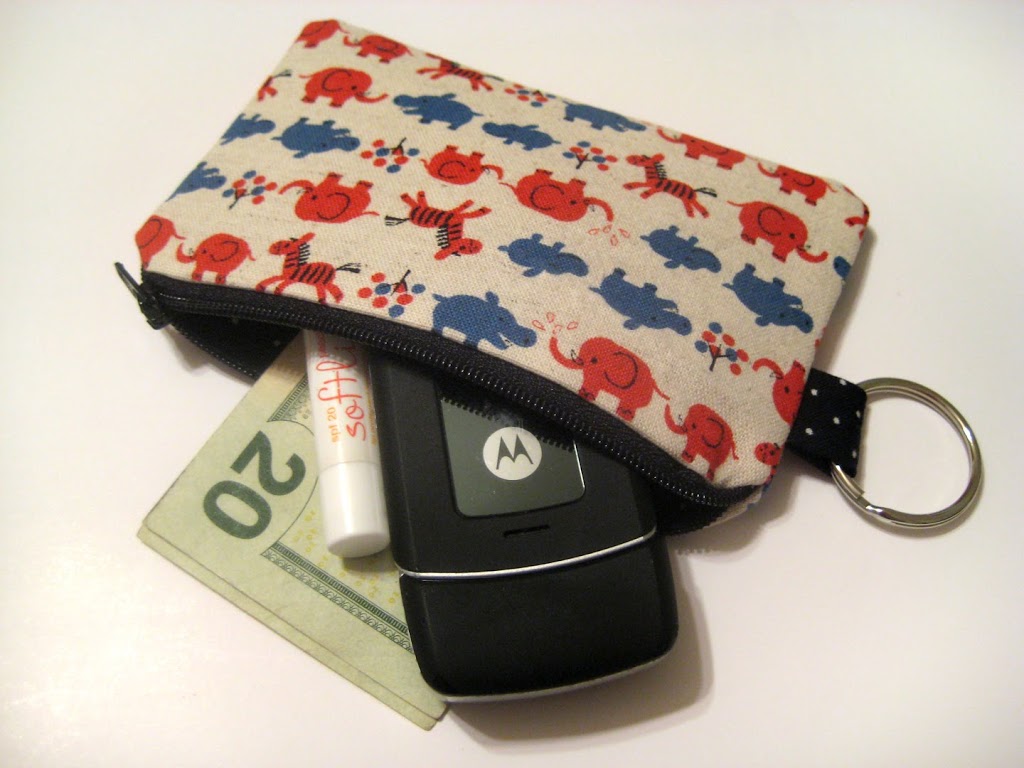
Attach your metal key ring, you’re good to go! Stuff in all those gadgets and whatever else you might need, a camera, cell phone, iPod, you name it. Let me know if you have any questions, I’d be happy to help.