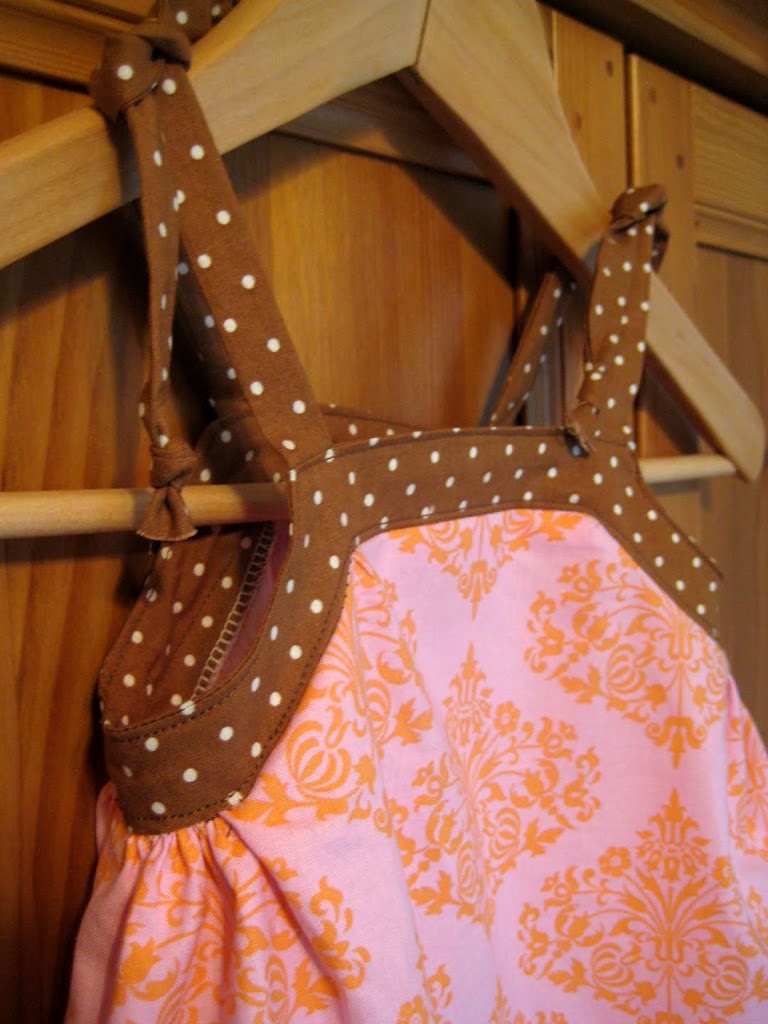
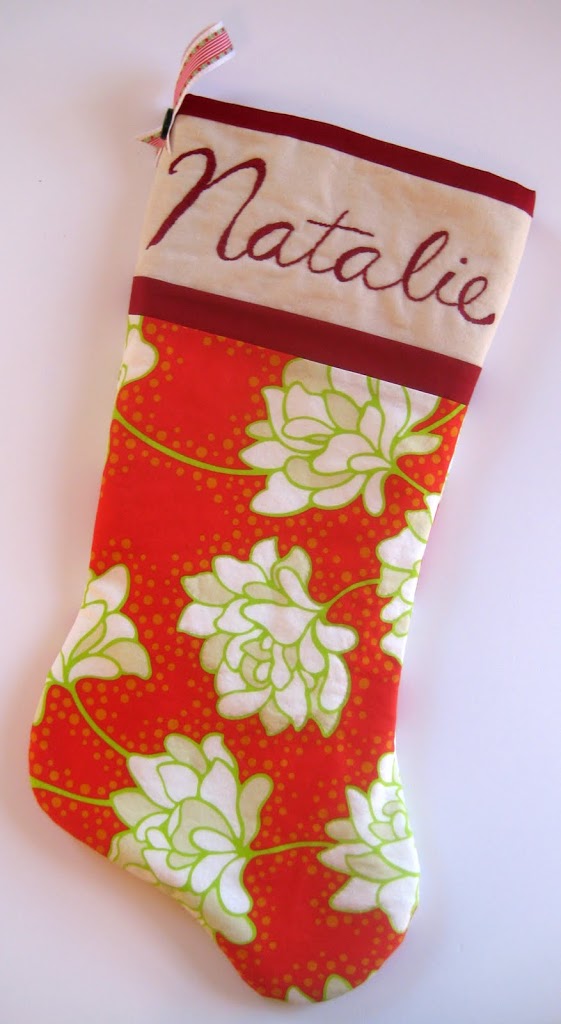
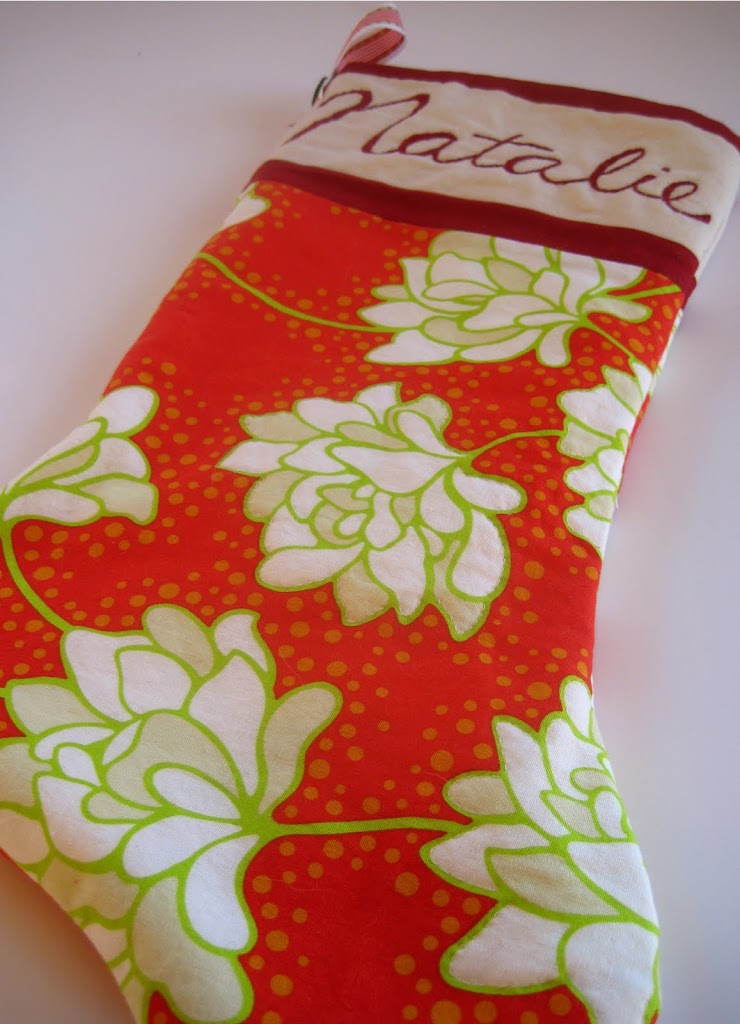
Did you like this stocking? Want to make one yourself? Well, I figured there are probably a lot of tutorials on how to make Christmas stockings, this one is the way I did it. I like that it allows room for embroidering the name, what’s a stocking without a name on it?
Here’s what you need:
- Stocking pattern pieces (I’m providing a PDF of the stocking pattern pieces I used, or you can trace one from a stocking you like)
- 1/2 yard main fabric
- 1/2 yard white muslin (used for lining)
- scraps of linen (or scraps from your white muslin) for name placket
- 18″ of bias tape (for binding at top of stocking)
- 2″x 16″ piece of colored fabric (mine was a deep red)
- Warm & white cotton batting (maybe 1/4 yard)
- thread
- embroidery floss
- water soluble marking pen
- scrap of ribbon, button (for making hook)
Ready?
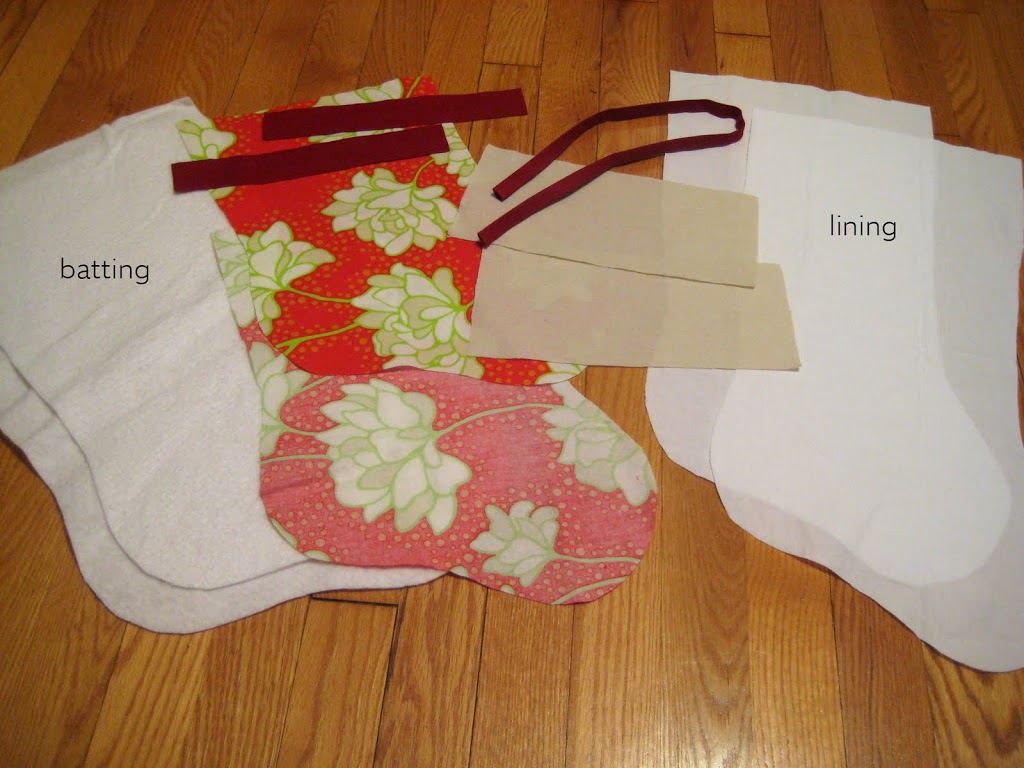
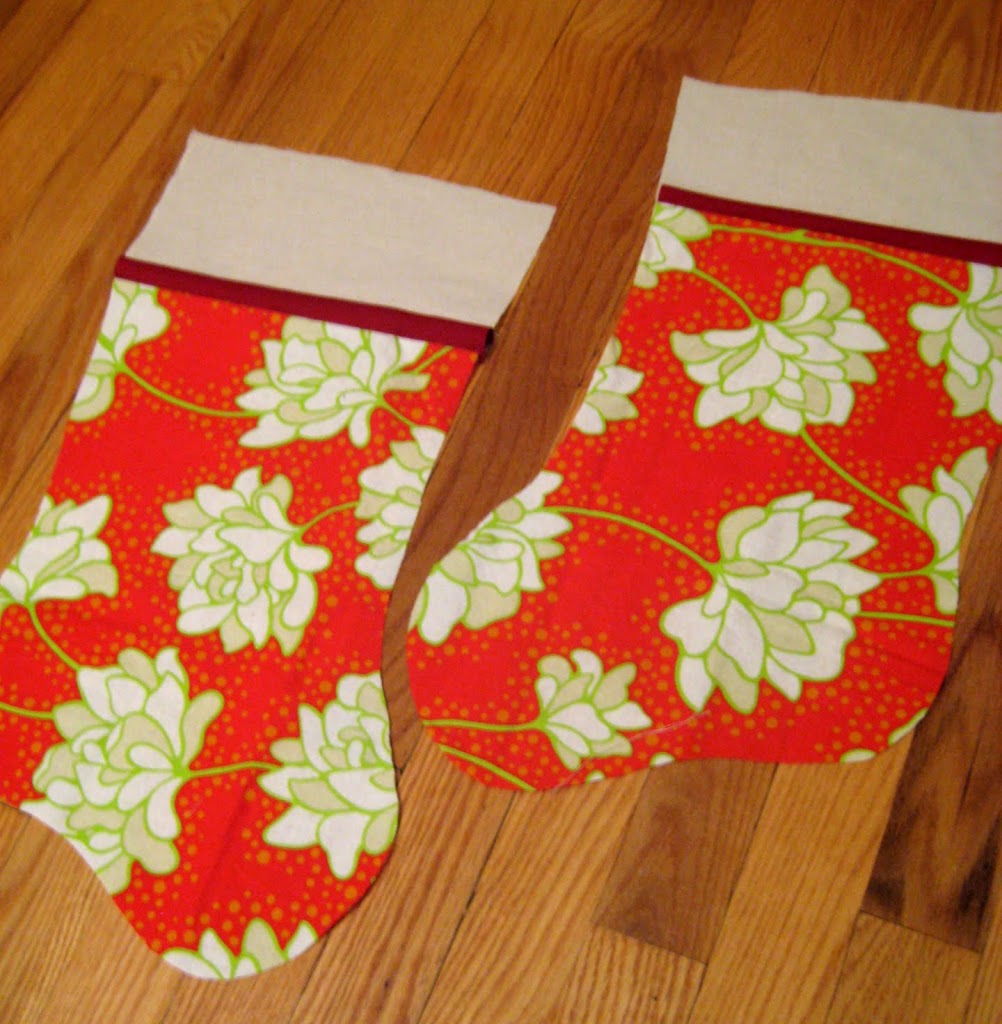
Cut 2 pieces of the stocking pattern from the white muslin
Cut 2 pieces of the main fabric from the stocking template
Cut 2 pieces from the linen for your name placket (cuff piece)
{Sew with 1/4 seam allowances throughout.}
Place white muslin (for interior) right sides together and sew along edge, leaving ‘top’ of stocking open. Set aside.
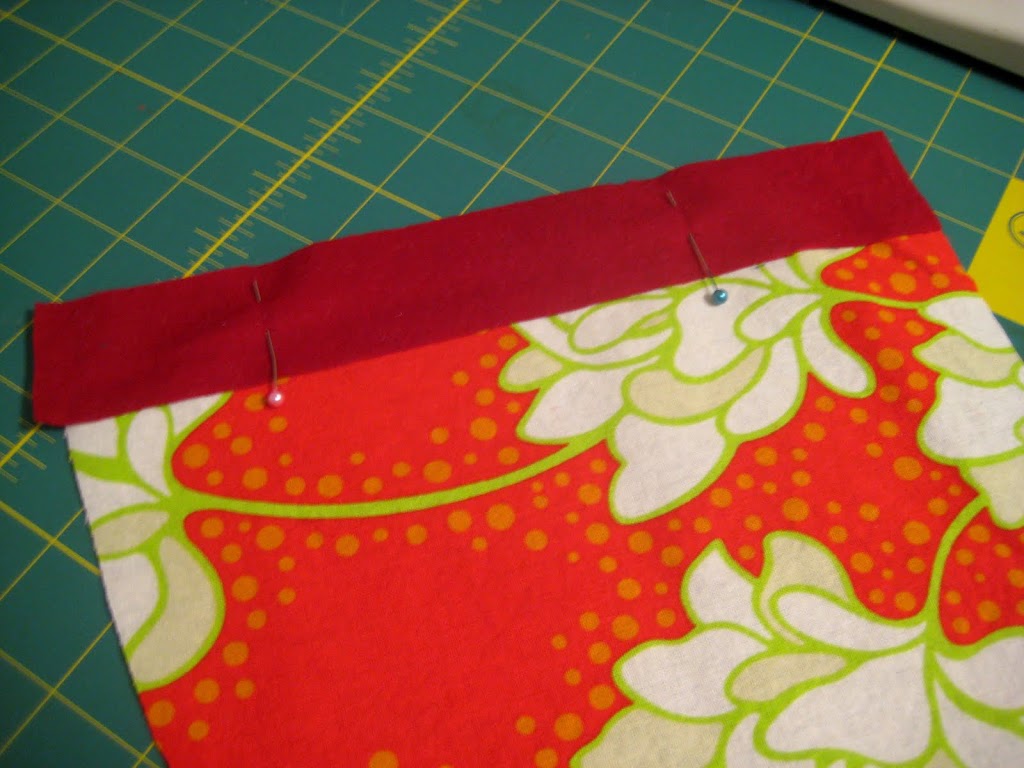
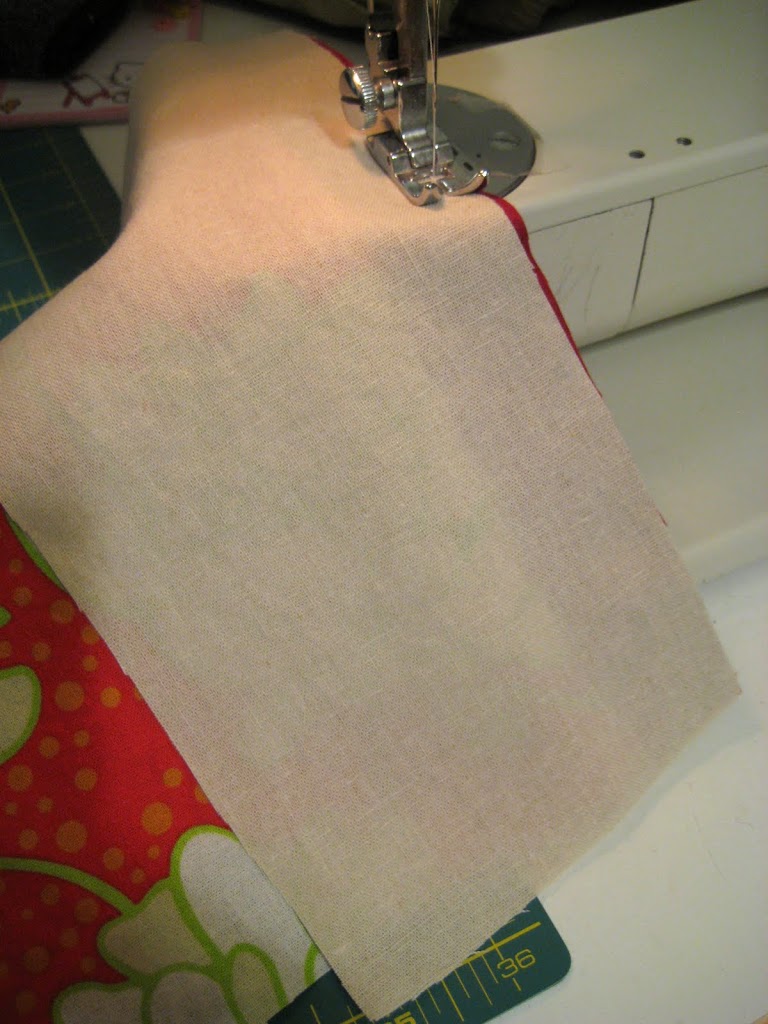
Take main fabric and sew your 2″ wide fabric together, then sew linen to that 2″ wide fabric. Repeat for back side of stocking. Press seam allowances down towards main colored fabric.
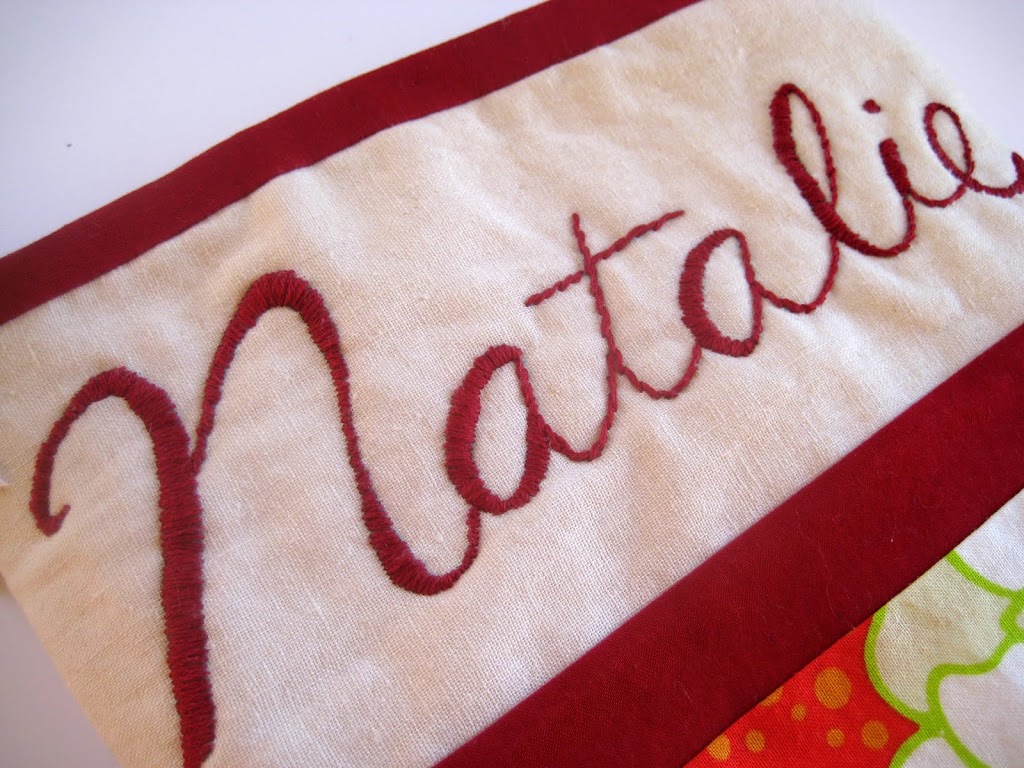
After sewing both front and back exterior pieces of the stocking it’s a good idea to embroider your ‘names’ on the stocking. Just use your water soluble pen and write the name however you’d like, then use a satin stitch to embroider the name. (this is definitely the most time consuming step). At this time I also did a little bit of hand quilting to keep the top pieces attached to the batting better.
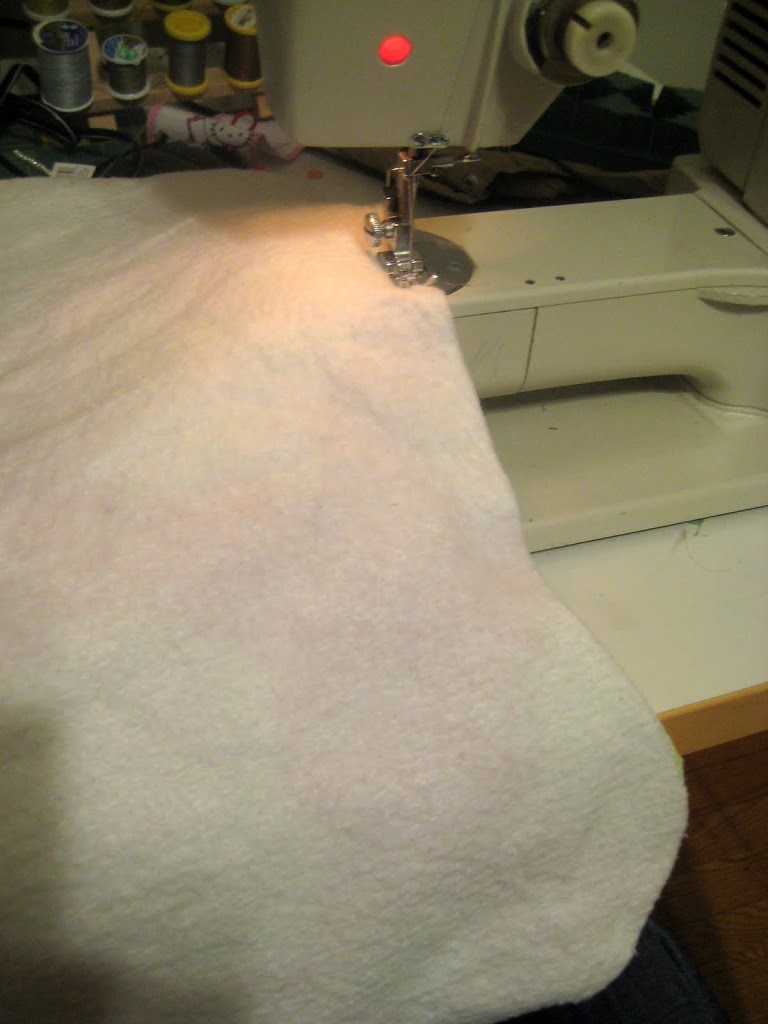
Next, place a piece of batting on your work surface, then put the pieced exterior right side up on top of that. Then place the other pieced exterior piece right side down and then place the remaining batting on top of that. Pin. Sew along edge, again leaving ‘top’ of stocking open.
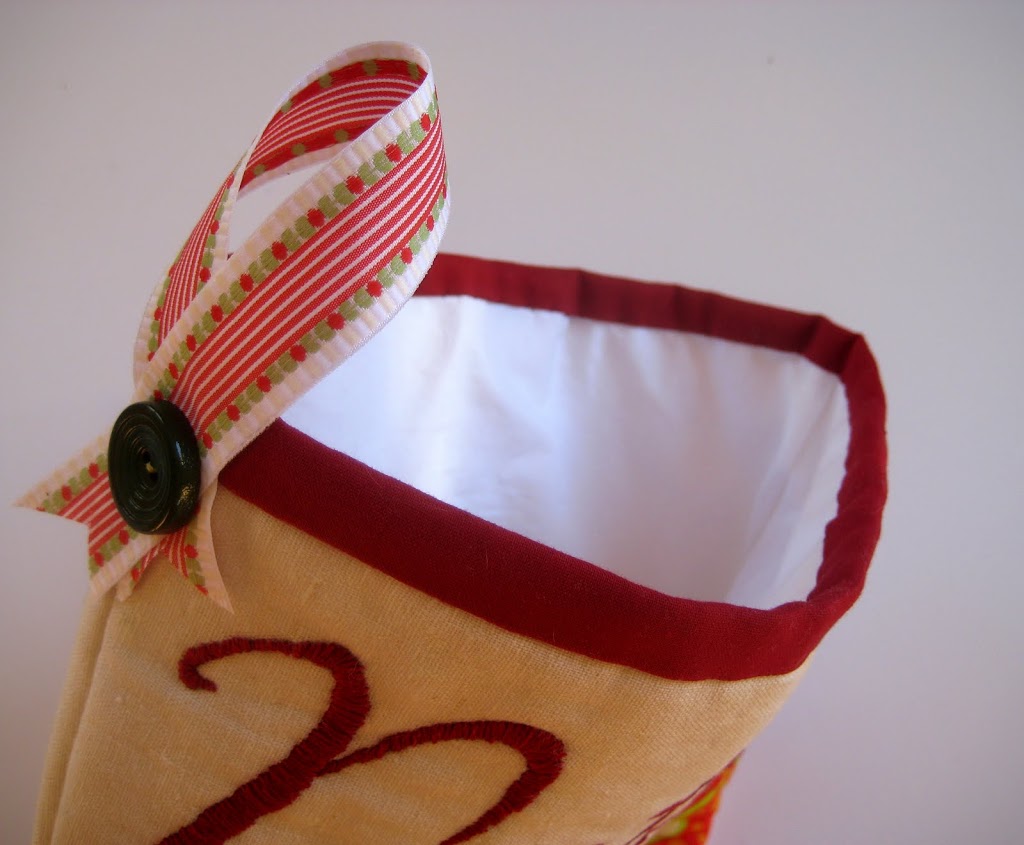
Turn exterior pieced fabric with batting attached right side out. Slip the white muslin liner into the stocking, wrong sides facing together. Attach your binding to the top of the stocking, just like you would for making a quilt. I tried hand sewing the binding for the first time. I love it. I used this tutorial and just looked at the pics for how to tack the binding down. If you haven’t done it this way before give it a try!
Lastly, take a 8″ scrap of ribbon make a loop and attach to stocking by sewing on a button through all layers.
Now go hang that stocking by the chimney with care!