Hello! Hello! Thanks for joining along for Day 3 for the Handmade Style Tunic Sew Along. It’s been fun for me to take time to process each bit and take things slowly. Plus I hope that if you’re joining along, that taking a project and breaking it up into smaller doable sizes enables you to enjoy it more along the way.
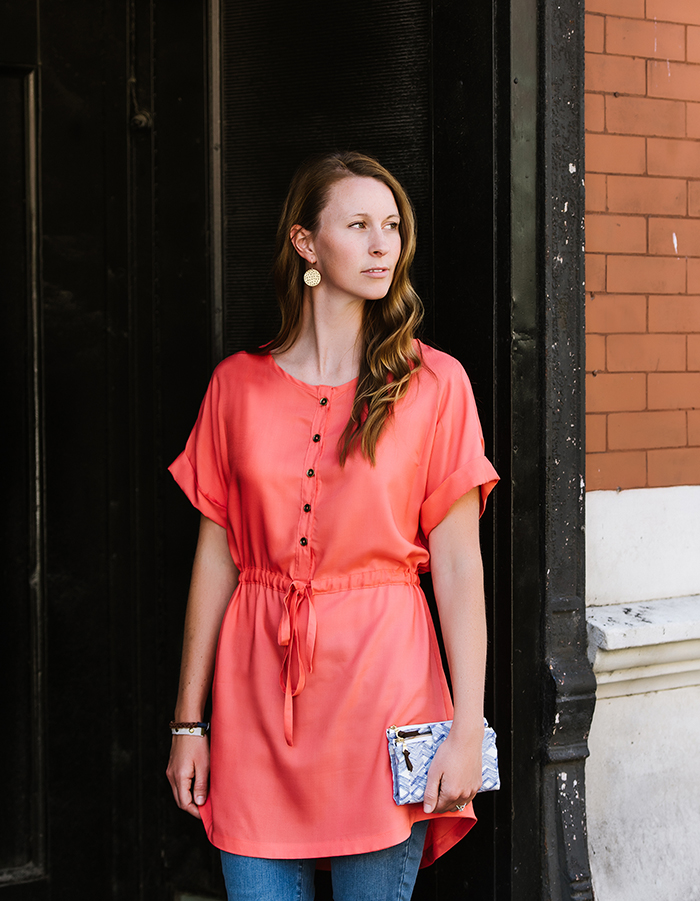
Today we’ll be sewing the neckline binding and the placket! I’m hoping the placket doesn’t scare anyone off. But if you don’t want to try it, that’s okay, too! The placket can be skipped and the tunic should fit over your head just fine. It’s a great option and of course saves even more time and steps. I like the placket detail and think it adds nice interest, especially if you’re using a solid or more subtle print.
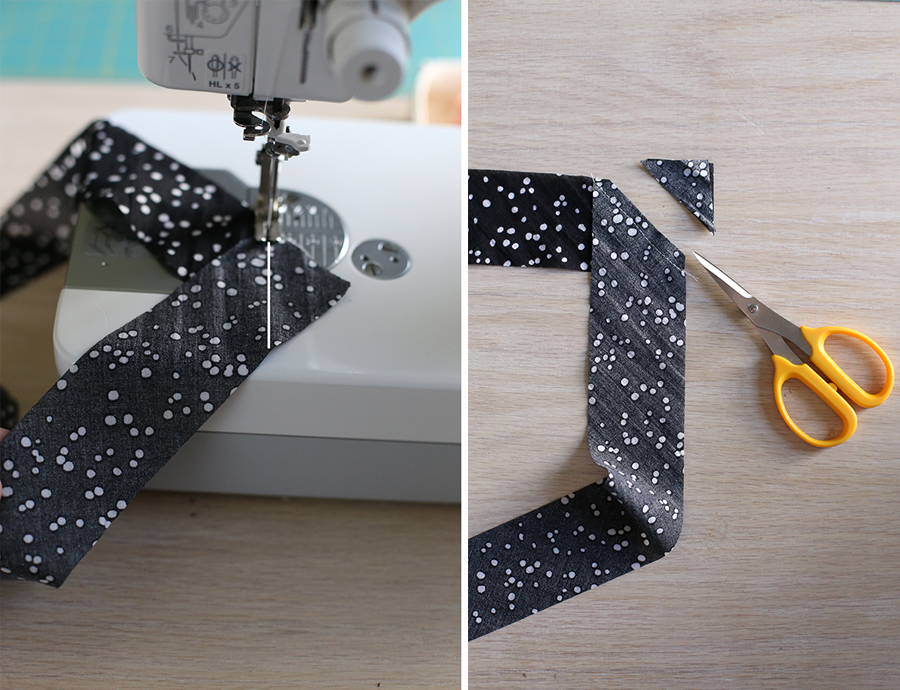
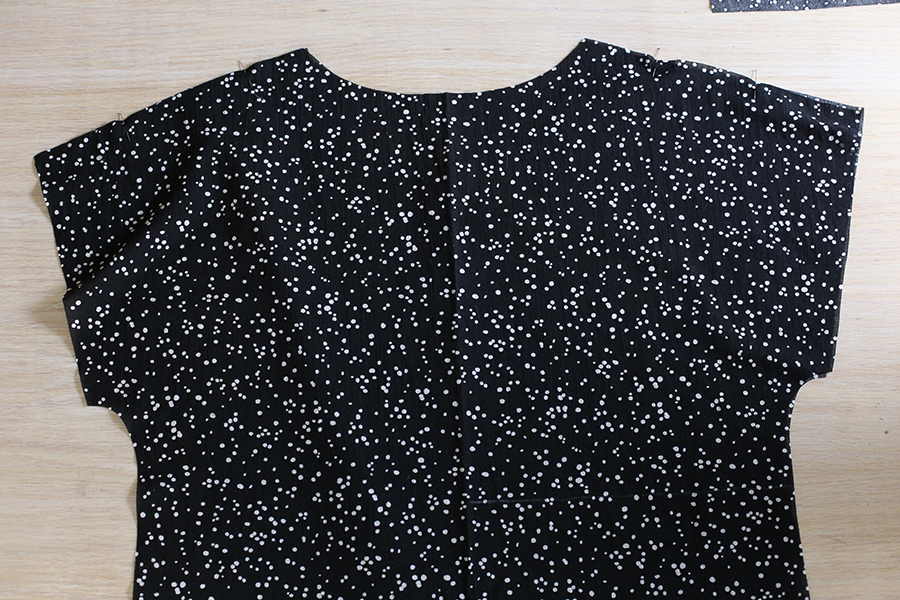
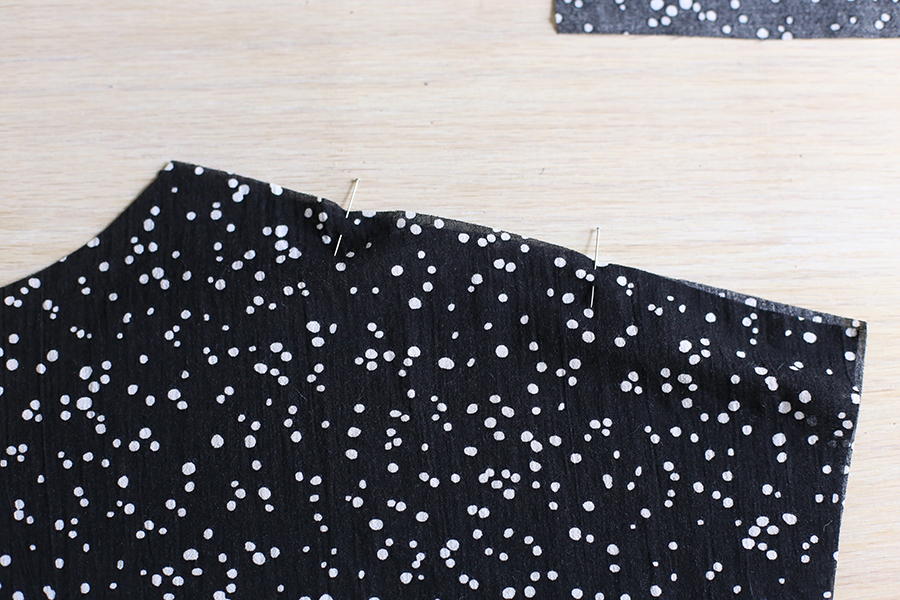
Start by sewing the shoulder seams, I’ll be using a french seam for this, so you can follow these next few steps or sew it the traditional way and finish your seams with a serger or zig zag stitch – your choice.
Place the tunic front and back pieces WRONG sides together, matching the notches and sew using a 1/4″ seam allowance. Then trim the seam allowance to an 1/8″.
Press the seam and position the tunic front and back RIGHT sides together. Sew using a 1/4″ seam allowance and then press your seam towards the tunic back.
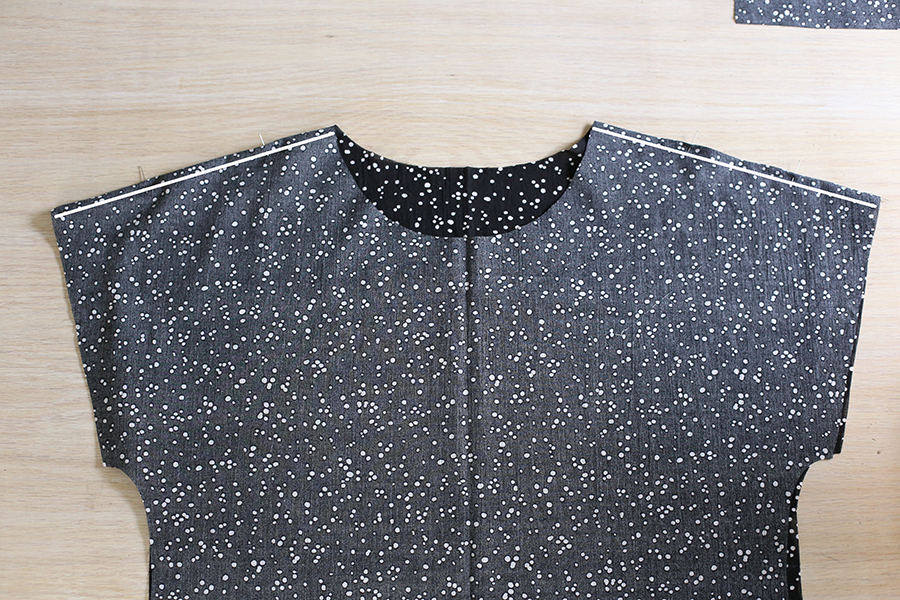
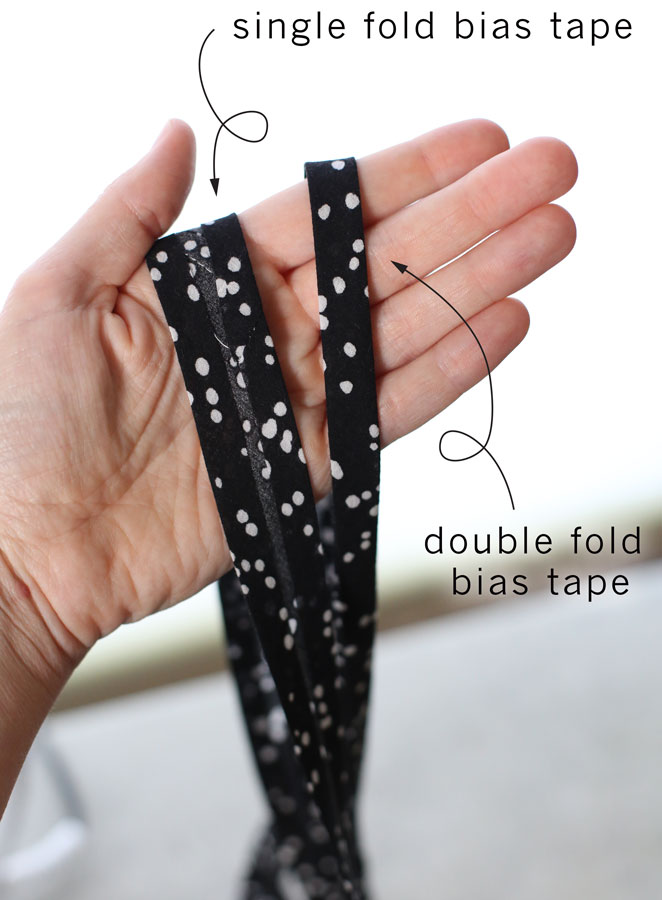
After the shoulder seams are sewn we can attach the binding to the neckline. Because the placket will be installed (and we’ll be clipping through the neckline anyway), you can start and stop the binding at the center front of the tunic. Turn the tunic so that the pieces are wrong side out. Beginning at the center front, open the double fold bias tape and align the long edge right sides together with the raw edge of the neckline.
You can then pin the bias tape all in place along the neckline, or adjust as you go without using pins. We’ll be sewing on the first crease of the binding closest to the neckline. After the bias tape is attached and you’ve reached the center front again, trim any excess tape and press the binding up away from the tunic.
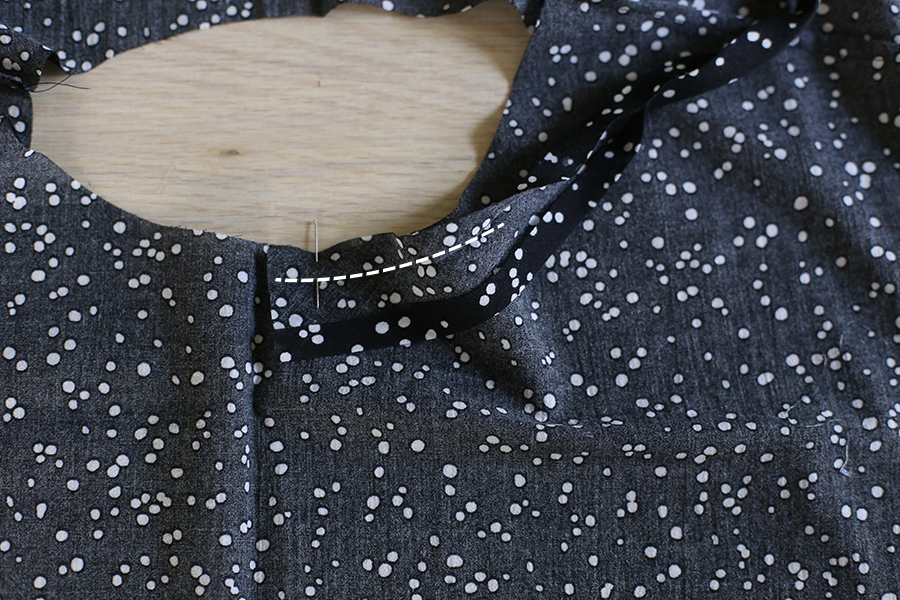
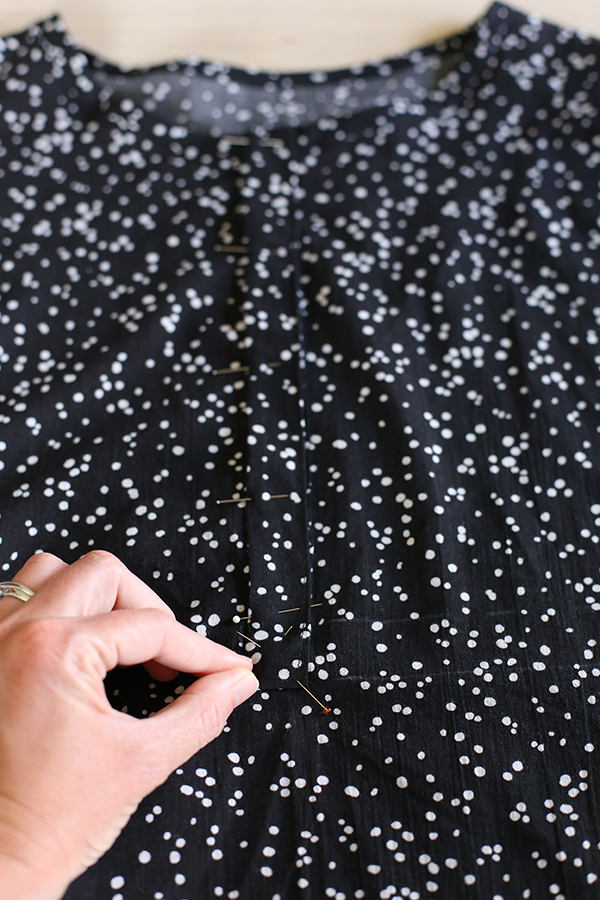
Next, turn the tunic right side out and wrap the bias tape to the right side of the tunic and pin in place so that it’s just covering the previous stitching.
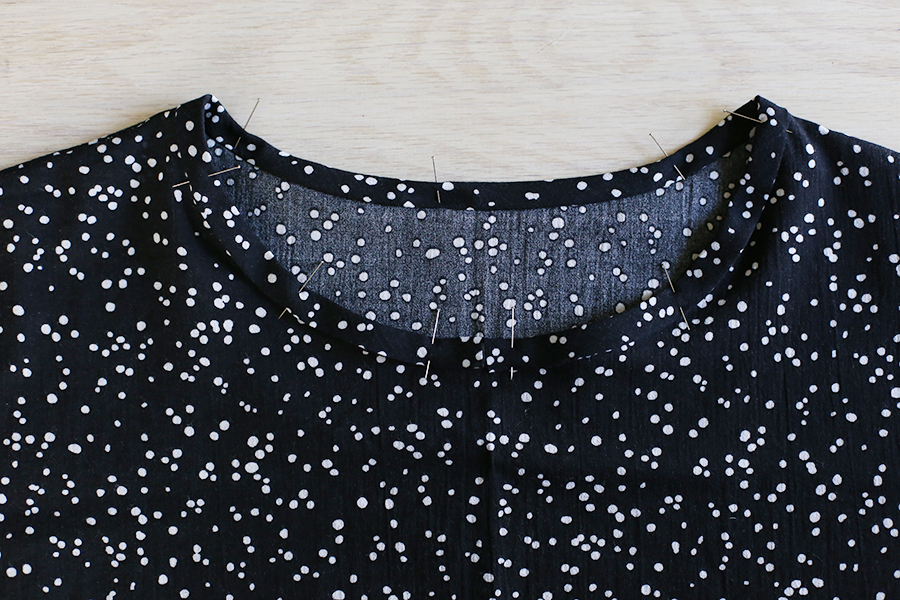
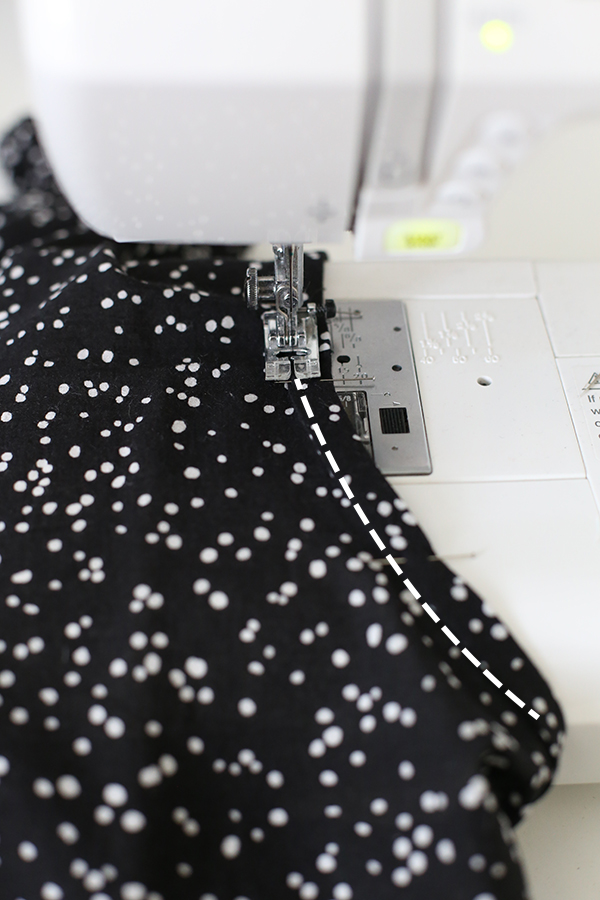
Once you’ve pinned carefully, sew the binding in place (starting and stopping at the center front).
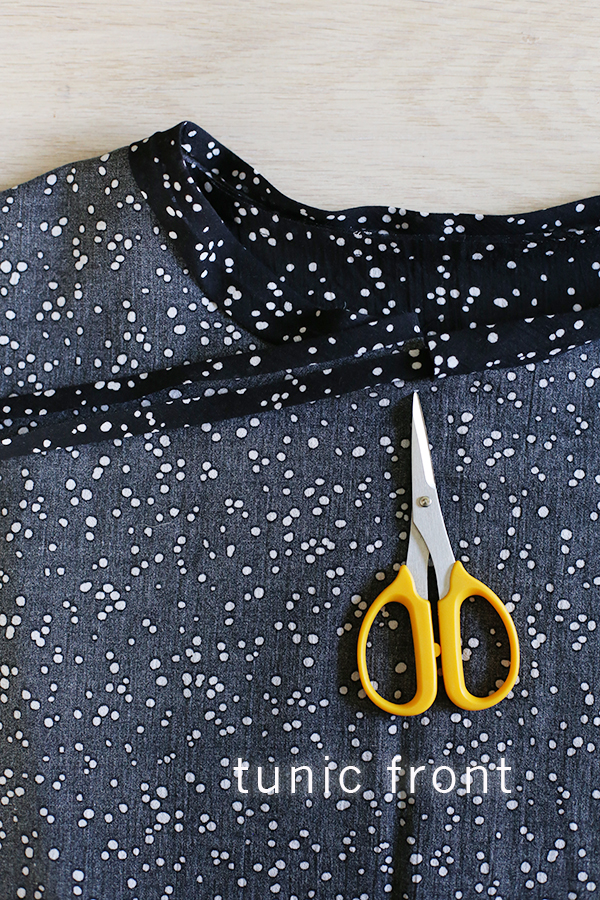
That’s it for the neckline!
Now on to the placket, don’t be scared, if you take your time and press well after each step this will go really slick. A little bit of spray starch is also helpful for getting thing nice and crisp. If you’ve never tried a placket, I’d suggest grabbing a couple of scraps and practicing using this same technique. It’s better to mess up a few times with scraps than it would be with your actual garment!
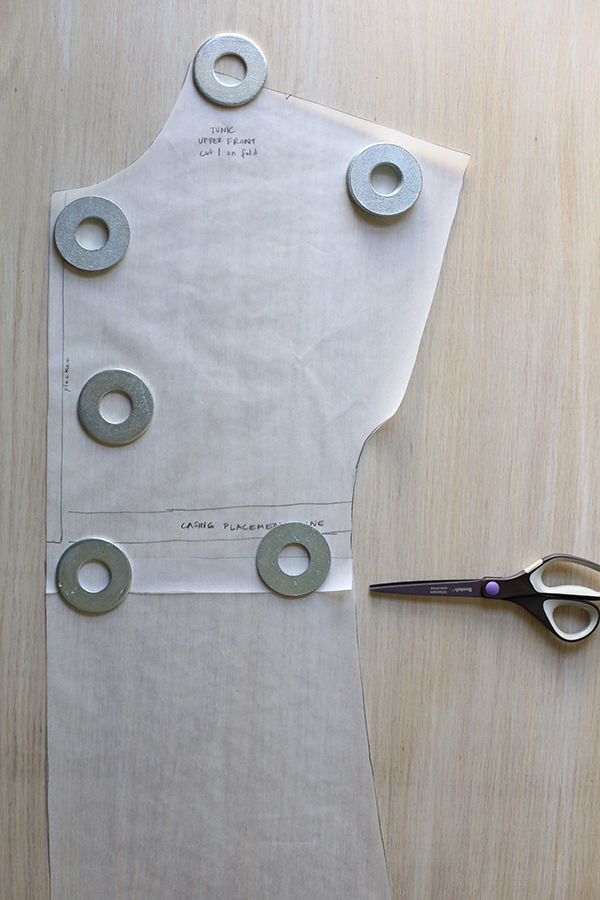
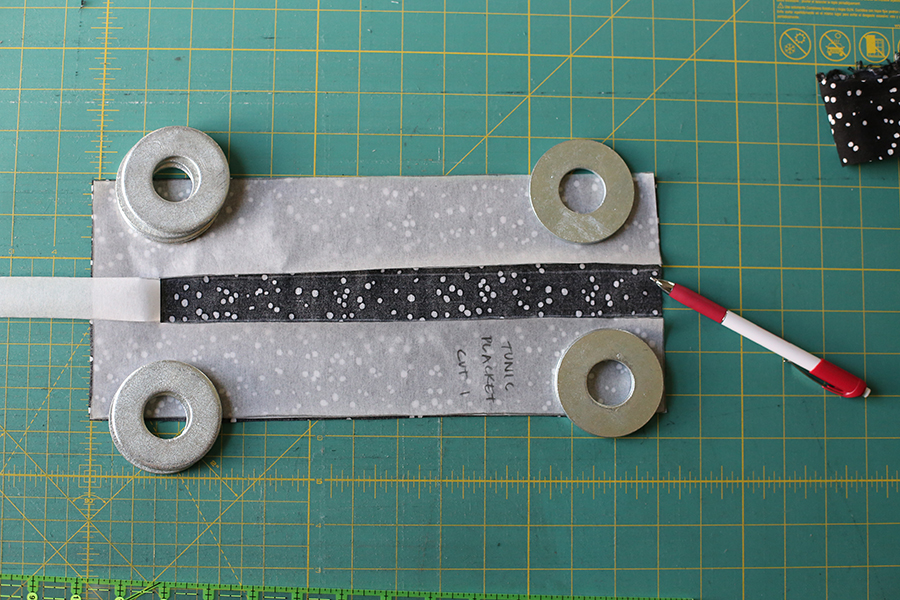
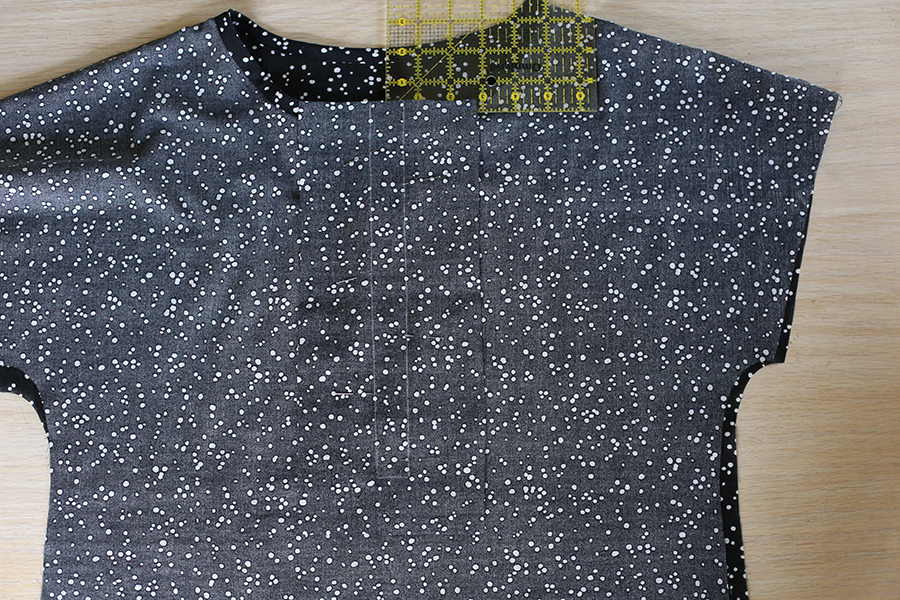
Start by finger pressing the placket lengthwise to find the center at the top of the placket. With the tunic wrong side out, place the placket piece right sides down centered on the wrong side of the tunic front. Important: the placket needs to be placed 1/2″ above the finished neckline on the center front. This is also where I’d lay the garment flat on a large surface and make sure everything is aligned properly. You’ll want to be sure the placket is centered and straight on the tunic front. Pin the placket in place.
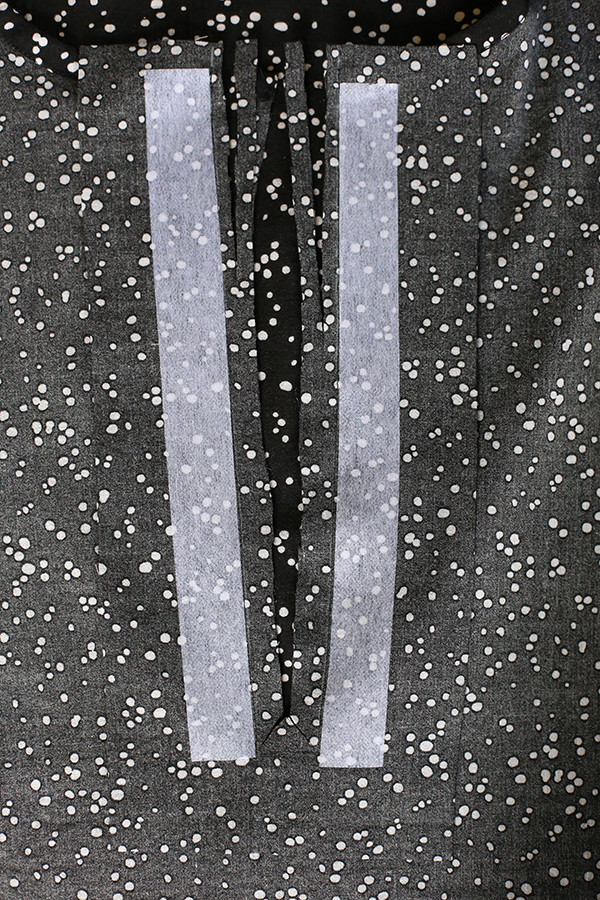
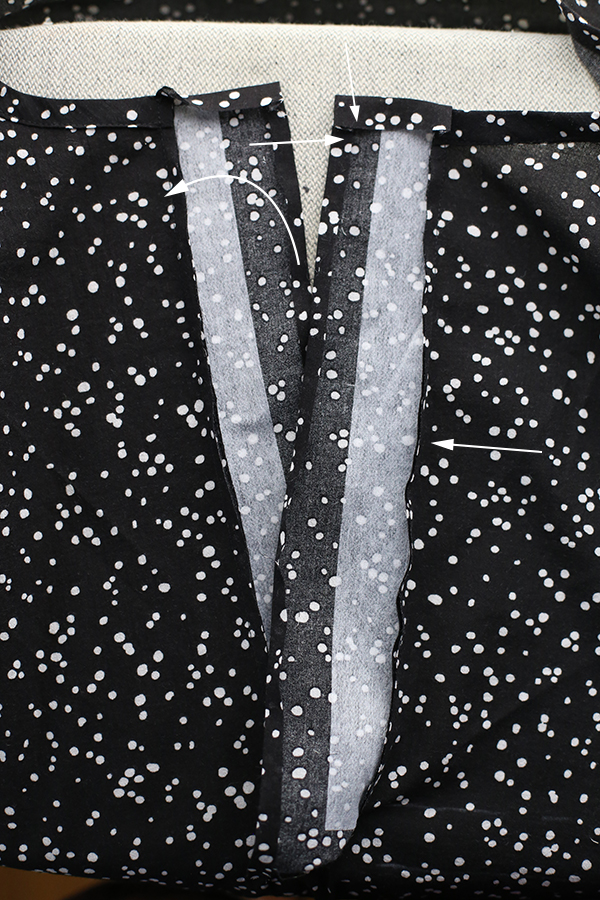
Sew on the marked stitching lines of the placket through both the placket and tunic front. This is also a good point to quickly fuse 1″ strips of the lightweight interfacing in place. Don’t skip the interfacing if you’re working with an especially lightweight fabric. Your buttons and buttonholes will thank you later. The strips will be fused in place like this:
This part might be the scariest, but with a scarp scissors cut down the center of the placket between the stitching lines of the placket. Angle out to each corner and clip to the stitching but not through it. Trim the seam allowance within the box to a 1/4″.
Turn the tunic right side out and bring the placket piece towards the center. Press each long side of the placket to the wrong side by 1/4″. Press the seam allowance towards the placket and then press the top placket edges down by 1/2″.
Press each placket in half lengthwise, so that it just covers the stitching from attaching the placket. The finished placket pieces will measure 1″ wide. Now to stitch it in place!
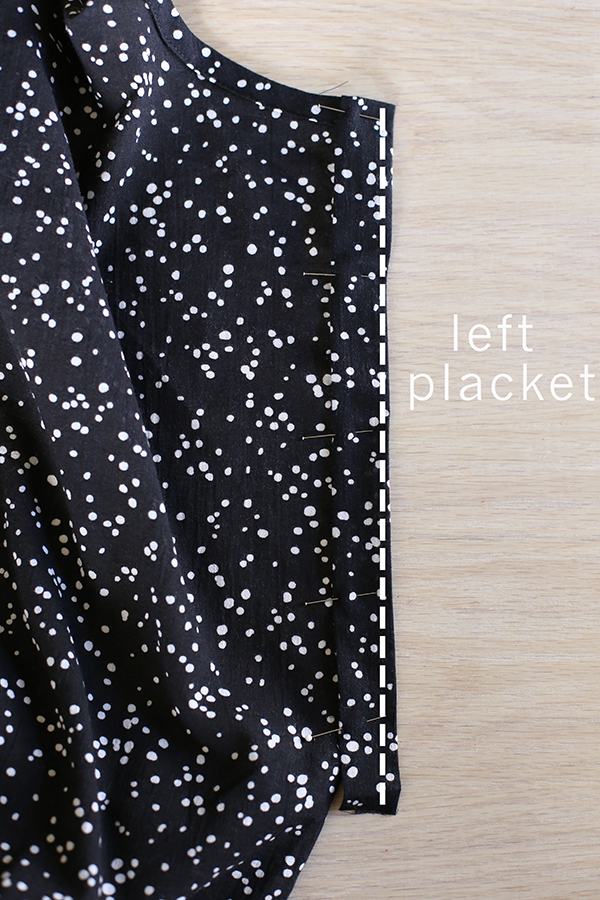
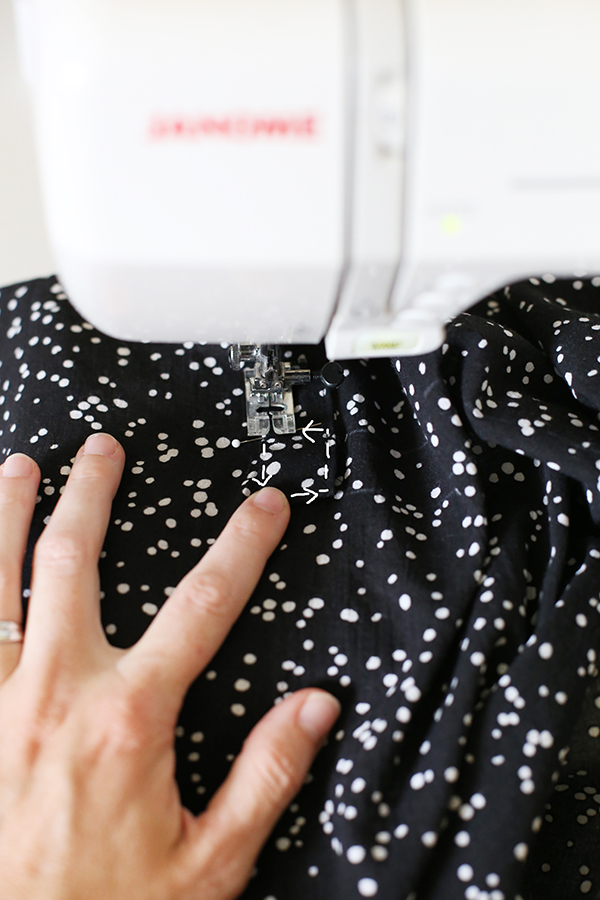
First, topstitch along the inner edge of the left placket along the long edge, fold the garment out of the way as you reach the bottom.
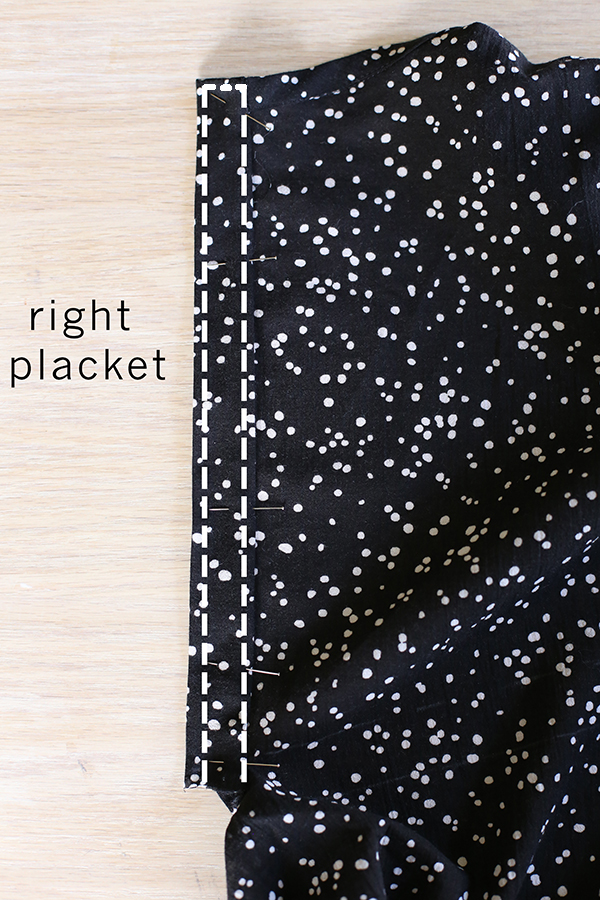
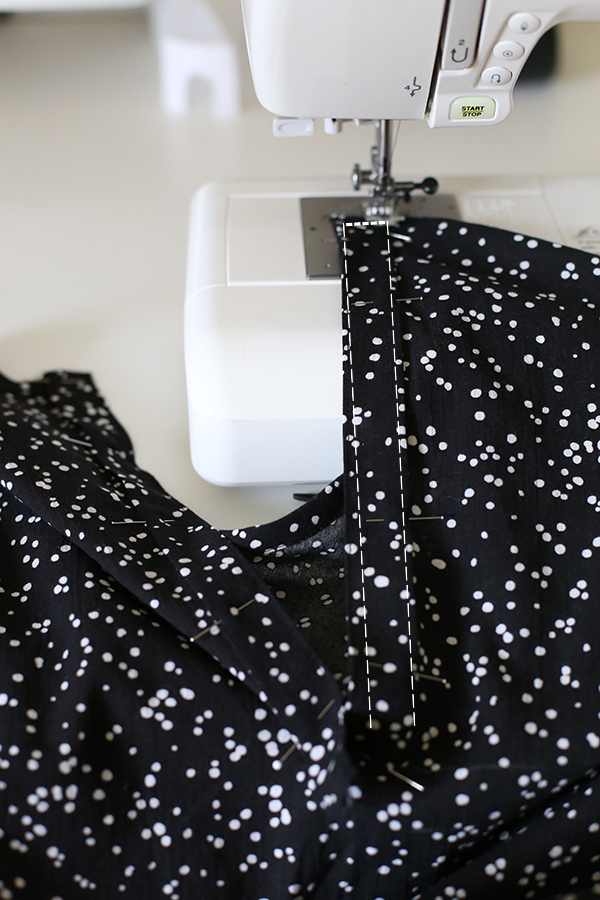
Topstitch along the right placket, sewing both long edges and across the top of the placket. You’ll be topstitching as far as you can sew just past the rectangular placket stitching box if you can. Just bend the garment out of the way to do so. Take your time, on the placket, the topstitching is what you’ll see most when you’re finished.
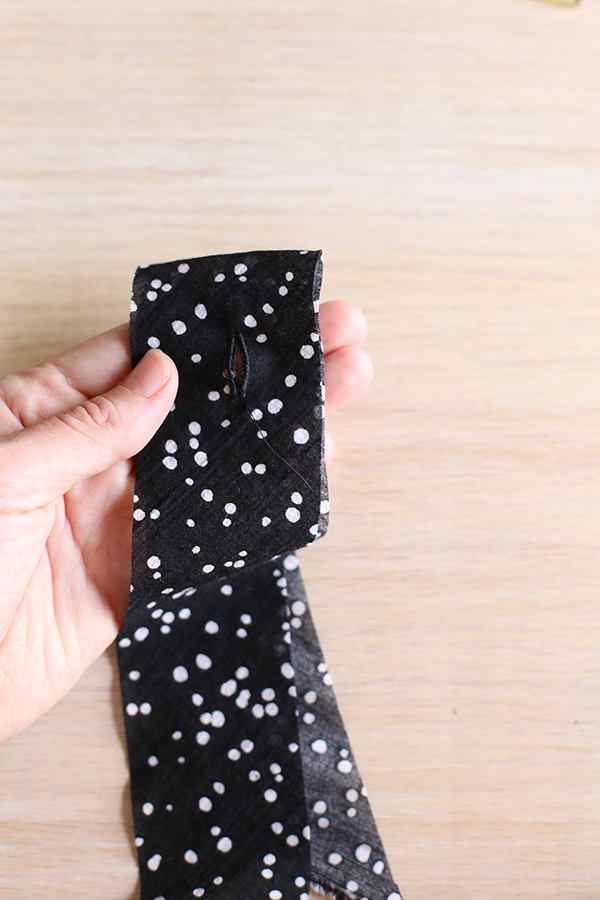
So now there’s a right and left side of the placket all set to go. Place the left placket on top of the right. You can put a few pins in place to keep the placket aligned temporarily. Now carefully trim the underside of the placket piece at the bottom edge. Don’t trim any off the what was the left placket, just what’s under it. This will reduce bulk for sewing the next step. One you’re done trimming, turn the bottom of the placket under by 1″. This will enclose all the raw edges. Press well and neatly pin in place. The bottom edge of the placket should meet the bottom marking of your waistband casing.
From the top edge of the left placket, topstitch along the top edge of the placket, pivoting down the furthest left side of the placket, pivoting at the bottom and finish by making a small rectangle at the base of the placket. As you reach the bottom, make sure the top placket is completely on top and centered on the bottom placket. You can also add an ‘x’ within the sew rectangle if you feel like it! Press again so that everything is nice and smooth.
Now onto the buttons! If you need to take a break or walk away for a bit before starting the buttons, go for it. I like taking small breaks before starting on a totally different type of step like buttonholes.
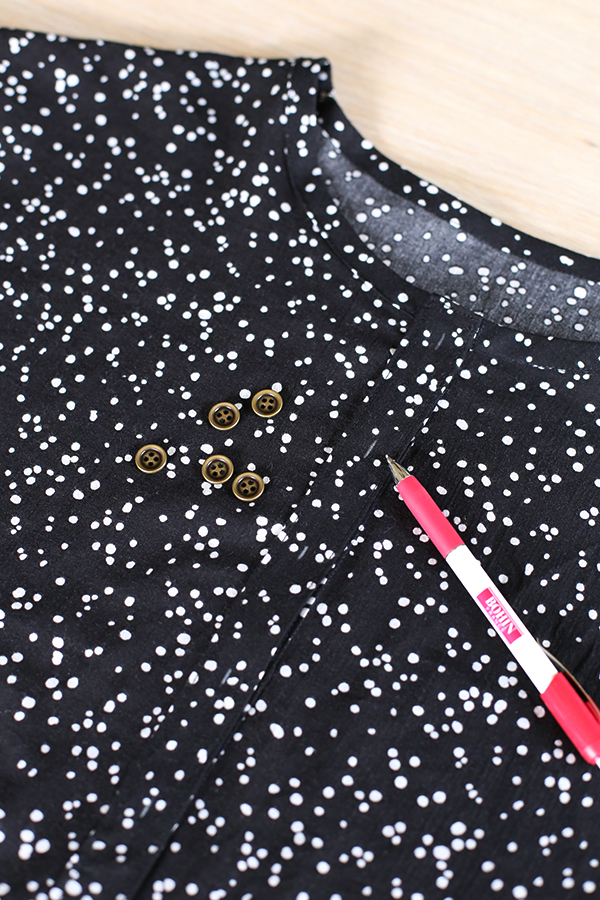
I honestly always mark my buttons by eyeballing it. I don’t really have the patience to measure and mark. However, I’d recommend making the first buttonhole 1/2″ from the finished neckline on the placket and the bottom button 2 1/2″ from the bottom edge of the placket. You can change this to suit your particular buttons or your preference. If you want to do more than 5 buttons that’s totally okay, too. Even grouping buttons in sets of two might be a fun twist. It’s really up to you.
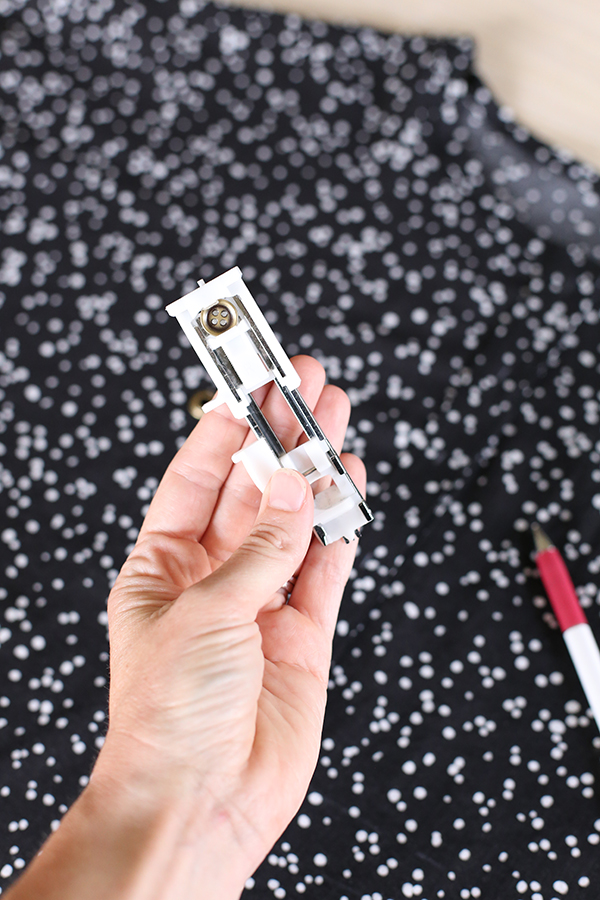
After marking get ready to sew the buttonholes. My machine comes with a buttonhole foot. It’s really quite easy. I always sew a test buttonhole with the thread and a scrap of the fabric I’m using so I can make sure everything is going to go smoothly. I also make note of how the machine creates the hole and measure the length of the sewn hole and compare it to what I’ve got on my markings making any adjustments using the test sewn buttonhole as a guide.
There is a bit of info on page 69 on an alternate way of sewing a buttonhole if your particular machine doesn’t have the automatic function. If you’ve never sewn a buttonhole, check out your machine’s manual and give it a try. I find that by doing the test run, it really takes the pressure off of trying something new.
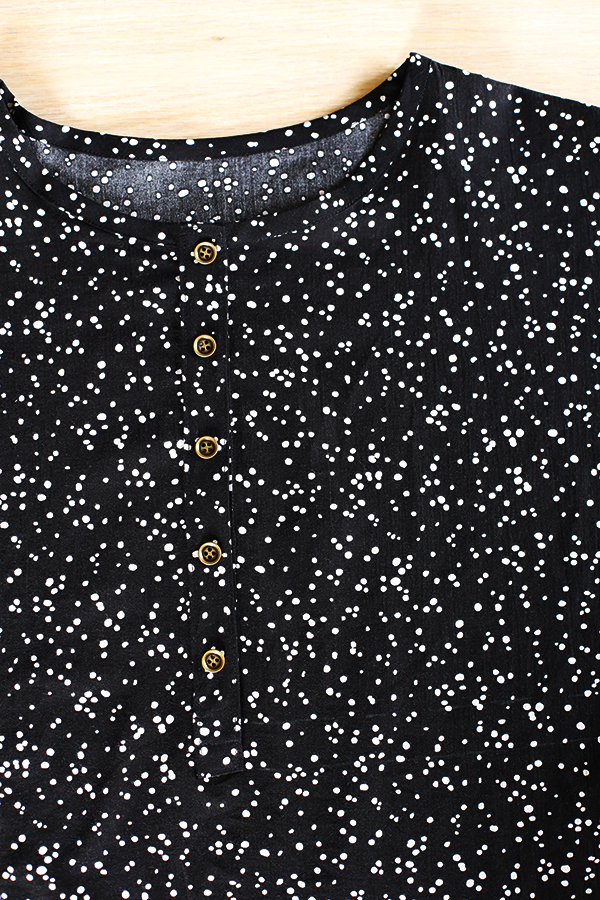
After that you’ll sew all the buttonholes, open the buttonholes and then sew on the buttons. Here’s a couple great little videos by Liesl Gibson you can watch, too: sewing buttonholes, opening buttonholes.
The hard part is done! Yay! The side seams, cuffs, and waist are next week. See you then!
Sew along notes: I’ll be spreading out the posts to be once a week, which will hopefully be a nice amount of time to get through each step as well as being easy to get caught up in case your schedule is full this summer! And of course feel free to work at your own pace, the posts will be permanent here on my blog, so reference them any time you need. If you have any questions please let me know in the comments below.
Handmade Style Tunic Sew Along – Day 1
Handmade Style Tunic Sew Along – Day 2
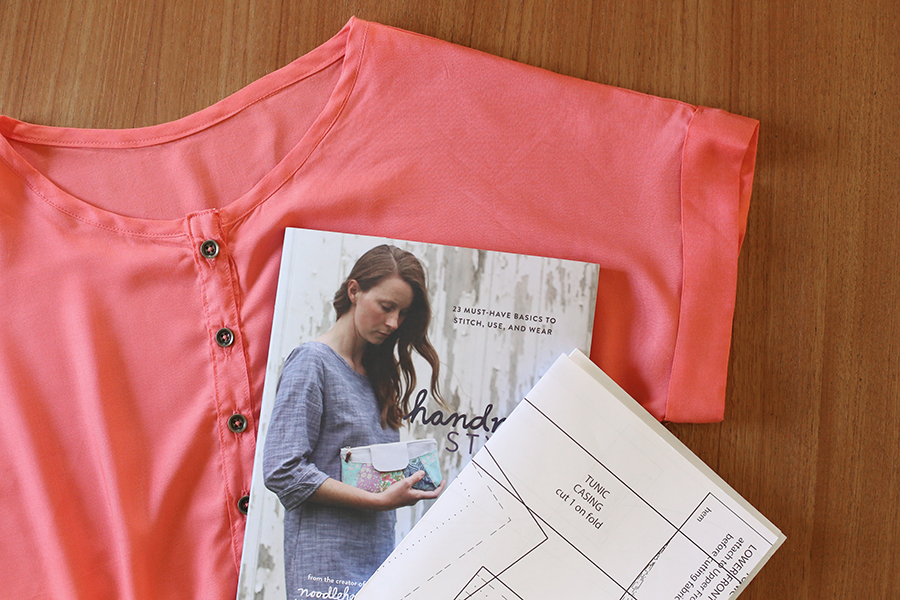
If you still need a copy of my book, you can purchase a copy of Handmade Style at your local quilt shop, Joann’s, local bookstore or Amazon. Or, check with your local library, too.