Bags, Wallets, and Zips

Canvas Pencil Pouch Tutorial

Canvas Pencil Pouch Tutorial - Noodlehead

Canvas Pencil Pouch Tutorial - Noodlehead

Finally, right?! Eeek! I hope you find this tutorial fun and helpful!

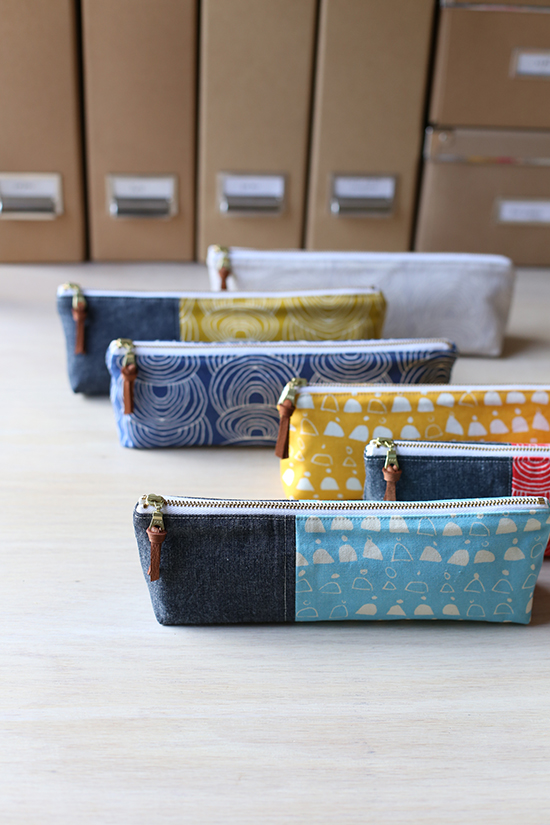
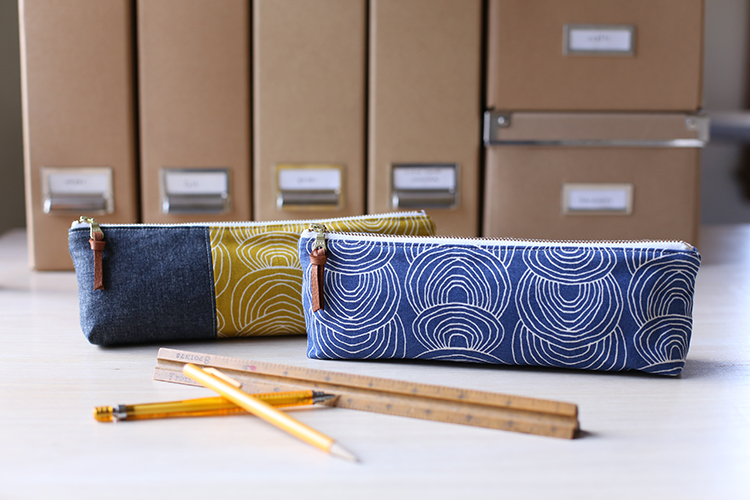
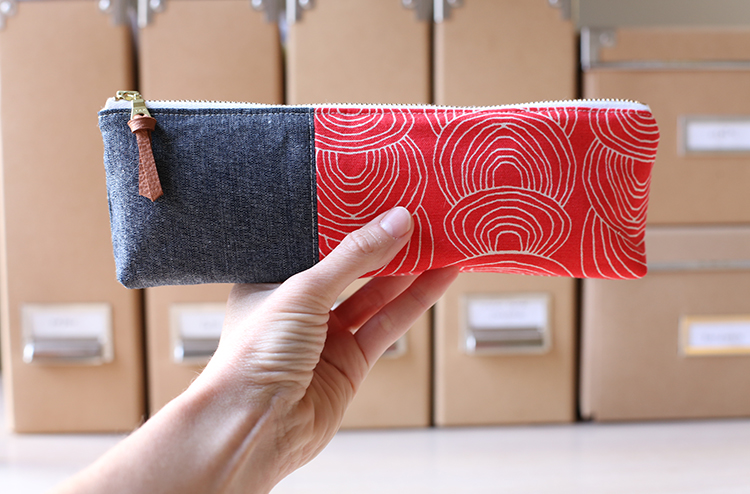
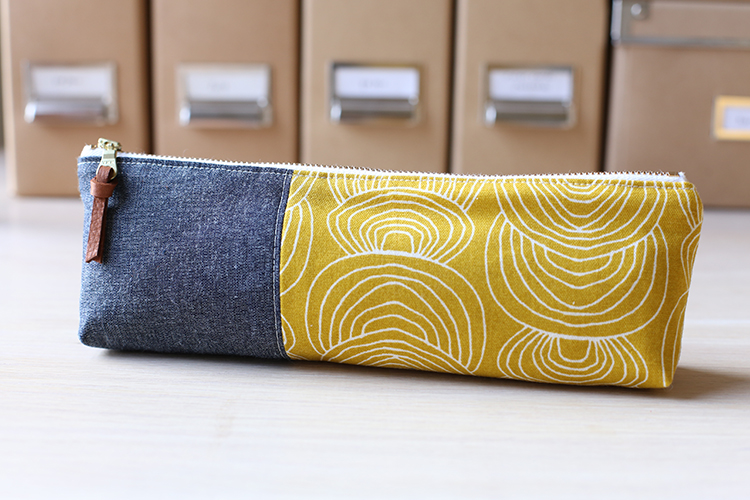
Quite a few months ago I made these pencil pouches from the canvas fabrics in my collection for Cloud9 Fabrics, Rain Walk. So today I’m sharing the how-to and pattern template as a way of saying thank you to all who stop by my website, leave kind note, and are excited about sewing! I’m grateful for the community and fun and sharing!
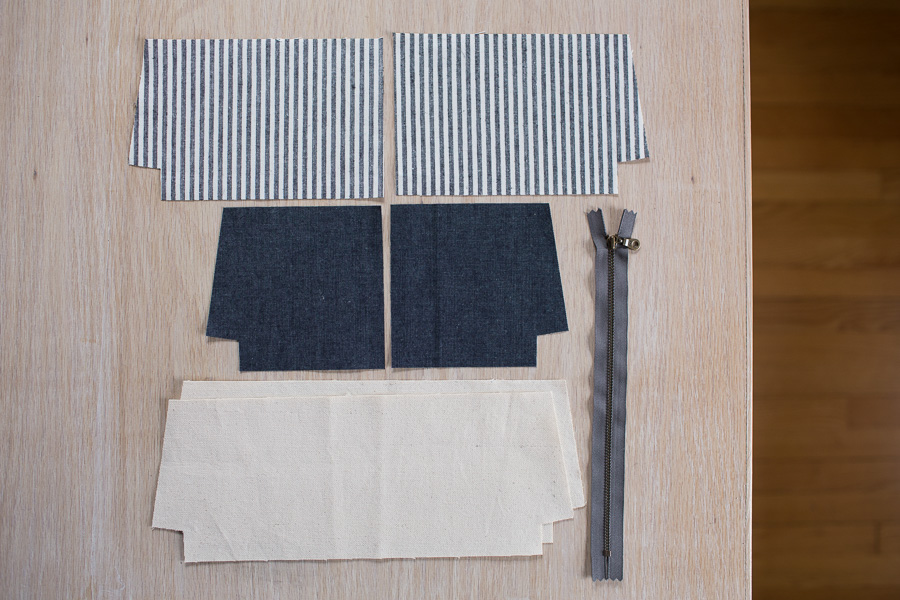
Canvas Pencil Pouch Tutorial - Noodlehead

Materials:

  • 10″ zipper
  • templates CLICK TO DOWNLOAD (print at 100%, no scaling)
  • fat quarter – 18″ x 22″ cotton canvas for lining (I use an unbleached 9 oz. weight cotton canvas from my local Joanns, it’s perfect for showcasing all your pretty pencils and pens!)
  • 6″ x 18″ main print (canvas/denim/twill)
  • 6″ x 12″ accent fabric (canvas/denim/twill)
  • 1/4 yard fusible woven interfacing (I prefer Pellon SF101 which is 20″ wide)
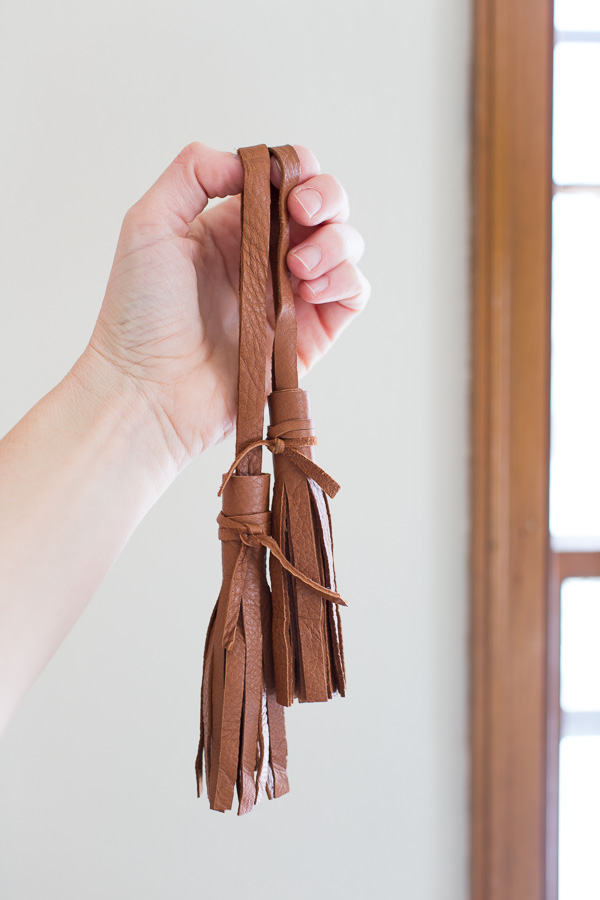
  • zipper pull (optional) available here and here

Note about materials: If you choose to substitute a different fabric type than suggested, you may need additional interfacing for desired structure. Just sayin’.

Canvas Pencil Pouch Tutorial - Noodlehead

All seam allowances 1/2″ unless otherwise noted. Seam allowance included in template.
RST=Right Sides Together, WST=Wrong Sides Together

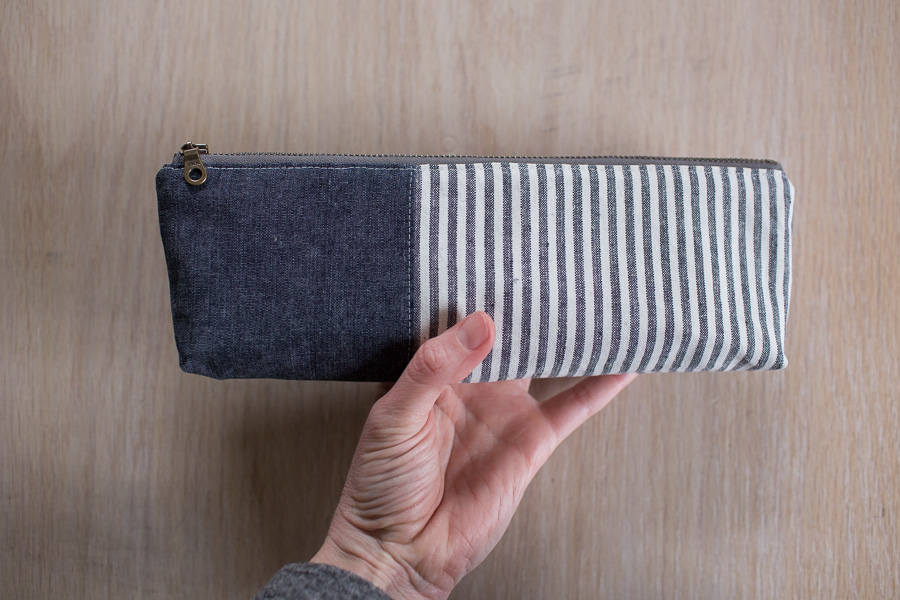
Approx. finished size: 3 1/4″ tall x 10 1/2″ wide x 1 1/2″ deep

Cut:

(1) Main, (1 Main reversed)
(1) Accent, (1 Accent reversed)
(2) lining
(2) fusible woven interfacing – using lining template

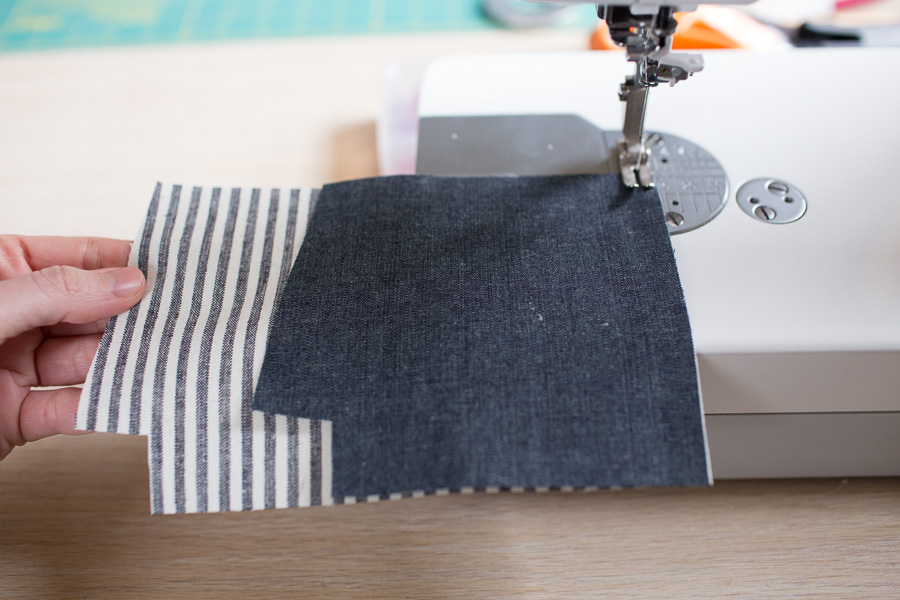
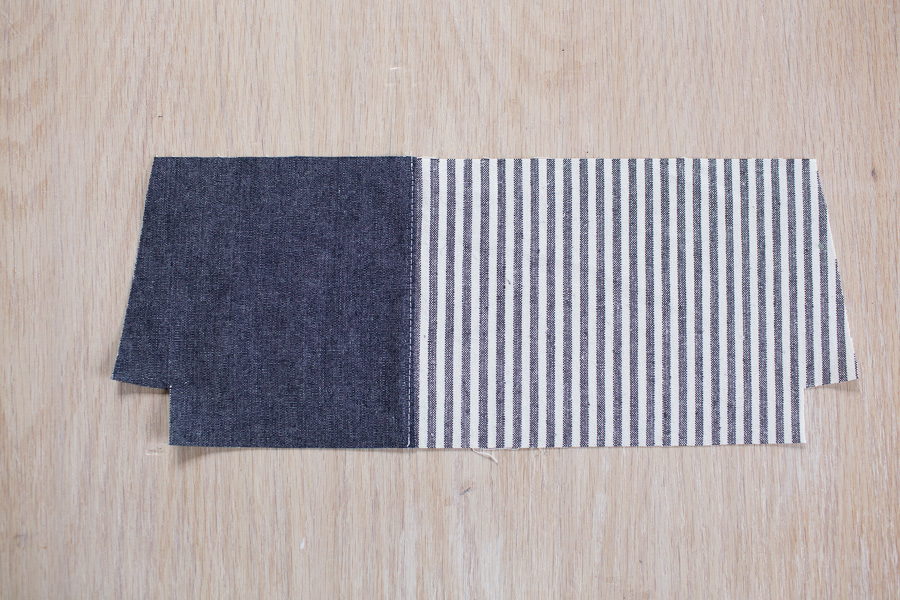
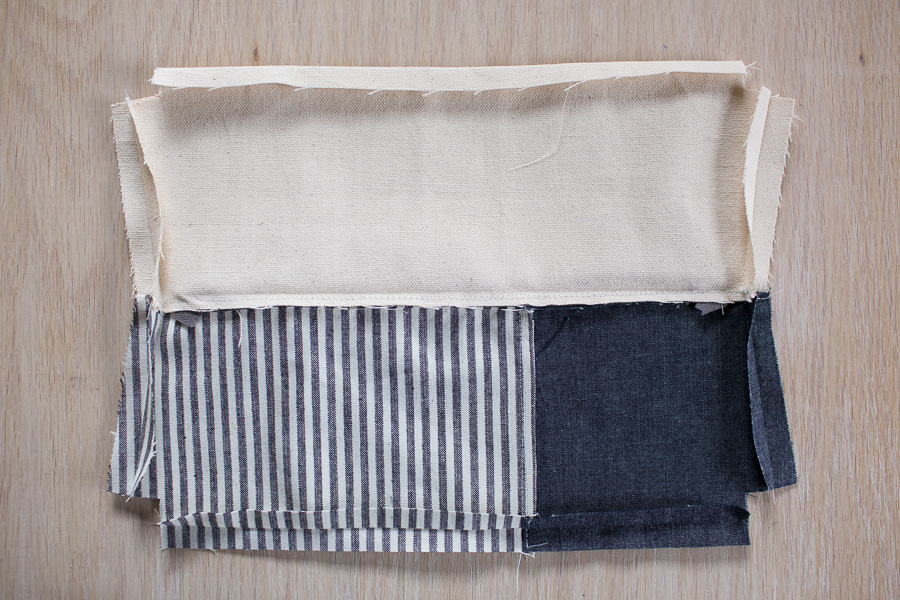
A note on cutting: Because you’ll want the color blocking to reflect on each side of the zipper, make sure you cut the exterior pieces accordingly (reversed as directed), they’ll look like this:

Canvas Pencil Pouch Tutorial - Noodlehead

*my exterior pieces in the following steps are shown without interfacing so as to hopefully better show the process.

Piece the exterior

  1. Start by sewing the exterior together by placing the main print and accent fabric RST and sewing using a 1/4″ seam allowance. Press seam to one side and topstitch. Fuse woven interfacing to wrong side.
    Canvas Pencil Pouch Tutorial - Noodlehead
  2. Canvas Pencil Pouch Tutorial - NoodleheadRepeat to assemble remaining exterior panel.
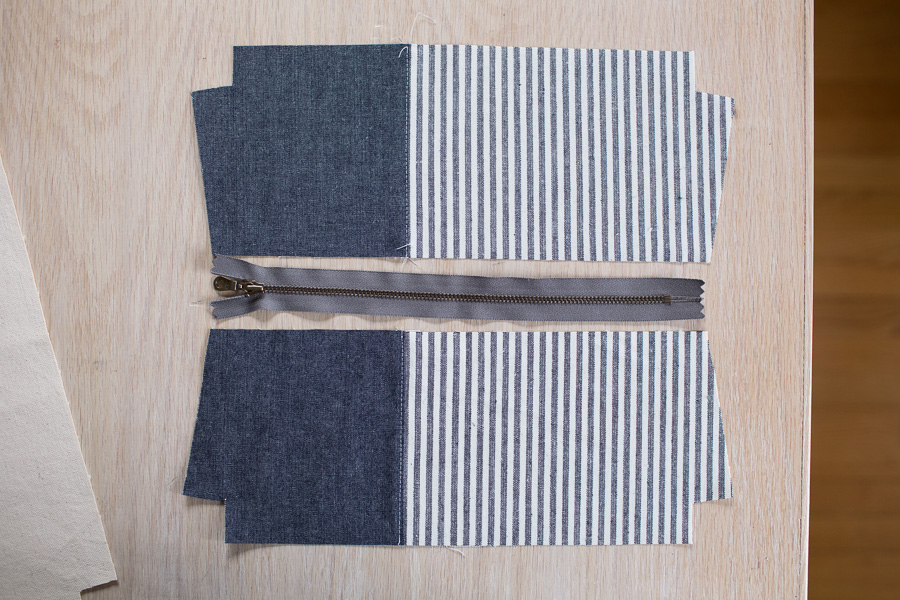
Canvas Pencil Pouch Tutorial - Noodlehead

Prepare the zipper

  1. Bend zipper ends in place and sew (at both the pull side and end stop side).

    Canvas Pencil Pouch Tutorial - Noodlehead

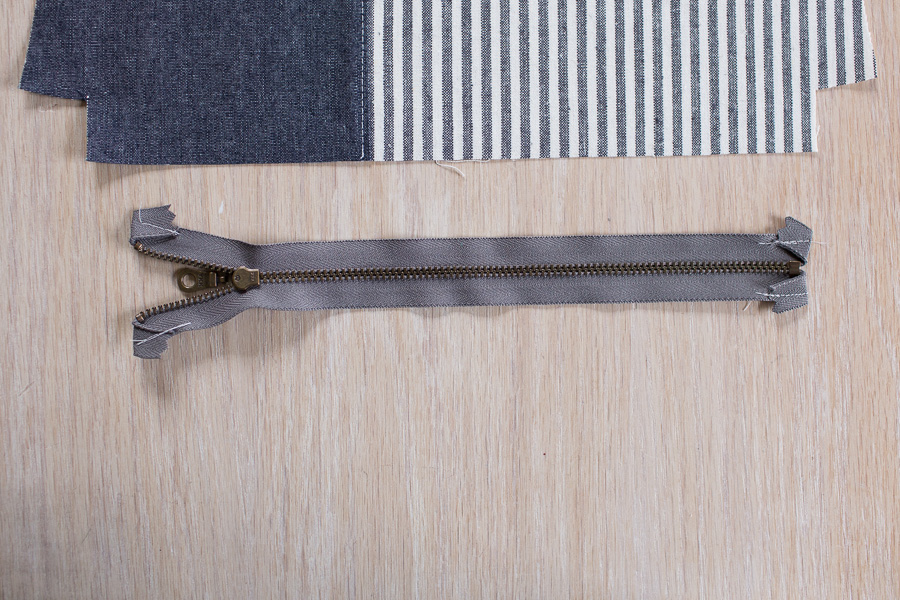
    View from wrong side of zipper.

    Canvas Pencil Pouch Tutorial - Noodlehead

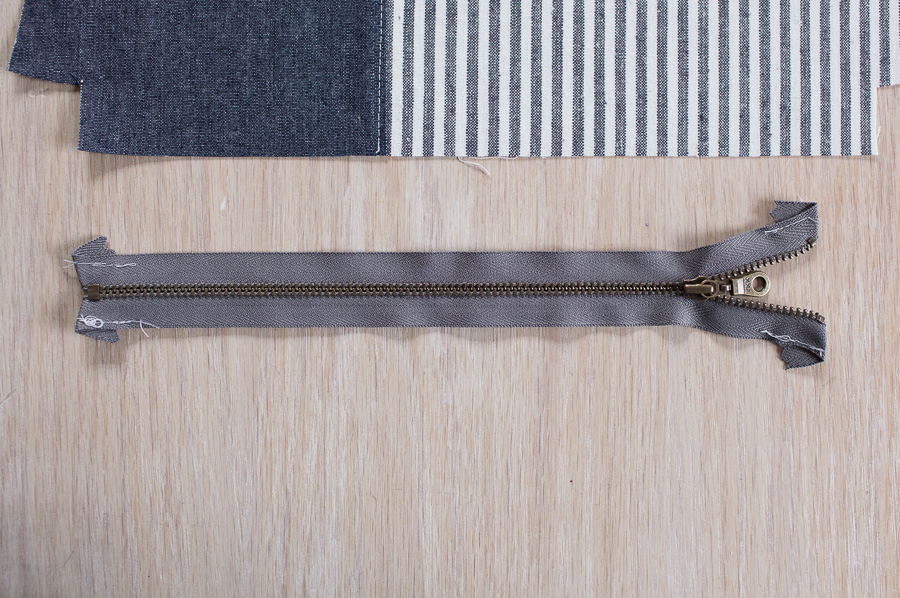
    View from right side of zipper.

Attach zipper

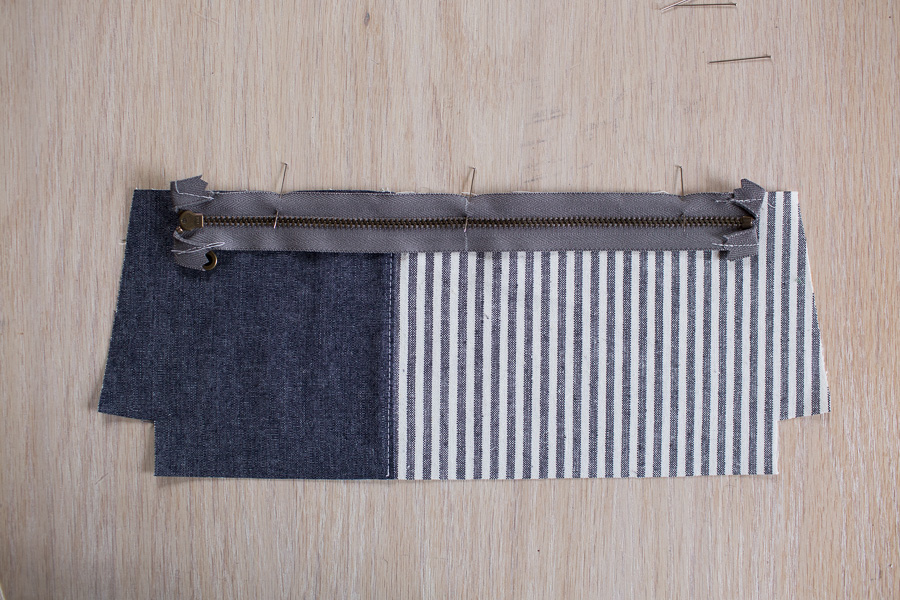
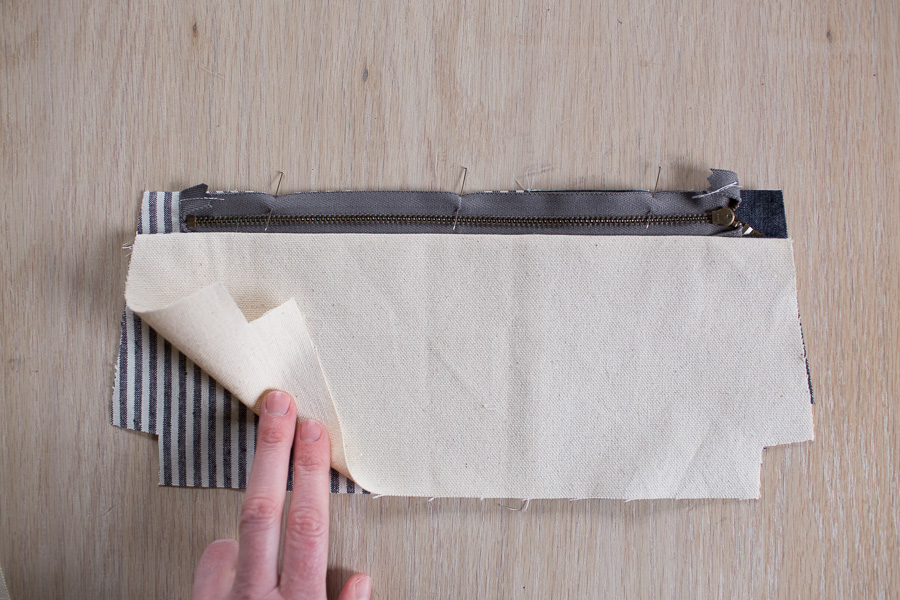
  1. With assembled exterior panel right side up, center zipper right side facing down (zipper pull at left) along top edge. Pin in place.Canvas Pencil Pouch Tutorial - Noodlehead
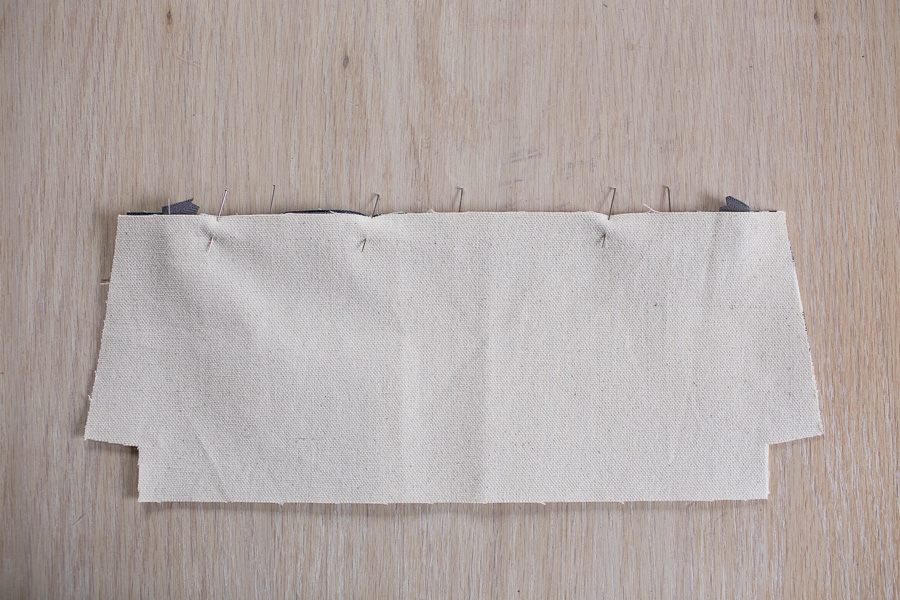
  2. Place one lining piece, right side down on top. Pin in place. Using your zipper foot, sew along top edge using a 1/4″ seam allowance.Canvas Pencil Pouch Tutorial - Noodlehead
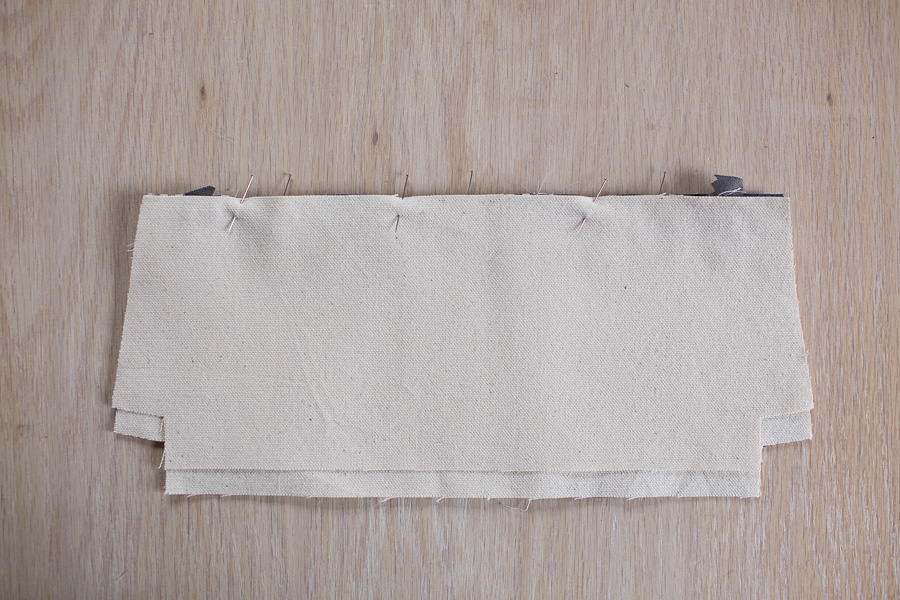
  3. Press exterior panel away from zipper and topstitch along zipper using an 1/8″ seam allowance.Canvas Pencil Pouch Tutorial - Noodlehead
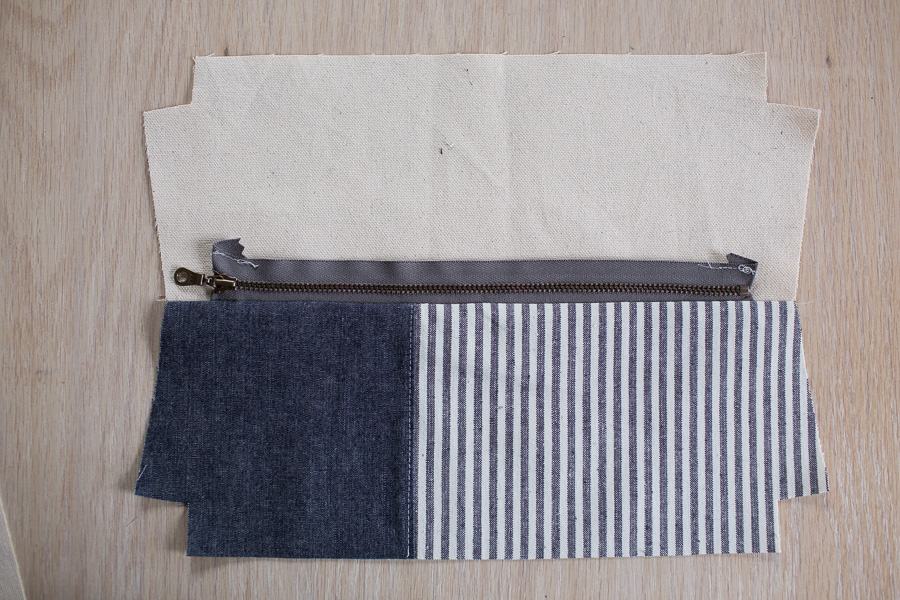
  4. Position exterior panel and lining panel WST. Press away from zipper.Canvas Pencil Pouch Tutorial - Noodlehead
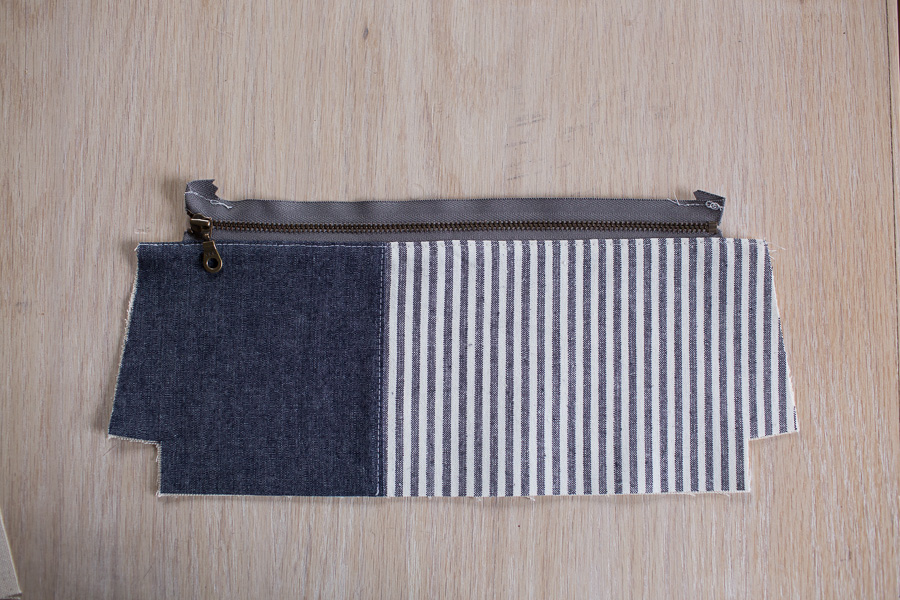
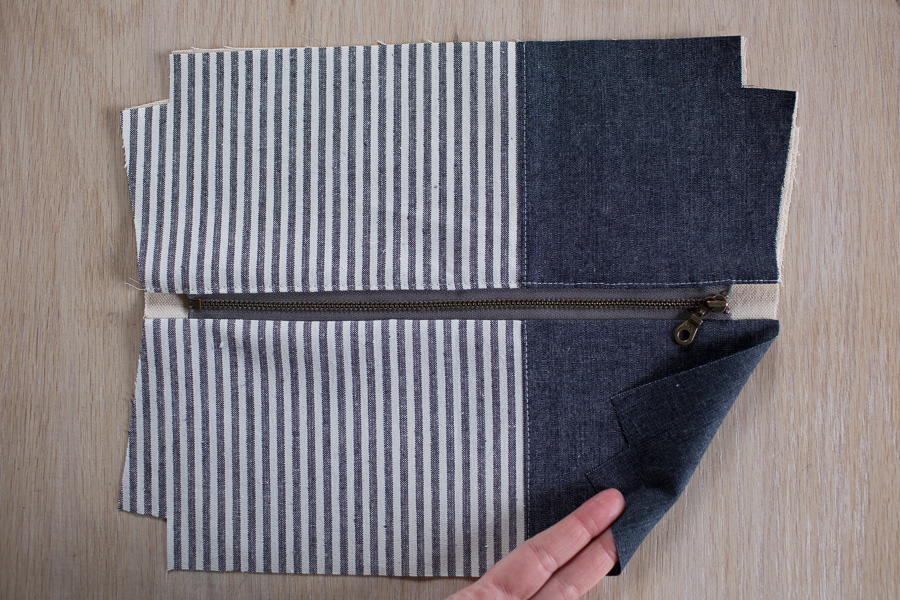
  5. Repeat 1-4 to attach remaining exterior panel and lining panel to remaining zipper side. This time placing zipper pull at right. Make sure your exterior panel seams match up at the same location as best you can.Canvas Pencil Pouch Tutorial - NoodleheadCanvas Pencil Pouch Tutorial - NoodleheadCanvas Pencil Pouch Tutorial - Noodlehead

Complete Pouch

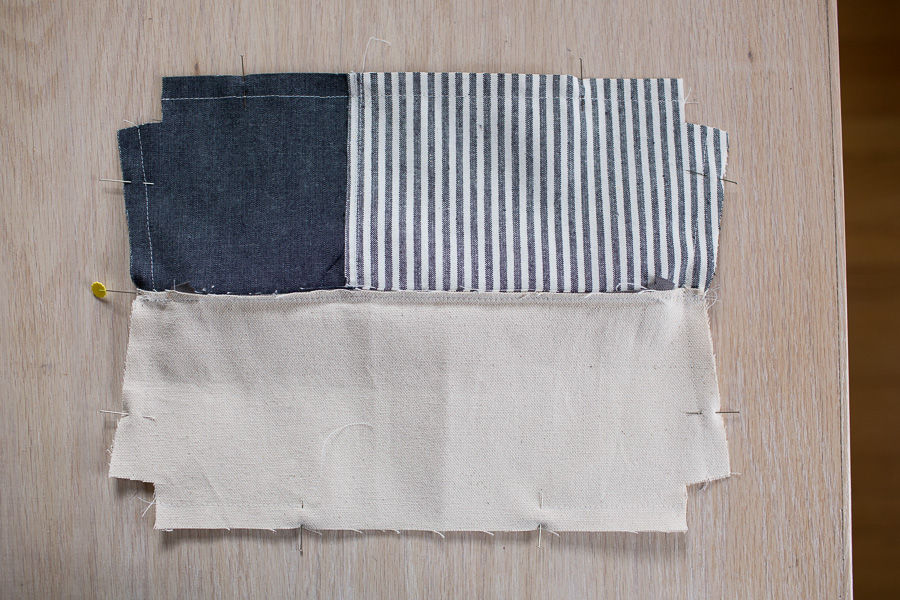
  1. Open zipper halfway!!!
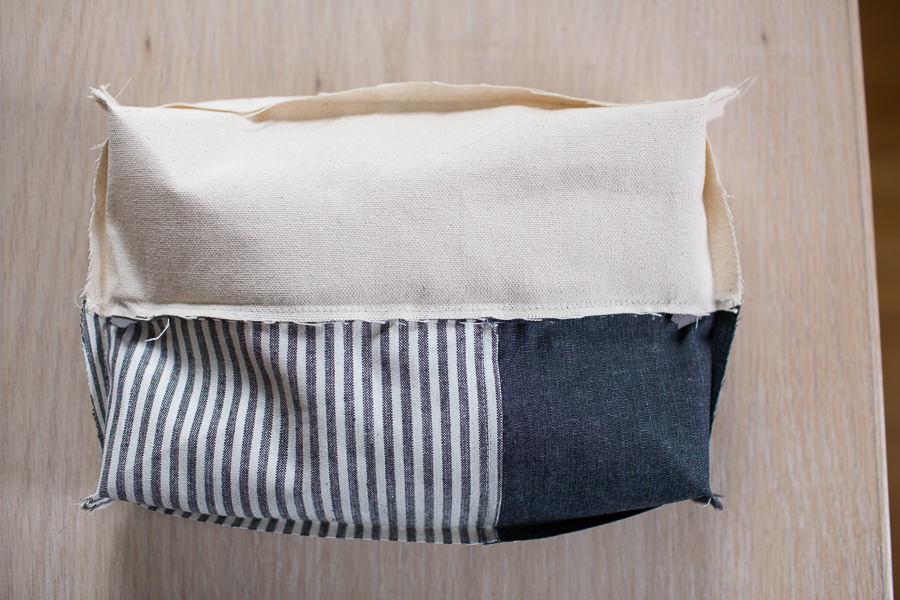
  2. Position exterior panels RST and pin along sides and bottom. Position lining pieces RST and pin along sides and bottom. Be sure that you place pins at the intersections of where the lining meets the exterior on each side of the pouch.Canvas Pencil Pouch Tutorial - Noodlehead
  3. Sew around perimeter of exterior and lining leaving a 4″ opening at the bottom of the lining.
  4. Press seam allowance open. If desired, trim lining seam allowance to 1/4″ except at opening.Canvas Pencil Pouch Tutorial - Noodlehead
  5. Reach inside the pouch and wiggle the zipper open fully.
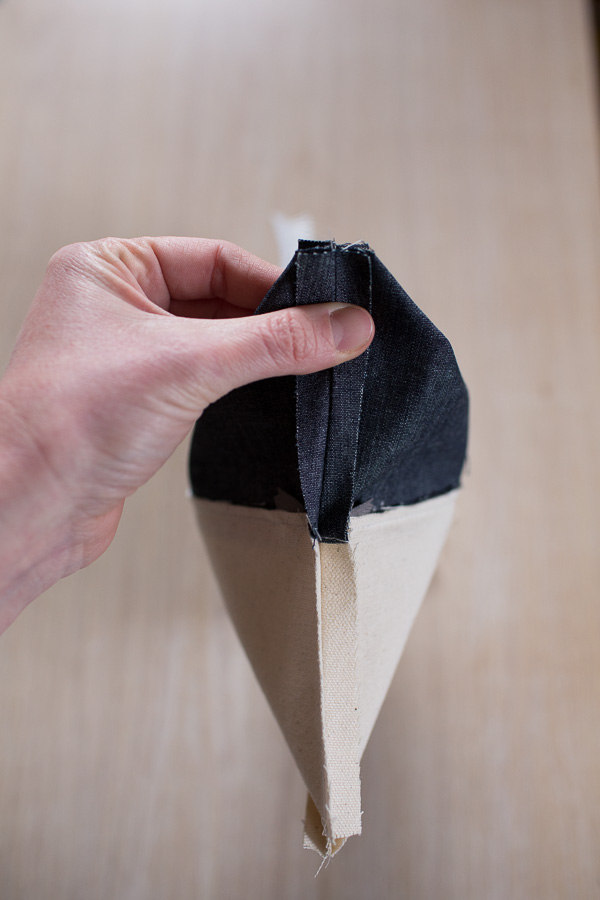
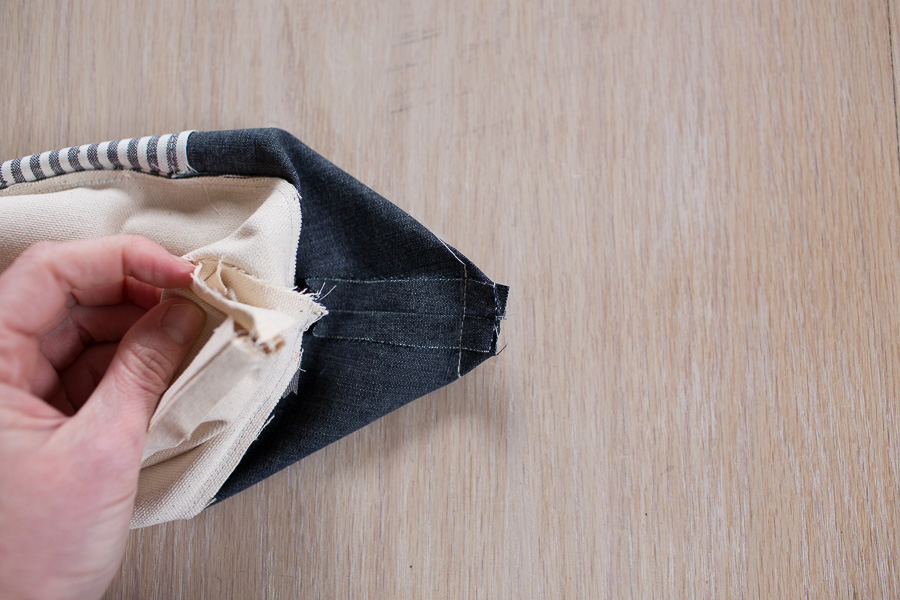
  6. Box corners by pinching one bottom seam to match its corresponding side seam. Sew. Repeat for remaining 3 corners.Canvas Pencil Pouch Tutorial - NoodleheadCanvas Pencil Pouch Tutorial - NoodleheadCanvas Pencil Pouch Tutorial - Noodlehead
  7. Turn pouch right side out through opening in lining.
  8. Sew opening in lining closed (by machine or by hand)
  9. Push lining into exterior and press along zipper edge. Tip: To get the pouch corners crisp, use your fingers to squeeze the seam allowance together at the side seam when the zipper is fully open. Use a chop stick or other dull instrument to poke out the corner on the metal end stop side. Canvas Pencil Pouch Tutorial - Noodlehead

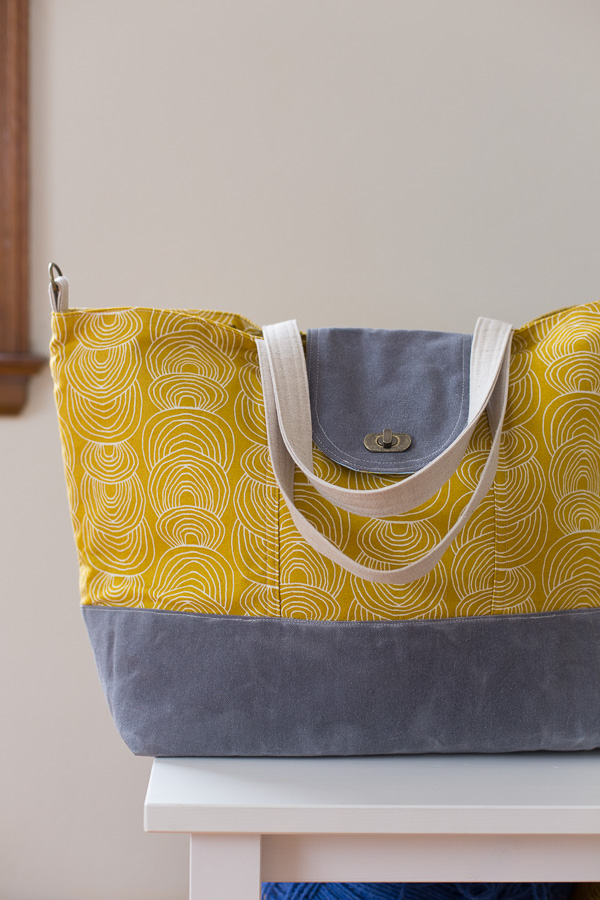
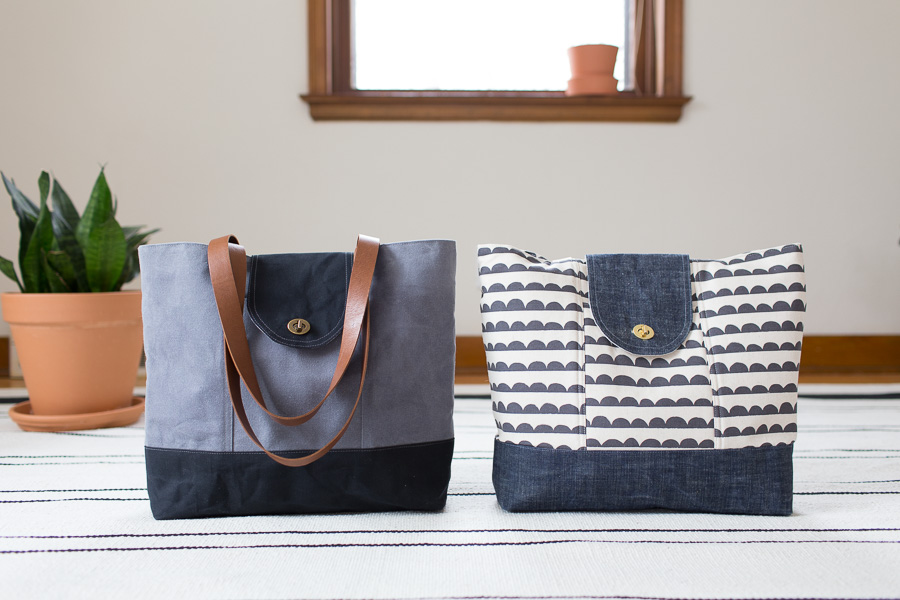
I hope you enjoy making some pencil pouches! They make such fun teacher gifts and of course my kids love theirs. If you want extra credit these would be an awesome companion to a Wool + Wax Tote. I also wanted to point out that this is just one way to install a zipper or make a pouch, believe me when I say there are many many more options! Check out my other tutorials and patterns if you’re interested in working with zippers or love to make pouches.

Canvas Pencil Pouch Tutorial - Noodlehead

Techniques

How to Install a Turn Lock

How to Install a Turn Lock - Noodlehead

Hi everyone! Today I’m sharing a video of how to install a turn lock! Nothing fancy, but I hope it’ll help and give you a little more confidence when installing a turn lock for the first time. In the video I use a few supplies that I’ll list here:

  • turn lock (screw version is my favorite or pronged version)
  • a couple small scraps of fusible woven interfacing (Pellon SF101)
  • small scrap of ultra firm single-side fusible interfacing (Pellon 71F)
  • chalk pencil
  • sharp scissors
  • leather punch (optional)
  • seam ripper

Click here to watch the video!

I hope this will be helpful and that you feel comfortable installing a turn lock. The tote I featured in this tutorial as well as the picture above is the large size of my Explorer Tote Pattern (below is a pic of the small size).

Let me know in the comments below if you have any questions. Thanks for stopping by! 🙂

How to Install a Turn Lock - Noodlehead

Techniques

Tassel Tutorial

Tassel Tutorial - Noodlehead

There’s a million ways to make a tassel and because I’m seeing them everywhere now I figured it would be fun to share a little how-to with you! I had quickly made one before taking the final photos of my Explorer Tote pattern. I love how it adds a little fun and interest, plus it’s removable. So here we go…

Materials:

  • soft leather works best (try suede or garment weight leathers or upcycle some leather from a jacket/pants/skirt from the thriftstore)
  • glue (for your particular material), I used Elmer’s ProBond Advanced and it worked so well!

Tassel Tutorial - Noodlehead

Because tassels come in all sizes it’s a really great project to use up small scraps! And materials are really something you can experiment with as well. I’ve seen people using cork fabric and they look amazing, so I’m guessing vinyl and just about anything else that doesn’t fray much would work just as well! Give it a try, it’s a low-commitment kind of project, so if something doesn’t work out it’s okay to start over. Also, check on etsy for scraps!

You also might want to consider adding other elements such as wooden beads or even metal beads would be great, too.

I’ll walk through the dimensions of this specific tassel, but take these basic steps and adjust them to make your unique piece, anything goes!

Tassel Tutorial - Noodlehead

Cut your leather (or material of your choice):

  • 5″ square for main body of tassel
  • 3/8″ wide x 8″ tall for hanging loop
  • 1/4″ wide (or less) x 12″ strip for decorative finish


Tassel Tutorial - Noodlehead

Next, cut the fringe! This part is super fun. And it totally doesn’t have to be precise. If you’d like though, use a ruler, cutting mat and rotary cutter and cut the fringe 1/4″ wide each and 3 1/2″ from the bottom edge. You can certainly use a scissors and eyeball it, too!

Tassel Tutorial - Noodlehead


After the fringe is all cut, align the the 3/8″ wide hanging loop piece, folded in half, to the very left side of the main tassel piece. You’ll want to place it at least a 1/2″ down from the top edge so that it won’t pull from the tassel once it’s finished.

Tassel Tutorial - Noodlehead

Then go ahead and layer on the glue, you’ll need much less than you think. Here’s a shot of mine before I started rolling from the left. If you do have excess like I did, work quickly to wipe it off. I used a paper towel and it cleaned up really well. When you’re rolling the tassel just keep in mind to keep the top edge of the tassel aligned.

Tassel Tutorial - Noodlehead

Once you have it completely rolled, wipe any excess glue and hold in place for a few seconds. The glue I used holds really well, so it only took maybe 30 seconds before I was able to let go.Tassel Tutorial - Noodlehead

Next step is totally optional of course, but I used the thin strip and wrapped it around the main part of the tassel towards the top and double knotted it. After everything is dry you can loop it around a bag’s handle.Tassel Tutorial - Noodlehead

Tassel Tutorial - Noodlehead

That’s all! It really is a super quick and fun project that’s great for scraps! Hope you’ll give one a try!

Tassel Tutorial - Noodlehead