
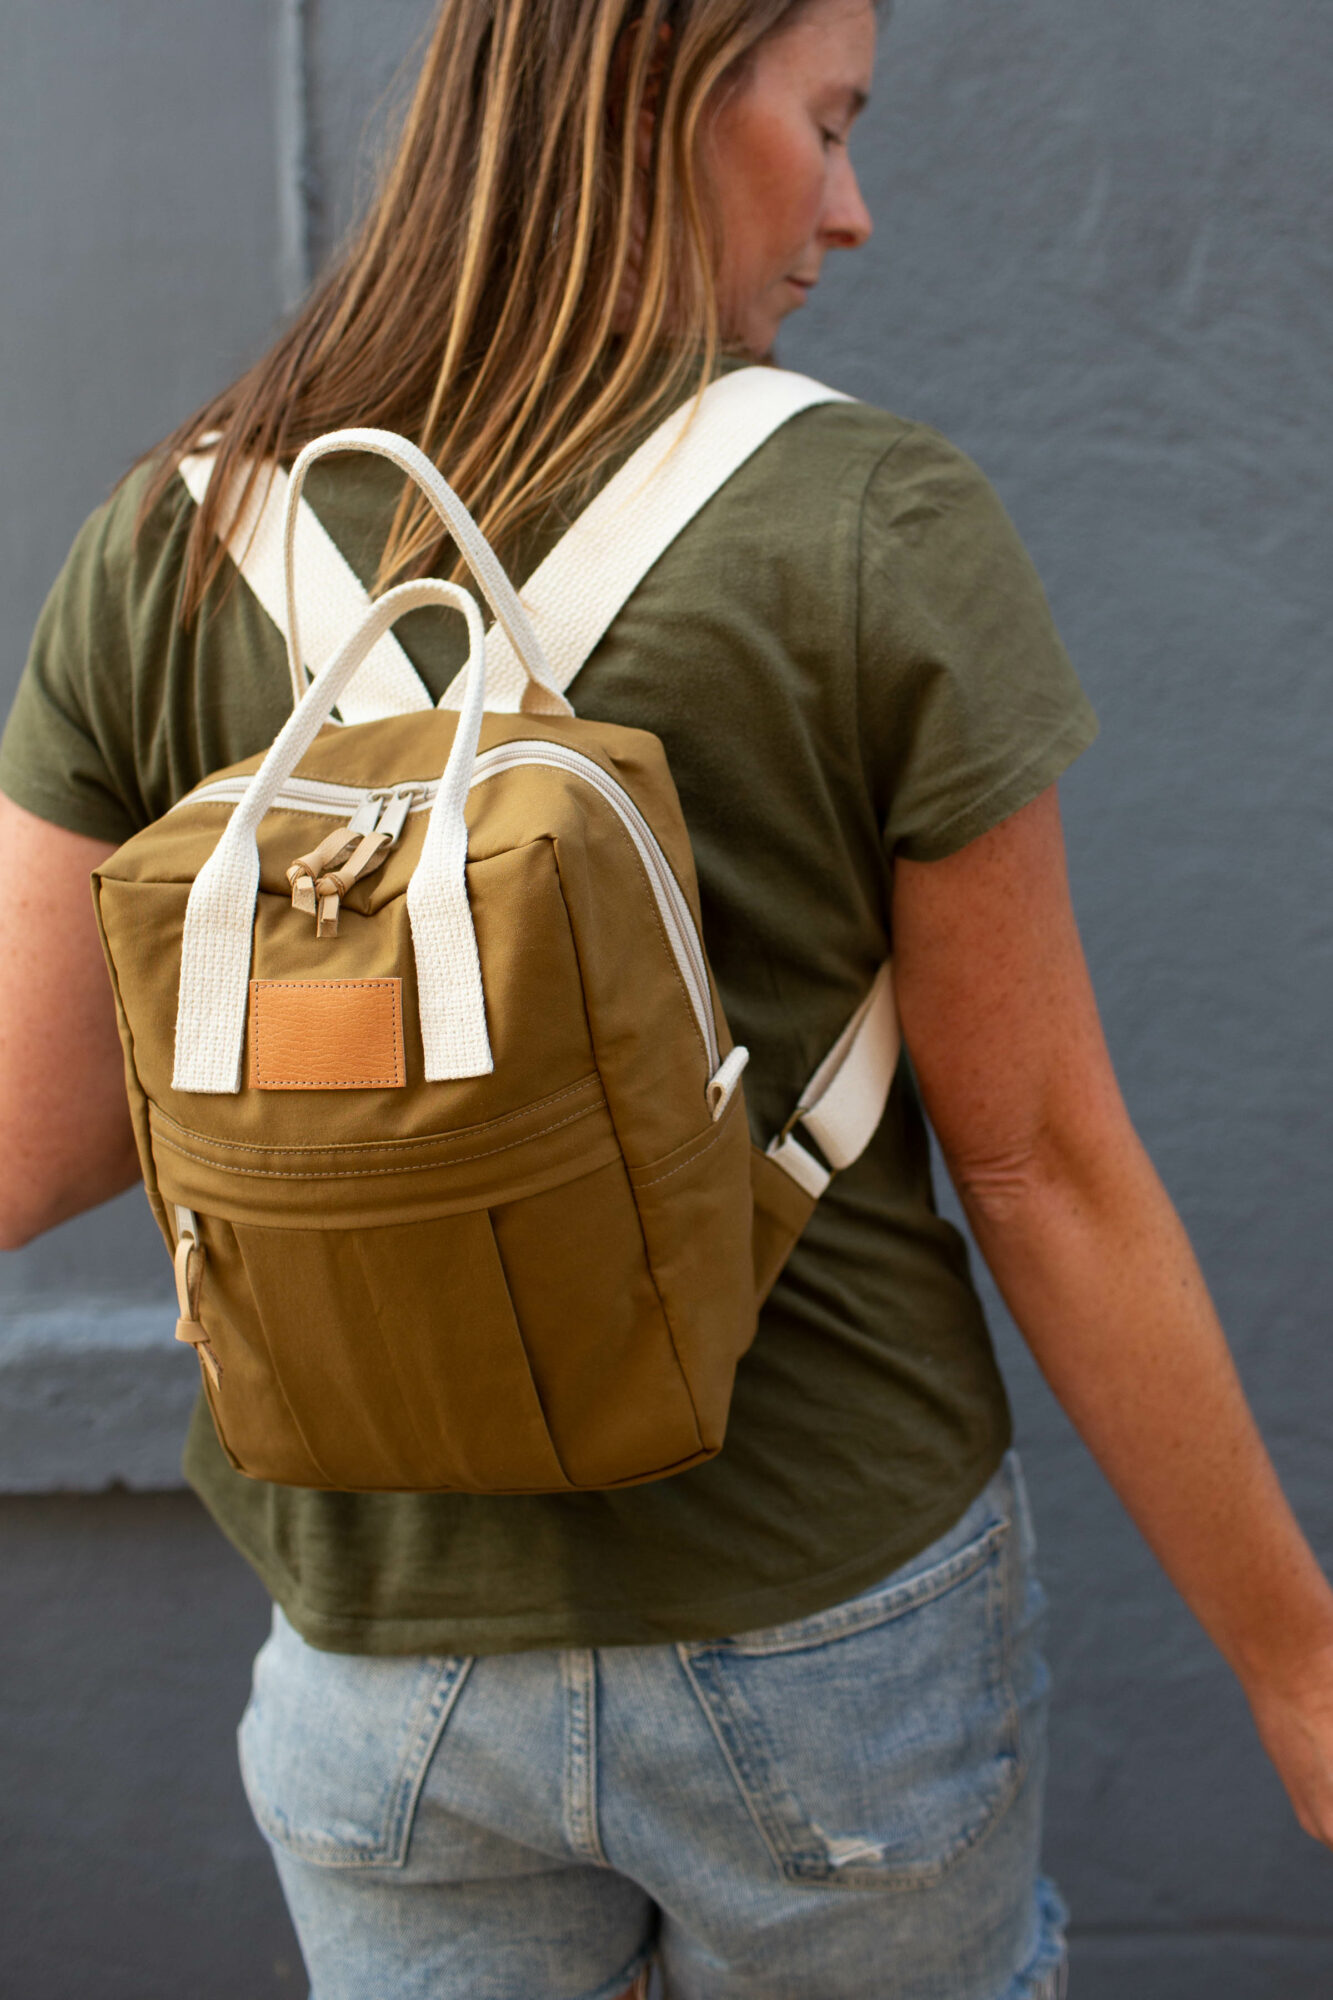
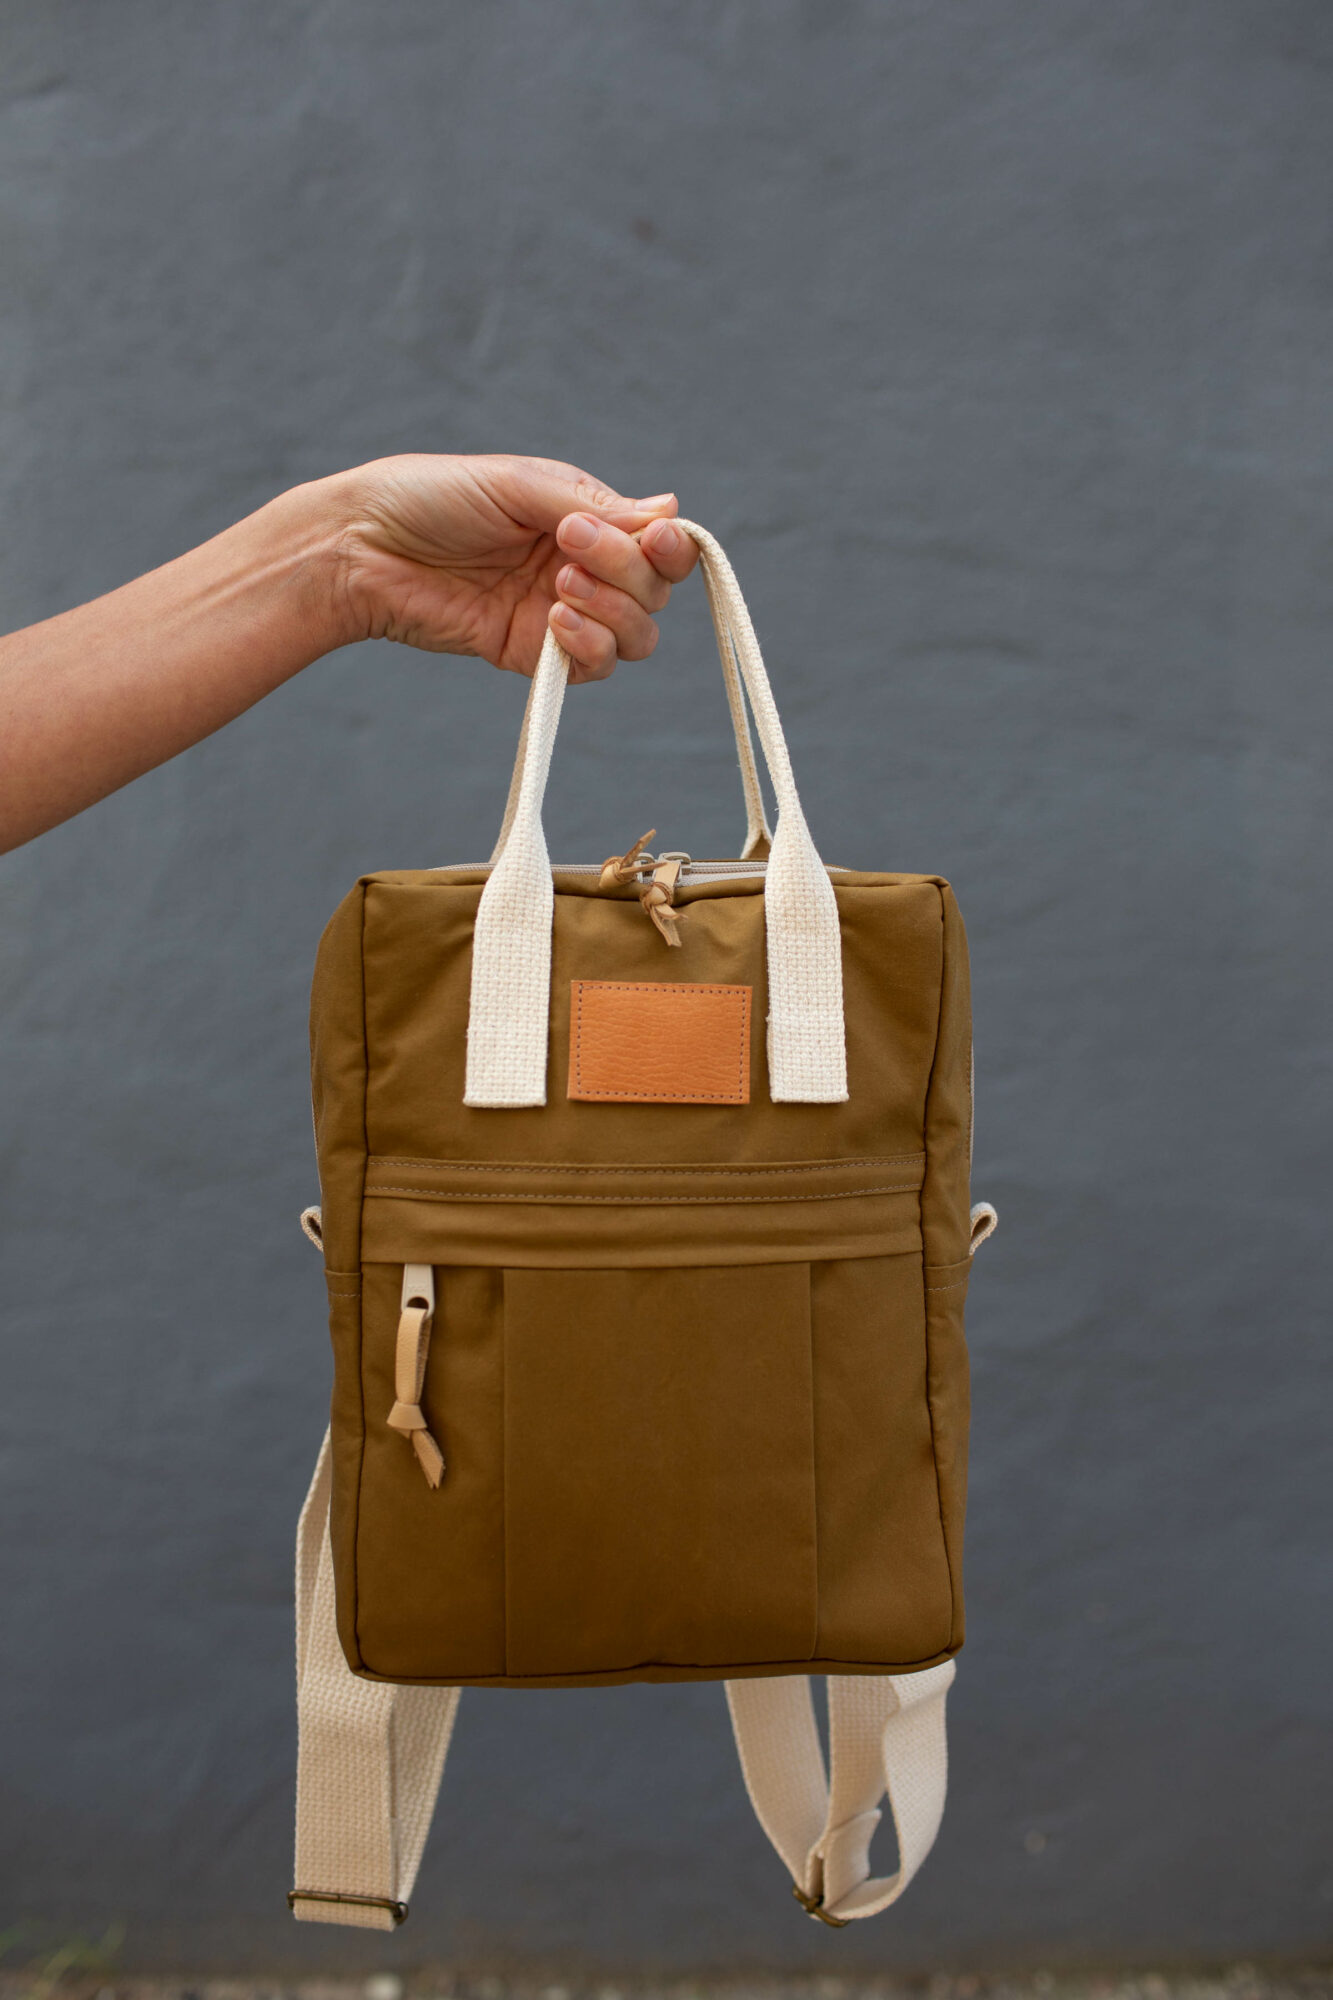
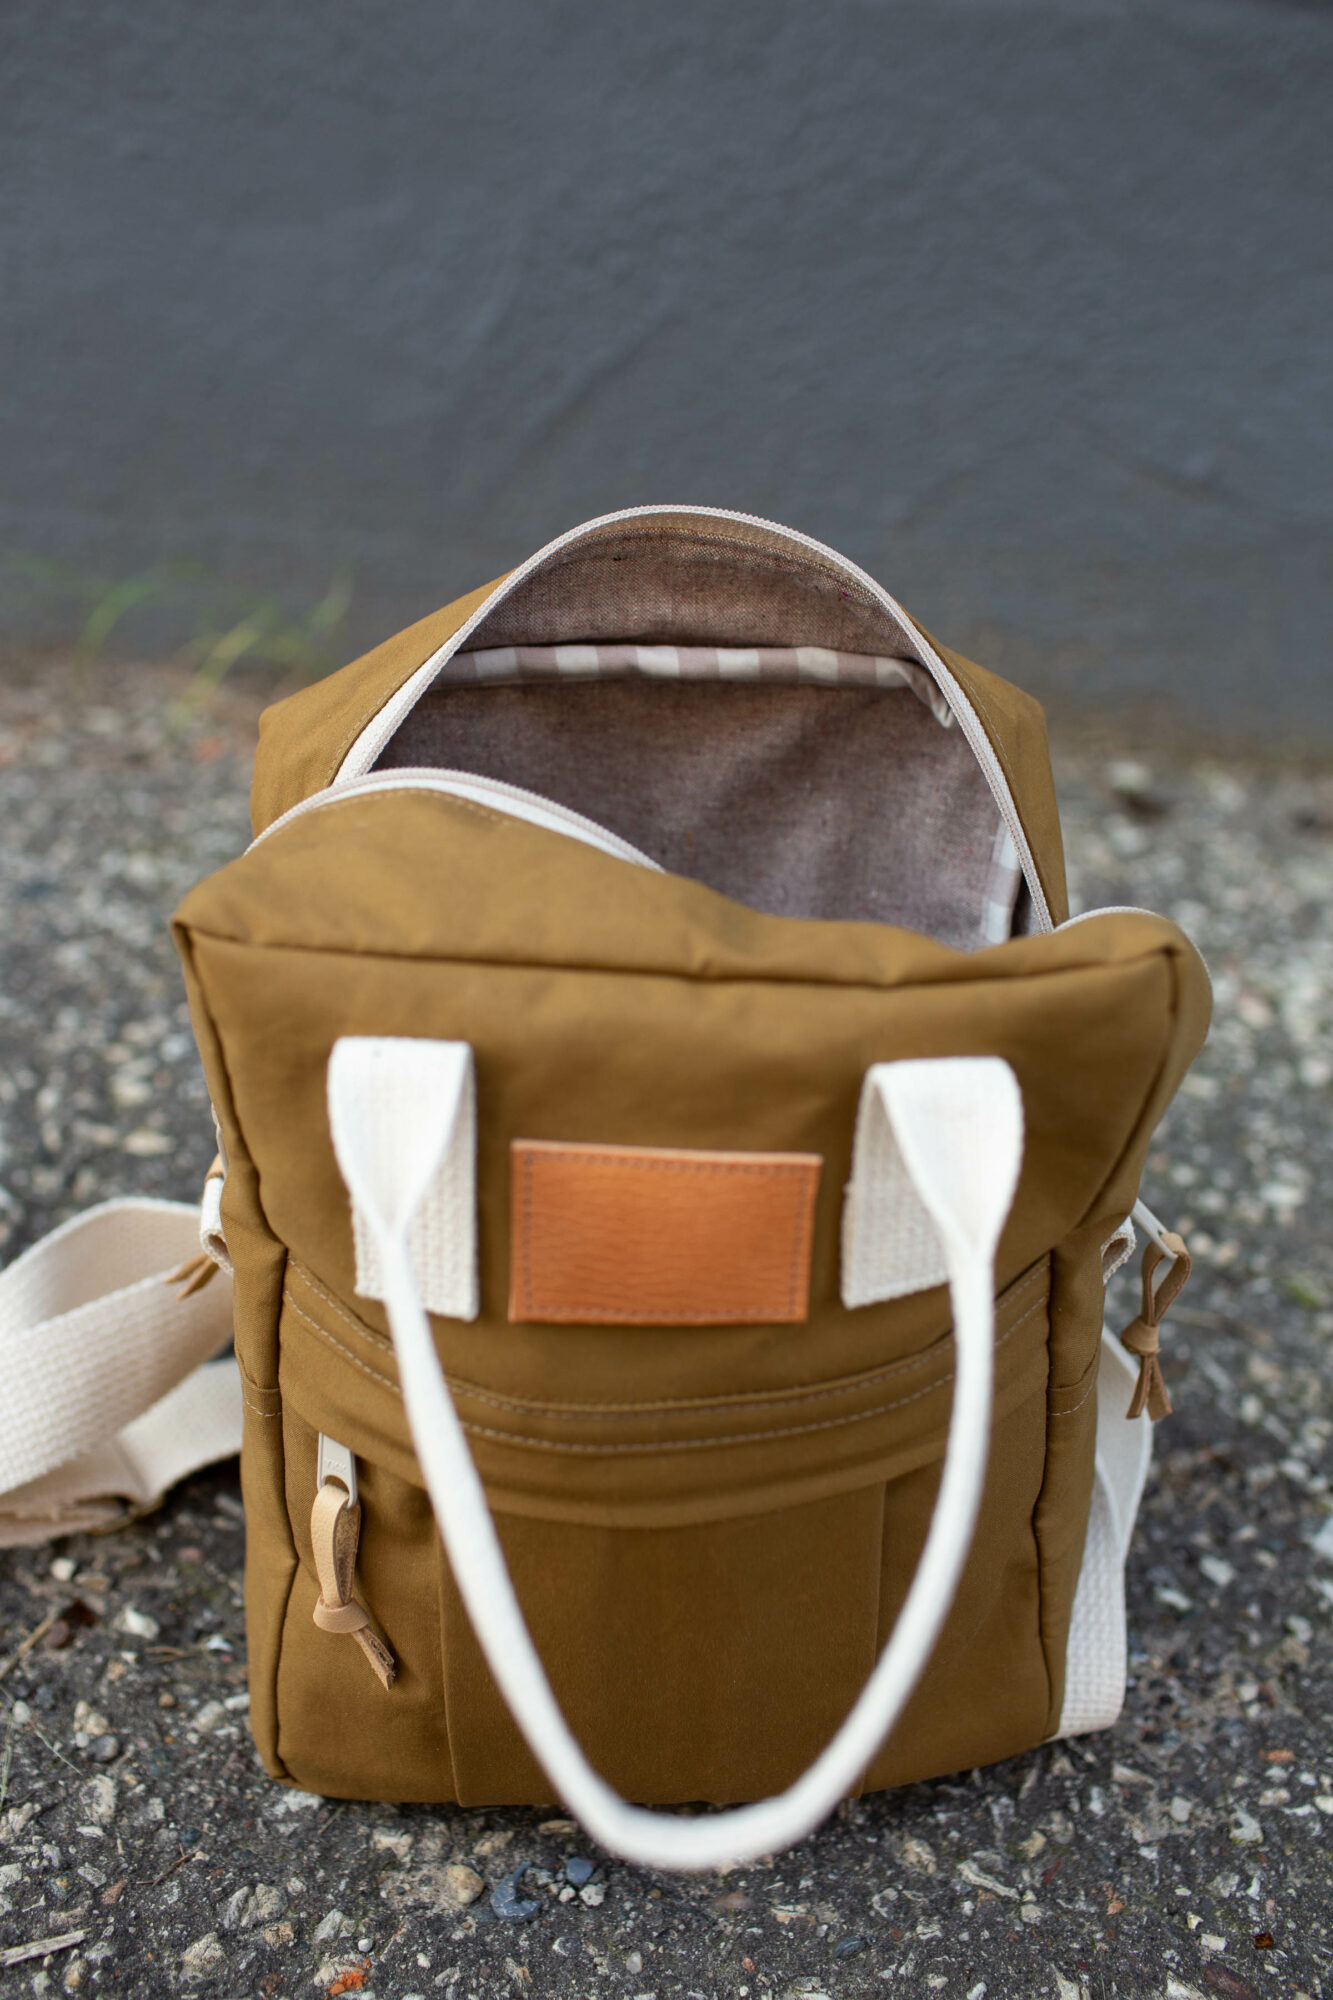
Here’s my Olive backpack, plus I’m sharing Dry Oilskin tips today! This fabric is one of those colors that shifts depending on the lighting!
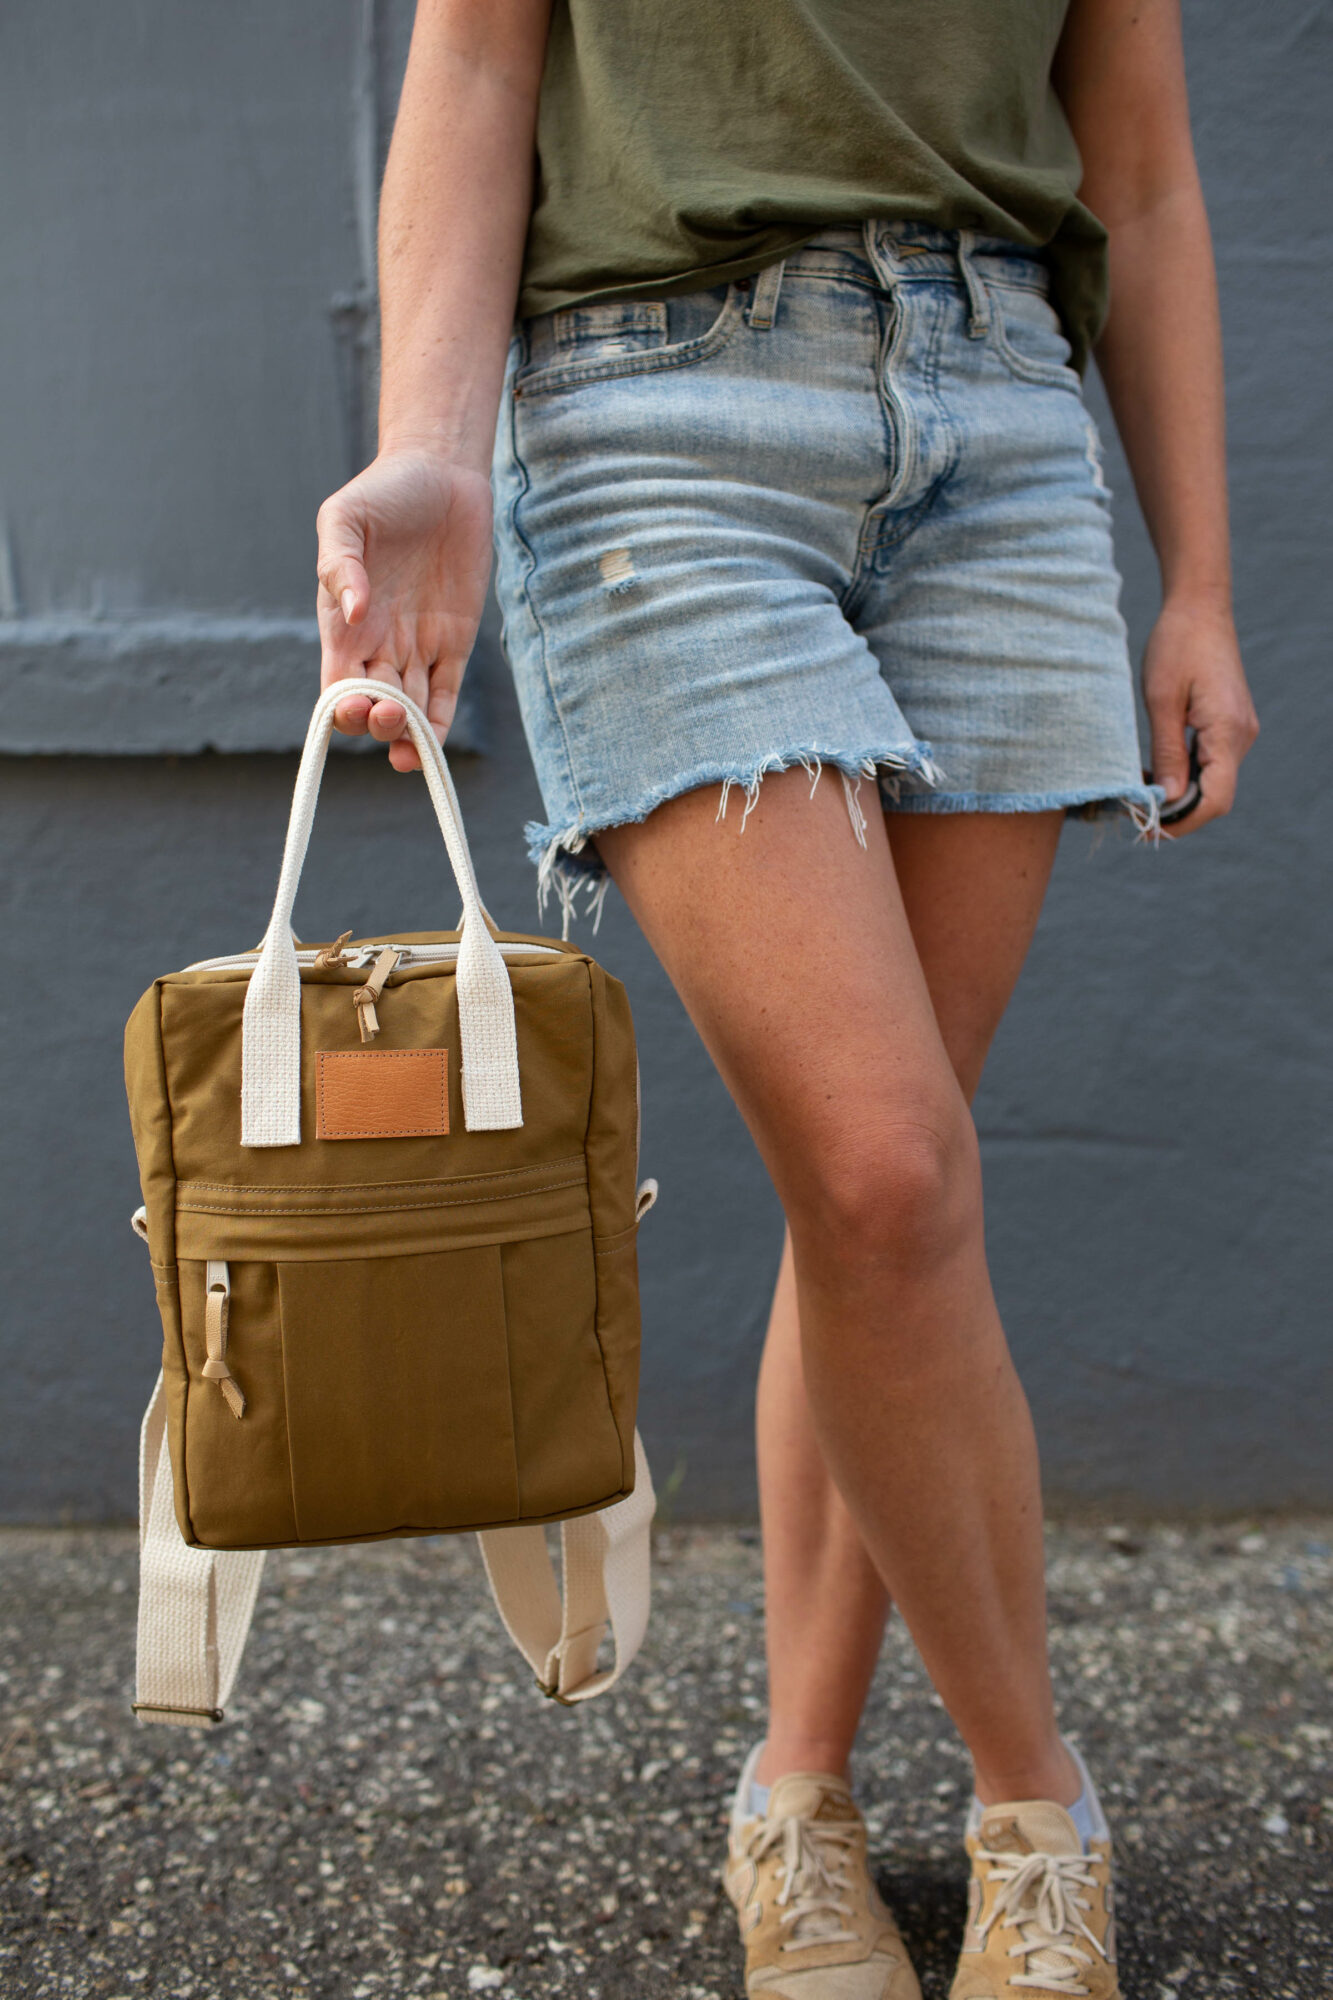
The exterior fabric is a dry oilskin in Olive (scroll down for all the pattern and fabric links – under the “Project Details” heading). I realized the other day that I hadn’t shared tips on working with oilskin here on the blog, so it’s time to fix that! Below is general info & some tips for working with dry oilskin! Hope you’ll find it helpful!
Using Dry Oilskin for Bag Making
I really love using dry oilskin in bag making. 2020 was when I think I first started working with dry oilskin, maybe? If you’ve got any additional helpful info or tips feel free to share them in the comments below!
General Info
- Dry oilskin has a history of being used in the sailing/fishing industries! It has excellent water repellant qualities.
- Width: it’s typically 59″ wide, which is great for bags! You might be able to get all the pieces you need out of less yardage – be sure to check the cutting layouts for the project you’re working on
- Yard for yard it is more expensive than say, a regular cotton canvas. However, usually you can eliminate using interfacing altogether (unless you’re using a very lightweight dry oilskin). I think that’s something that can be overlooked when shopping! It ends up being similar in cost to buying canvas plus interfacing. Plus it’s a huge time saver! Less to cut and less time spent at the ironing board. And remember that the width is typically wider that most cotton canvases, etc.
Interfacing & Substrate Info
- Interfacing? should I use it? and how? Well, great question! I typically don’t use any interfacing if using the dry oilskin on the exterior of my smaller projects (think smaller totes, accessories, etc). You can use a sew-in interfacing that you’d baste along the edges of your dry oilskin pieces to add some stability. I like to beef up my lining with a little bit stiffer interfacing (or even go with a canvas/fusible woven interfacing combo).
- Thinking about swapping dry oilskin for other substrates? Yes! In general, if the pattern you’re working with doesn’t suggest dry oilskin as a recommended fabric, you certainly can. Be sure to adjust your lining fabric and/or interfacings accordingly.
Sewing with Dry Oilskin
- Instead of using an iron, finger press seams! Major time saver — it’s great for center/quarter markings, too, fold and finger press and it’ll leave a crease!
- Use polyester thread (because I always have a lot of questions on what thread I use, I’ll link it here, it’s Gutermann Mara 100). Cotton thread will deteriorate over time and will not be as strong on some of the more stressed seams.
- Pin holes will be visible. Instead, pin within the seam allowance or use binder clips.
- Spot clean only. Because dry oilskin holds up really well to spills and stains, use a damp cloth for a quick clearn up!
- Dry oilskin is much more flexible than waxed canvas, and typically a light pass with a dry iron will remove any crease markings used during the bag making process. Be sure to test a scrap if you’re uncertain.
New to you?
I think that’s most of it! When I’m trying a new substrate I follow a few simple tips to take the pressure off:
- buy a half yard, it’s not going to be too expensive, but it’ll be enough to make a project with. If you end up not liking it, there’s not a lot to lose.
- Start by making a project you’re familiar with. I love making a zippered pouch or simple tote bag – they’re always great for gifts, plus it’ll give you a good feel for what the new substrate is like to work with.
Project Details:
- Pattern: Making Backpack (mini size with alternate front pocket option)
- Fabric: exterior is dry oilskin in Olive (purchased from Oak Fabrics), lining fabric is Lightweight Duck in Rosewood purchased at Fancy Tiger Crafts, binding is Kitchen Window Wovens in Doeskin (also purchased at Fancy Tiger)
- Supplies/Notions:
- Zippers are available in my shop (this is the Sand color)
- webbing kits (this is the natural color) available in my shop
- zipper pulls, and strap hardware, too!
Would dry oilskin take fabric paint for block printing a design on it do you think? Ironing to heat set the paint?
Hi Jennifer! Gosh, that sounds fun! I’m not sure if it would adhere permanently or not (or if the emulsified wax would resist it). I don’t have any block printing ink on hand, maybe give it a try on a small swatch?
Thank you for the tips!!!
So glad to see this. I LOVE LOVE LOVE sewing with dry oilskin! Made my twin grandson’s sandhill slings in their University’s colors, which they use all the time, as well as a fanny pack which I use every day for walking & riding my bicycle.
Oh that sounds perfect Valerie!!!
When you give it a light pass with the iron to remove wrinkles, do you use anything between the oilskin and the iron, like some paper to protect the iron and board? Also what heat settings have you used? I’ve got some dry oilskin at home that unfortunately has creased a lot, so I’d like to try. The creases are not necessarily deep, but there are a lot of them…
Hi Terese! I haven’t in the past, but you definitely could! I would think a pressing cloth would be a great option!
How is dry oilskin different from waxed canvas? In the past I ordered a product that was sold on line as waxed canvas, but when I received it, it was thinner in weight and seemed more saturated in wax than other waxed canvases I had seen in the past.
Hi Judy, great question! Dry oilskin has the wax cured into the fabric, it behaves more like a canvas fabric. Waxed canvas the substrate is dipped into a wax bath, so the wax sits on top of the fabric more. Waxed canvas does come in varying weights, so that would be one thing to keep an eye on! I usually like using an 8-10 oz. waxed canvas. Hope that helps a little! 🙂
HI Anna! I just made a Pepin tote with dry oilskin and I LOVE it. I wondered what you do with exterior pockets for pinning, like on the Pepin. I didn’t want to use actual pins because I was worried they would leave holes. But then I couldn’t use clips because they weren’t attached to edges. I tried to make marks and eyeball it but it did turn out a little crooked! Any tips?
Hi Rachel, oh that is awesome!!! I sometimes use pins and hide the holes within what will be the stitching line. Masking tape would work – just tape it in place and remove before you stitch over it. Or use a double sided tape (something like this: https://www.amazon.com/Super-Strong-Double-Sided-Basting/dp/B08JMDF4TW/ref=sr_1_10?crid=2GTOUOSZKMZLB&keywords=double+sided+leather+tape&qid=1678126908&sprefix=double+sided+leather+tape%2Caps%2C109&sr=8-10) to hold the pocket in place – just stick it to the pocket and then stick the pocket in place and sew. Hope that helps!