So honored that Kathleen asked me to join in on the fun of free pattern month. There has been so many awesome patterns already, and hopefully you’ll find this one handy for summer.
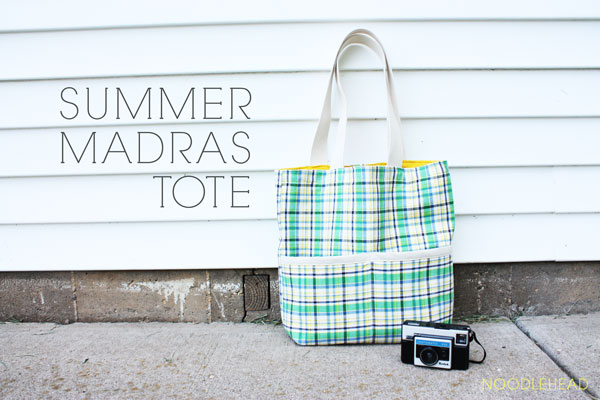
I scored lots of madras last week for $2 a yard and couldn’t think of a better project than a fun and functional summer tote.

There’s always room in your collection for another bag, right?! I hope so.
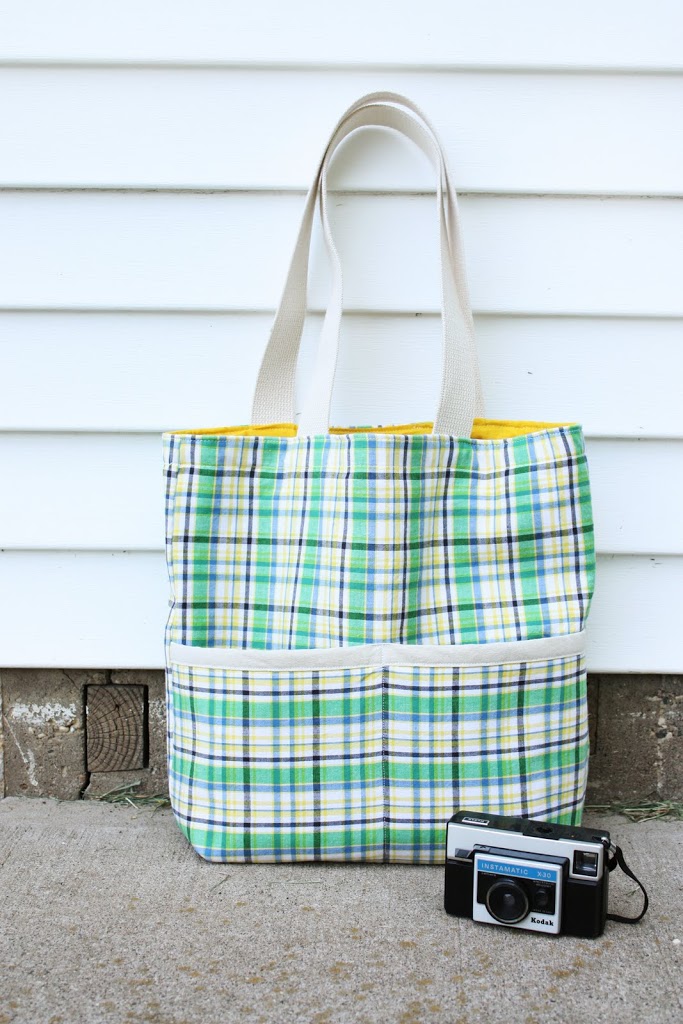
The best part is that the exterior and lining of the bag is made with 1/2 yard cuts, so I think in total my bag cost me around $8, not to shabby. Plus I won’t feel bad kicking it around at the library, ice cream shop, and around town.

With two exterior front pockets my super important stuff won’t ever get lost at the bottom of the bag, and this tote is a big one.
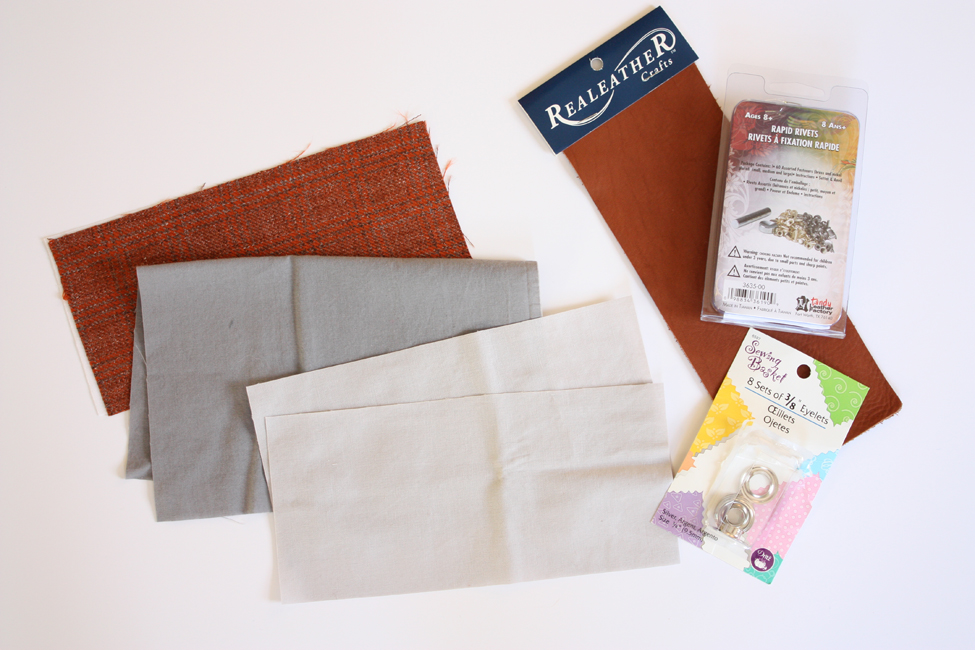
Materials:
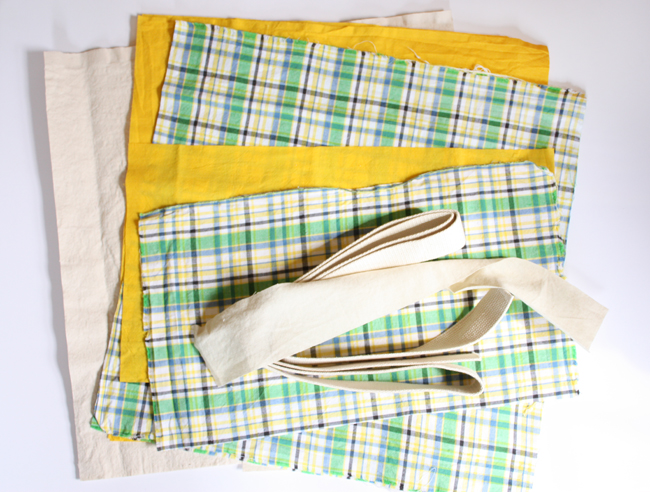
- 1/2 yard exterior
- 1/2 yard lining
- 1/2 yard cotton canvas – used as interfacing
- cotton webbing for handles, I have 1.5″-wide available in my shop, or 1″-wide webbing (both widths available natural and black by-the-yard)
- small strip of straight grain double fold bias tape, you can make it yourself with a piece of scrap!
- size 14 needle
Cut:
2 pieces of each exterior, lining, and canvas to 17″ wide by 16.5″ tall.
1 piece of each exterior, lining, and canvas to 17″ wide by 9″ tall
1 piece for the bias tape 17″ wide by 2.5″ tall
2 – 24″ pieces of cotton webbing
[1/2″ seam allowance included unless otherwise noted]
Prepping the exterior pocket:
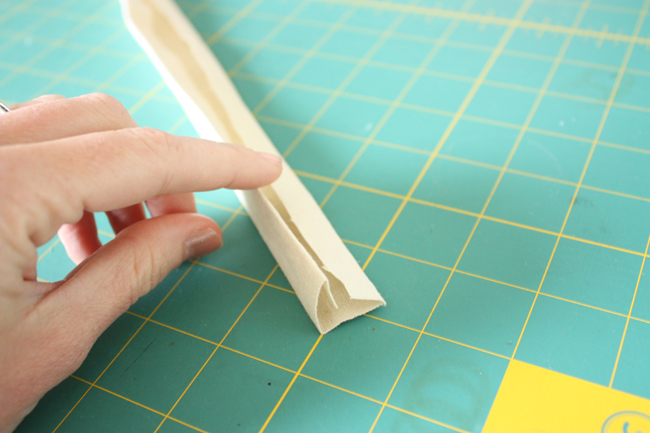
Start by making the bias tape strip. You’ll need to fold it in half lengthwise WRONG sides facing, open up, turn raw edges to pressed line and press again.

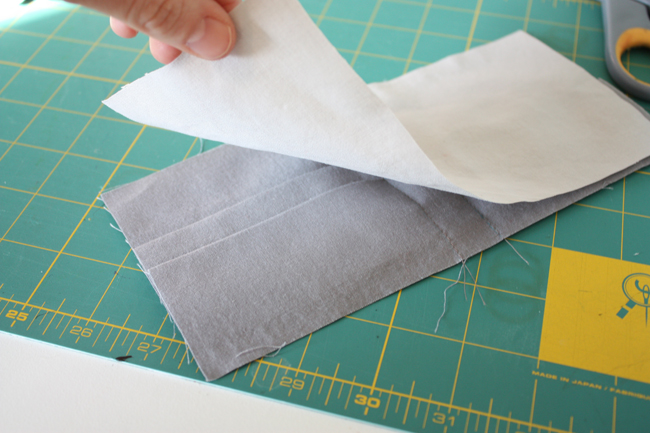
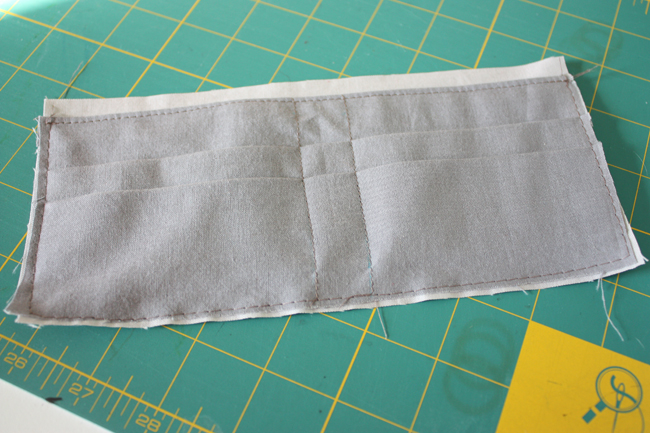
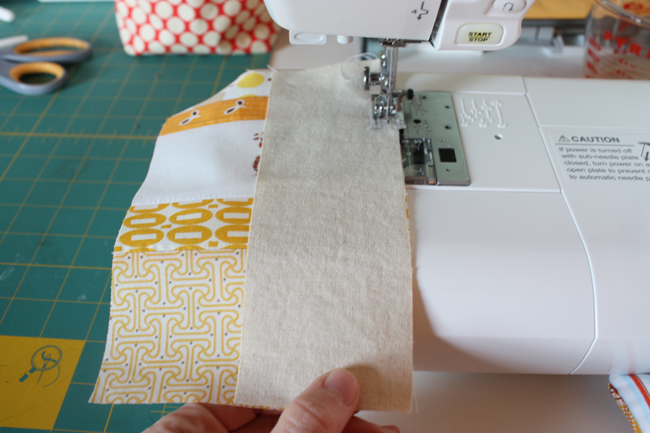
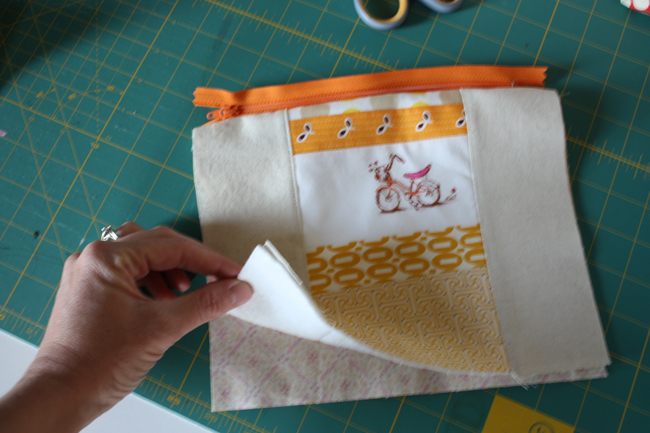
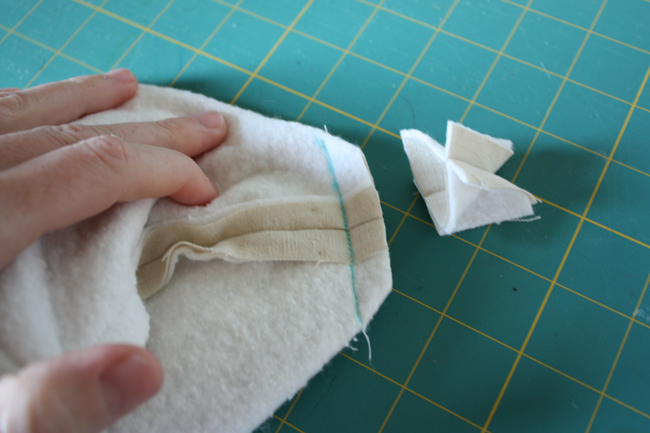
Take the three pocket pieces (exterior, lining, and canvas) and place them WRONG sides facing with the canvas in the middle.
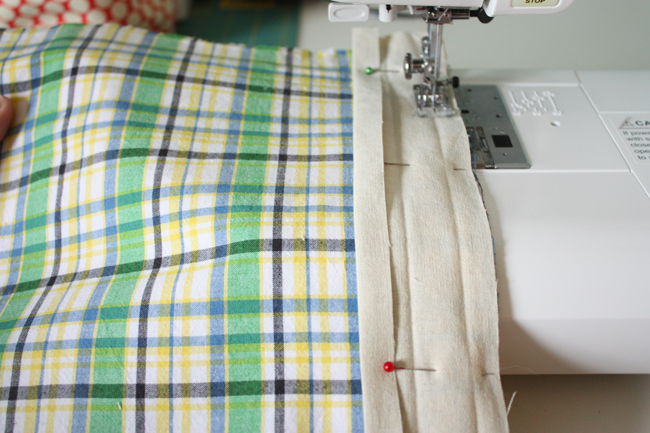
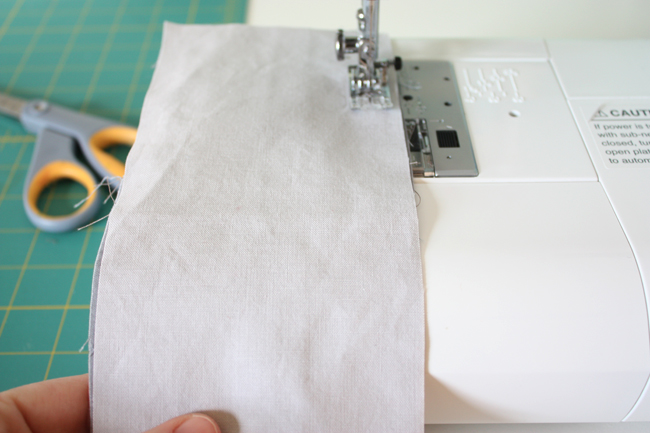
Open up the bias tape, pin along top edge of pocket. Sew along first crease line.
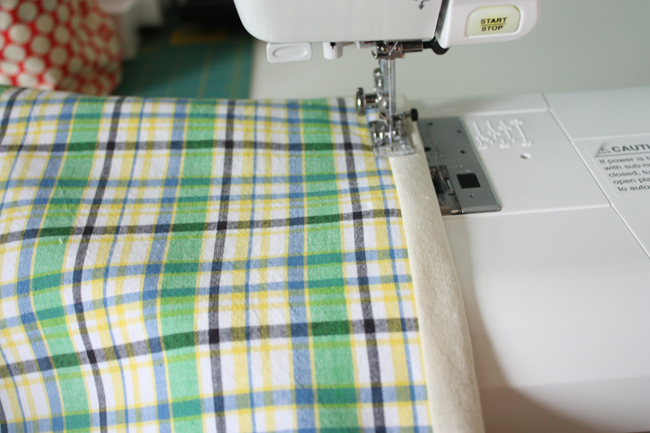
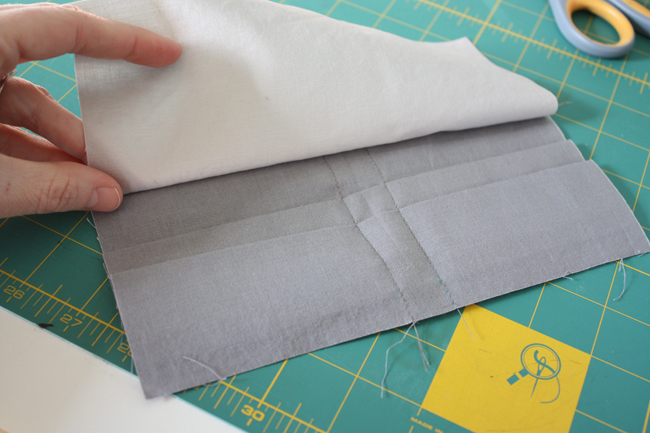
Fold the bias tape over to the back (lining) side of the pocket and sew again close to the edge.
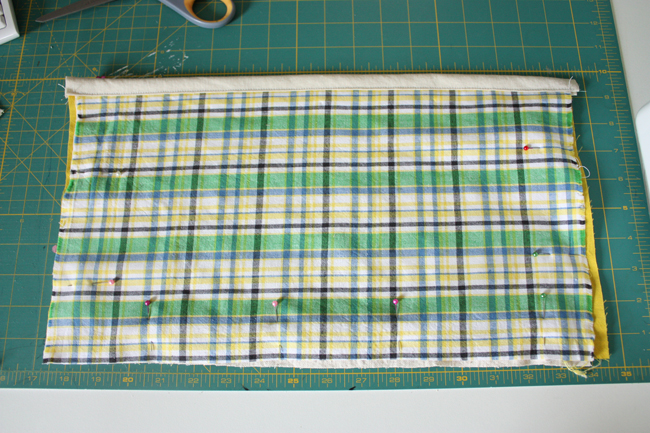
Baste along remaining edges of pocket piece. Set aside.
Assembling exterior:
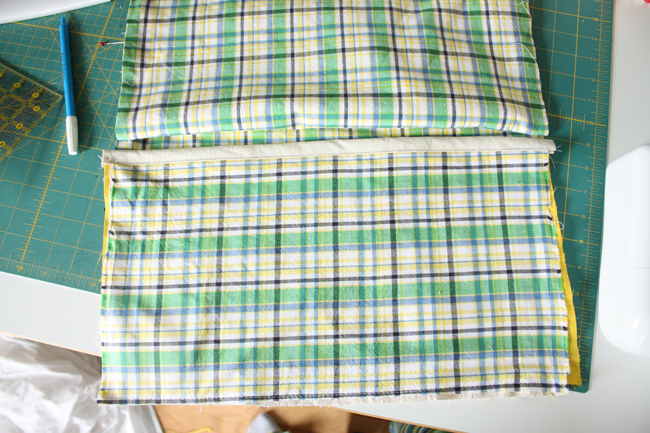
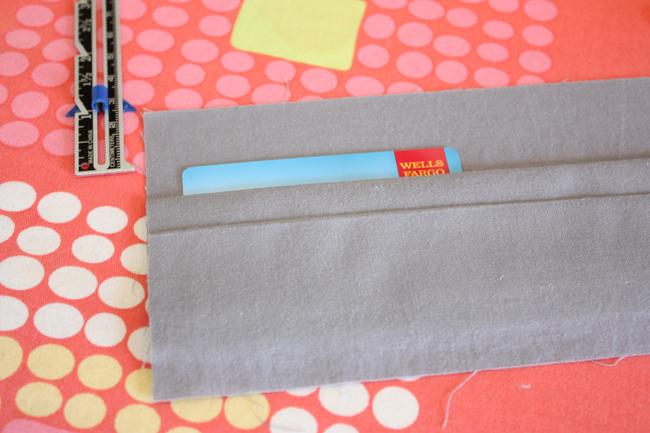
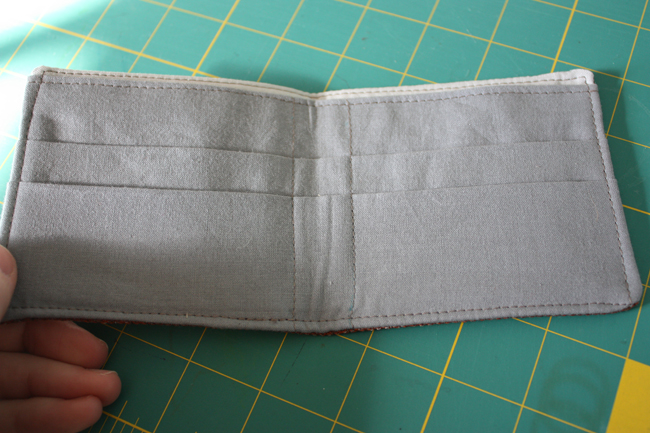
Place one piece of exterior fabric on top of one piece of canvas. Then place the assembled pocket piece exterior facing up on top.

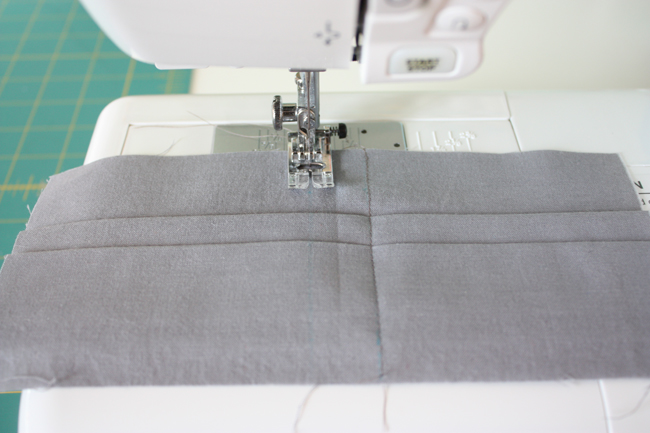
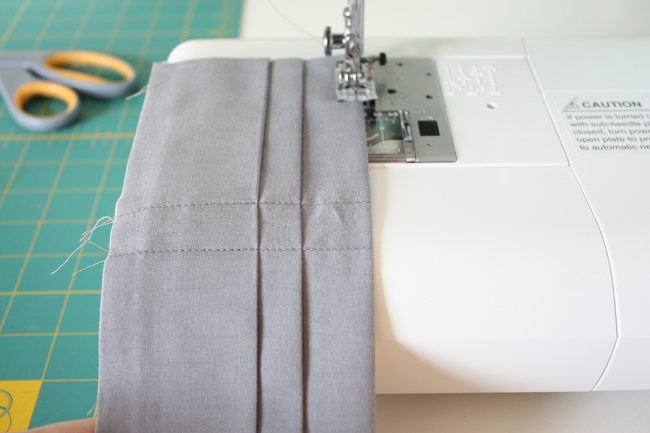
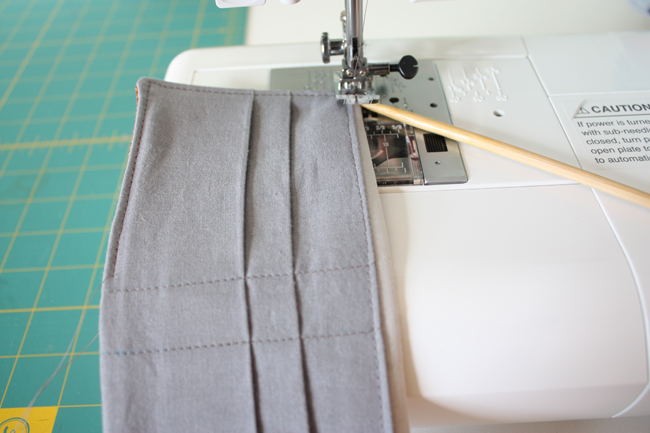
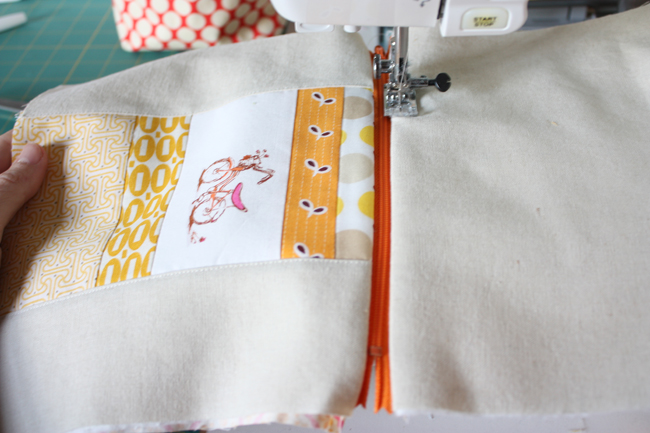
Sew down the middle of the pocket piece, marking a line with a water soluble pen if desired. This creates your divided pocket. You might also want to do a few stitches across the top just to reinforce the pocket.
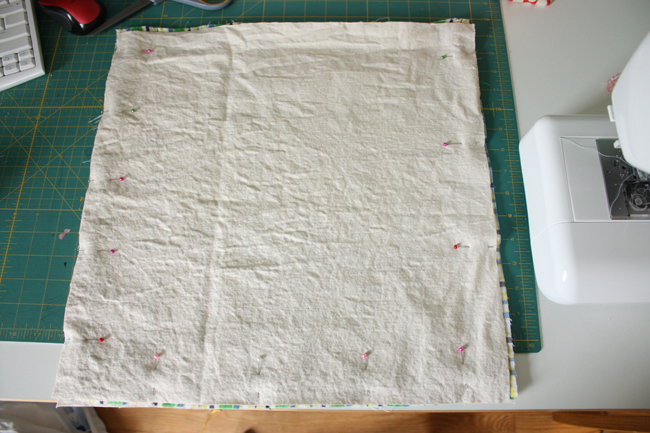
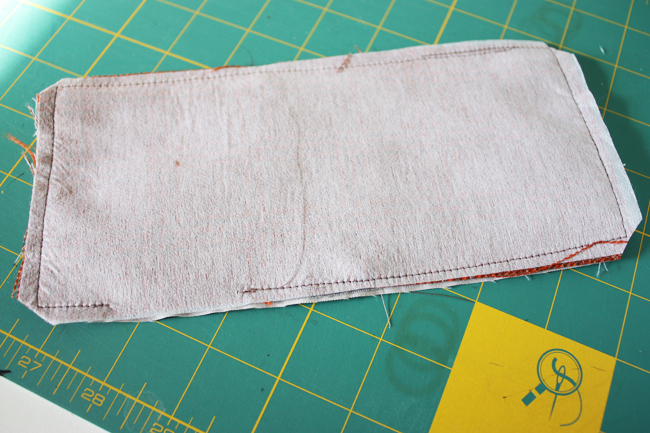
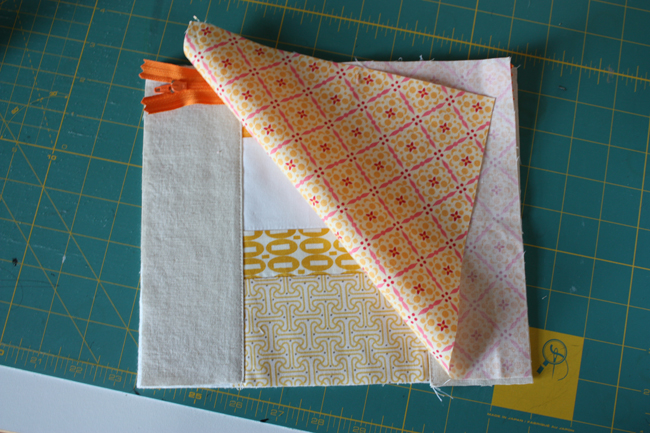
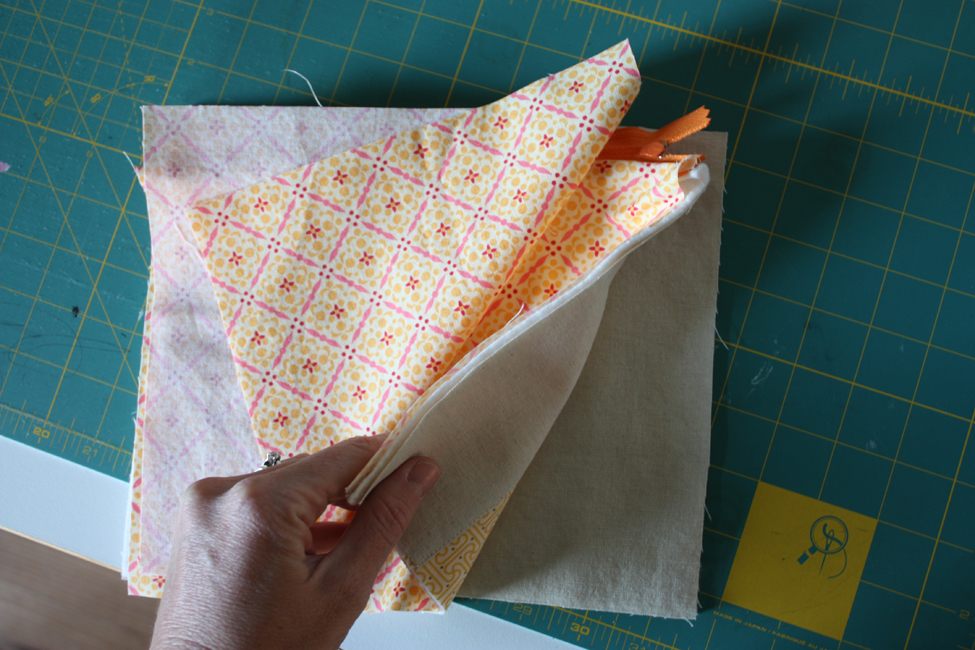
Now place the remaining exterior piece RIGHT side down, then the remaining canvas piece of top of that. Pin along both sides and bottom edge. Sew along all three edges.
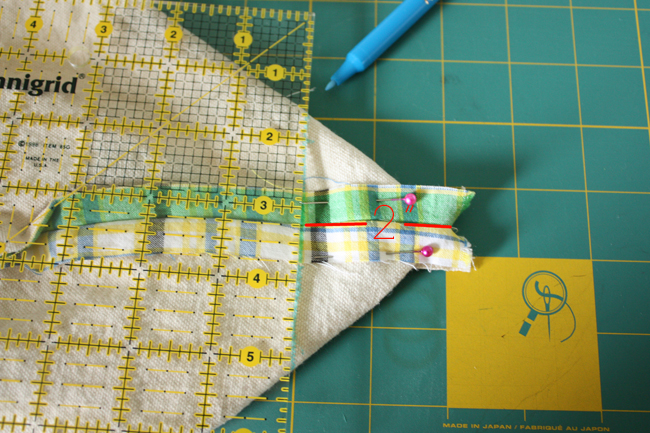
Now stick your hand inside the bag and pinch the bottom corner so that the side and bottom seams are aligned. With your water soluble pen mark a line that is 2″ from the tip of the corner, perpendicular to the seam. Sew along that line.
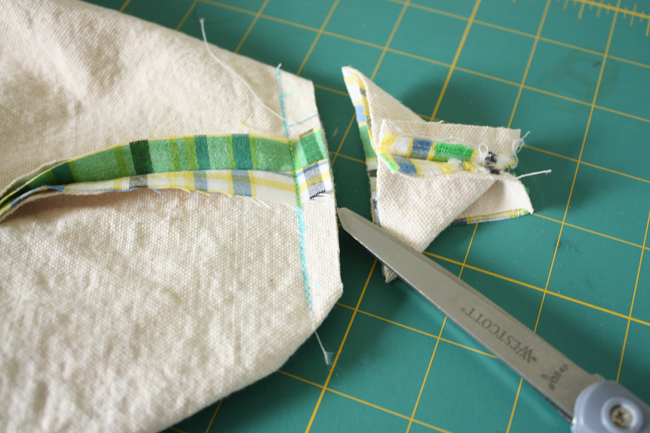
Clip corner. Repeat for remaining corner.
Assemble lining:

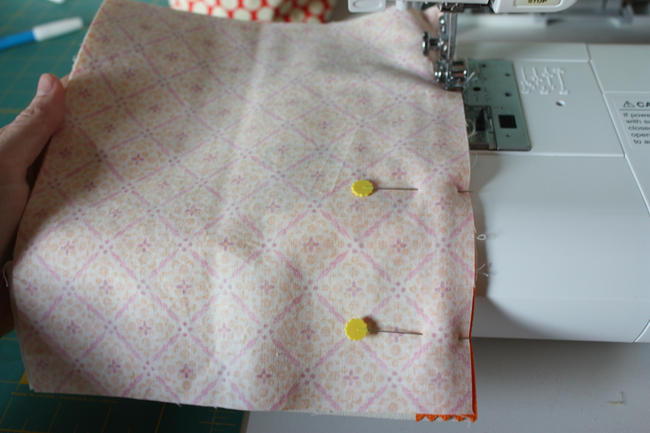
Place lining pieces RIGHT sides together. Pin. Sew along both sides and bottom leaving a 5″ opening along the bottom edge for turning. Again as with the exterior, stick your hand inside the bag and pinch the bottom corner so that the side and bottom seams are aligned. With your water soluble pen mark a line that is 2″ from the tip of the corner, perpendicular to the seam. Sew along that line. Clip corner. Repeat for remaining corner.
Handles:
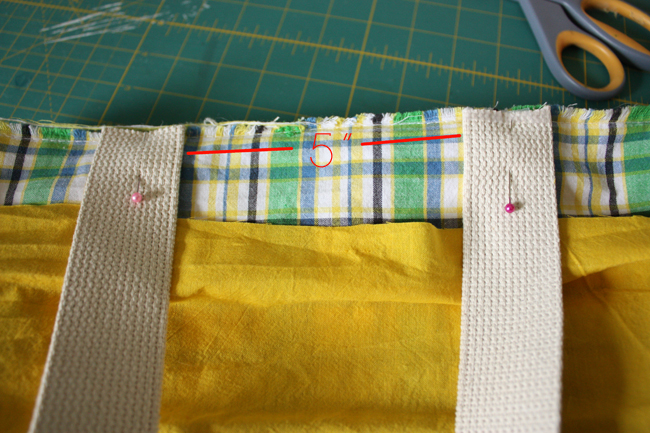
Align the raw edges of each handle with the raw edges of the top of the tote. Baste in place so that the handles are 5″ apart.
Finishing the tote:
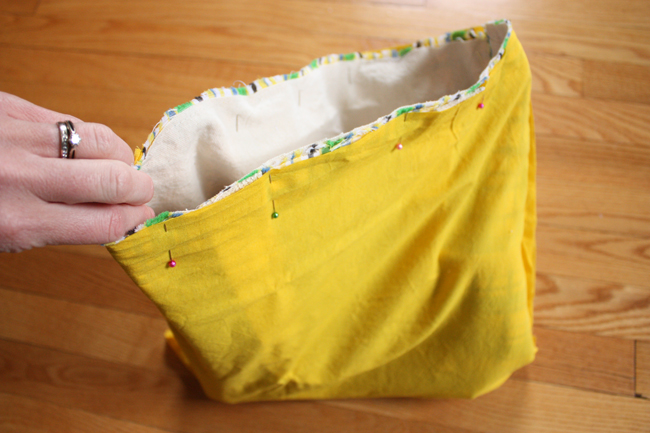
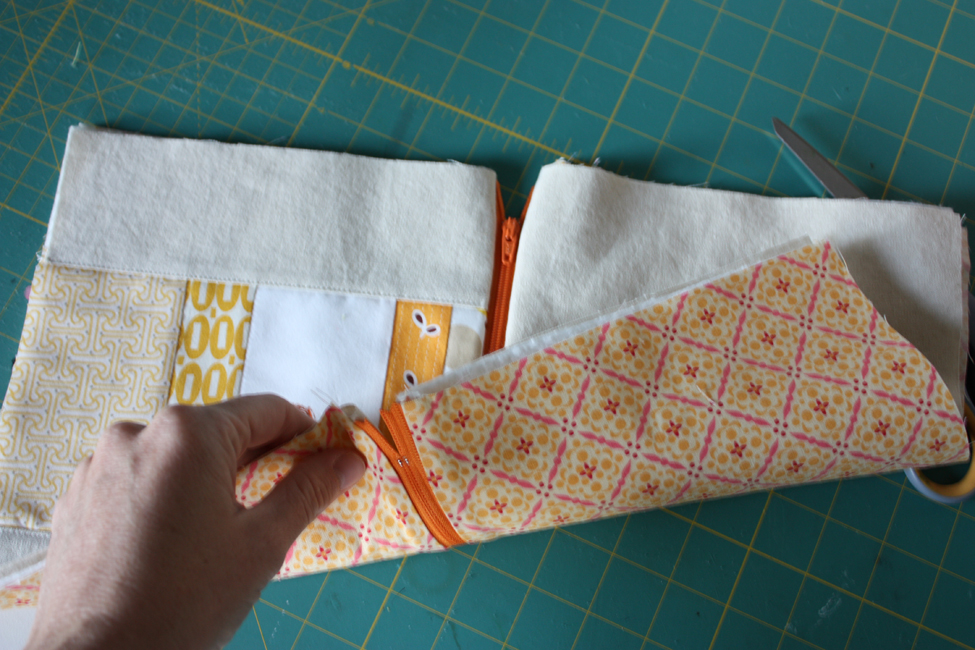
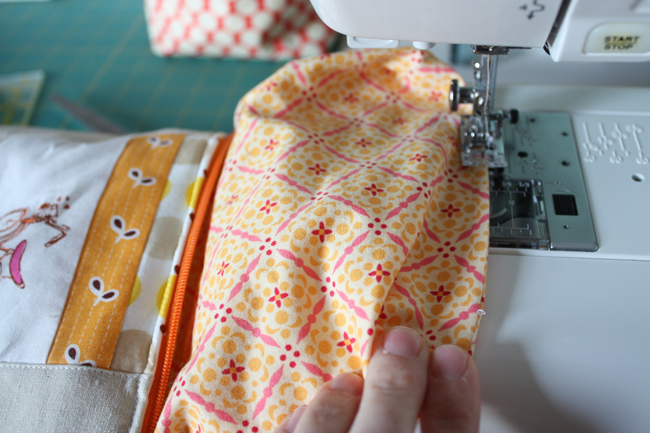
Slip the exterior into the lining piece RIGHT sides facing. Sew around top opening of the tote. Turn right side out through the opening you left in the lining. Tuck in raw edges of lining and sew shut using a small seam allowance. Push lining into the exterior and press along the top edge.
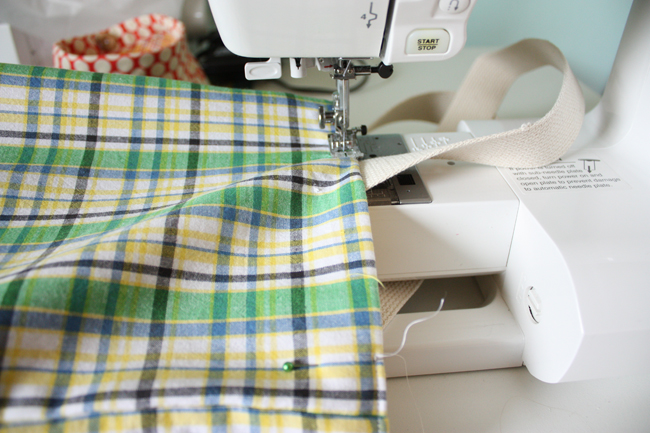
Sew two rows of top stitching along the top edge. I suggest using a slightly larger stitch length for top stitching.
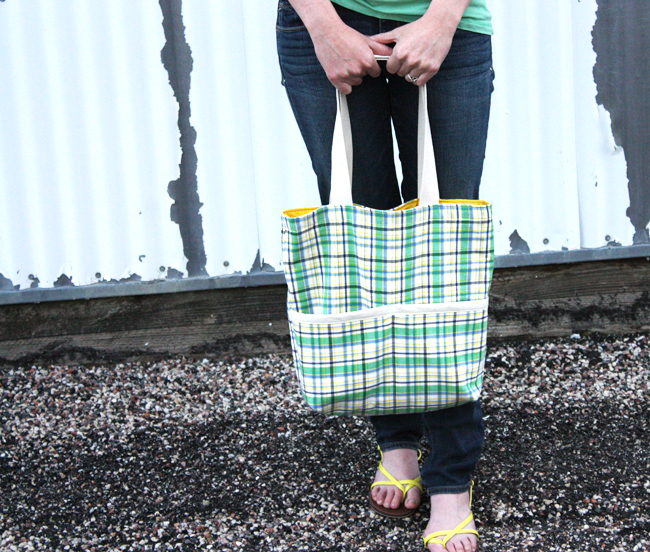
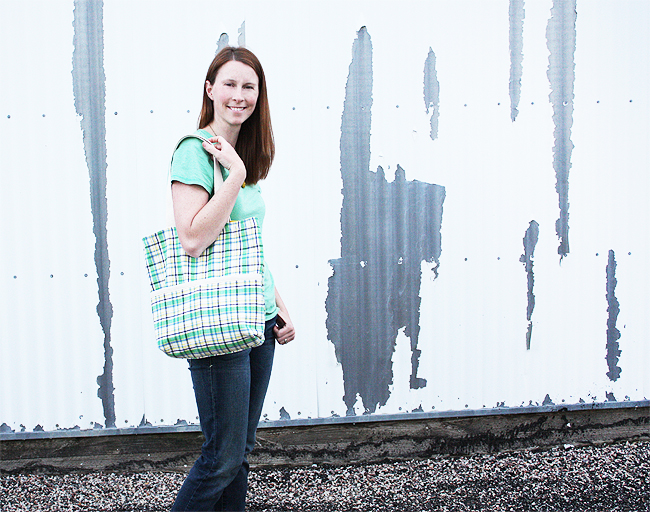
Sling it on your shoulder and you’re ready for a fun summer! Thanks so much for having me Kathleen.