Bags, Wallets, and Zips

Cargo Duffle Pattern for Robert Kaufman

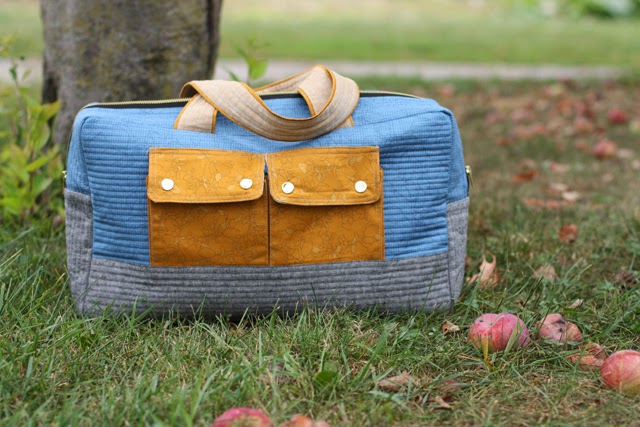
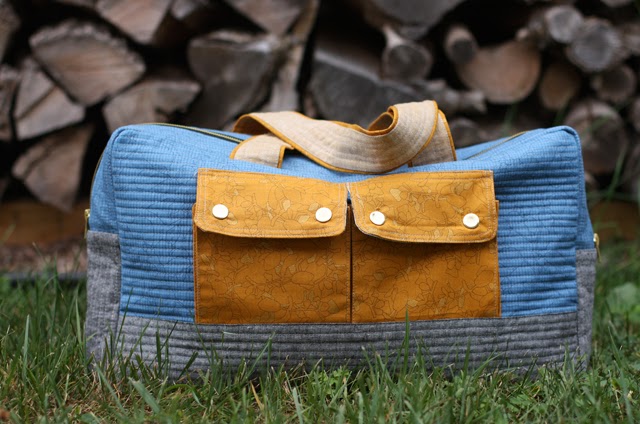
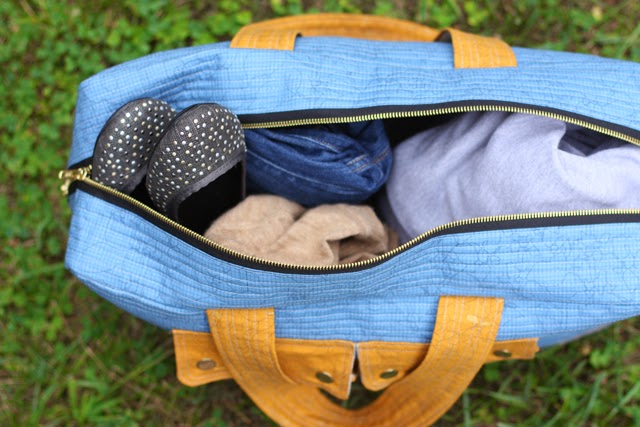
I am bursting at the seams happy about this new duffle pattern: the Cargo Duffle (click the link to be taken to the download page)!  The lovely folks at Robert Kaufman asked me to come up with a pattern that they could post on their website.  You know what that means, right?  It’s for YOU and it’s FREE!  I can see this pattern working with so many fabrics and it’s just the perfect size (if you ask me) for an overnight bag or carry on.

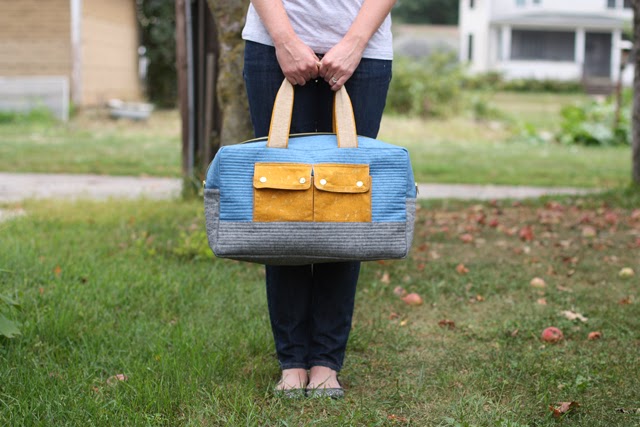
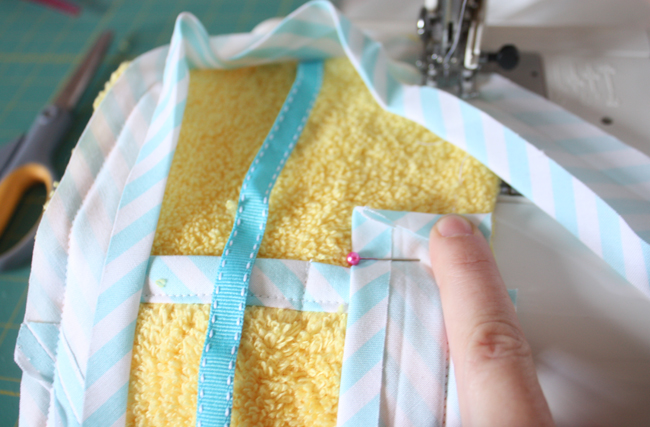
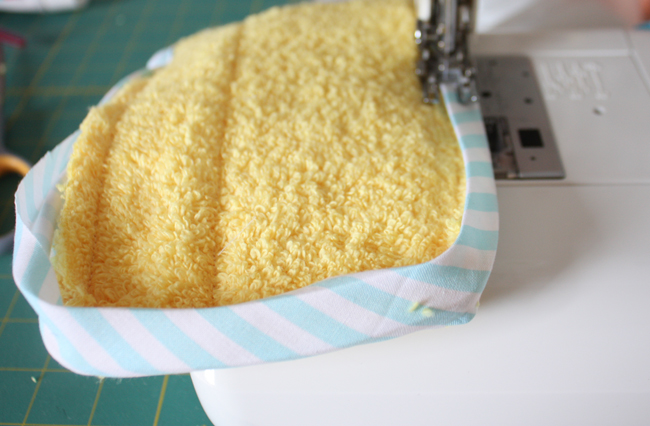
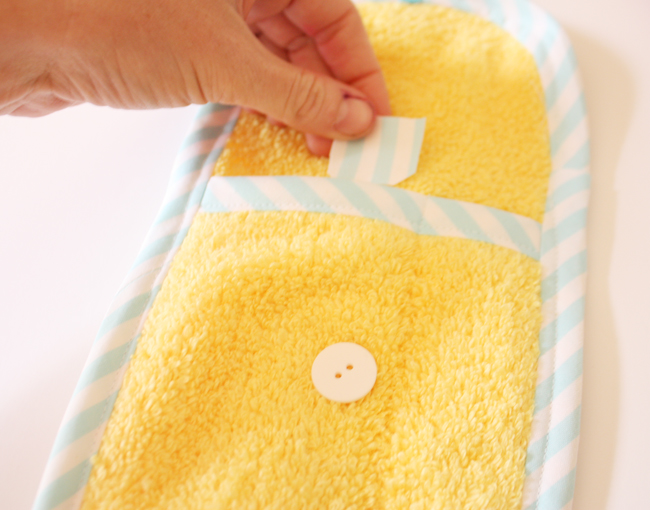
And those cute front pockets?!  Aren’t they awesome?!  I want to squish them.  So are you ready to make a Cargo Duffle?  It’s available now!  There is a downloadable PDF on the Robert Kaufman website and you can get busy and make your own!  Just in time for all the Holiday fun, too!

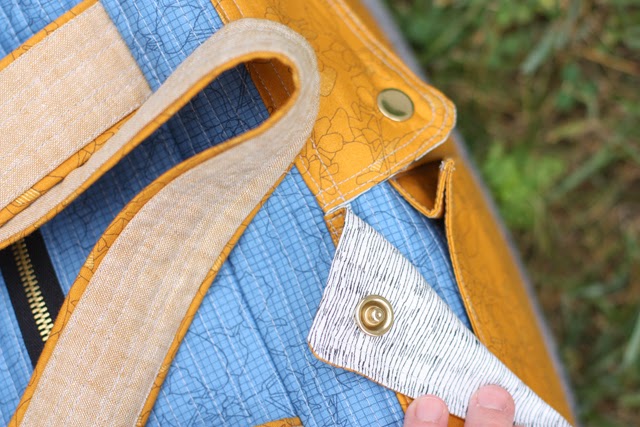
This duffle was made with the awesome new line by Carolyn Friedlander called Botanics.  I feel genuinely giddy over how awesome they are and couldn’t be happier with being able to sew with them.  Carolyn has this beautiful way with design and color, to me it’s pure heaven (on fabric that is).

I have a few more to show you, so stay tuned! Hurrah!

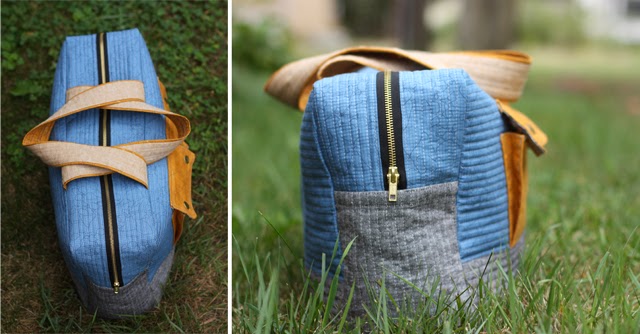
PS. in the pattern I call for a 26″ coverall zipper, they’re lovely because they zip from both ends.  I found the Coats & Clark ones at my local Hancock Fabrics.  I also use a YKK brand, Coverall 26″ Zipper.  The snaps are available in my shop,  size 24.  Oh, and I would be thrilled to see any you make!  You can add them to the Noodlehead flickr group or the Robert Kaufman flickr group or both!


Bags, Wallets, and Zips

fabric berry basket: DIY tutorial

I am in love with so many design blogs. I spotted Fellow Fellow making some paper versions of the classic strawberry basket, and I immediately wanted to make some. However, I’m a little lacking in the awesome paper department. But I do know where I’ve got a great selection of fabric! So I thought I’d share a tutorial for making a fabric berry basket. Now before you get all “You can’t put berries in there! Are you crazy?!” on me, just step back and think of all the storage possibilities!!! And don’t stop at my few size suggestions, play and make your own…lots!

Materials:

  • 2 fat quarters (18″x 22″ pieces) or scraps
  • one yard 1/2″ double fold bias tape (can be bias cut or straight on grain)- handmade or storebought
  • *1/2 yard double sided fusible heavyweight interfacing (Pellon 72F is my top choice and works great)
  • Large & Small Basket Pattern Piece [PDF Download] 

*if you don’t have any Pellon on hand try out another heavy weight fusible or use a combination of interfacings you prefer!

Instructions:
{1/4″ seam allowance used throughout}

From fabric:

  • Cut two pieces, one from exterior fabric, one from lining.

From double sided fusible interfacing: Sizes noted on pattern sheet.

Place lining and exterior right sides facing. Sew pieces together along these lines:

Fuse on interfacing to center part only, fusing to only the exterior fabric.

Clip into inside corners corners.

Turn right side out.  Press!  Slip each of the remaining interfacing pieces into the 4 exterior sides. Press from both sides.  Topstitch along these lines:

Apply bias tape to top edges leaving a slight gap between each side section, if you want to be very precise you can do some measuring (a 1/2″ space between exterior sides looks nice), otherwise just eyeball it!

  • Open up raw edges of binding tape
  • Align with top raw edge of binding on the exterior of the basket. Fold edge of binding tape in by 1/2″.
  • Sew along first fold line.  Overlapping at the beginning/end.
  • Flip binding tape up and over to conceal top raw edge of the basket.  Topstitch binding in place.
I do recommend the larger size for someone who hasn’t had a great deal of experience applying binding.

That’s all, now make more.  Repeat until your entire house is filled then proceed to give as gifts.  If you make any fabric Berry Baskets, I’d love it if you would show them off in the flickr group!

Bags, Wallets, and Zips

travel handmade: toothbrush & toothpaste case DIY tutorial


Hi there!  Today I’m joining in the fun for Sewing Summit’s Travel Handmade series.  I’m really excited about getting to travel on my own, it’s been a while!  I hate to admit it, but usually for day trips and over-nighters I put my things in a plastic shopping bag.  So sad.  This little toothbrush/toothpaste case will be perfect though.  No more messy, wet or slimy tooth brushing equipment floating around my bag anymore!  It’s quick, easy, and cute!

Materials needed:

  • bathroom hand towel, new or up-cycled (it would be so cute with a vintage printed towel!) you’ll have enough for at least 2 cases or more!
  • 1/2″ double fold bias tape, store bought or handmade (I made mine by cutting bias strips 2.25″ wide), a yard will be more than plenty
  • small scrap of fabric for button reinforcement
  • button
  • small length of ribbon
  • walking foot is recommended!

Cut the pieces, you’ll need one case back and one pocket front as indicated:
Round the top two corners of the case back.
Make bias tape (unless using store bought).

Apply bias tape to top edge of front pocket. Open up bias tape.  Align raw edge of bias tape to raw edge of the front pocket.  Pin in place.  Sew along the first fold.  Flip bias tape around the back of the pocket covering the raw edge.  Stitch in place close to the inside fold.  Trim edges as necessary.

Lay front pocket on top of back case piece.  Sew a dividing line down the front (through both layers) if you wish to make a divided pocket (great for stashing a flossing stick or your toothbrush.  Place the length of ribbon at the top of the flap, sew in place.

Open up bias tape. Fold short edge of bias tape to the wrong side.  Pin in place.  Sew along the first fold around entire case, overlapping when the bias tape ends meet up.

Fold bias tape over, wrapping the raw edge, mitering the corners.  Stitch close to the inside fold of the bias tape around case.

Take a small scrap of fabric and tuck it behind where you’ll be sewing the button.  Hand sew button in place.  And that’s it!  To close the case, simply fold over the flap and wind the ribbon around the button.

Travel happy!