Bags, Wallets, and Zips

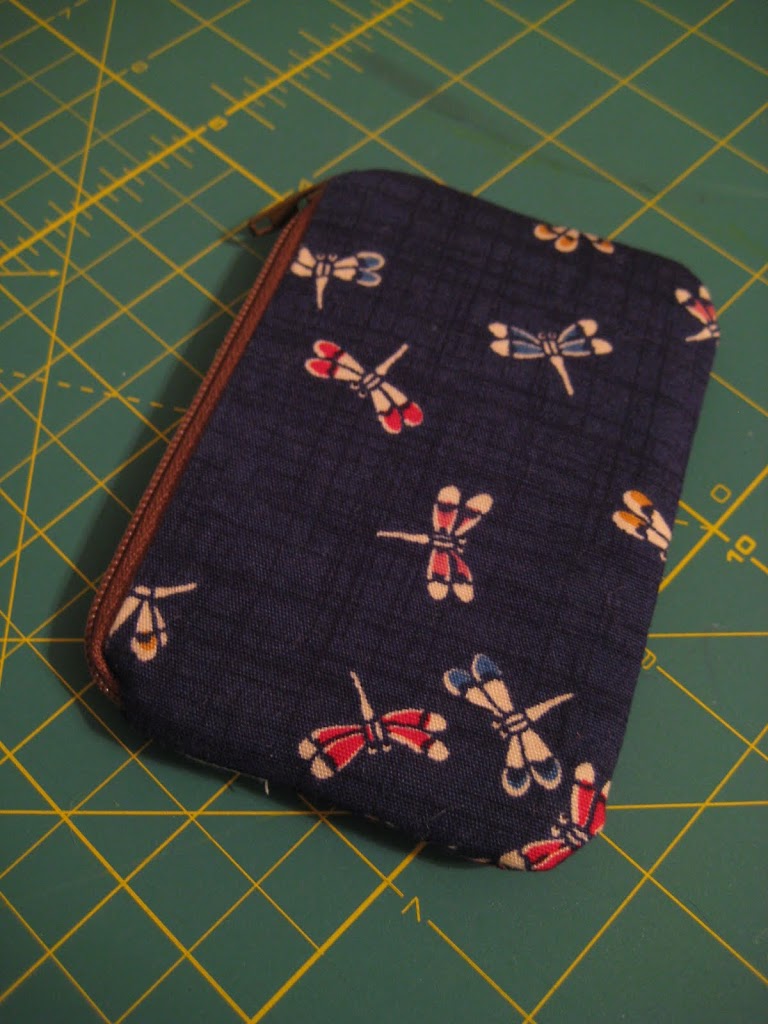
TUTORIAL: Lil Cutie Pouches

Ask and ye shall receive!  Here’s the tutorial for the Lil Cutie Pouch.

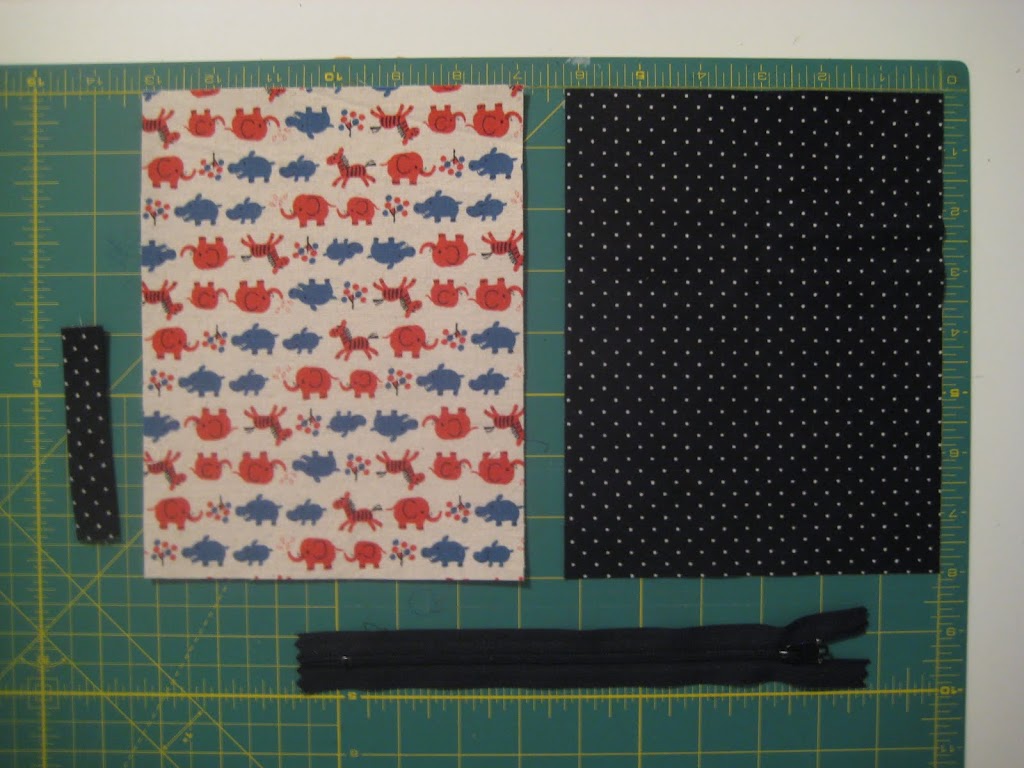
You need:

  • (1) 8″ tall x 6.25″ wide piece of exterior fabric (interfaced)
  • (1) 8″ tall x 6.25″ wide piece of lining
  • (1) 2″ x 3″ piece of fabric for key ring loop
  • split key ring
  • 8″ zipper


This one’s quick! Make a couple at a time and keep one for yourself this time (I did!).

{1/4″ seam allowances throughout}


Cut your exterior & lining pieces in half (they’ll measure 4″ tall x 6.25″ wide each, you’ll have 4 pieces total)

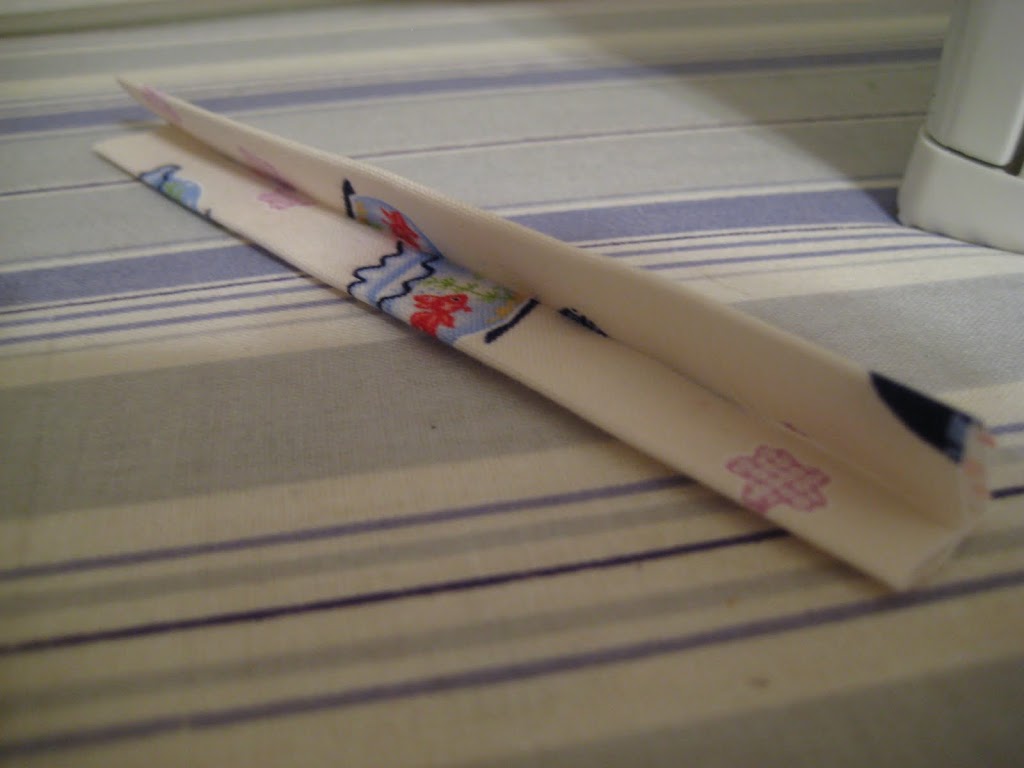
Take your 2″ x 3″ piece of fabric, fold right sides together the long way, sew.  Turn right side out and press with the seam in the middle of the fabric.  Press in half to make a loop, baste raw edges together if desired.  Set aside.


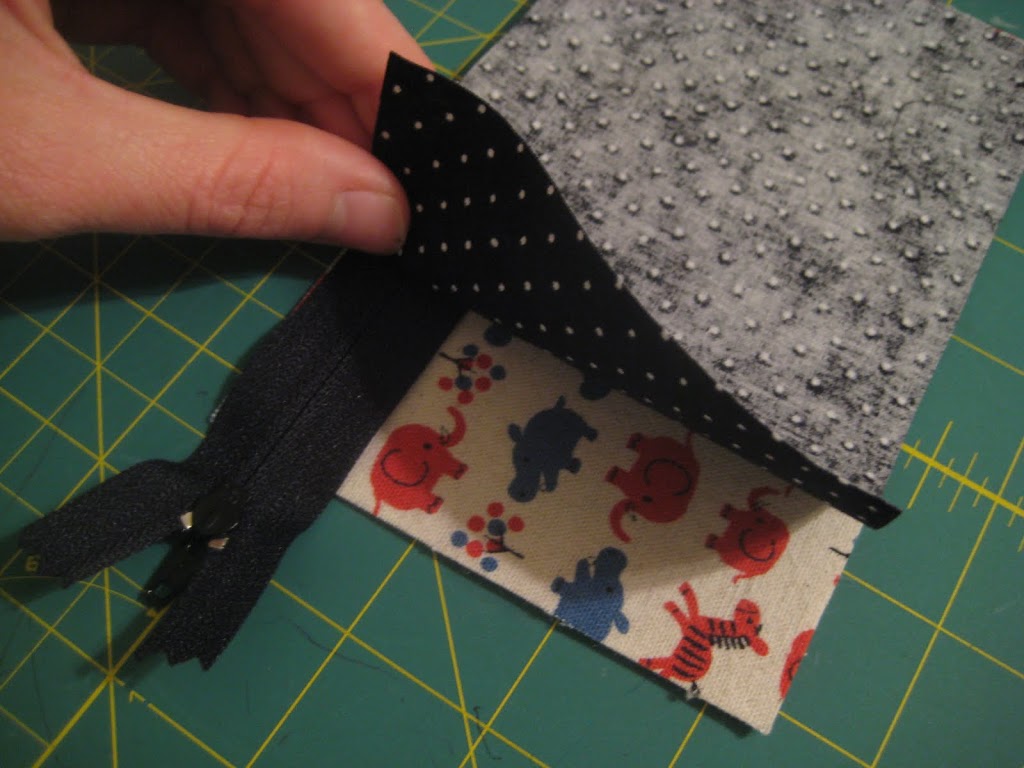
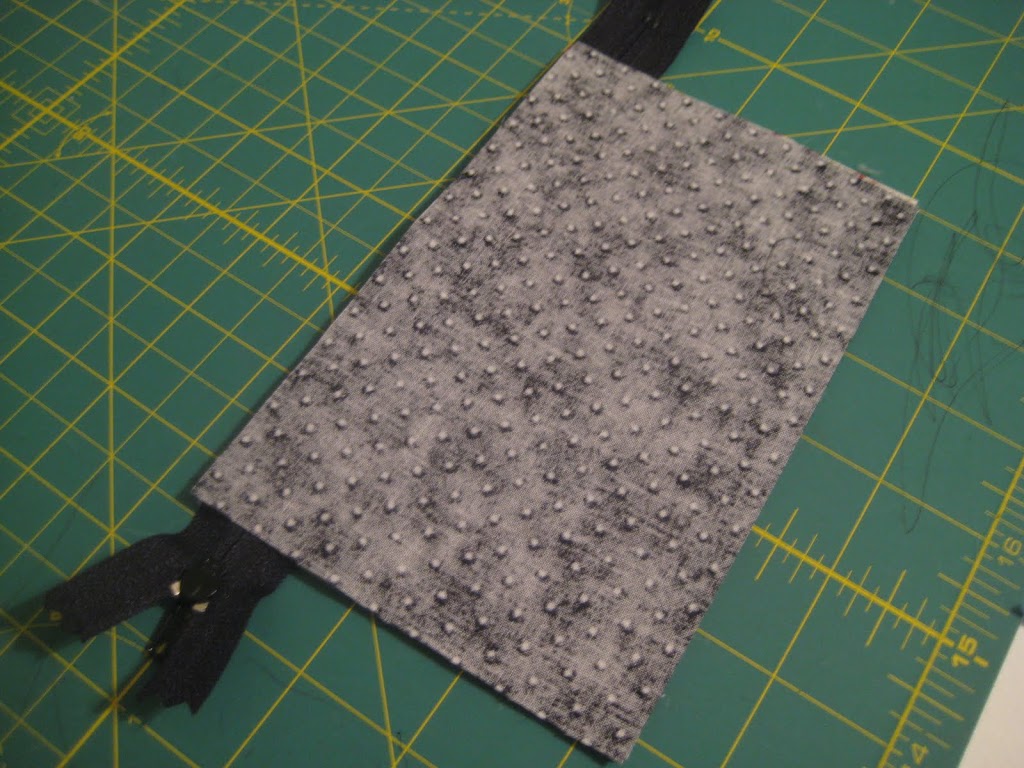
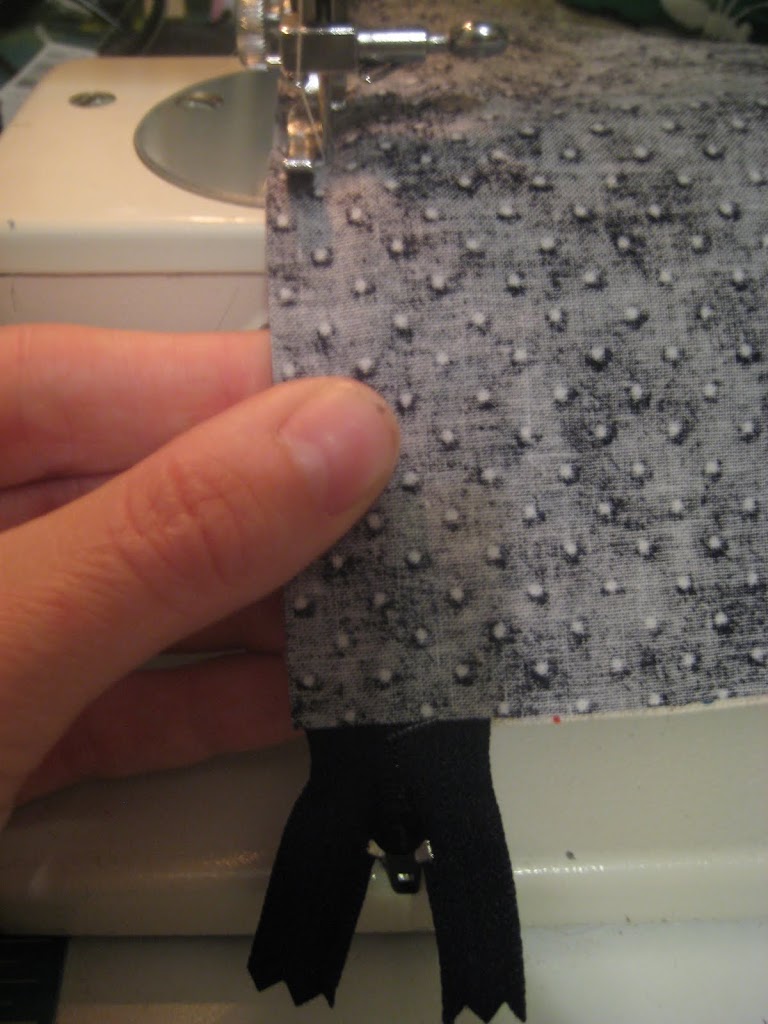
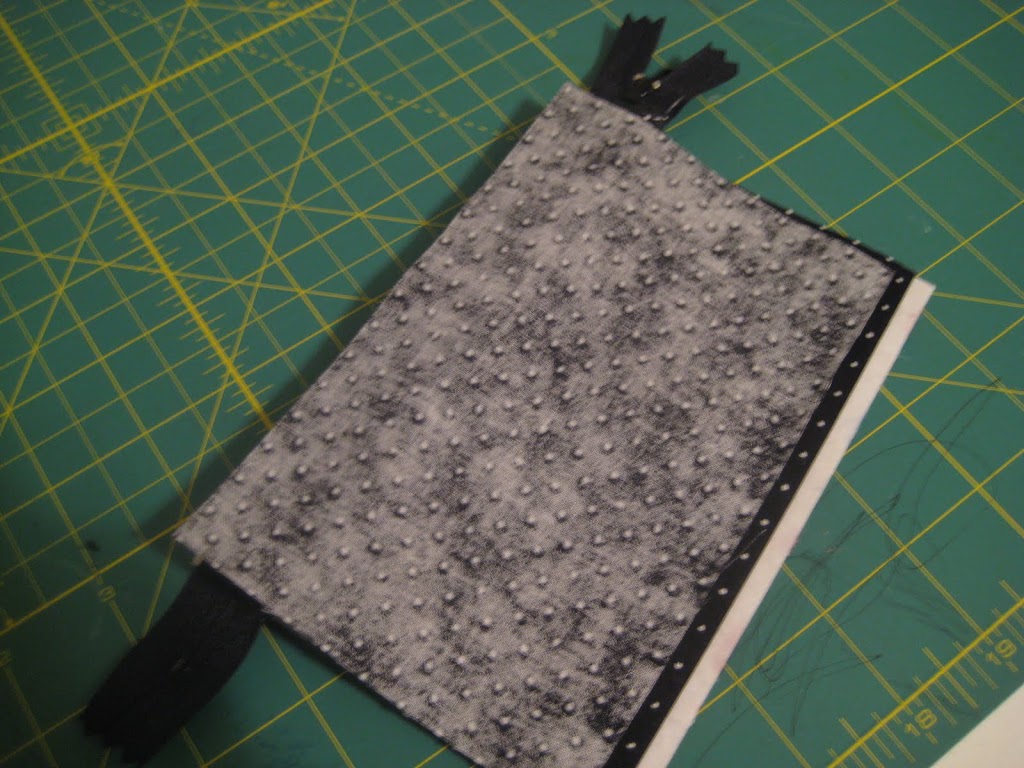
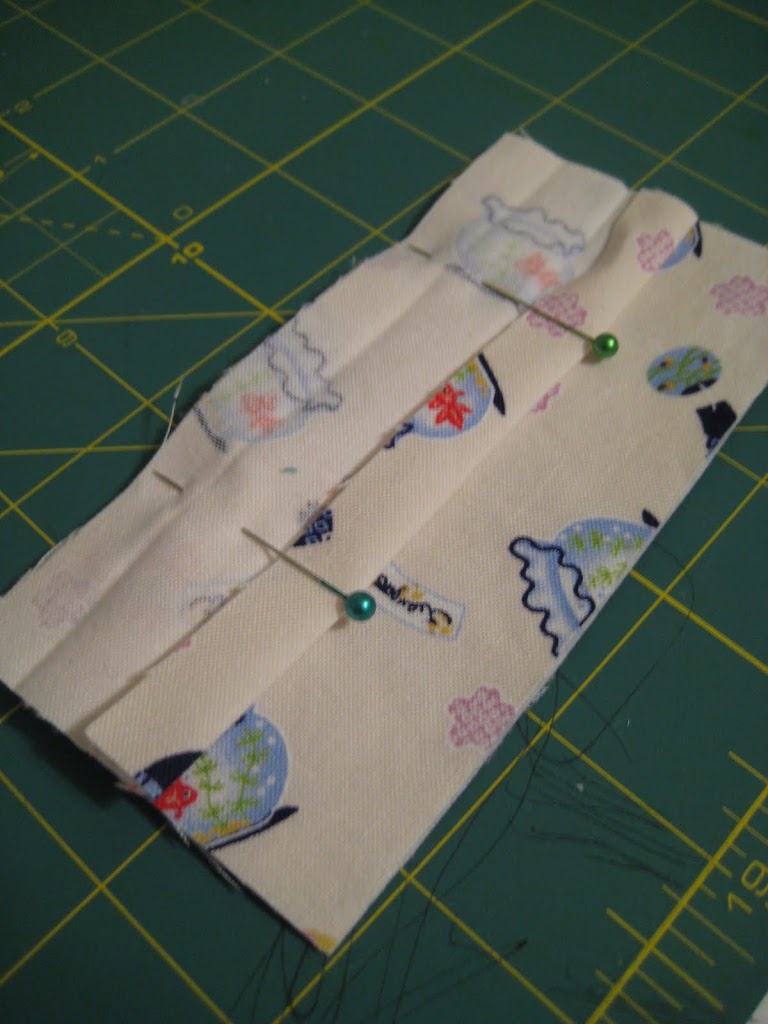
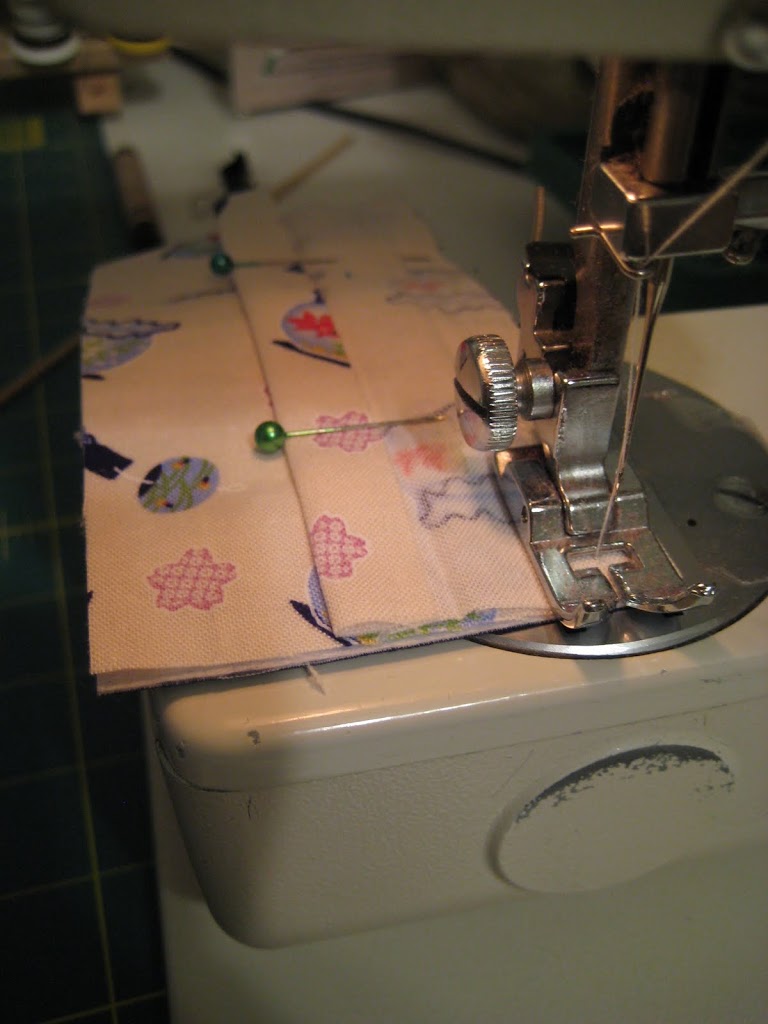
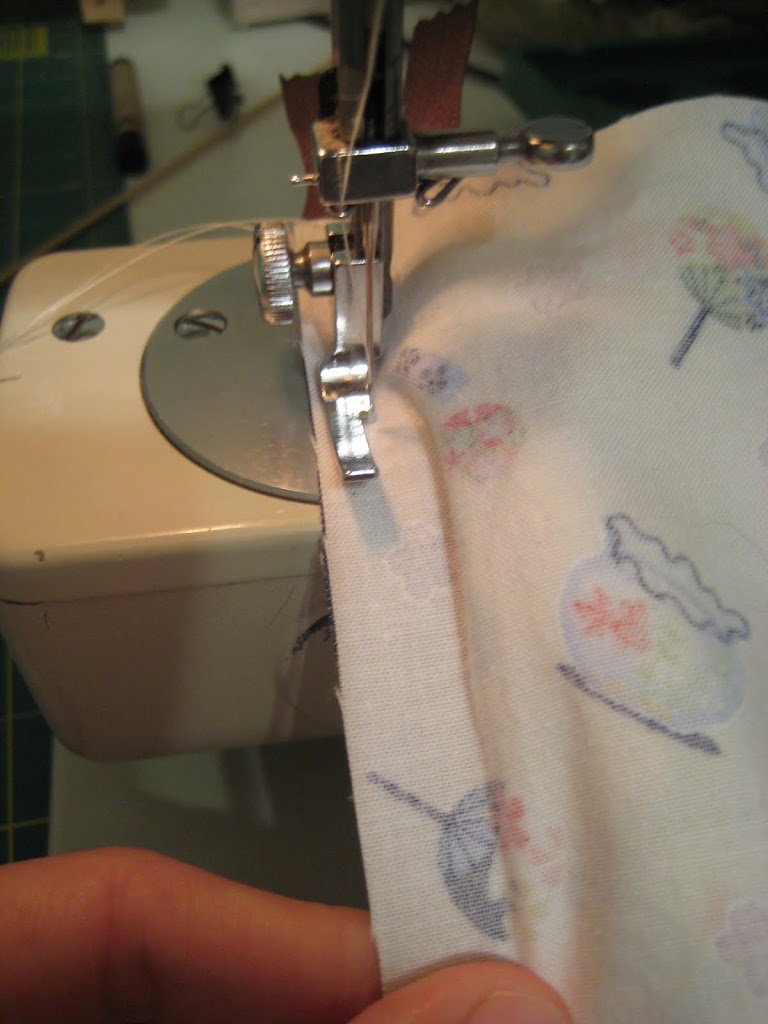
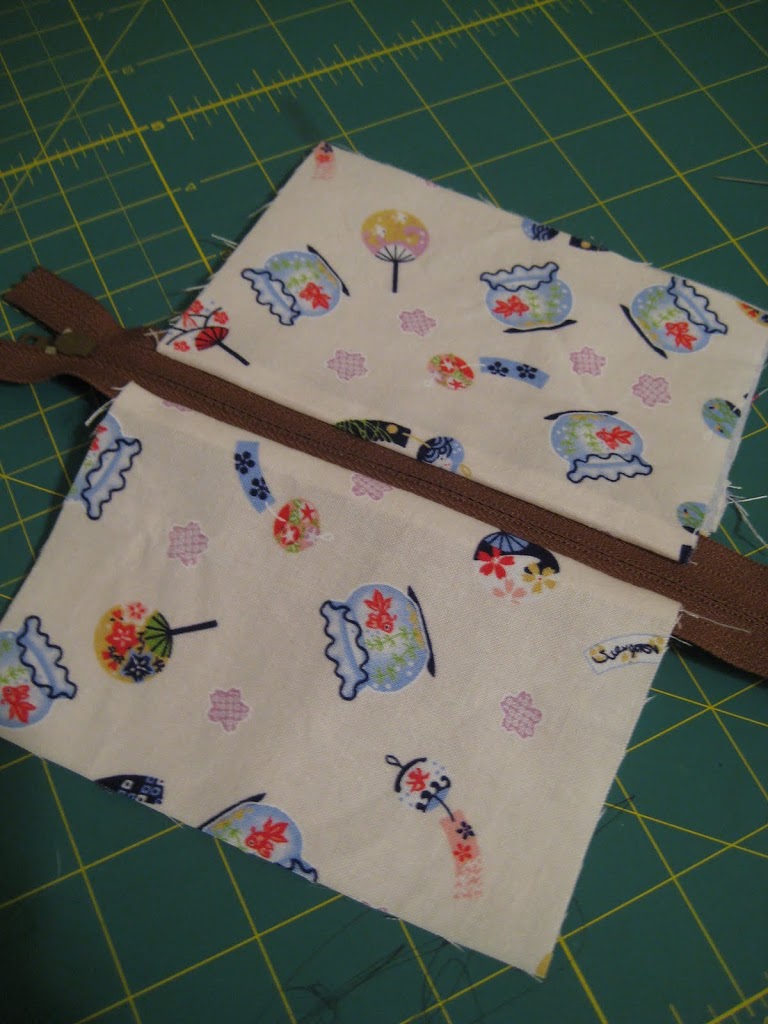
Lay down the first exterior fabric right side up, place your zipper teeth side down with the zipper pull to the left.  Lay one of the lining pieces right side down.  Pin if you’d like.  Using your zipper foot sew together.


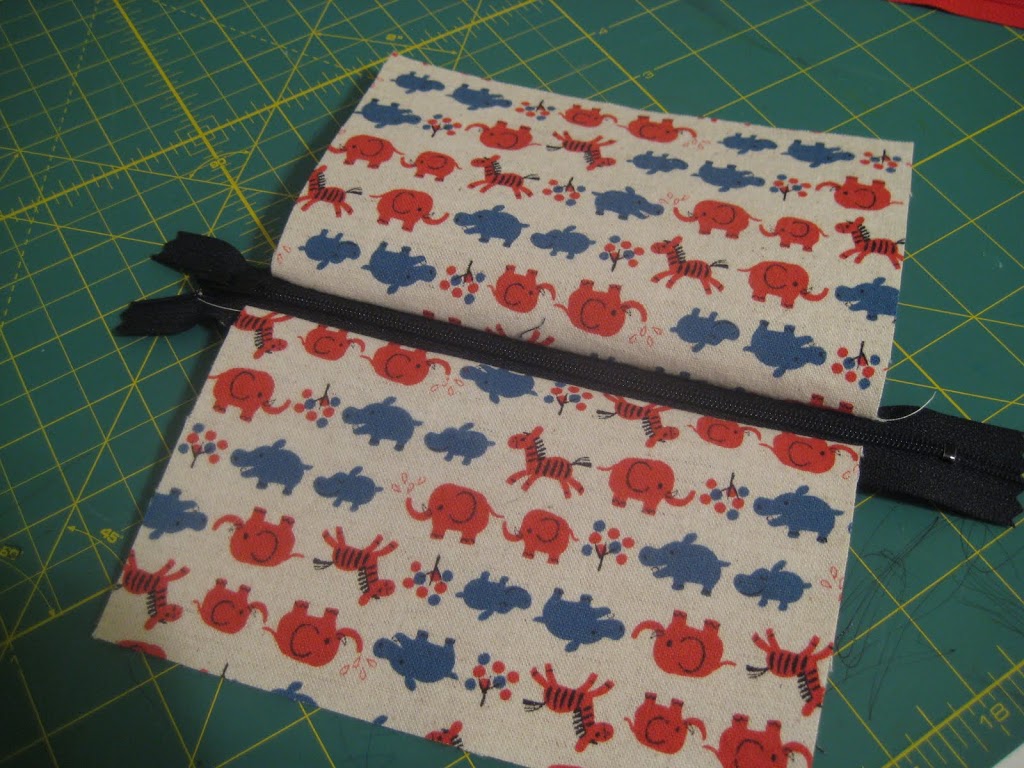
Flip wrong sides together. Next lay your remaining exterior fabric piece right side up, place your zipper teeth side down with the zipper pull to the right this time.  Lay the remaining lining piece right side down on top of the zipper.  Pin.  Sew.  Flip wrong sides together, press.


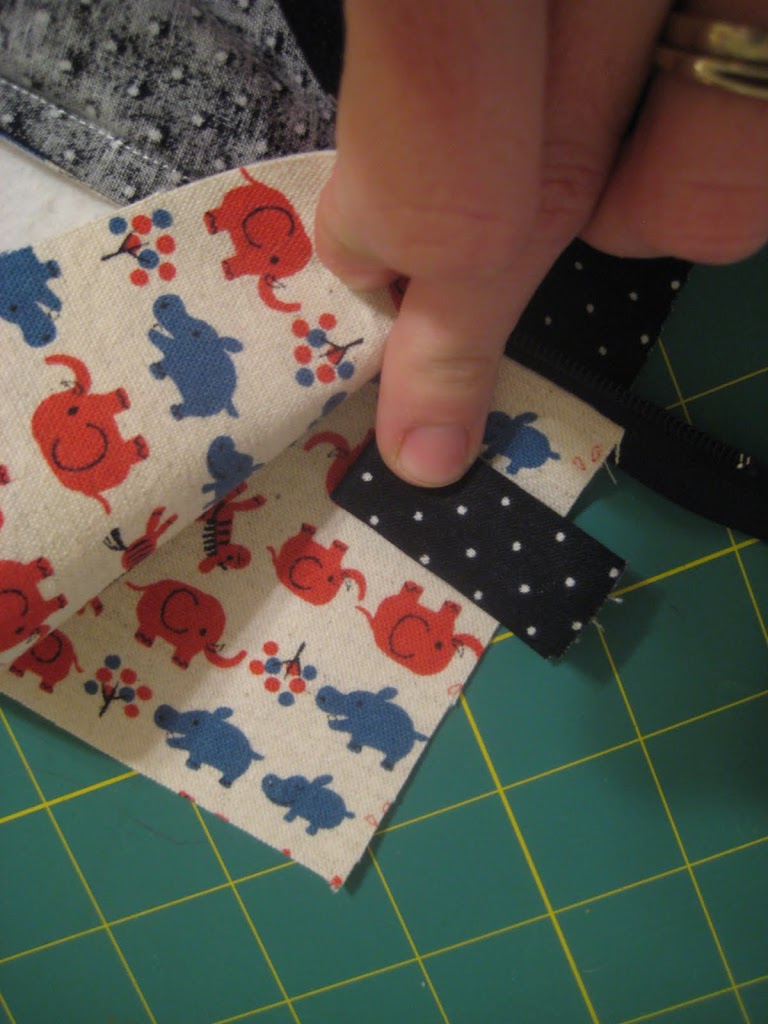
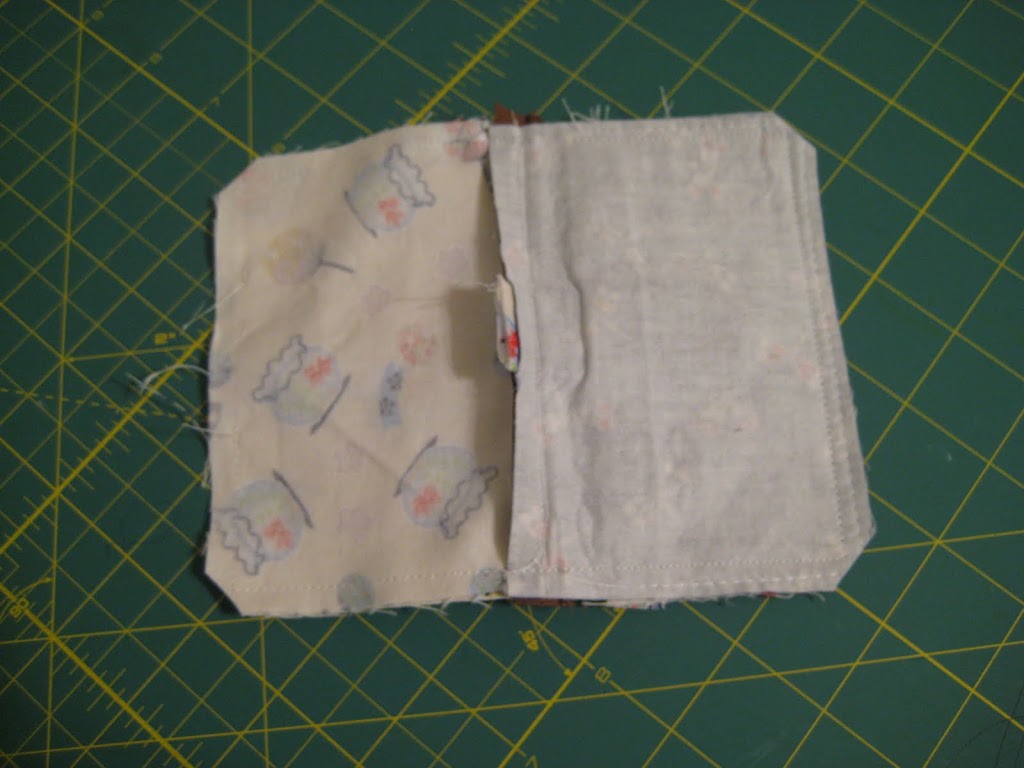
Flip right sides together (be sure to open your zipper about half way now).  Tuck in your tab that you made earlier between the exterior pieces of fabric, with the tab’s raw edges facing out.


Sew around entire perimeter leaving a 2-3″ opening in the lining for turning.


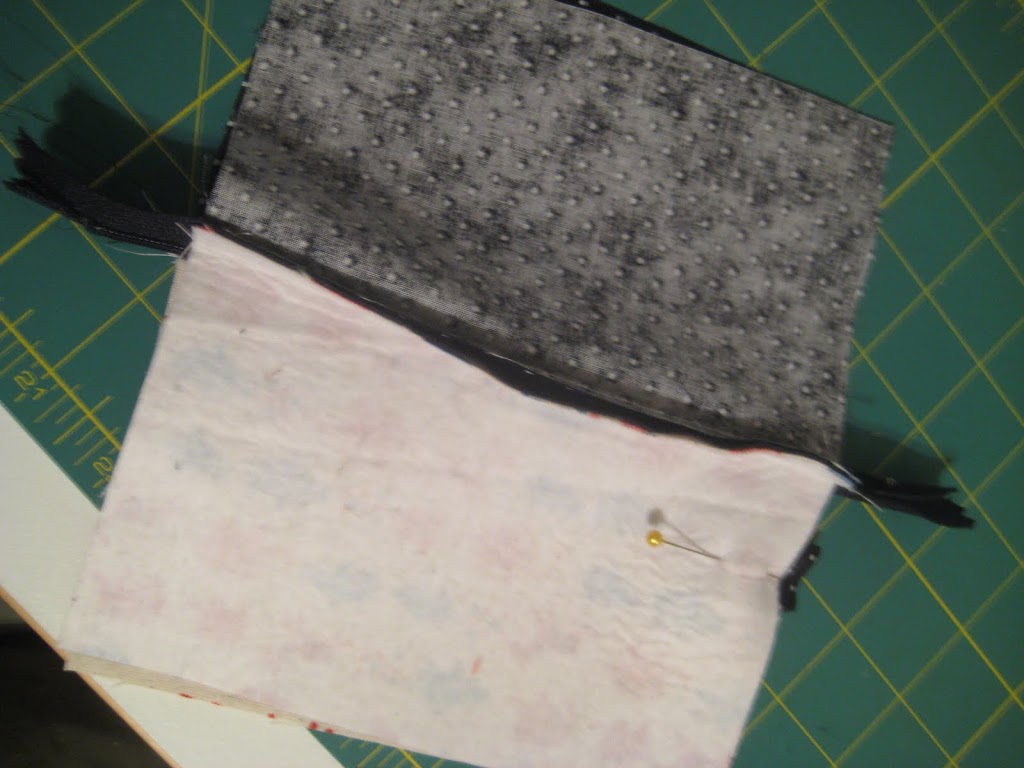
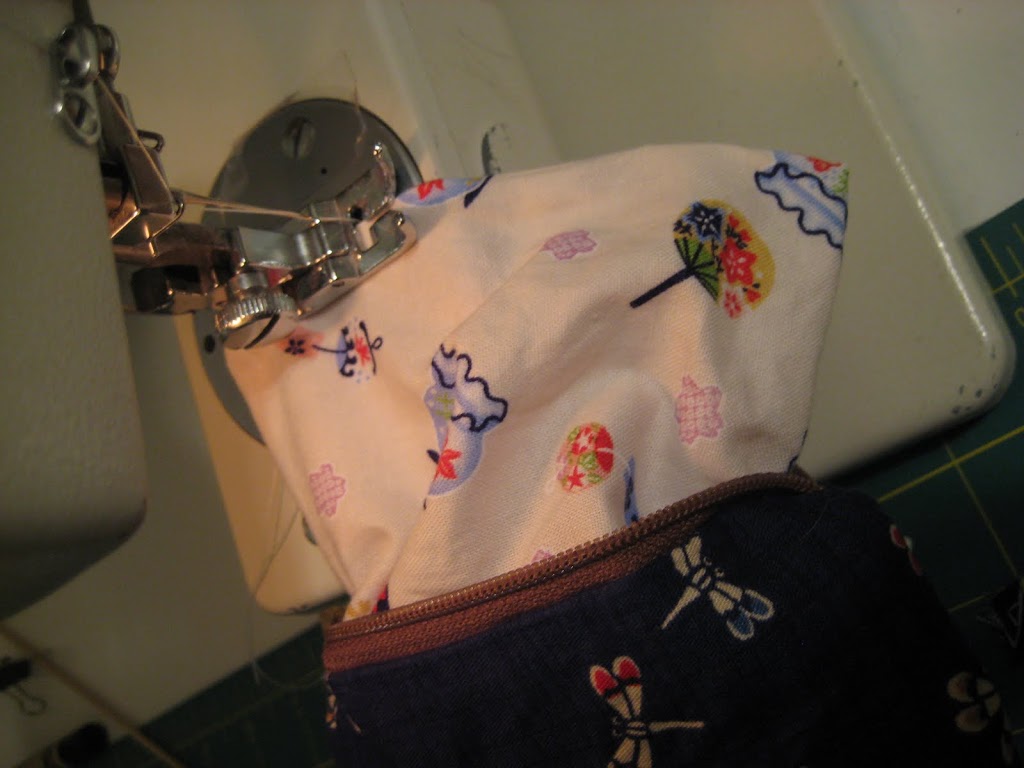
When I’m sewing around the perimeter, I make sure to push the zipper towards the exterior fabric on both sides when sewing across the zipper (zoom in on the above picture if you need to).  Clip corners, trim excess zipper.  Pull inside out through the opening.  Use chopstick to push out corners.  Tuck raw edges of opening in, sew opening in lining shut with small seam allowance, or stitch closed by hand.  Push lining into exterior.  Press.


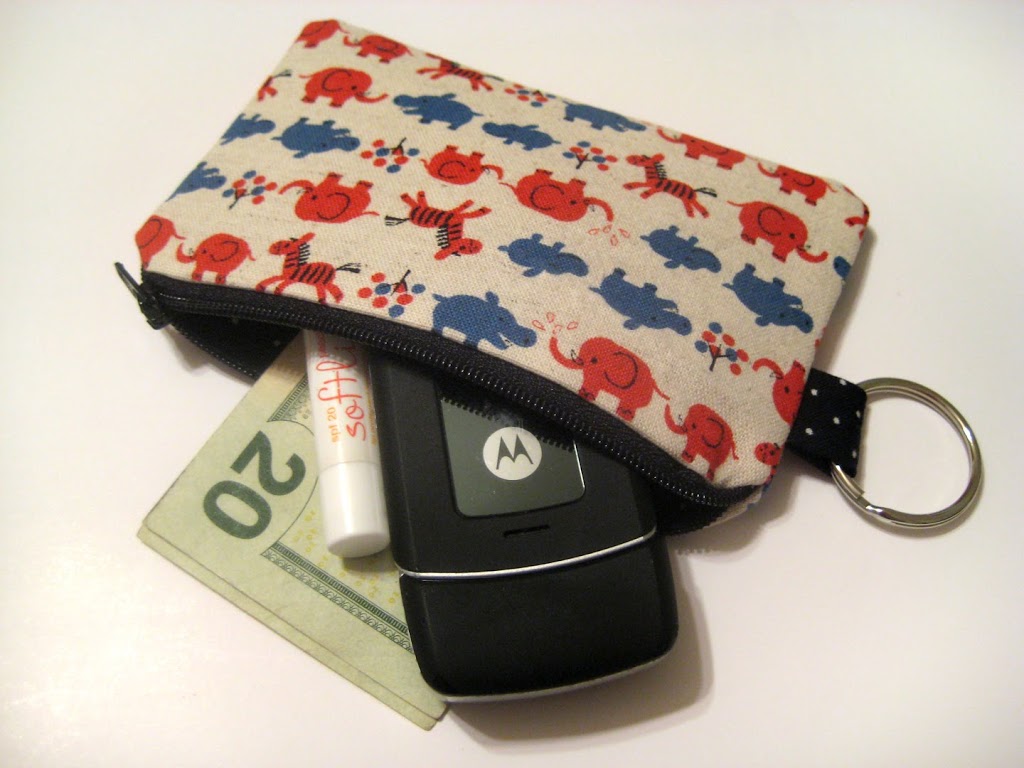
Attach your metal key ring, you’re good to go!  Stuff in all those gadgets and whatever else you might need, a camera, cell phone, iPod, you name it.  Let me know if you have any questions, I’d be happy to help.


Bags, Wallets, and Zips

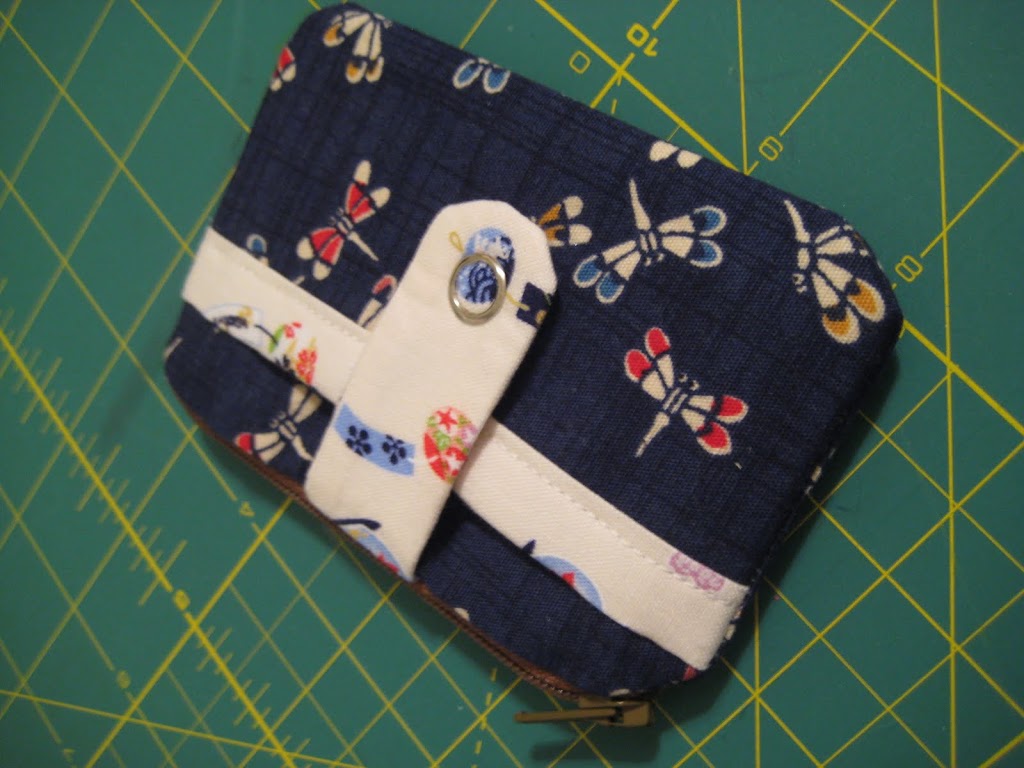
Zippy Wallet Tutorial

The Zippy Wallet Tutorial is here!  Bear with me, this is my first tutorial.  Although I’ve probably followed and read a couple hundred tutorials, you never know.


{Key chain tabs not included in instructions}

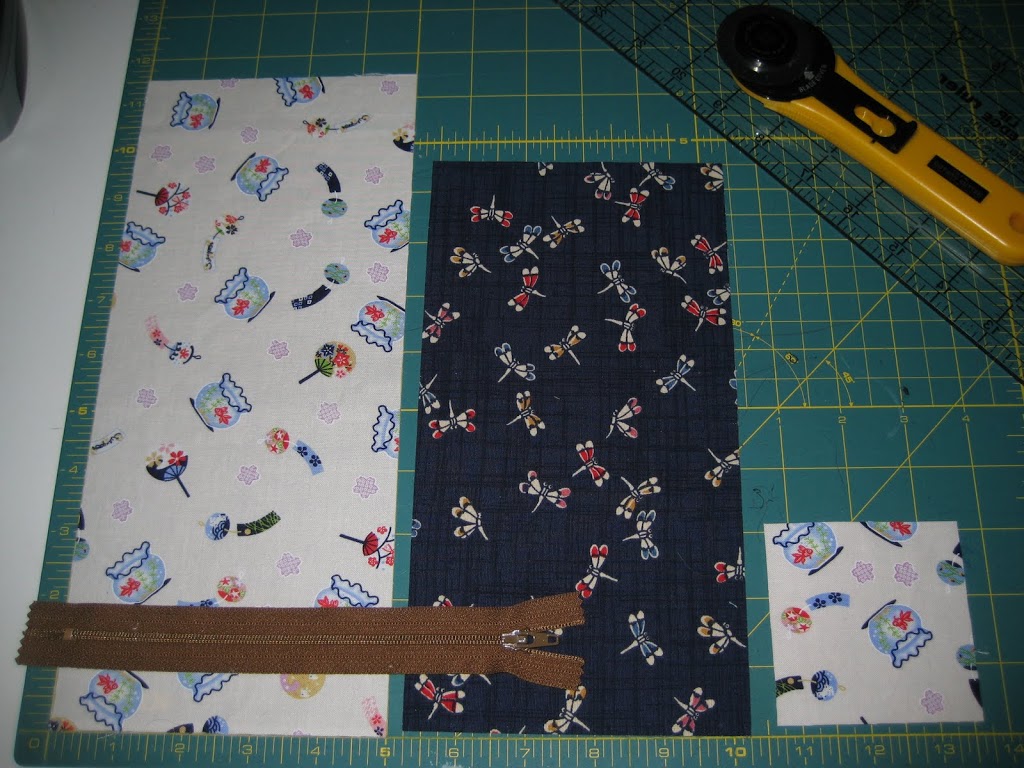
Here’s what you need:

1 piece of exterior fabric 5″ x 9.5″ (interfaced)
1 piece of lining fabric 5″x 11.5″ (this is also the binding & lining for the exterior pocket)
2 pieces of fabric (same as lining) 3″ x 1.75″ for tab (interfaced)

Must have:
sewing machine
coordinating thread
7″ zipper (you could use a 6″ zipper or larger, but this is what I had)
interfacing
snap, button, velcro (we’ll discuss this later)

Finished size is approx. 4.5″ wide by 3.5″ tall.

It would be nice to have:
clear ruler
self healing mat
rotary cutter

Let’s go!

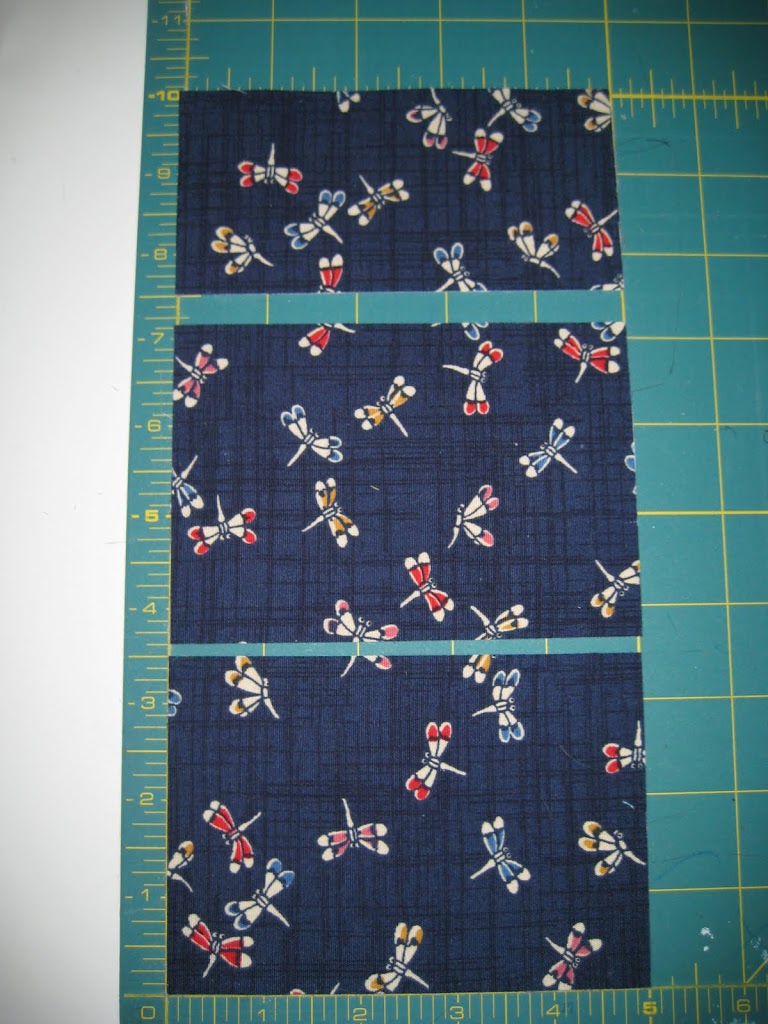
Cut your exterior fabric into 3 pieces: 5″ x 3.5″, 5″ x 3.5″, 5″ x 2.5″ (for the exterior pocket)
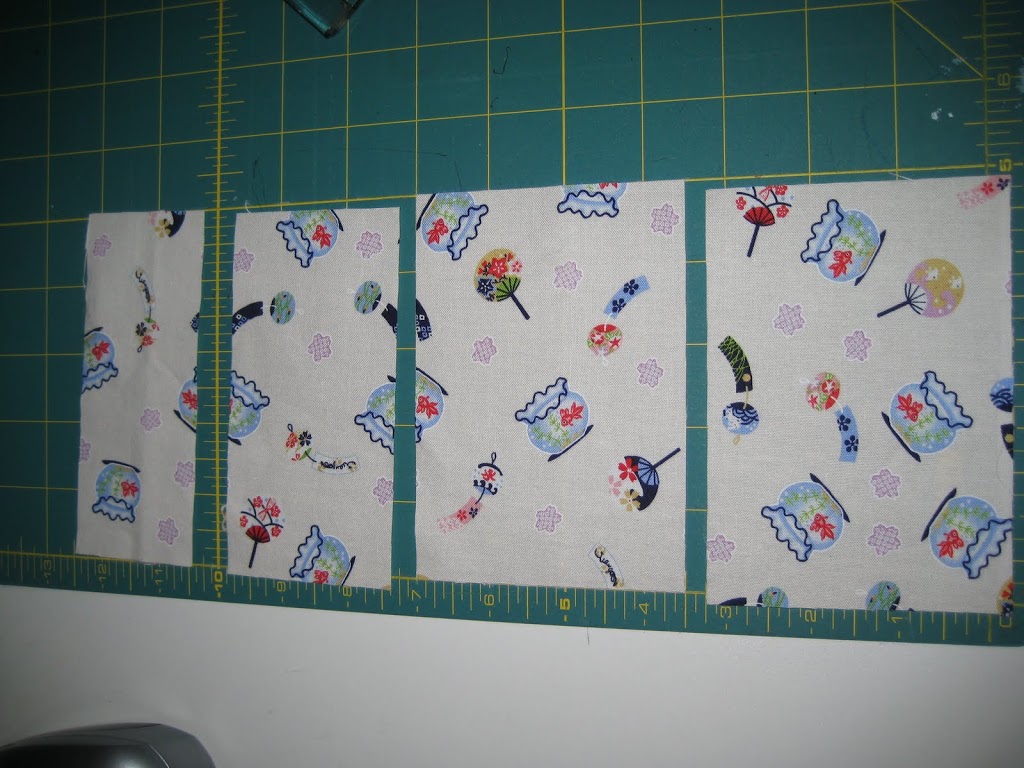
Cut your lining fabric into 4 pieces: 5″ x 3.5″, 5″ x 3.5″, 5″ x 2.5″ (lines the exterior pocket), 5″ x 2″ (make into binding for exterior pocket)
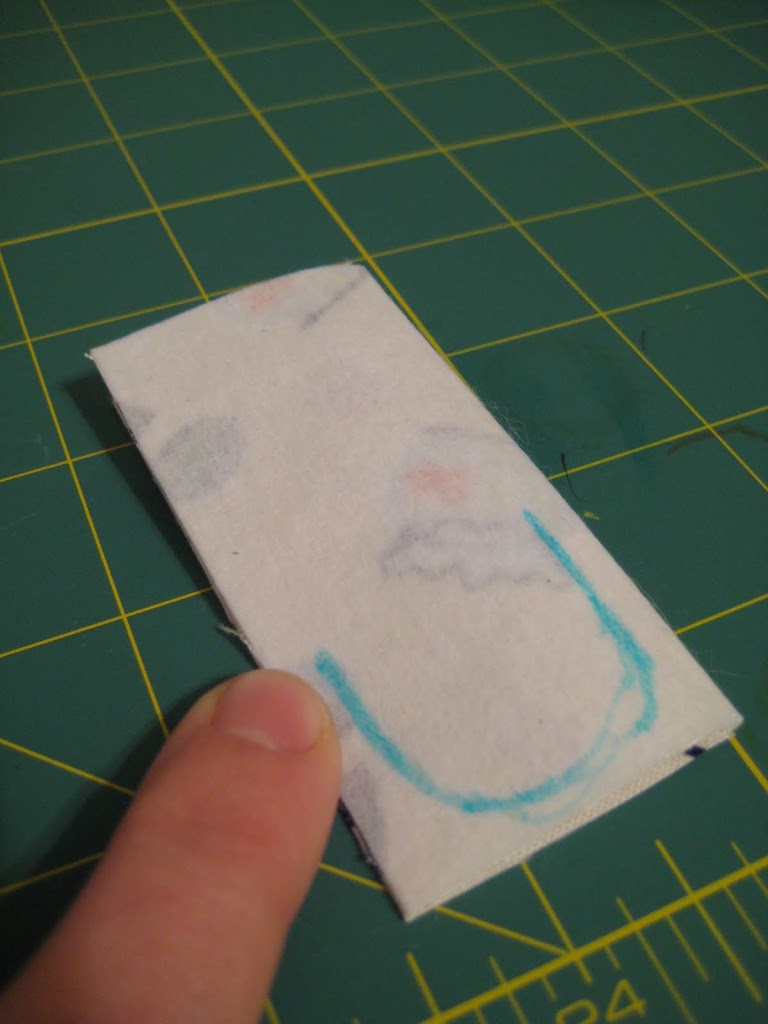
Place the pieces for the tab right sides together, draw a semicircle where the curved bottom will be (you could also make this square or pointed, whatever floats your boat!).  Sew along that line.  Clip curves, turn right side out.  This can be a little tricky since it’s pretty small.  I just shove it all into itself and poke a pencil to push it through.  Press and set aside.
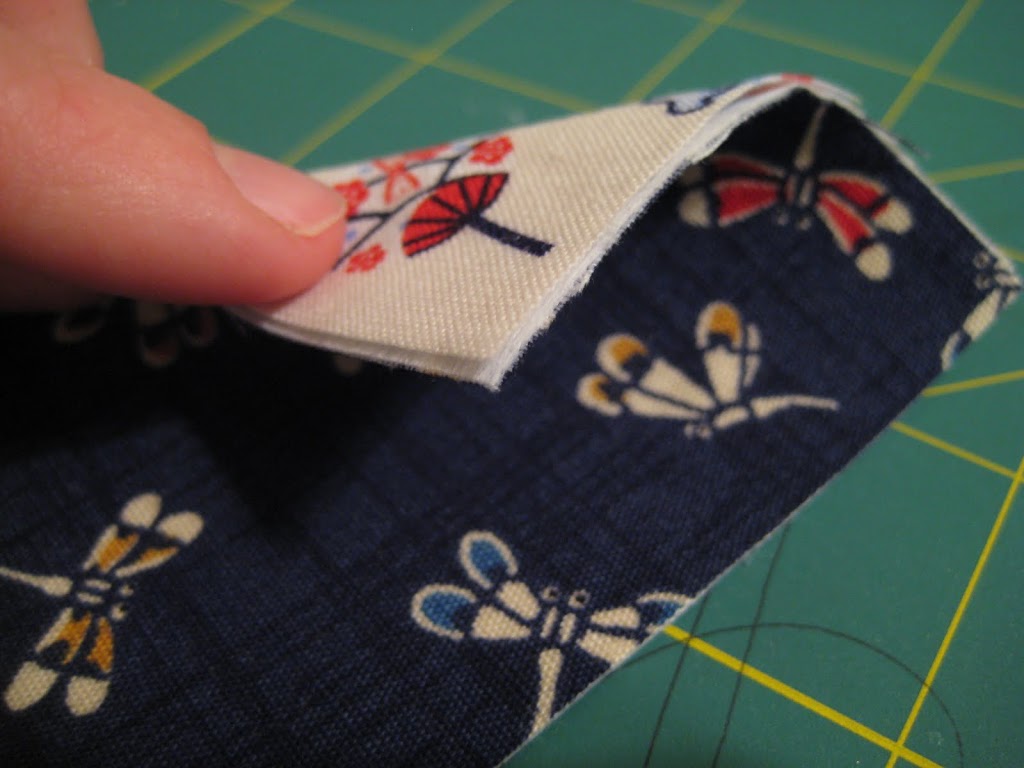
Take your binding piece, fold in half, press, open up and press raw edges toward crease.  Press.
Place your exterior pocket pieces, one of exterior fabric and one lining fabric (5″ x 2.5″) WRONG sides together.  Take your binding and sew it into place along one of the long edges.  It’s pretty easy, I’m assuming everyone can get this part, just let me know if you have any questions.
Take one of the exterior pieces, place the exterior pocket along the bottom edge and baste.

Now onto the fun part! Ready?

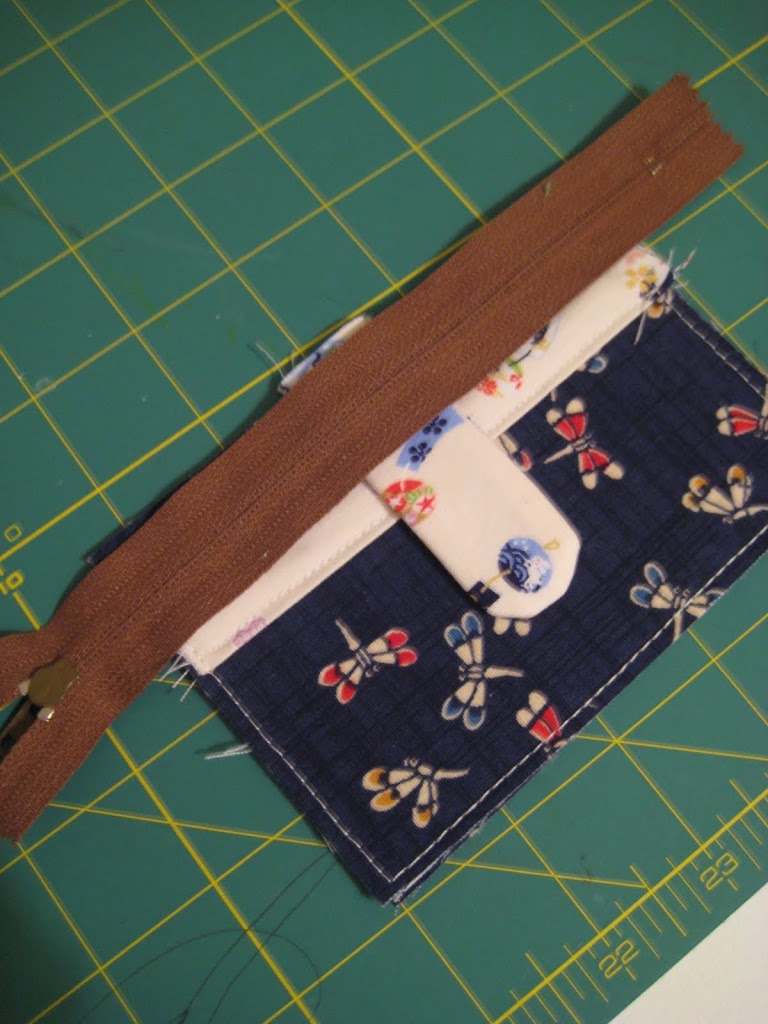
Take the exterior with the pocket basted to it and line it up with the top edge of the zipper (zipper teeth side down and the pull tab on the left).  You also add the tab here, sandwiched between the exterior piece and the zipper (just make sure about a 1/4″ sticks above the zipper).
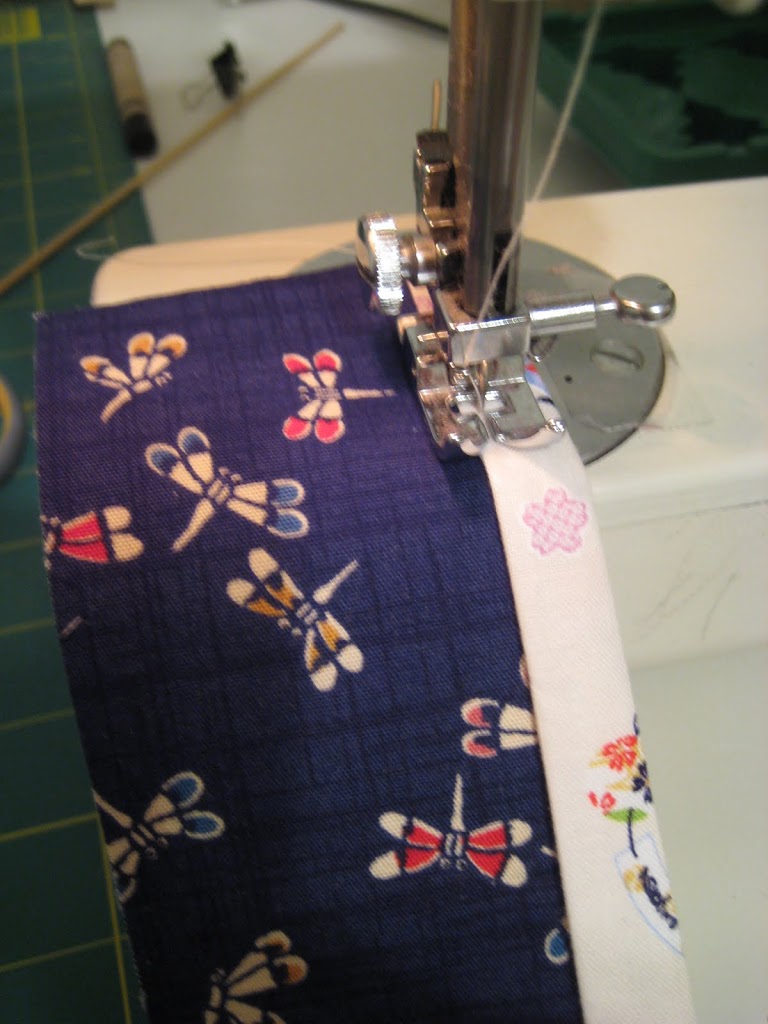
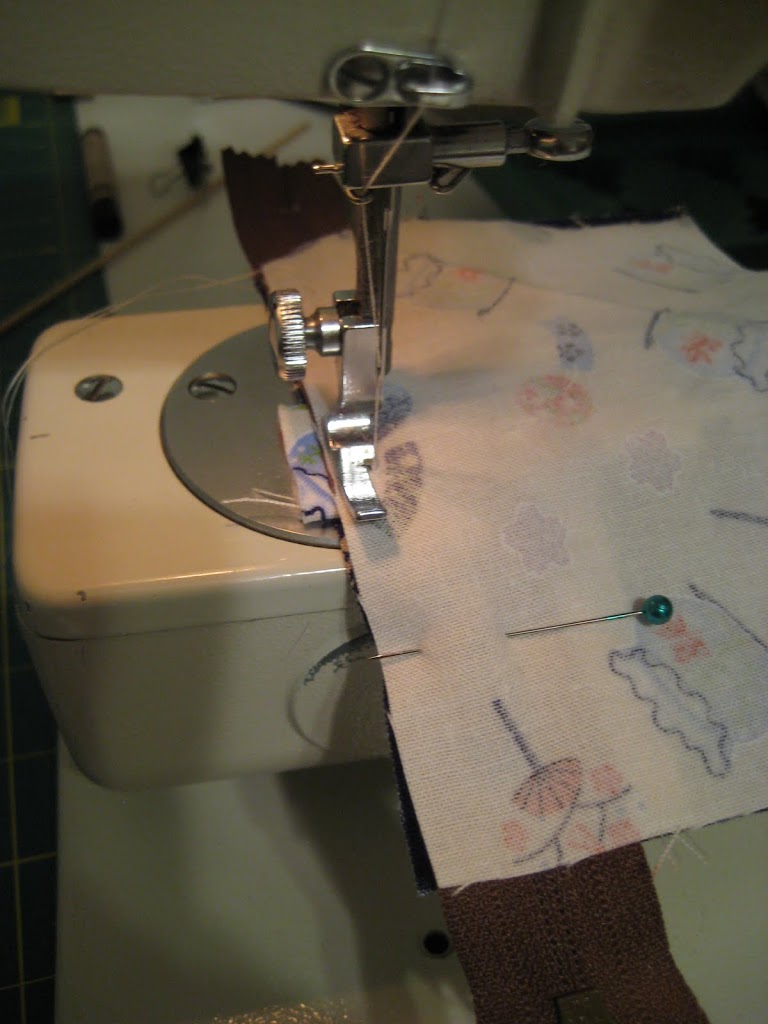
Then take your lining piece and place it RIGHT side down also lining it up with the zipper.  Pin & sew with zipper foot.  Make sure you try to hold that tab in place.  You could baste it beforehand, but I didn’t. Flip so fabrics are WRONG sides together.
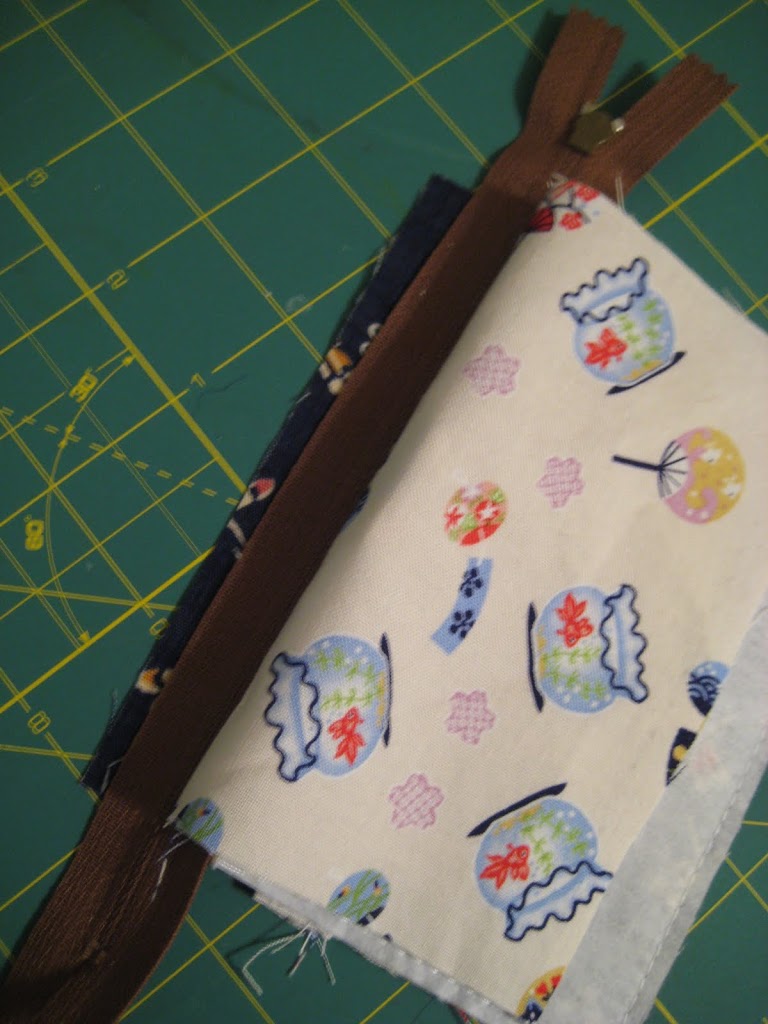
Now take your remaining exterior piece and place it Right side facing you, lay the zippered layers you just sewed together aligning the top edge again zipper teeth facing down, but now the pull tab on the right hand side.
Place remaining lining piece RIGHT side down once again aligning it at the top of the zipper.  Pin & sew with zipper foot.
Flip so both sides of the zipper have the fabrics WRONG sides together and press!
Next, take the exterior fabrics and place them RIGHT sides together and the lining fabrics and place those RIGHT sides together.  Be sure to slide open your zipper now or you’ll be doing some seam ripping later!  Sew with a 1/4″ seam allowance all around the edge leaving a 2″ opening in the lining for turning.  Clip corners.  Turn right side out through the opening.
Stitch the opening closed with a very small seem allowance.  Push the lining into the exterior.  Press again!  You’re almost done!
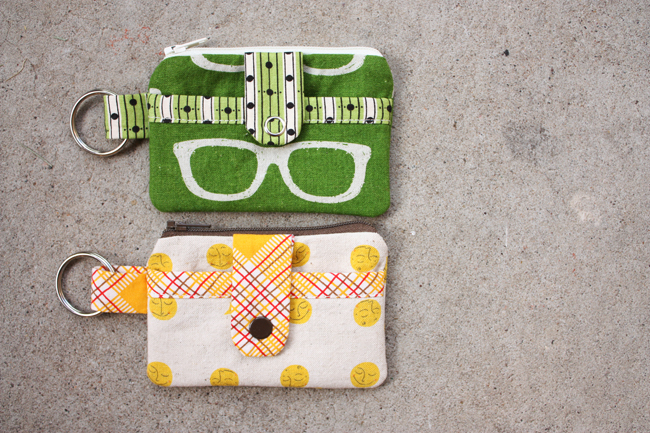
Lastly, add your snap, button or velcro to the tab and exterior pocket and presto! you have a new zippy wallet.  Perfect for stashing the essentials, and you’re pretty stylish too.
Give yourself a pat on the back, you did it!
Hope that makes sense, let me know if you have questions.  I’d be more than happy to help.  Hint Hint, there’s a giveaway in the works, so stay tuned…