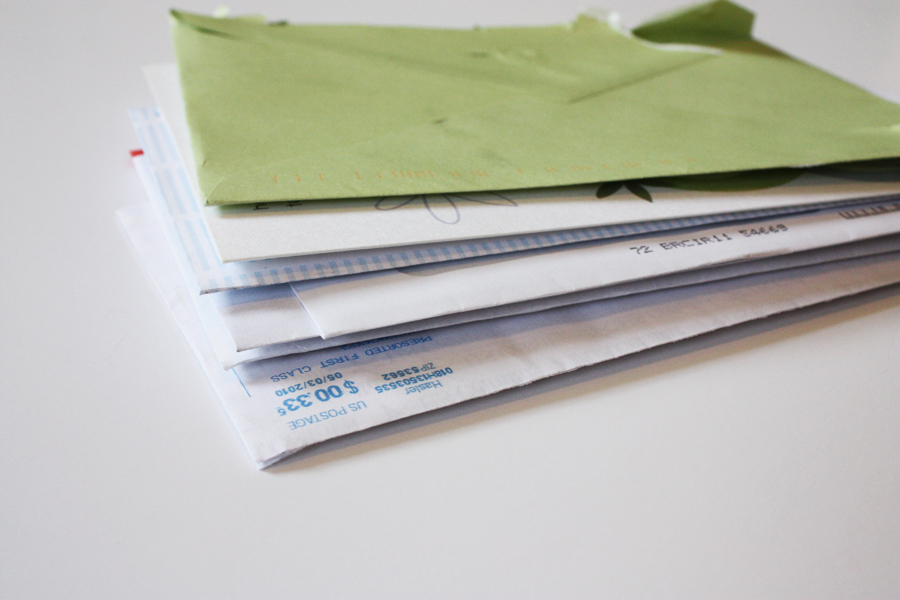
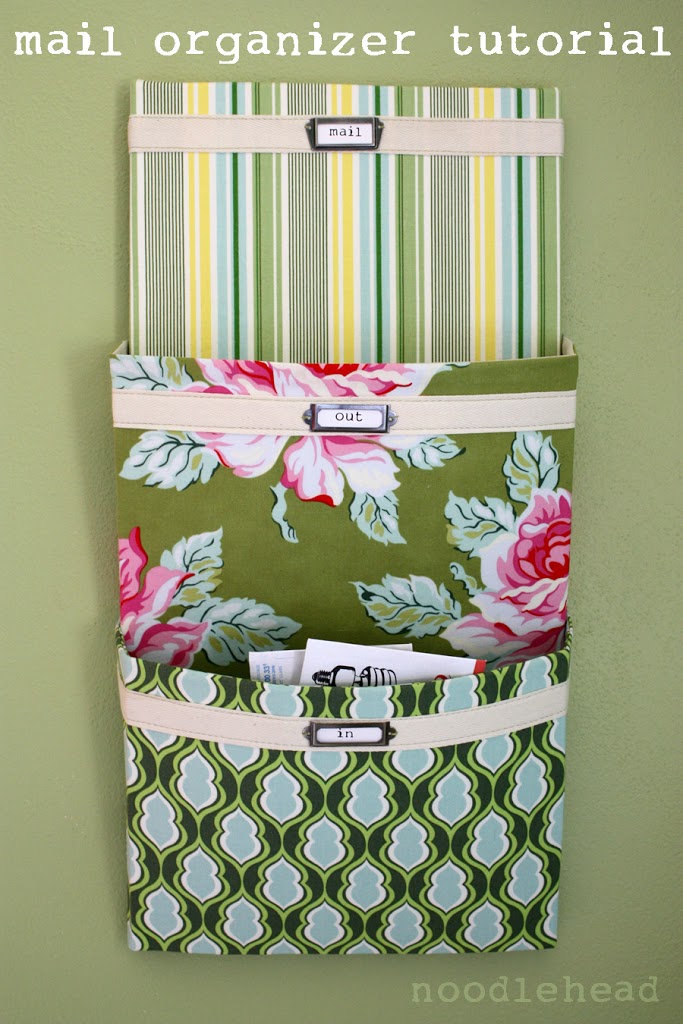
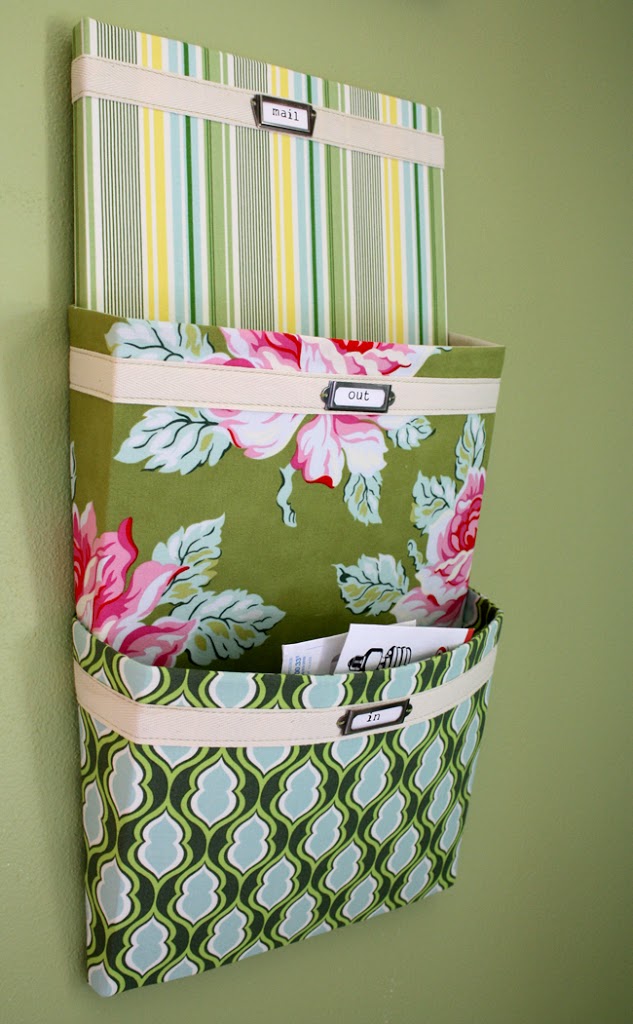
To kick off Spice up your Kitchen, I figured I should start things off with a tutorial to help you get organized. You know all that mail that piles up on your kitchen counters? Come on, fess up.

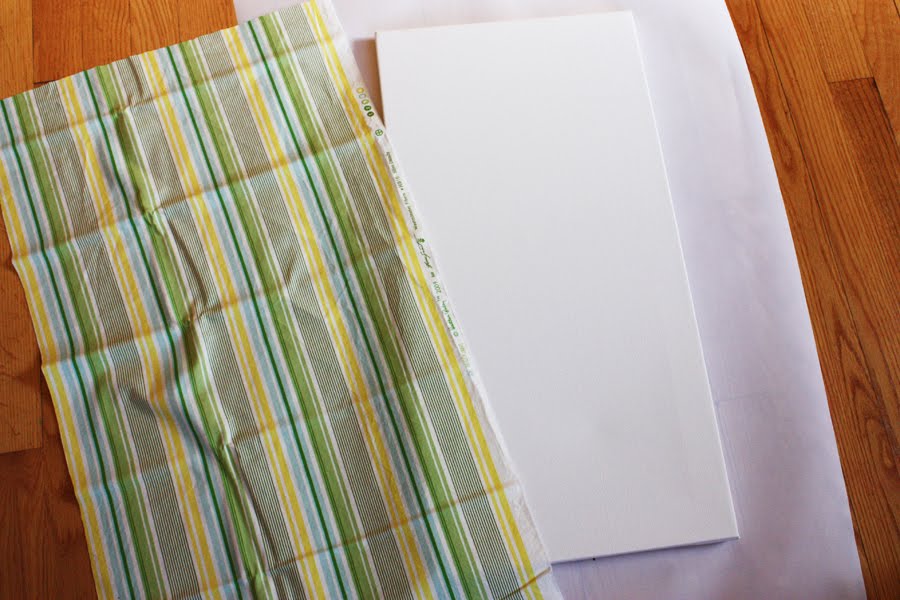
- 12″ x 24″ pre-stretched artists canvas (mine came from Hobby Lobby)
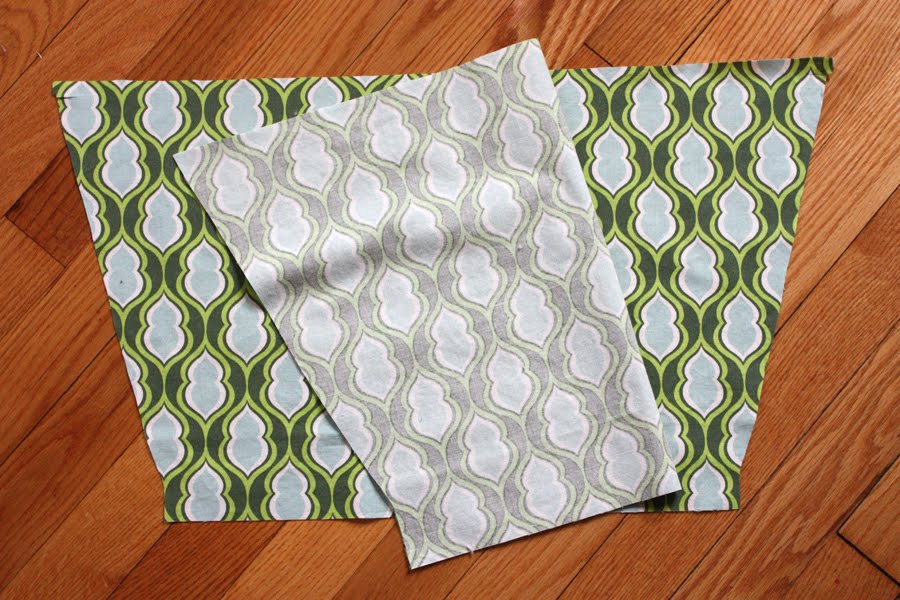
- 1/2 yard fabric for covering canvas (more if you have a directional print)
- 2 fat quarters coordinating fabrics, for exterior of pockets
- 1/2 yard for pocket linings
- 2 yards 1″ cotton twill tape
- heavy double sided fusible interfacing (both sides will be fusible) – I used Peltex 72F, found at Walmart/joanns
- 3 metal label holders (from the scrapbooking section)
- stapler
- spray adhesive
- hot glue gun/glue
- thread, pins, etc.
- mail organizer pattern (updated 2012) Please use the measurements as a guide to create your own pattern piece(s)
Cover canvas:
I used Elmer’s spray glue and a piece of fabric cut about 4″ bigger on all sides. Lay out a sheet of newspaper or scrap paper under the canvas. Spray the whole top of canvas and sides with the adhesive.
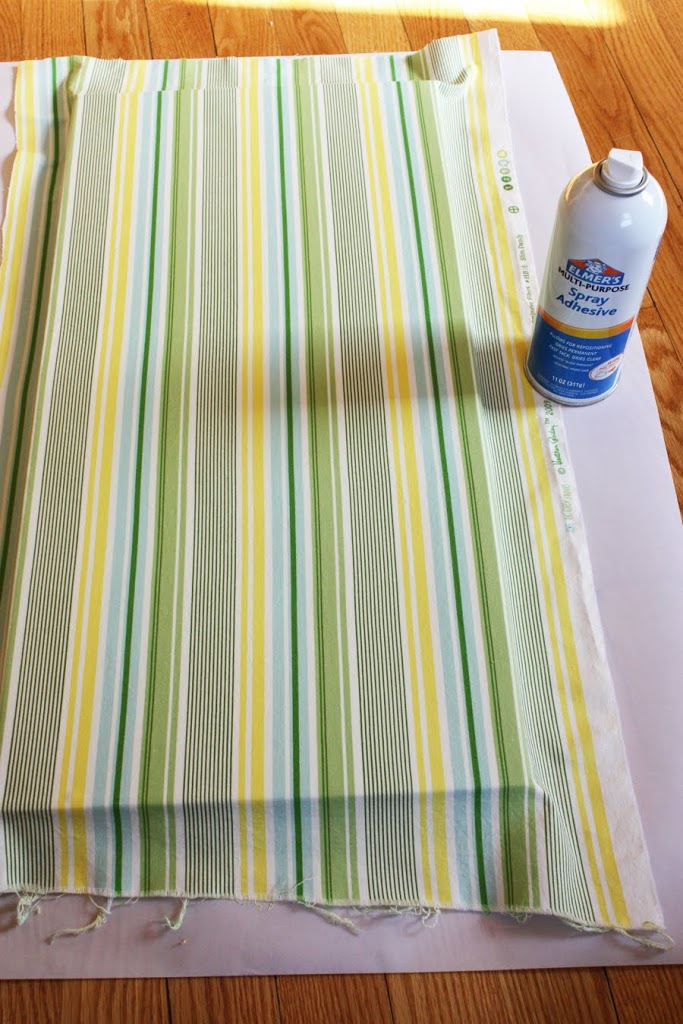
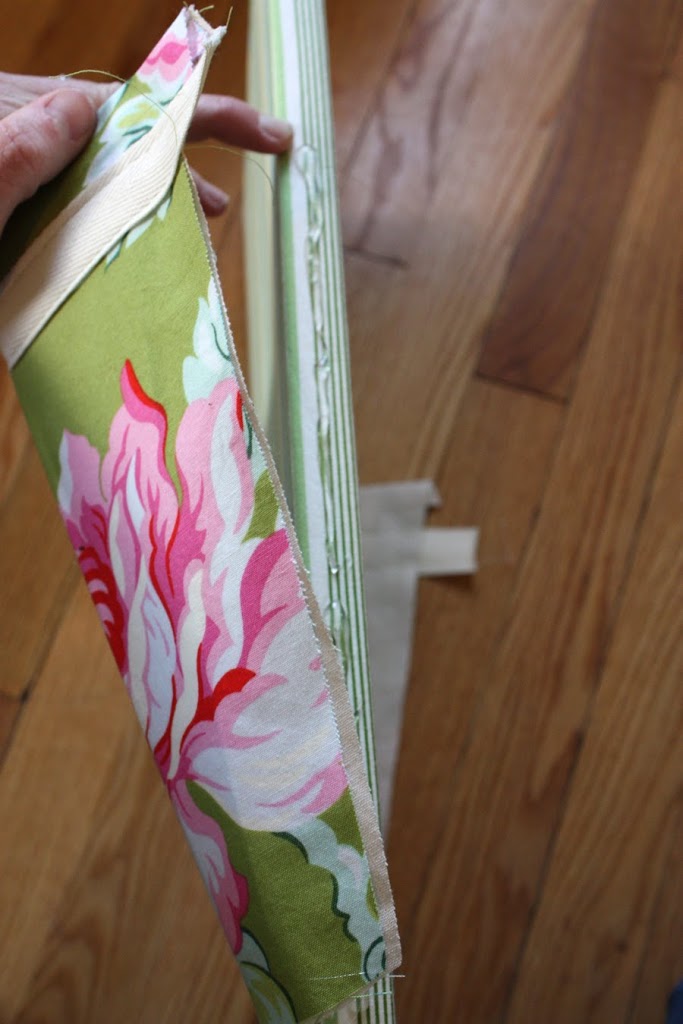
Lay the fabric squarely on top and smooth and wrap around sides. Staple the fabric into place on the wood frame of the canvas.

Make the mail slots:
For both mail slots: Use your pattern piece and cut out two pieces of exterior and two pieces of lining, putting the pattern piece on the fold as indicated on the template. Cut out the double-sided fusible interfacing into three pieces for each mail slot. Use the dotted lines on the template as a guide.
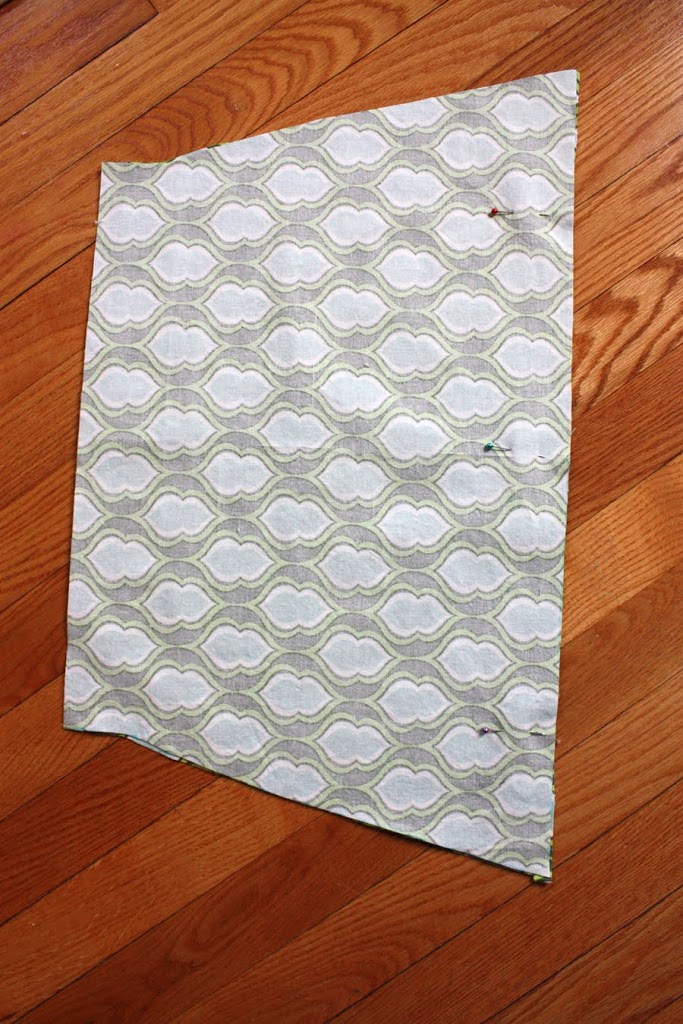
Sew the exterior and lining piece RIGHT sides together using a 1/2″ seam allowance at the top of what will be the mail slot.

Repeat for other mail slot pieces. Flip and press both so WRONG sides are together.

Sandwich the interfacing in between the two layers (exterior and lining pieces) and fuse into place according to manufacturer’s instructions. Repeat for other mail slot.
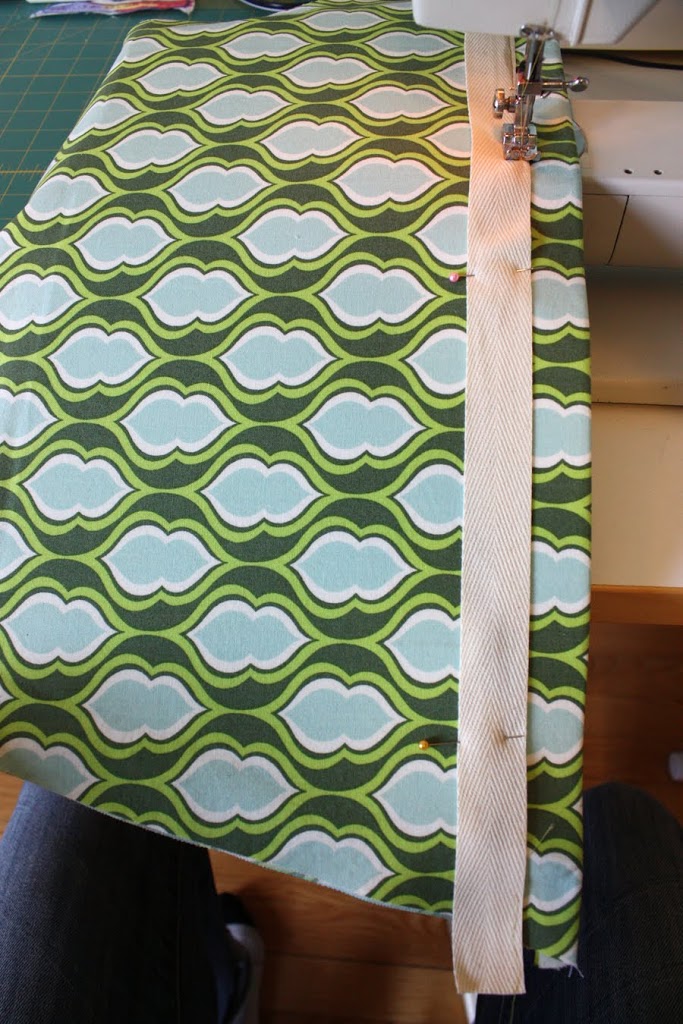
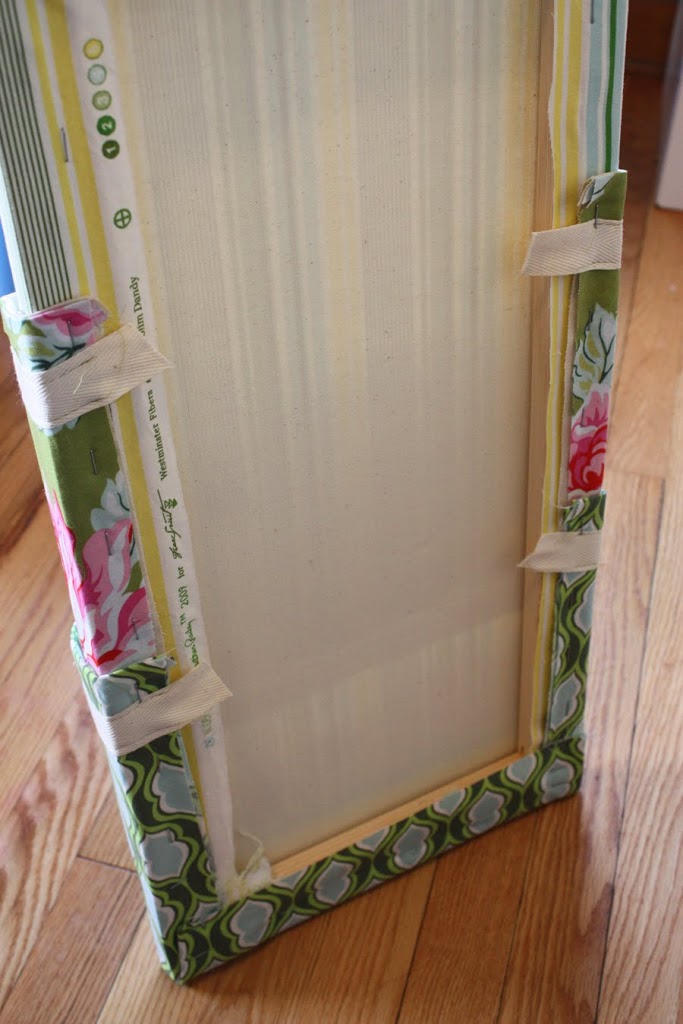
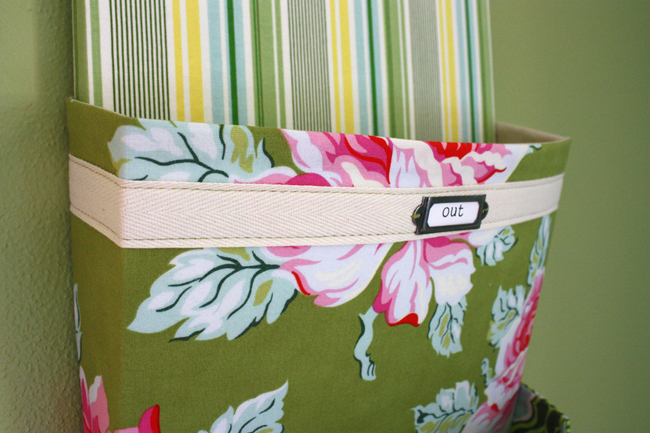
Align the twill tape about an inch below the top of each mail slot. Sew into place using a straight stitch on either side of the tape.
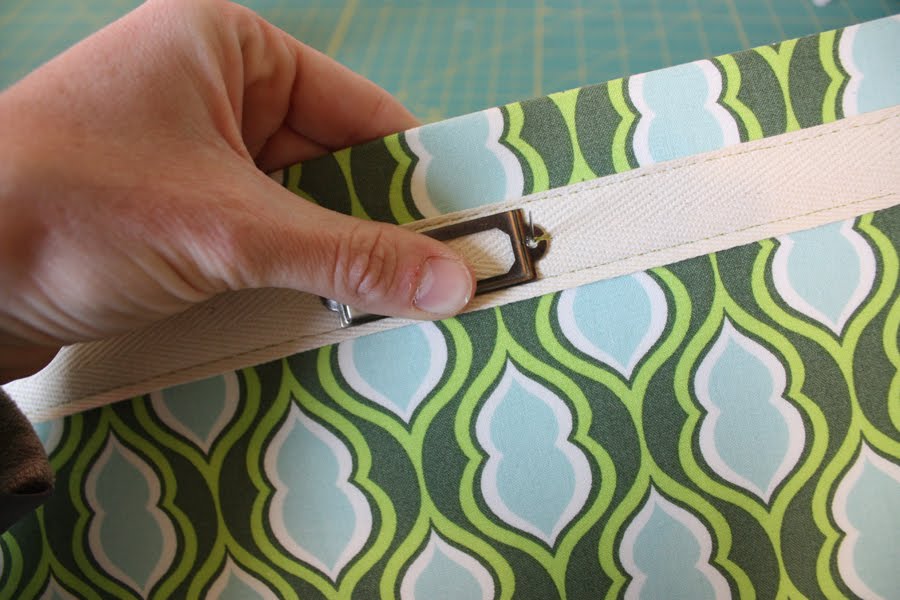
Sew on each metal label holder by hand, centered on the mail slot. Attach finished mail slots to canvas:

Align the edge of the upper mail slot so that the mail slot angles out. Hot glue along the sides and bottom of the canvas and press in place, Repeat for other edge. Wrap fabric around back of canvas, use additional hot glue if needed and staple into place.
Take your other sewn mail slot and align the bottom of the slot with the bottom of the canvas. Feeling for where the interfacing stops and align that part at the edge of the canvas.
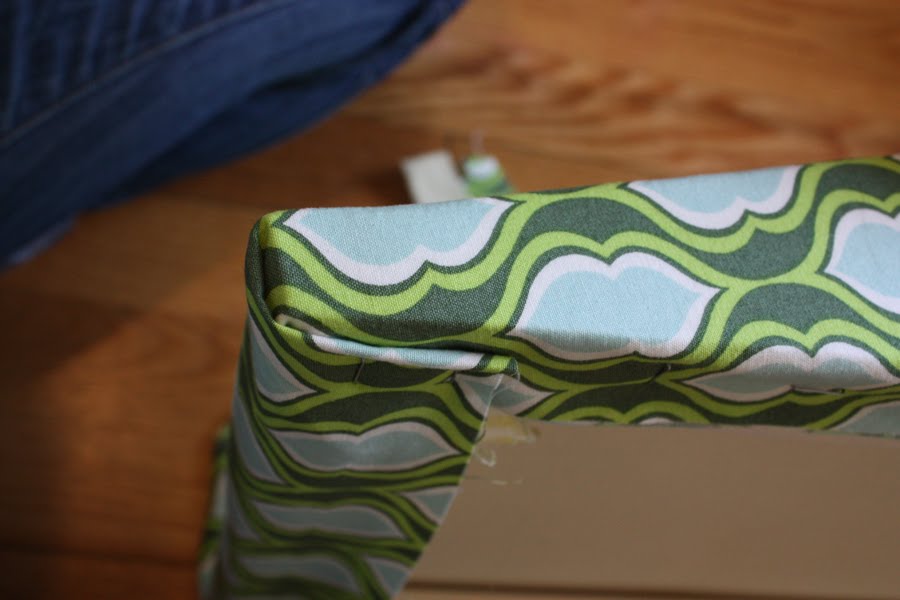
Use additional hot glue along the bottom and sides of the canvas and wrap corners neatly and staple at back.
Thanks for stopping in for Spice up your Kitchen, come back tomorrow to check out our first guest blogger.