Sewing

scooter tray

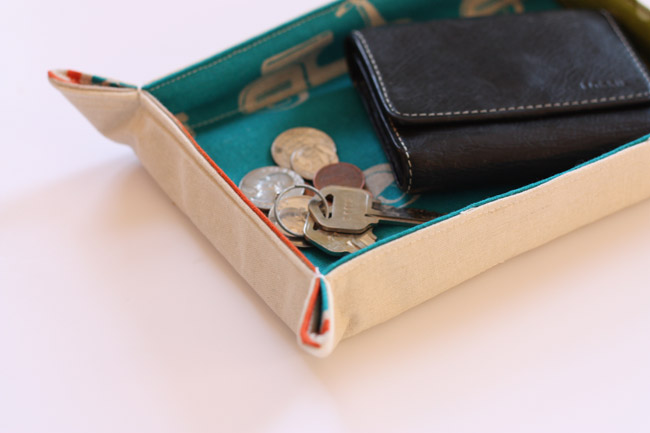
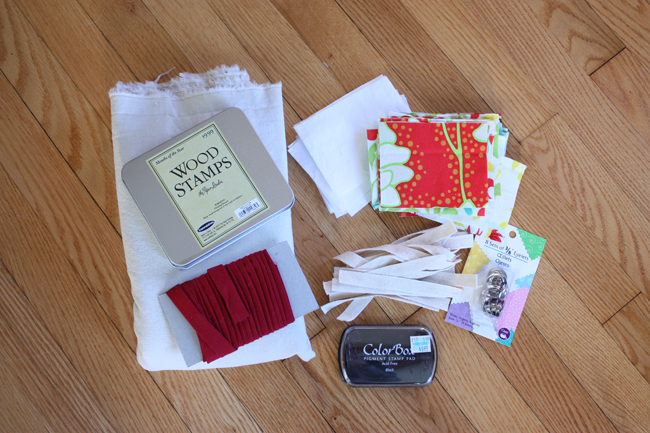
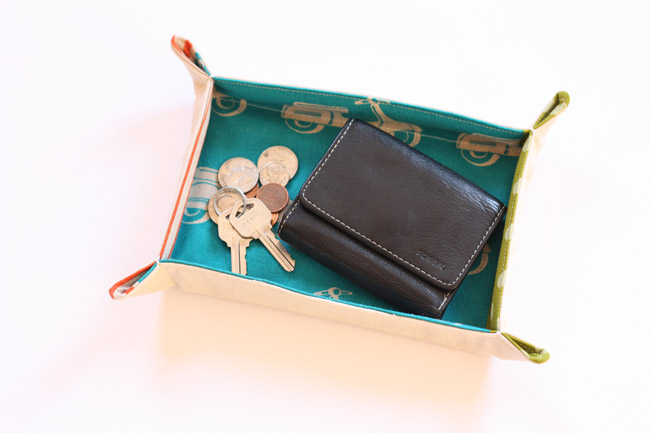
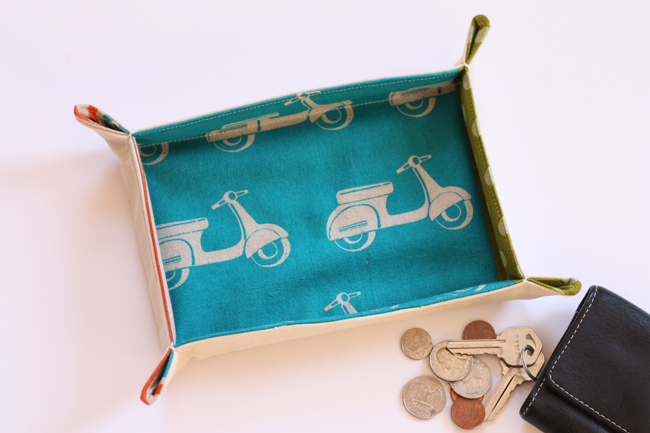
I found this perfect scrap of scooter fabric while sorting through my fabric stacks the other day and remembered a project I needed to make for my dad (as requested by my mom).  They recently did some remodeling and that left my dad without a place to drop his glasses, wallet, spare change kind of stuff. 
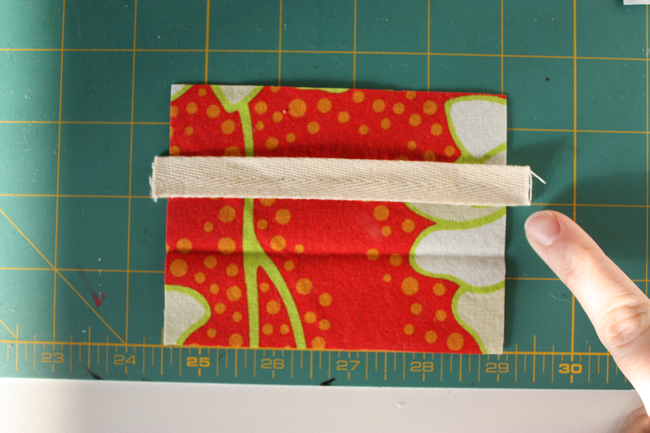
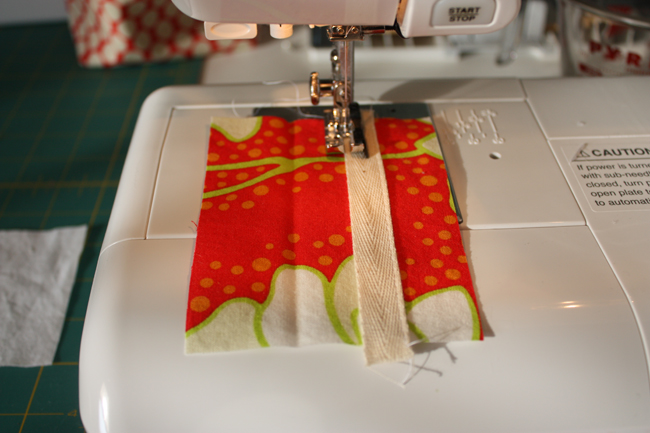
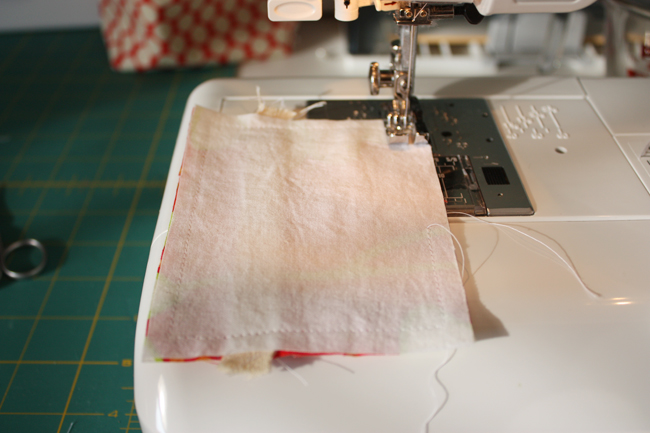
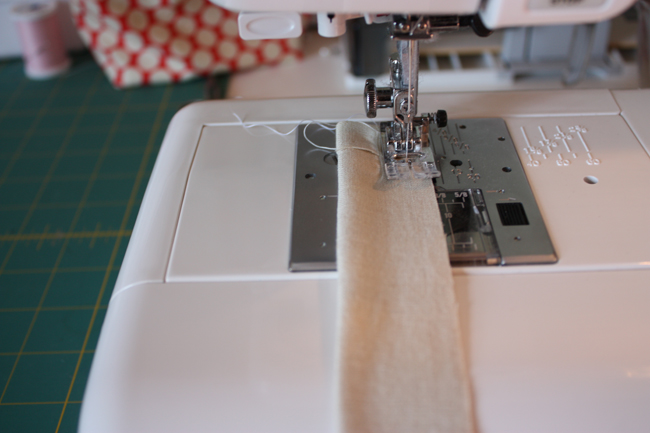
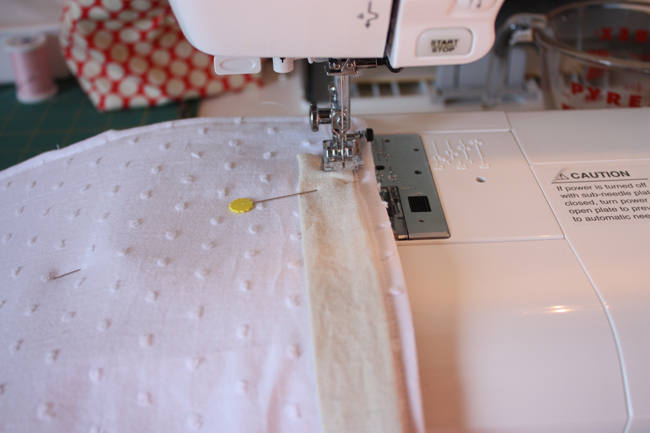
So out came this little scooter and linen tray from my sewing machine (wish all projects were this easy). 
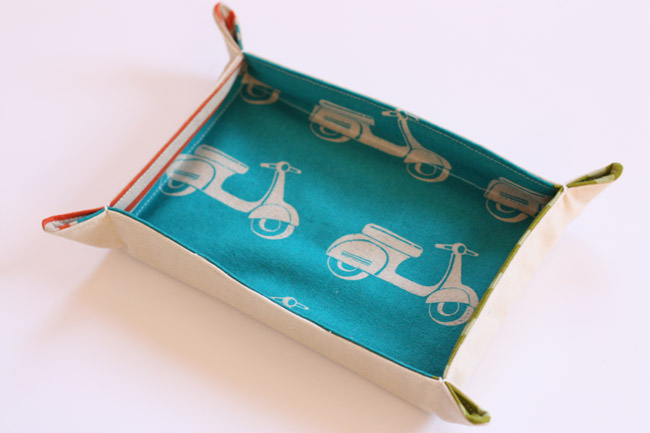
It’s perfect because way back when my dad actually owned a vespa scooter – like the ones pictured in the fabric.   Here’s living proof, my dad on his vespa.

Now he has a handy little place to keep all those valuable items you just can’t have strewn about. 
Uncategorized

valentine window garland

In an effort to get out of the post-holiday funk that’s going on around here, I thought I’d jump right in an do a little Valentine’s day decorating!  It’s always nice to see some bright fun color added to our space in this cold cold time of winter. 

I picked up some pom poms in various sizes and threaded them on lengths of some transparent thread.  Just tied a knot in the bottom and threaded the pom poms on with a needle and tried to evenly space them.  Then I taped each strand to the trim at the top of the window (not fancy I know, but it works and it’ll only be up for a little bit anyway). 
I think these would be fun to do in any window for any season, it’s fun, modern looking, and adds a little extra special touch.  This would be a great project to try with an older child who is fairly comfortable with a needle!
Now the tricky part will be to keep the little hands and a wagging dog tail away from it…
Sewing

Pocket Advent Calendar Tutorial

{Just re-posting this in case you missed this one too.  Shared during Gwen’s Haul out the Holly.}

I’ve always wanted to make an advent calendar for my girls, so when Gwen asked me for a Christmas project, this was my chance.

While this isn’t the quickest project to make, it’s easily constructed with just some basic sewing skills and will make great memories for you and your family.  For my pockets, I included little activity cards.  So each day of the calendar we have a fun activity planned. 

Of course I couldn’t resist throwing some candy in here and there.  Here’s a free printable of all the cards with the activities I have planned so if you’d like, you can print them out, too.

Materials needed:

1/4 yard cuts of preferably 5 different prints, or you could definitely do this with scraps
1 yard of muslin (to line the pockets and back the base fabric)
1 yard linen or base fabric for your calendar
1 yard fusible interfacing (I used an extra heavy drapery interfacing that was extra wide, but if you’re using other fusible interfacing you can just cut and fuse pieces into place since most interfacing is 22″ wide)
bias tape or ribbon for hanging
1/4″ wooden dowel
number stamps (can be found at Michael’s or Hobby Lobby)
ink pad
1/2″ wide twill tape
(2) 3/8″ grommets

{1/4″ seam allowances unless otherwise stated}

Cut your pieces:

For the individual pockets, cut one front and one lining piece both 4.5″ wide by 3.5″ tall.  Cut 25 of each.  Next cut 25 twill tape pieces to a little over 4.5″ wide.  Cut the calendar base and backing fabrics to 30″ by 30″.  And for the dowel pocket cut one piece 27″ wide by 3.5″ tall.
Sew the pockets:
Place the twill tape on the front pocket piece lining the bottom of the tape about 2″ from the bottom of the pocket. 
Sew down both sides of the twill tape to secure. 

Next, place the front pocket and pocket lining pieces RIGHT sides together.  Sew around perimeter leaving a 2″ opening in bottom of pocket.  Clip corners, turn right side out through opening.  Press.  Repeat for all 25 pockets.  Set aside.

Sew the calendar base:
Fuse interfacing to WRONG side of calendar base.  Place calendar base and backing RIGHT sides together, pin, and sew using a 5/8″ seam allowance, but leave a 6″ opening in one side for turning.  Clip corners and turn right side out.  Press.  Be sure to tuck in raw edges left from the opening you left for turning and topstitch around entire perimeter of the calendar base. 
Sew the dowel pocket:
{This can more easily be done using twill tape or ribbon, but I used fabric, if you choose to use ribbon or twill tape just remember to tuck in the raw edges of the ends of the tape or ribbon and sew down each long side}
Press the short edges towards the WRONG side by 1/2″.  Fold the fabric in half the long way RIGHT sides together and sew entire length.  With a safety pin, turn right side out and press. 
Pin at top of calendar base backing and stitch both the top and bottom long edges.  You’ll wait until the end to slip in the dowel, it’s just there to give everything more stability for hanging.
Sew on pockets:
Arrange all pockets into a 5×5 grid and pin in place. Sew all 25 pockets into place, stitching down the right side of each pocket, across the bottom and up the left side.  Be sure to back stitch at the top of each side of each pocket.  I found the best way to sew the pockets on was to roll the calendar up so it tucked into the arm of my machine, sort of like how you might do it for quilting a quilt.

After you have sewn on all your pockets, it’s time to stamp the numbers on them. Using your rubber number stamps and black ink stamp the numbers 1 through 25 on the middle of each pocket’s twill tape strip.

Attach grommets in both top corners of the advent calendar, slip the dowel into place, and it’s ready for filling and hanging!  This would also be a really fun project to use some colorful felt for the pockets, too!