
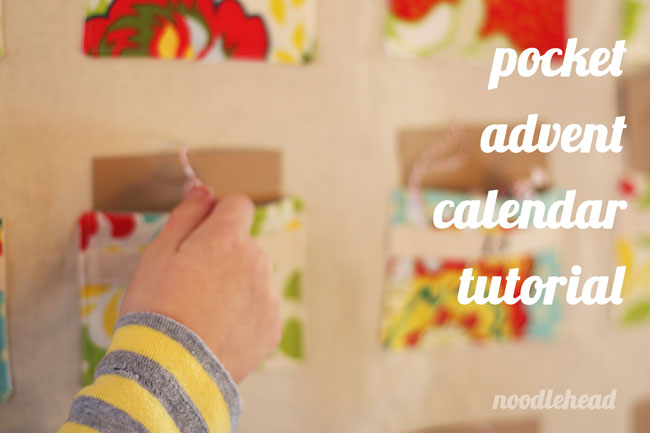
I’ve always wanted to make an advent calendar for my girls, so when Gwen asked me for a Christmas project, this was my chance.

Of course I couldn’t resist throwing some candy in here and there. Here’s a free printable of all the cards with the activities I have planned so if you’d like, you can print them out, too.

Materials needed:
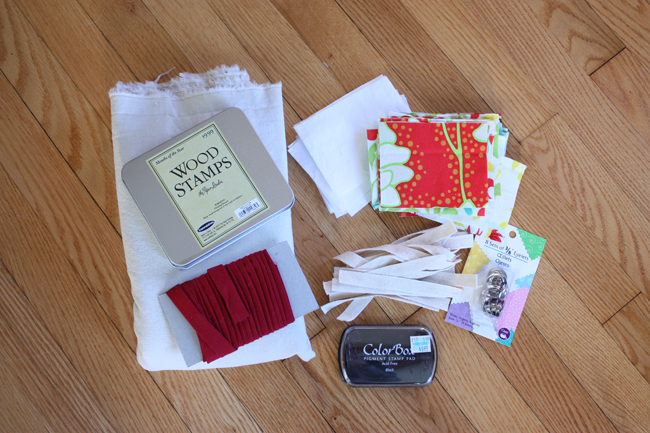
1/4 yard cuts of preferably 5 different prints, or you could definitely do this with scraps
1 yard of muslin (to line the pockets and back the base fabric)
1 yard linen or base fabric for your calendar
1 yard fusible interfacing (I used an extra heavy drapery interfacing that was extra wide, but if you’re using other fusible interfacing you can just cut and fuse pieces into place since most interfacing is 22″ wide)
bias tape or ribbon for hanging
1/4″ wooden dowel
number stamps (can be found at Michael’s or Hobby Lobby)
ink pad
1/2″ wide twill tape
(2) 3/8″ grommets
Cut your pieces:
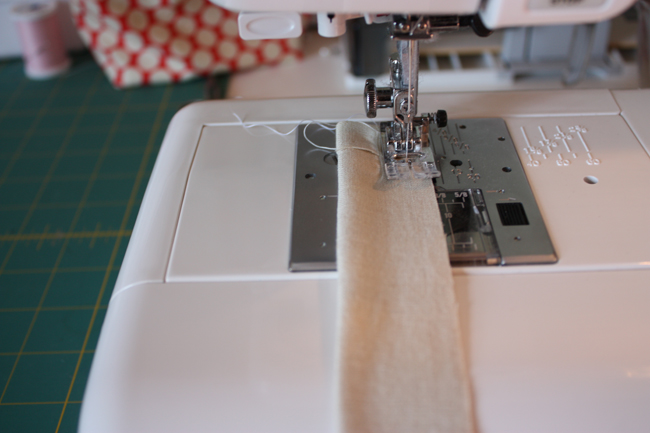
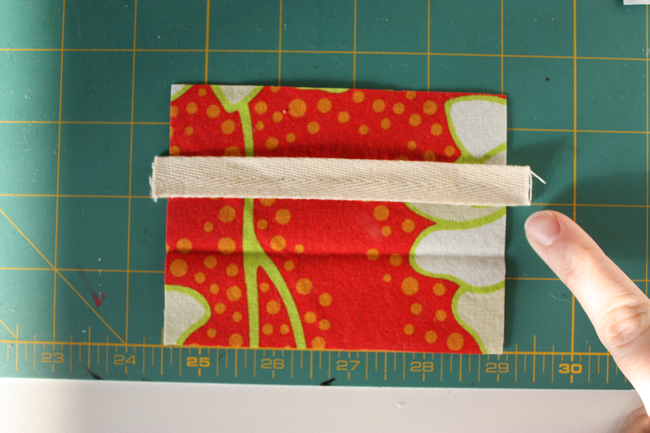 Place the twill tape on the front pocket piece lining the bottom of the tape about 2″ from the bottom of the pocket.
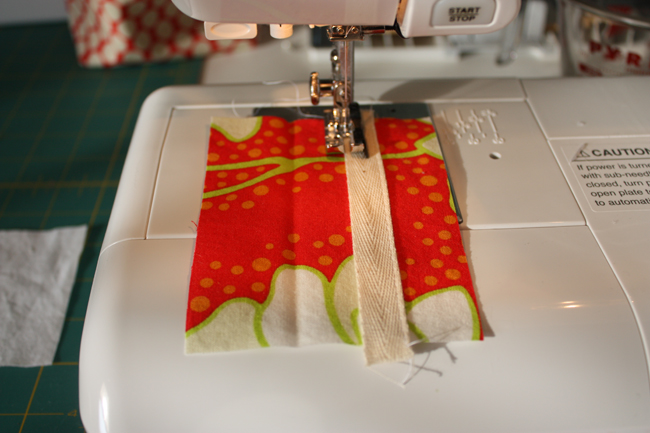
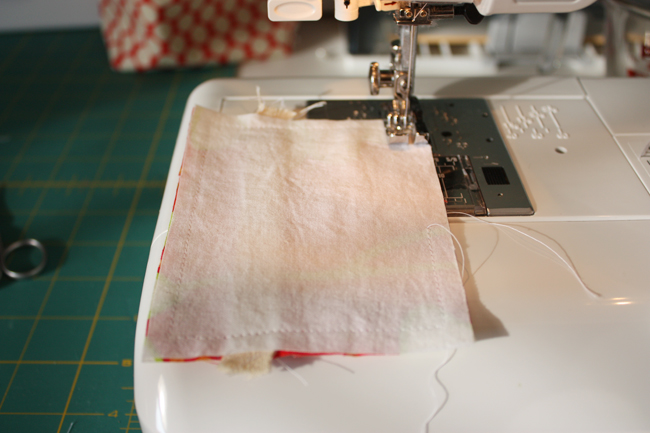
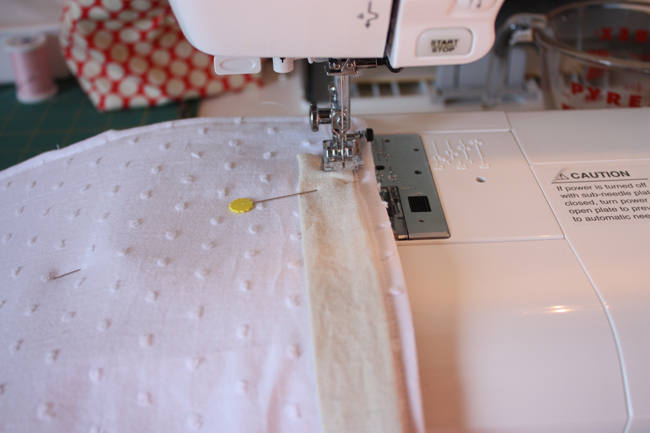
Next, place the front pocket and pocket lining pieces RIGHT sides together. Sew around perimeter leaving a 2″ opening in bottom of pocket. Clip corners, turn right side out through opening. Press. Repeat for all 25 pockets. Set aside.


After you have sewn on all your pockets, it’s time to stamp the numbers on them. Using your rubber number stamps and black ink stamp the numbers 1 through 25 on the middle of each pocket’s twill tape strip.
Attach grommets in both top corners of the advent calendar, slip the dowel into place, and it’s ready for filling and hanging! This would also be a really fun project to use some colorful felt for the pockets, too!
I really love this project and thanks for sharing. 🙂
Adin B
your calender is so cool! thank you for sharing! my long-term dream is to make one. and you’re right about “throwing some candy in here and there”… maybe I will after all:)))in some pockets?
Just a quick note to let you know that a link to this post will be placed on CraftCrave today [09 Jan 01:00am GMT]. Thanks, Maria
*another* great tutorial!! And I love the way you used such bright beautiful fabric (and not cheesy xmas stuff – although that can be fun too 🙂
xxxCate
Another fab tutorial by the master. You are such a beauty! x
great tut! I love that you posted it so soon after the holidays…maybe I will get my act together and make it before next Christmas! thanks 🙂
wow! I love your blog It’s plenty of beautiful projets and your explainations are really clear! I’ll become one of your followers and i’ll be anxious of seeing your next project!
I love this…I will be making one for next Christmas. Thanks for sharing!
Thanks for sharing, Anna. An advent calendar is on my long list of want-to-dos, and I love that yours has cards with activities (not just toys/treats).
One thought: some twill tape out there is polyester and bleeds when stamped – yours looks cotton – maybe specify cotton twill tape in the tutorial?
Thank you for sharing. I should really work on this and get it done for next year.
I love your fabrics too.
http://lilalice.weebly.com/
thanks for the great tutorial! Here’s the one I finished JUST in time for advent this year. http://travelingwithbaby.net/2011/12/01/advent-calendar-stitched-with-love/
@drdolly Traveling with Baby
Where is that fabric from?
Hi friend,
I read your blogs.. Its having very good content. see my blog also
Twill Tapes Manufacturers
Hi friend,
I read your blogs.. Its having very good content. see my blog also
Twill Tapes Manufacturers