
{Just re-posting this here in case anyone missed it, previously shared my tutorial on Melissa’s blog the Polkadot Chair}
I thought I’d share an idea that’s a little something different than what I usually do.
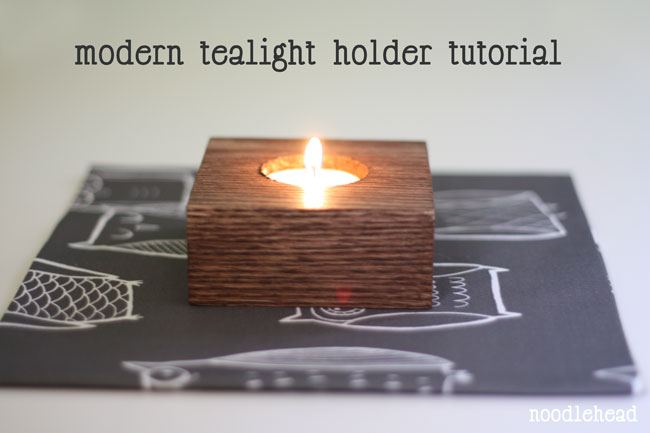
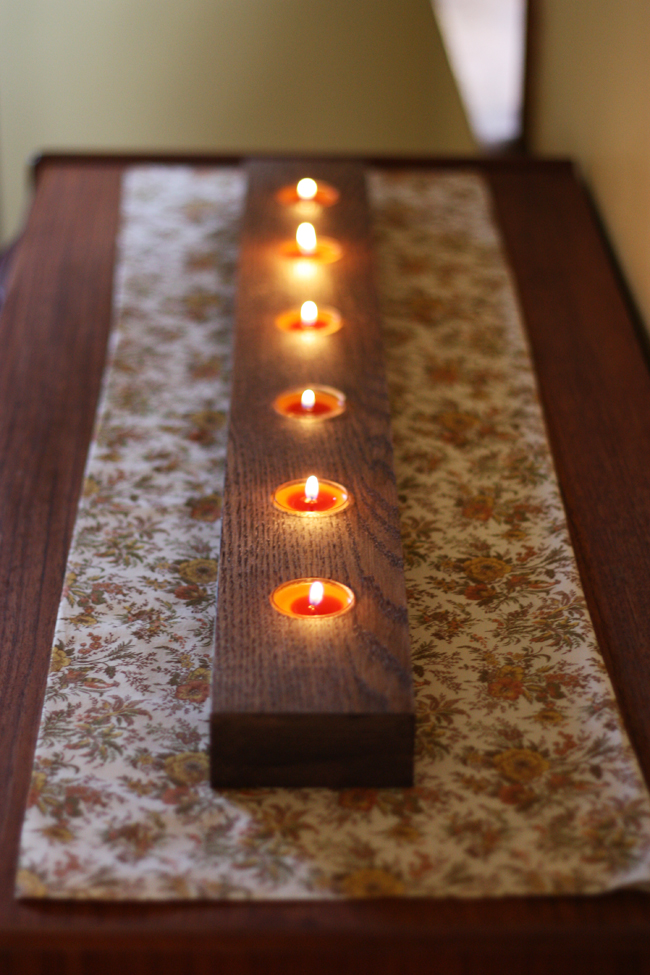
We’re at the point where I can keep a candle around and it won’t get eaten or destroyed, and I wanted something to put on my dining room table for Thanksgiving this year, or any holiday for that matter. So here’s a fun woodworking project that you could definitely accomplish on your own (or for more fun, make it a project with your hubby)!
All you need are a few basic tools and a few supplies:
1 2×4 piece of quality lumber (I used oak from my local home improvement store)
power drill
220 grit sand paper
1.5″ spade bit
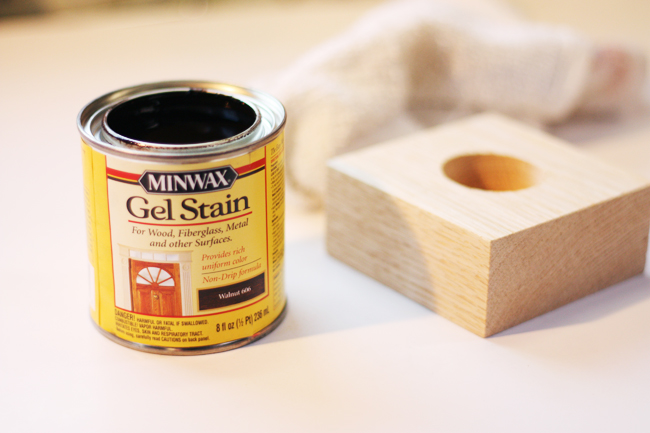
stain
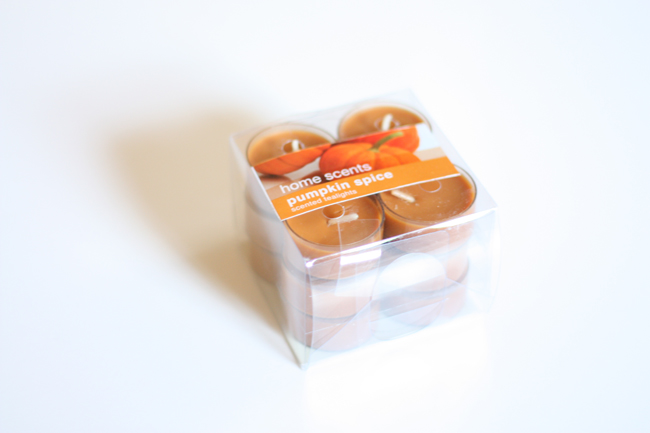
tea lights

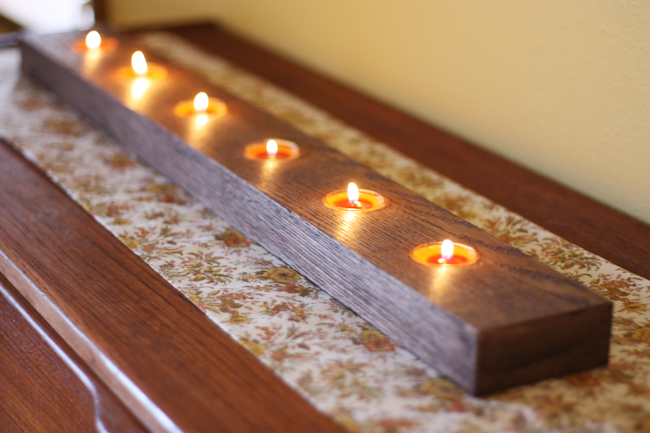
1. Cut your lumber to the length you desire. I know a lot of home improvement stores can cut lengths of lumber for no charge, so just ask. Or you could use your own chop saw or borrow a neighbors. I cut mine to different lengths because I wanted to make some as gifts. The long version is 30″ long, medium is 15″, and the single square one is 3.5″ square (yes, I should mention that even though lumber says it’s 4″ wide, it really means that it’s about 3.5″ wide – so just keep that in mind).
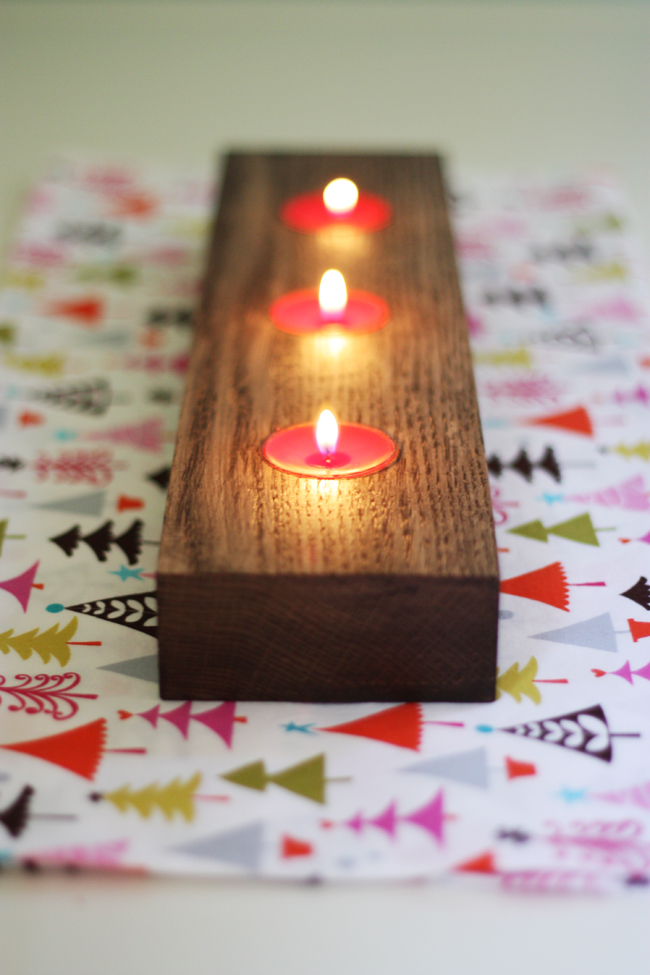
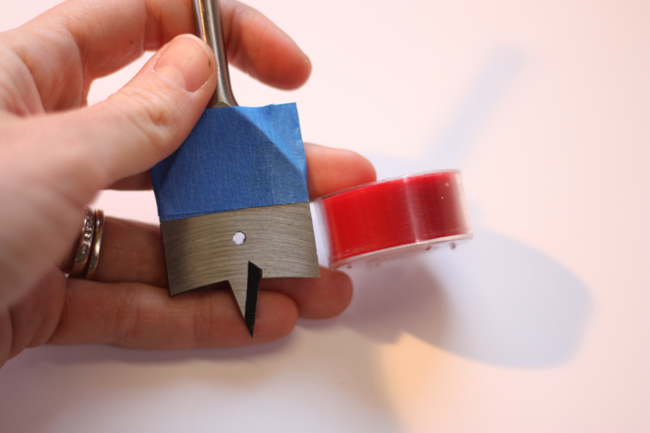
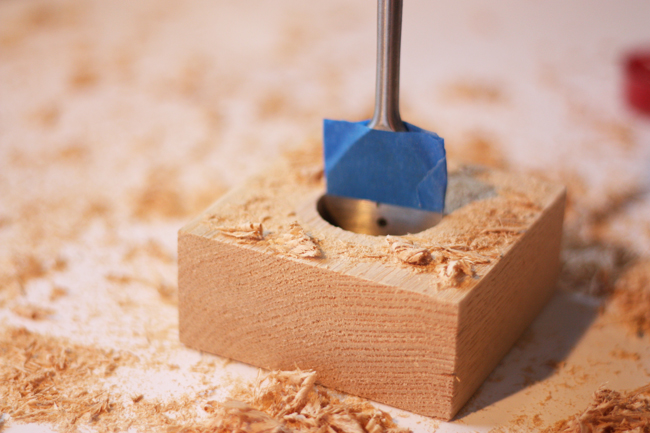
2. Drill tea light holes. Mark your spade bit depth. Using a piece of blue painters tape. Mark on the bit how deep you want the drill bit to go, that way when you’re drilling, you’ll drill until the tape is level with the wood. This will make all your holes the same depth.
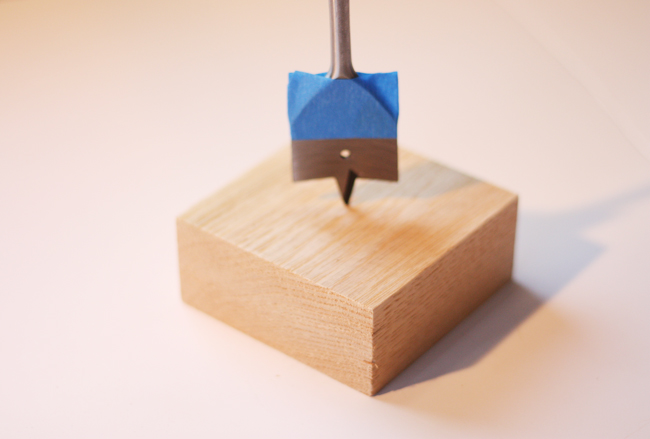
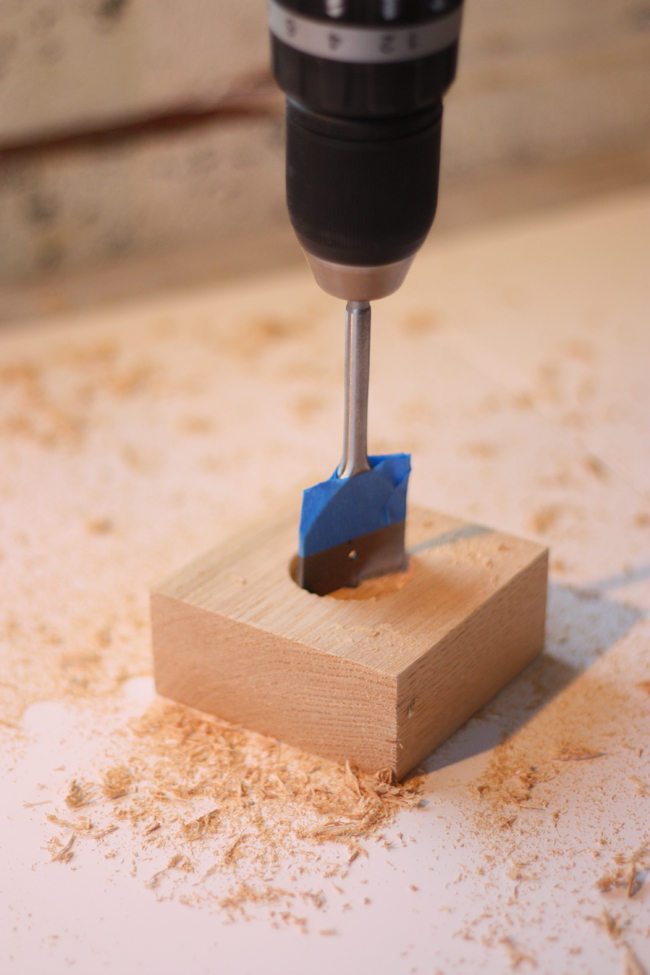
Mark with a pencil where you want your holes to be. I actually just ‘eye-balled’ all my markings and went for it, but I think you take the length of the piece and divide it by one more than the # of holes you’d like. Remember measure twice and drill once! Now with your spade bit attached to your drill, drill the holes.
3. Lightly sand down any rough areas with 200 grit sand paper and wipe off any sawdust.
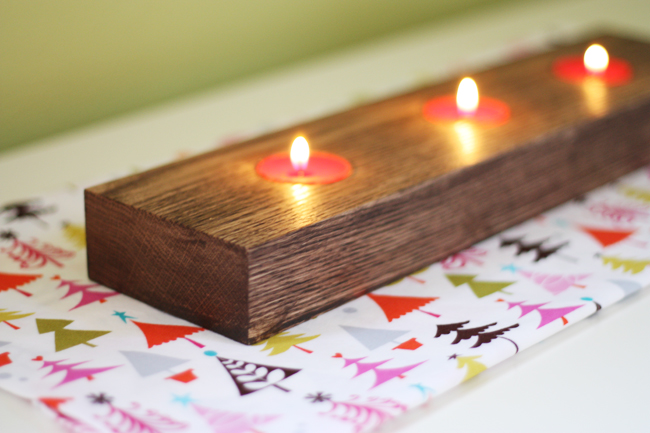
4. Stain using manufacturer’s instructions. I used a Gel Stain and wiped it off fairly quickly so the stain didn’t penetrate the wood too much. I wanted to be able to see the grain of the wood still. Let dry, pop in your tea lights, and enjoy! Don’t worry if the depth of the holes varies a little, I ended up putting a little folded piece of paper underneath some of the tea lights to make them level with the wood, just do what works for you!
That’s all! I think it would look beautiful with any color tea lights and even the white tea lights for a non-seasonal look.
ps. Just thought I should add to make sure to keep small children away from burning candles and matches and never leave a burning candle unattended, but you already knew that. 🙂
Wow, how cute and simple is that! Thanks for sharing!
~Katie from eyespydiy.blogspot.com
So simple, yet so elegant. Thanks for the inspiration.
that’s beautiful!
Im so making this! Thanks so cute and I love it pictured on your fabulous dresser find!
This is really beautiful.
The red tea lights from Ikea smell really good and don’t bother my allergies.
What an elegant, affordable gift! Like, like. We have a fancy tea light holder from Illuminations that we paid WAY too much for years ago. This would have been much better!
this is such a brilliant idea! thanks for sharing….I’ve listed it on my blog under the “project make it” page!
I made some of these for Christmas. Worked out great, thank you! One thing you don’t show, however, is the wood being clamped down. Did you find that it just stayed still while you drilled? I used C clamps on the edge of a table to hold the planks steady.
hey hashi, glad you made some. 🙂 I actually just held them down, for me I found that was easier, however, yes, some clamps would be handy too!
so lovely~ X3
thanks for this tutorial~
Anna
Great Inspiration.
Kisses
Ione
I love the clean modern lines of this! My dad and I made some out slices take from a favorite tree that can down in a storm. Then my cool dad gave me one he made from a small piece of drift wood he found at the beach that had coral attached! So simple yet enlightening!
Just a quick note to let you know that a link to this post will be placed on CraftCrave today [04 Jan 01:00am GMT]. Thanks, Maria
Really beautiful. My neighbor made us one out of a piece of oak wine barrel. I love it. I use the little battery-powered tea lights so I don’t have to worry when I use it on our dinner table.
Thank you for reposting this because I did miss it the first time around. I’ve been looking for ideas to make for Christmas gifts…already!
I love this! My dad and I made a few out of a long 2×4 and they look fantastic. They would make excellent gifts.
that couldn’t have been any easier for such a beautiful piece! One day I am gonna get into wood working. Thanks for this!