I’m sending out gifts to a couple friends of mine tomorrow, thought I’d share what’s inside:
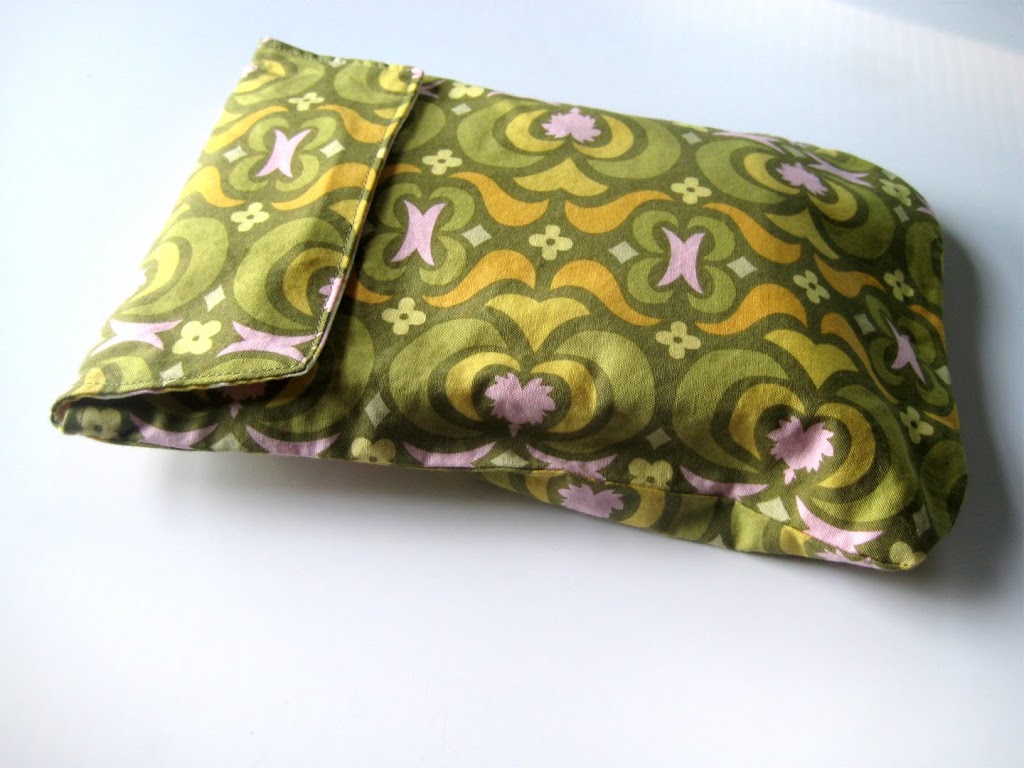
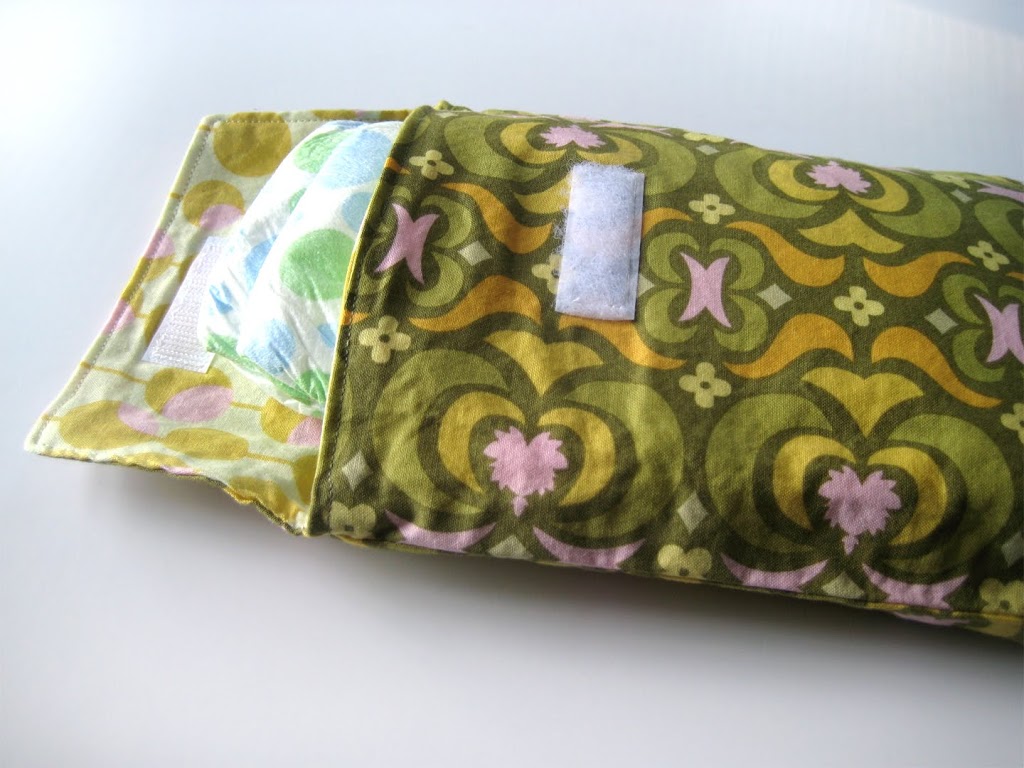
This is a diaper keeper (you’ve seen this fabric before ;)). I love this idea, my diaper bag will never be the same without one. I think it’s so useful and keeps the diapers just how they’re supposed to be, not all smooshed and full of crumbs at the bottom of the bag. Yay! Whoever came up with this idea is pretty cool in my book. I used this tutorial, it’s really great, lots of great photos and well explained. This tutorial was one of the first tutorials I ever used. Hope baby Parker’s mom & dad can get a little use out of it!


My second gift I’m sending out is a make-up bag (with my favorite fabric so far), to my dear friend Toni. She’s been a great friend to me, and we had some fun times back in college. Hope you had a great birthday Toni!