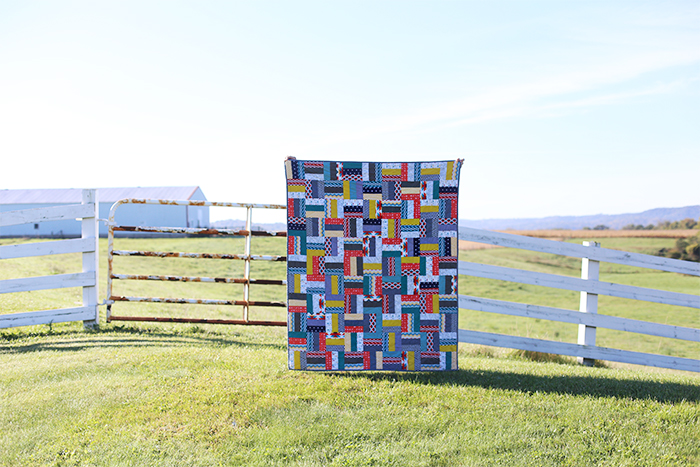
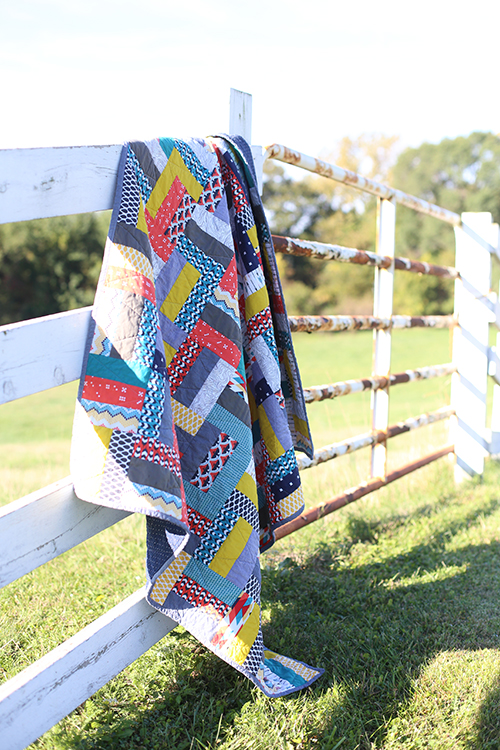
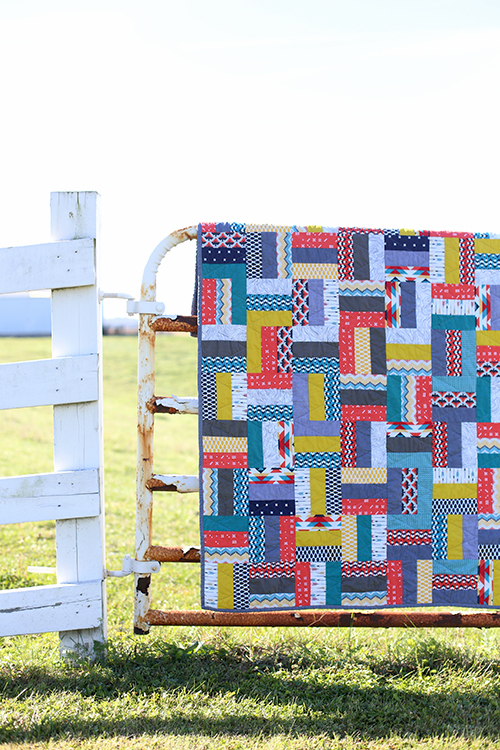
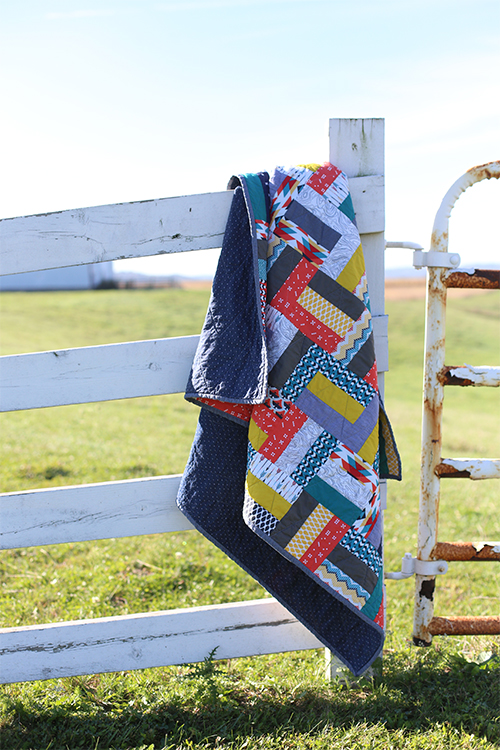
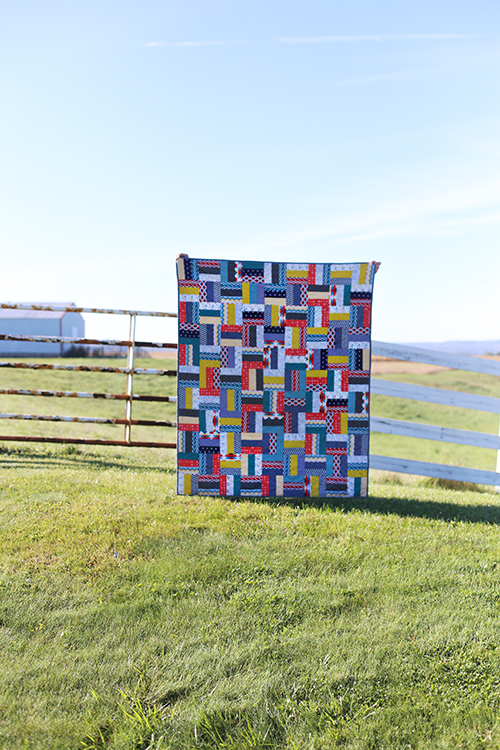
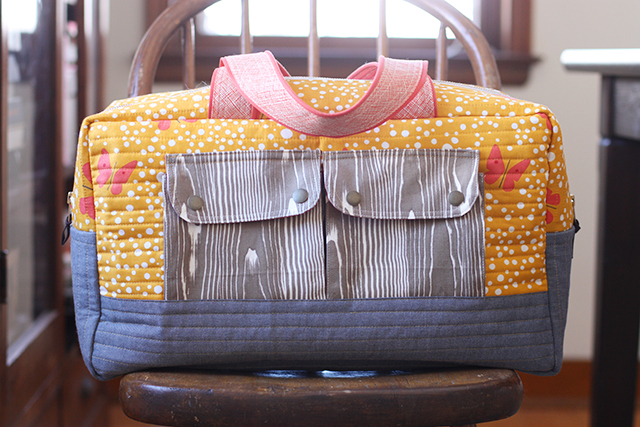
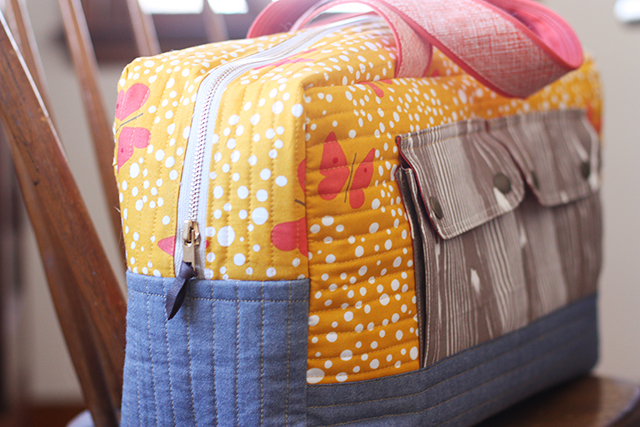
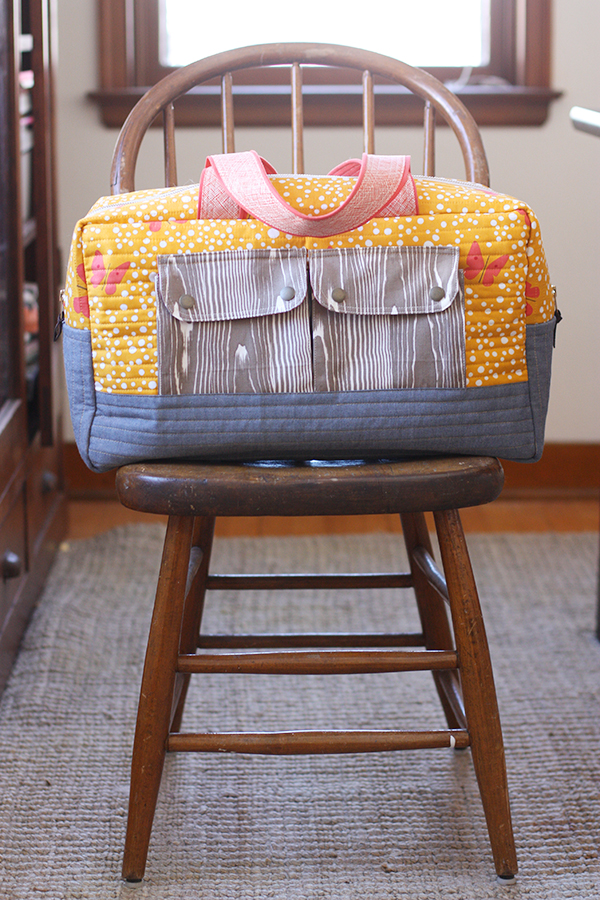
Sorry for forcing you to see yet another Cargo Duffle that I made. I truly love each one I make and wouldn’t do it if I didn’t thoroughly enjoy it. Another reason for more is that I was able to teach two Cargo Duffle classes at my local quilt shop (Olive Juice Quilts) recently! And whew, it was tiring, but super fun! This duffle isn’t a quick sew, but so worth it in the end.
I thought I could share a few of my tips after making 9 of them myself (eek!), I feel like each time I made one I found some little tip or trick.
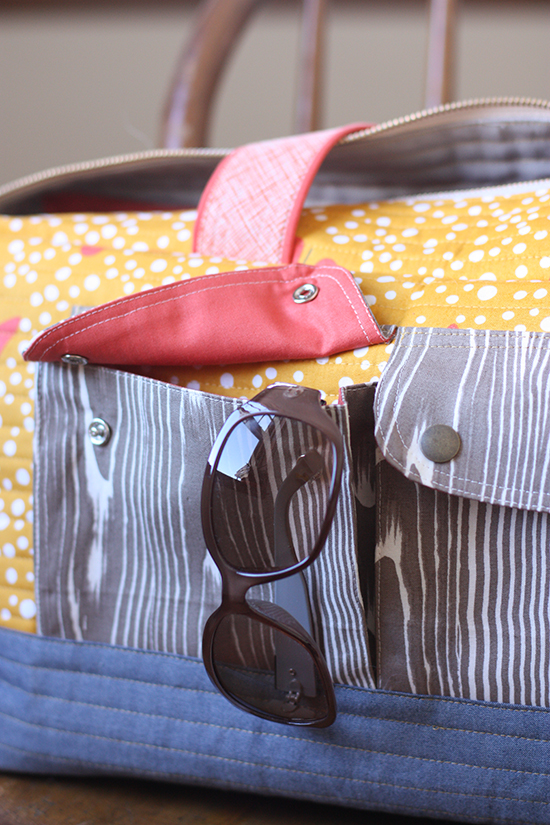
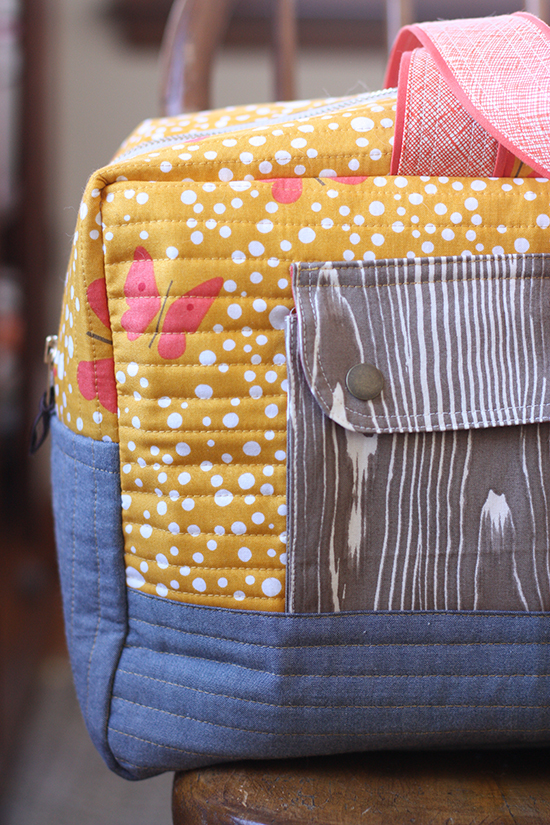
I think the most confusing part for my class students was understanding what and how the bottom accent piece worked. It’s the bottom of the front and back of the bag (denim blue color in this duffle). The accent piece plays two roles, one being decorative, the other is a way to finish the bottom edge of the cargo pockets on the front of the duffle.
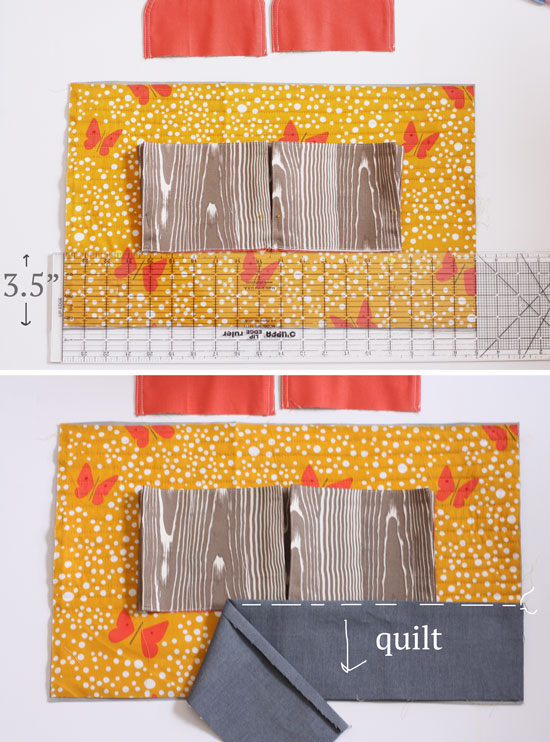
For the front and the back you’ll want to quilt everything except the bottom 3.5”, leave that un-quilted. It’s easiest to use a water soluble pen and mark a horizontal line all the way across the front and back pieces. Then you’ll place the bottom raw edge of the cargo pockets centered on that 3.5″ line. Sew edges and down the middle of the pockets, but keep the top part of each pleat out of the way, just folding it back as you sew works for me. After attaching the pocket, layer the bottom accent piece over top of the bottom edge of the pockets. The bottom and sides of the bottom accent piece will align with the bottom edge and sides of the front/back pieces. And finish by quilting the bottom accent piece.
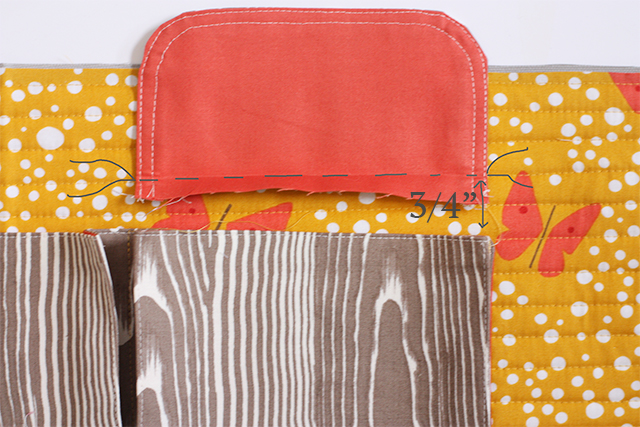
Attaching the flaps can be done several ways. After folding the top raw edge of the pocket pieces to the wrong sides by 1/2″, place each flap about 3/4″ above the top finished edge of the cargo pocket. (this has been updated in the newest file available for download). Sew along the fold. Trim excess fabric away from stitching line, leaving about 1/4″. Fold flap down and then topstitch a small rectangle on top. The way I write it in the instructions is slightly different, but also another good way to try. Do what works for you!

For the interior binding I place the completed zipper gusset and bottom gusset pieces right sides together aligning each short edge. Then layer a 6.5″ wide strip of double fold binding right side down (I like to do this with the zipper in view just in case I would run into the metal parts of the zipper). Sew along the first fold of the binding. Wrap the binding around the raw edge. And stitch down on the bottom fold of the binding through all layers. Repeat for other side, thus making a loop.
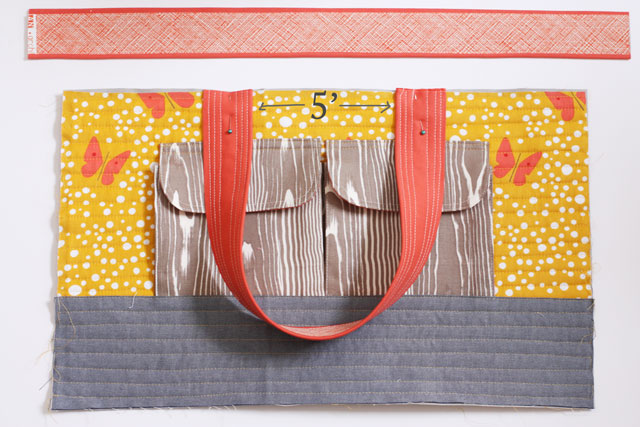
For the last construction tip, on the final assembly. Place the straps (with accent piece facing down) on top of the front/back pieces. Mark the center and place handles 5″ apart. Pin and baste in place.
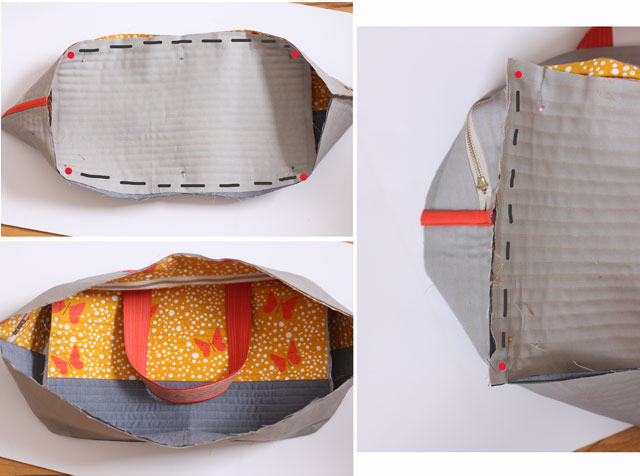 I recommend marking a dot 1/2″ in from each corner on the canvas of the front/back rectangles. Mark the center of the top and bottom as well. Find and mark center of loop by folding zipper gusset in half and marking, this folding bottom gusset in half and marking. Align the zipper gusset center right sides together with the front center marking. Pin. Sew from corner dot to corner dot. Repeat for bottom edge and bottom gusset. Next, sew each side, just pull and align the raw edge of the sides. Pin in place and sew. Repeat for other side seam and then open zipper and attach the back exterior piece using the same method! Whew!
If you wanted to add a lining (instead of binding the interior raw edges, my good friend Kristin (Skirt As Top) wrote up a mini tutorial on how to. I’ve seen quite a few with linings now and it’s just another great way to finish things off! Check it out!
More importantly than all these tips, I think it’s wonderful to add and change the duffle to fit you and your needs. There’s no wrong way to go! If you find something works better for you, please go ahead and do just that. I love that about sewing and always will.
Lastly! There’s a Sew Along happening by the very kind Sophie of C’est la Vie! She’s even doing it bilingually. How awesome is that? Do stop by and follow along with her, I think she has a lot of great advice. Her first post is already up!
Free Pattern: Cargo Duffle (design by me!)
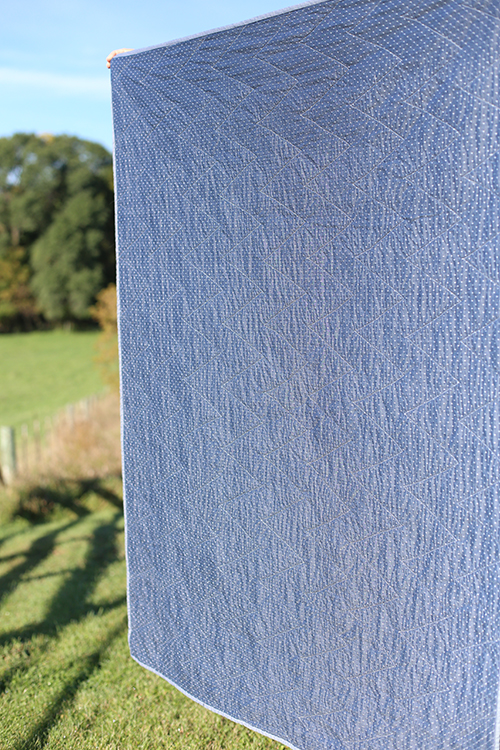
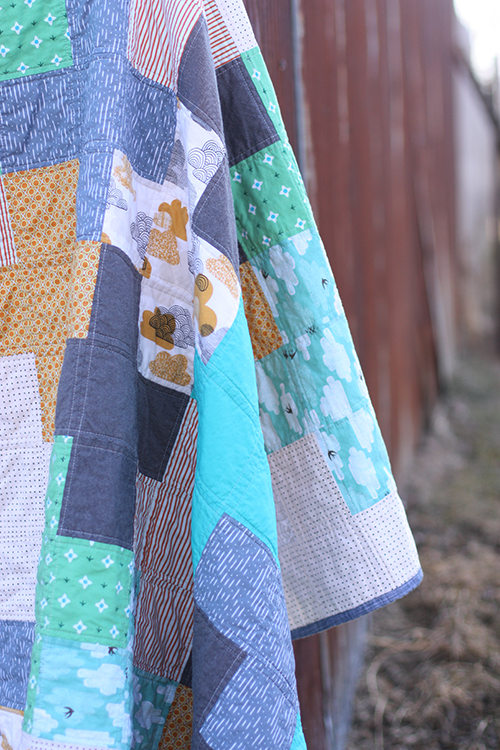
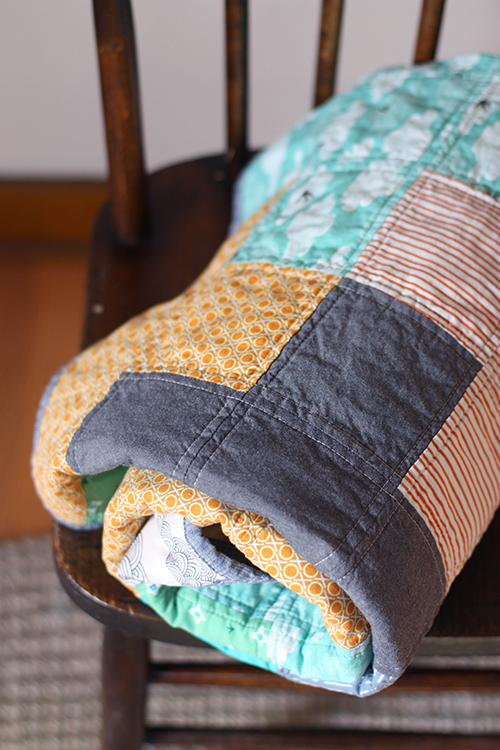
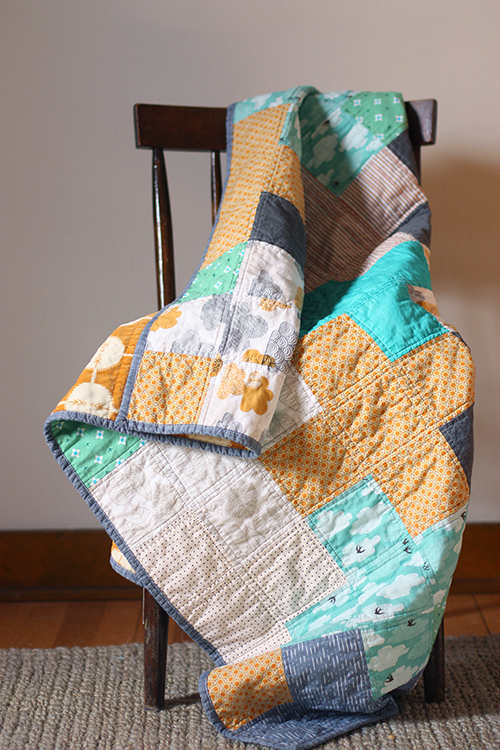
Fabrics: Lizzy House Catnap, Lush by Moda, Interweave Chambray in Slate by Robert Kaufman
♥