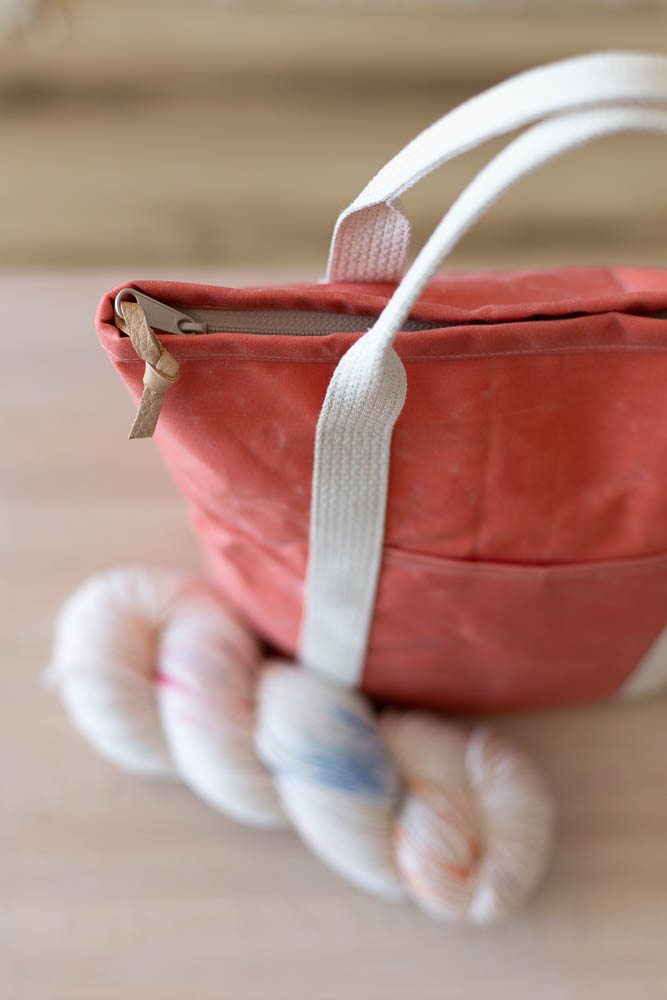
Welcome to the Buckthorn Backpack + Tote Sew-Along Part 1! I’m so excited to have you join along!
Here’s the schedule I’ll be following for the sew-along:
Part 1: Friday, September 29th (today), fabric selection, cutting & fusing, preparing webbing/handles
Part 2: October 6th, Assemble Front and Back, assemble exterior
Part 3: October 13th, Make lining, prepare zipper & attach binding
This schedule should allow for plenty of catch up time if you miss a week. Don’t feel pressured to rush along! But if you’re cruising along and having fun feel free to go at your own pace, too. No rules here!
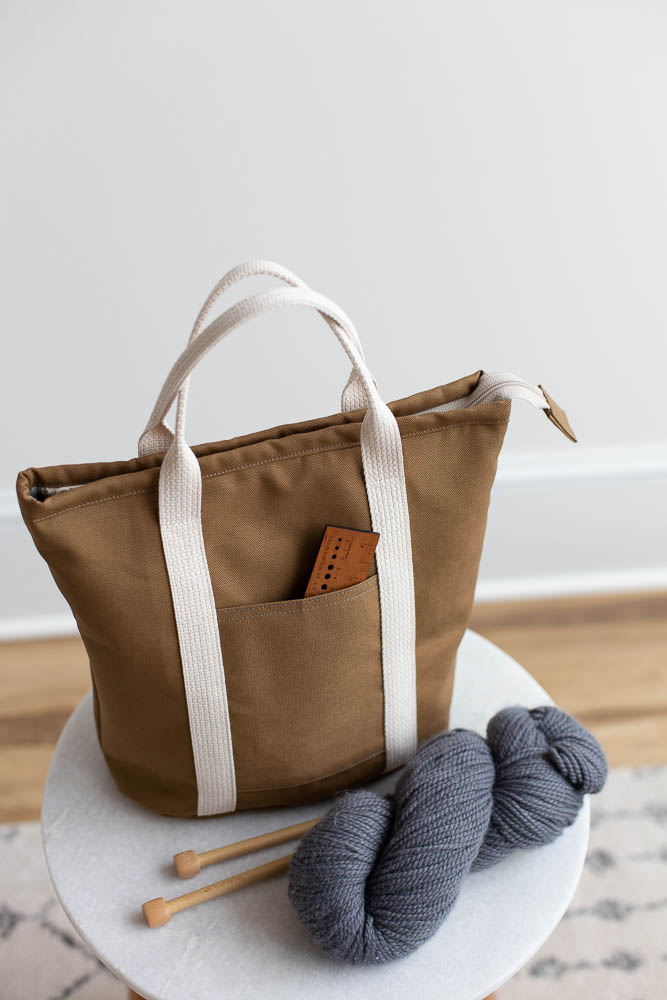
In today’s video (Part 1, linked below) I show an overview and project discussion. I also talk about fabric selection, cutting & interfacing, and then prepare the webbing for each project.
Cutting & Labels
Cutting measurements and cutting layouts are found on pages xxx of the Buckthorn PDF and pages 3-8 of the Buckthorn printed booklet. The majority of the pieces are rectangular pieces. They are to be cut using a rotary cutter, grid ruler, and cutting mat for best accuracy. This pattern doesn’t have a lot of pieces to mix up, but if you prefer, feel free to label your pieces to help keep you organized!
***I’m including a free basic label sheet you can download here!
After this week you should have all the pieces cut and the interfacing fused to all corresponding pieces. You will also have the webbing prepared.
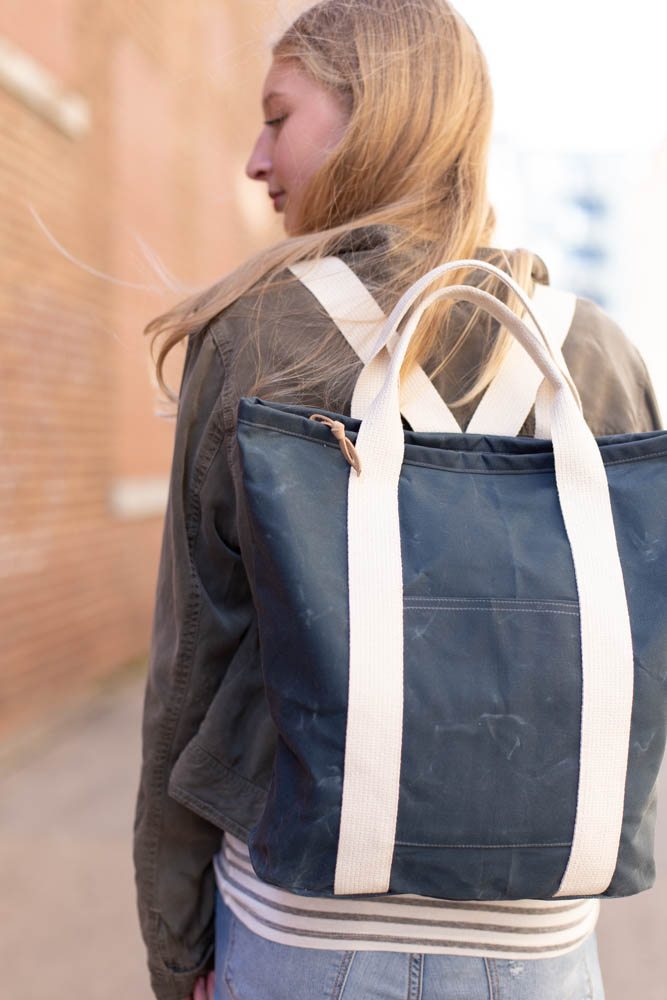
Watch the VIDEO for Part 1 of the sew-along!

Click the image above to watch the video. Or click this link to play the video.
Read a few notes about the project & supplies needed below:
I’m including some fabric and zipper notes below. I chat a bit about them in the video as well.
Fabric Notes
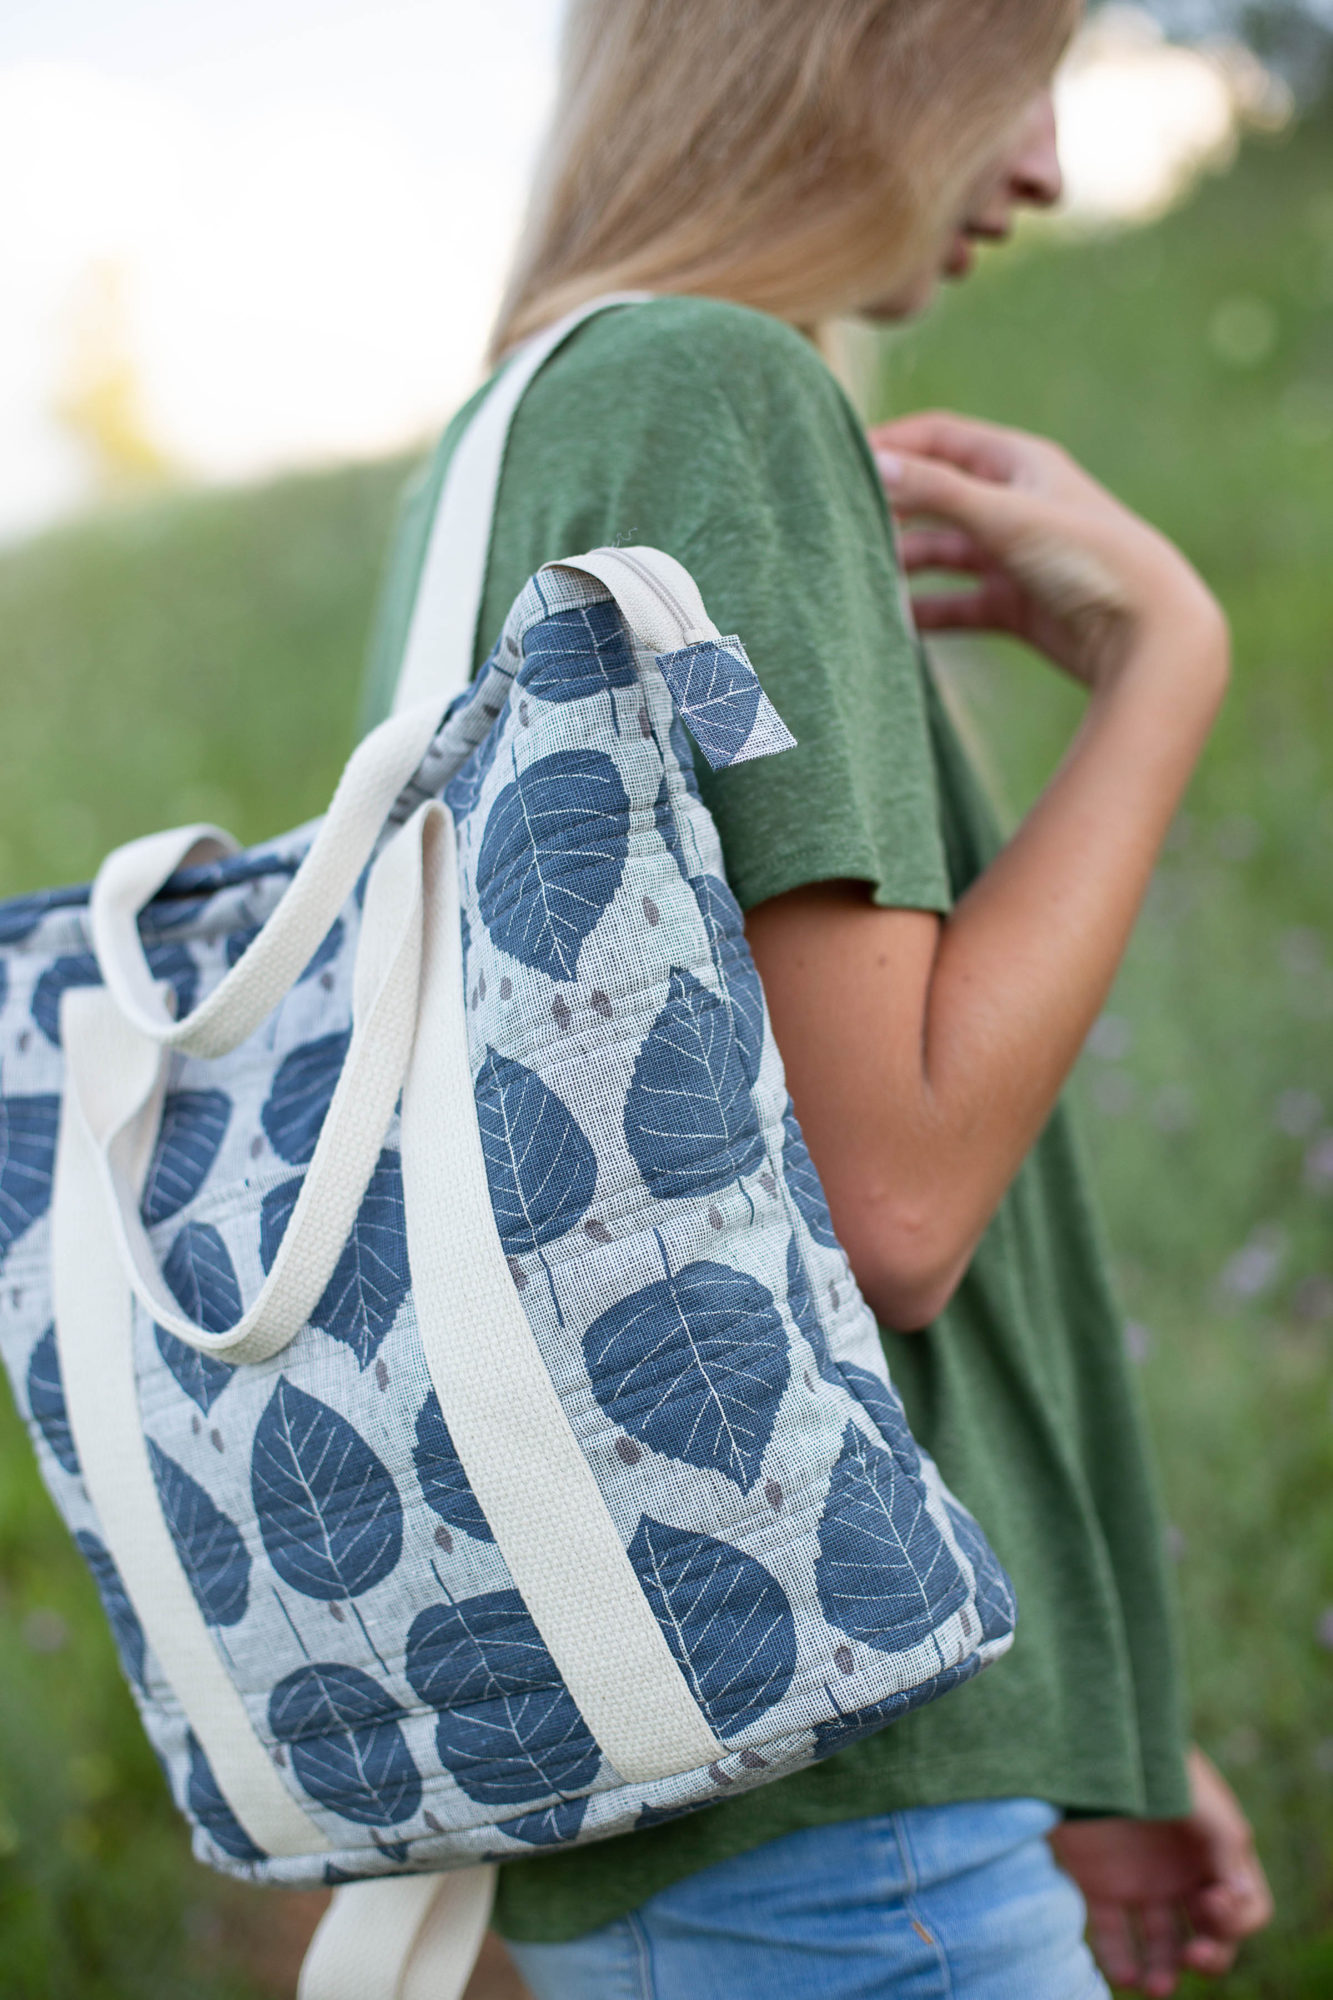
In the video I talk briefly about using a quilting cotton or lighter weight fabric for the exterior fabrics. Here’s a link to the post discussing how I made a quilted Buckthorn Backpack.
First I rough cut my fabric a few inches larger that the piece sizes indicated in the pattern. I layer a plain/inexpensive cotton canvas, then a low-loft cotton batting, and then my fabric on top. I quilt the pieces and then trim them to size using the measurements in the pattern.
It is a bit of prep work, but it’s a beautiful result if you don’t mind the extra steps.
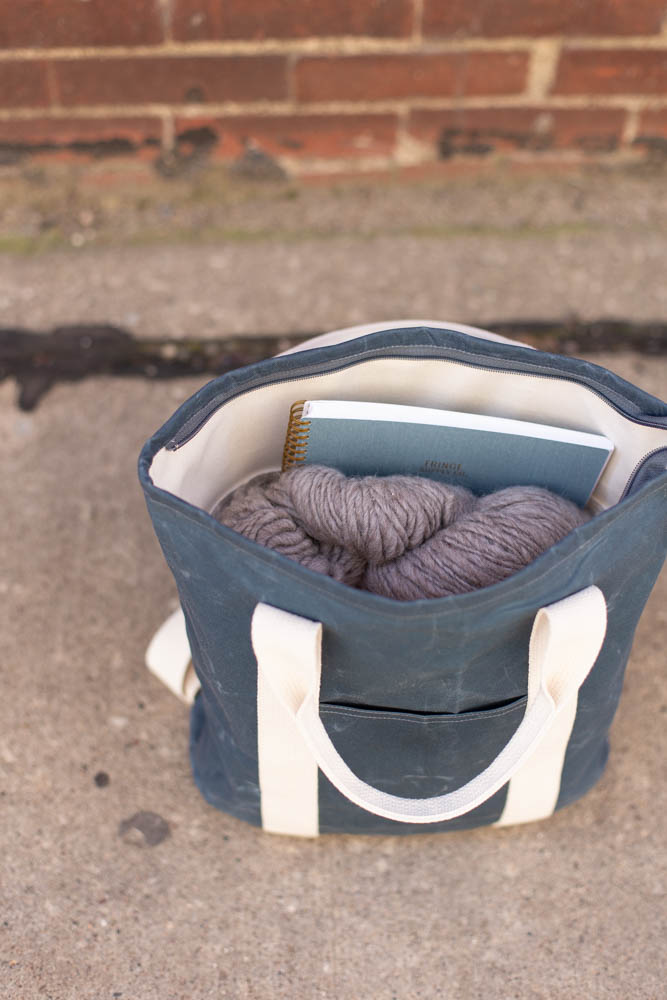
Waxed canvas is another great option for using on the Buckthorn. If you’d like to read more about that, I’ve discussed it in-depth in this blog post.
Zippers Used
Lastly, this pattern is written for traditional fixed-length zippers . In the video I also give tips for using zipper by the yard/continuous zipper. For this type of installation (on the Buckthorn), zipper lengths are fairly interchangeable whether you’re using a fixed-length or zipper tape. So if you’re in a hurry and cut your zipper tape to the fixed-length size, you’ll still be okay!
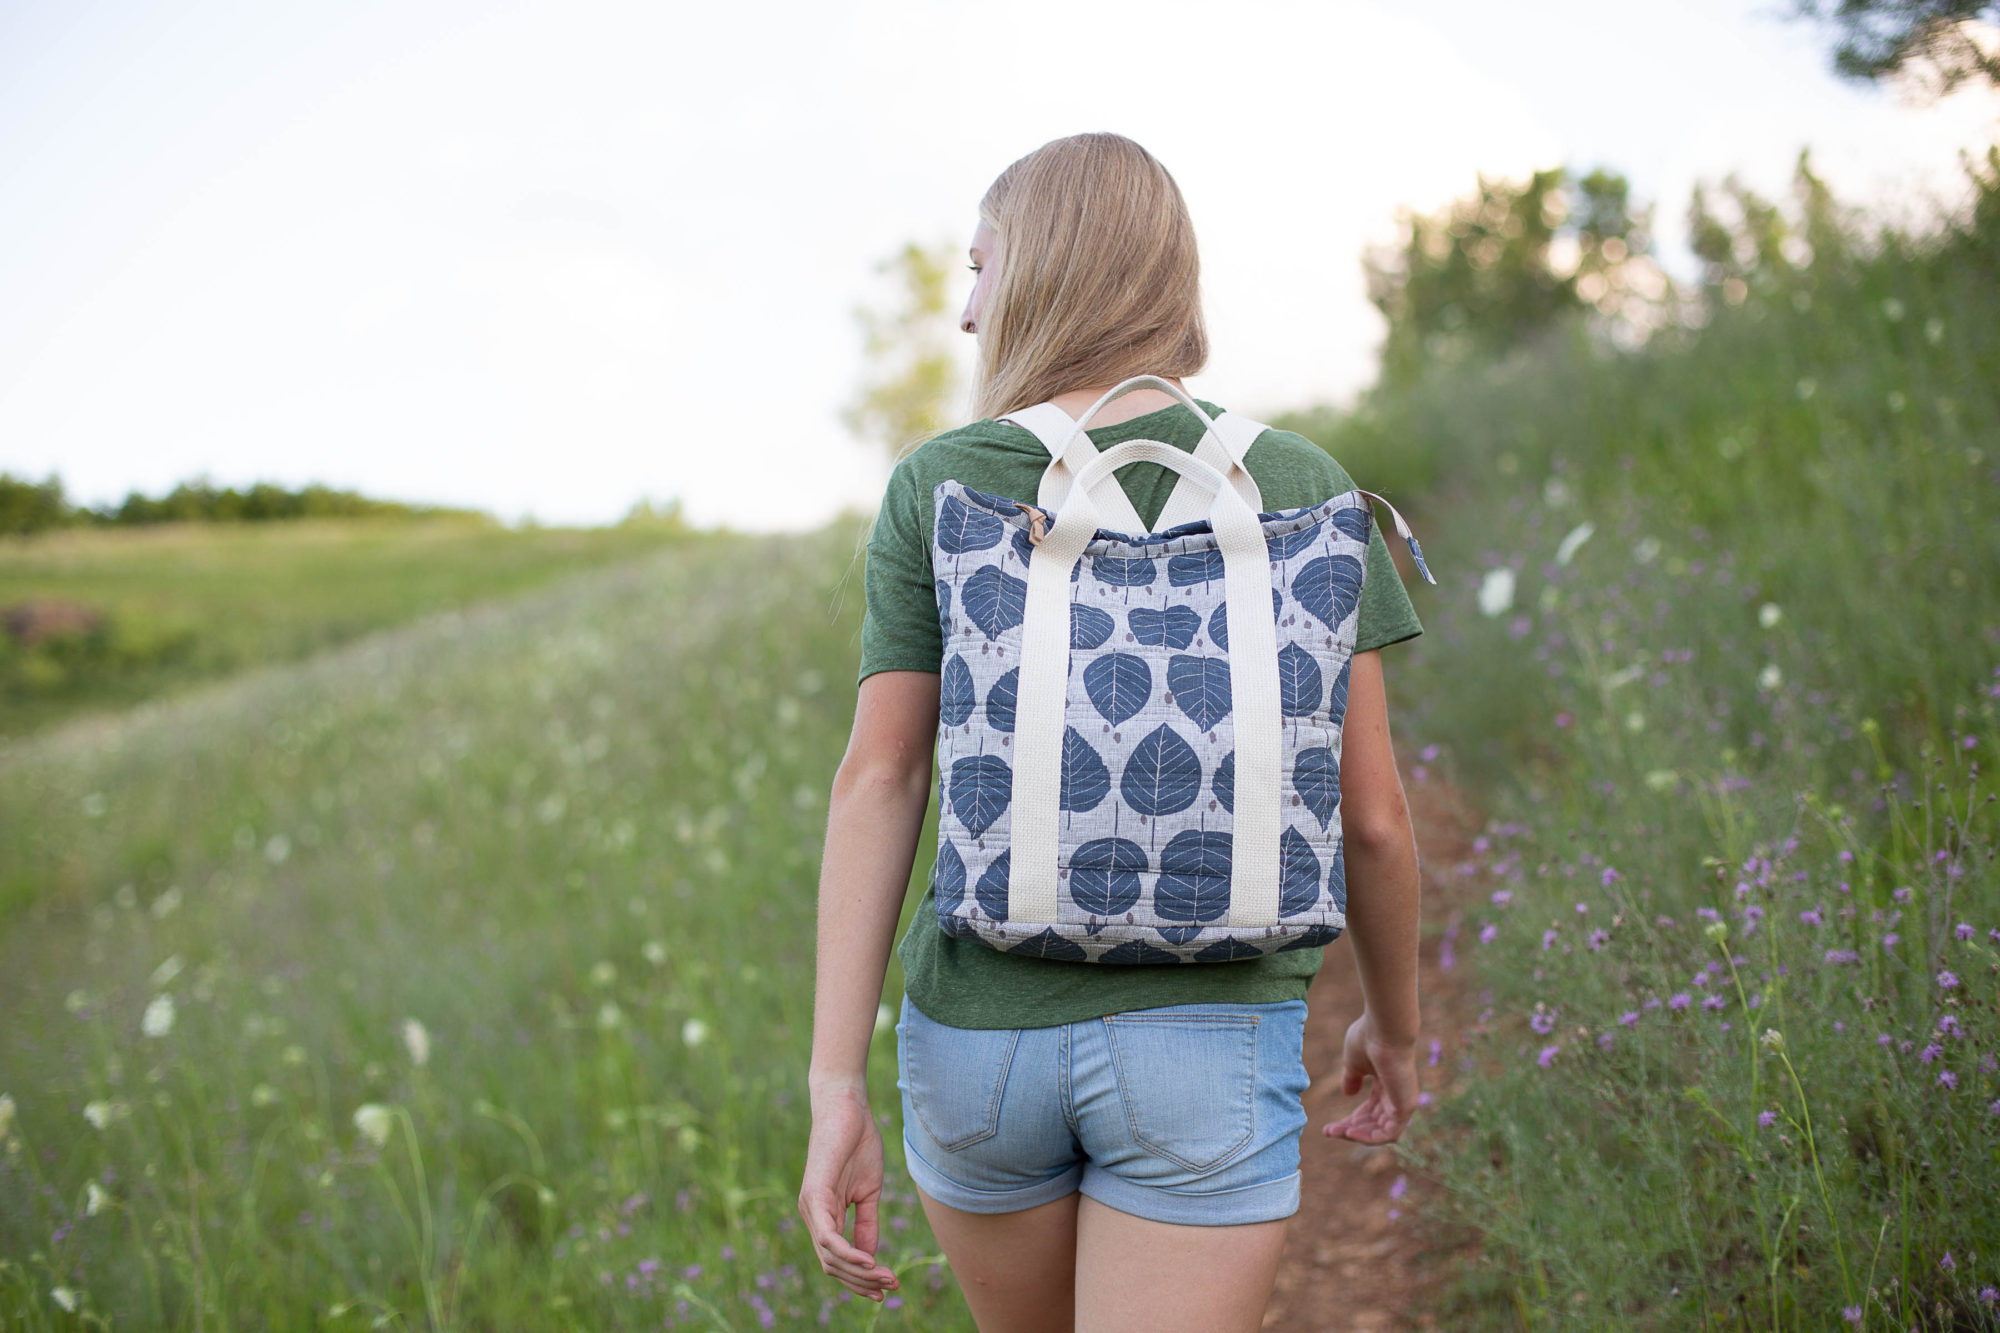
Looking for supplies for your Buckthorn?
Below are supplies for the Buckthorn Backpack + Tote that are available in my shop.
Backpack
- Buckthorn Backpack + Tote Pattern (available in PDF and paper versions)
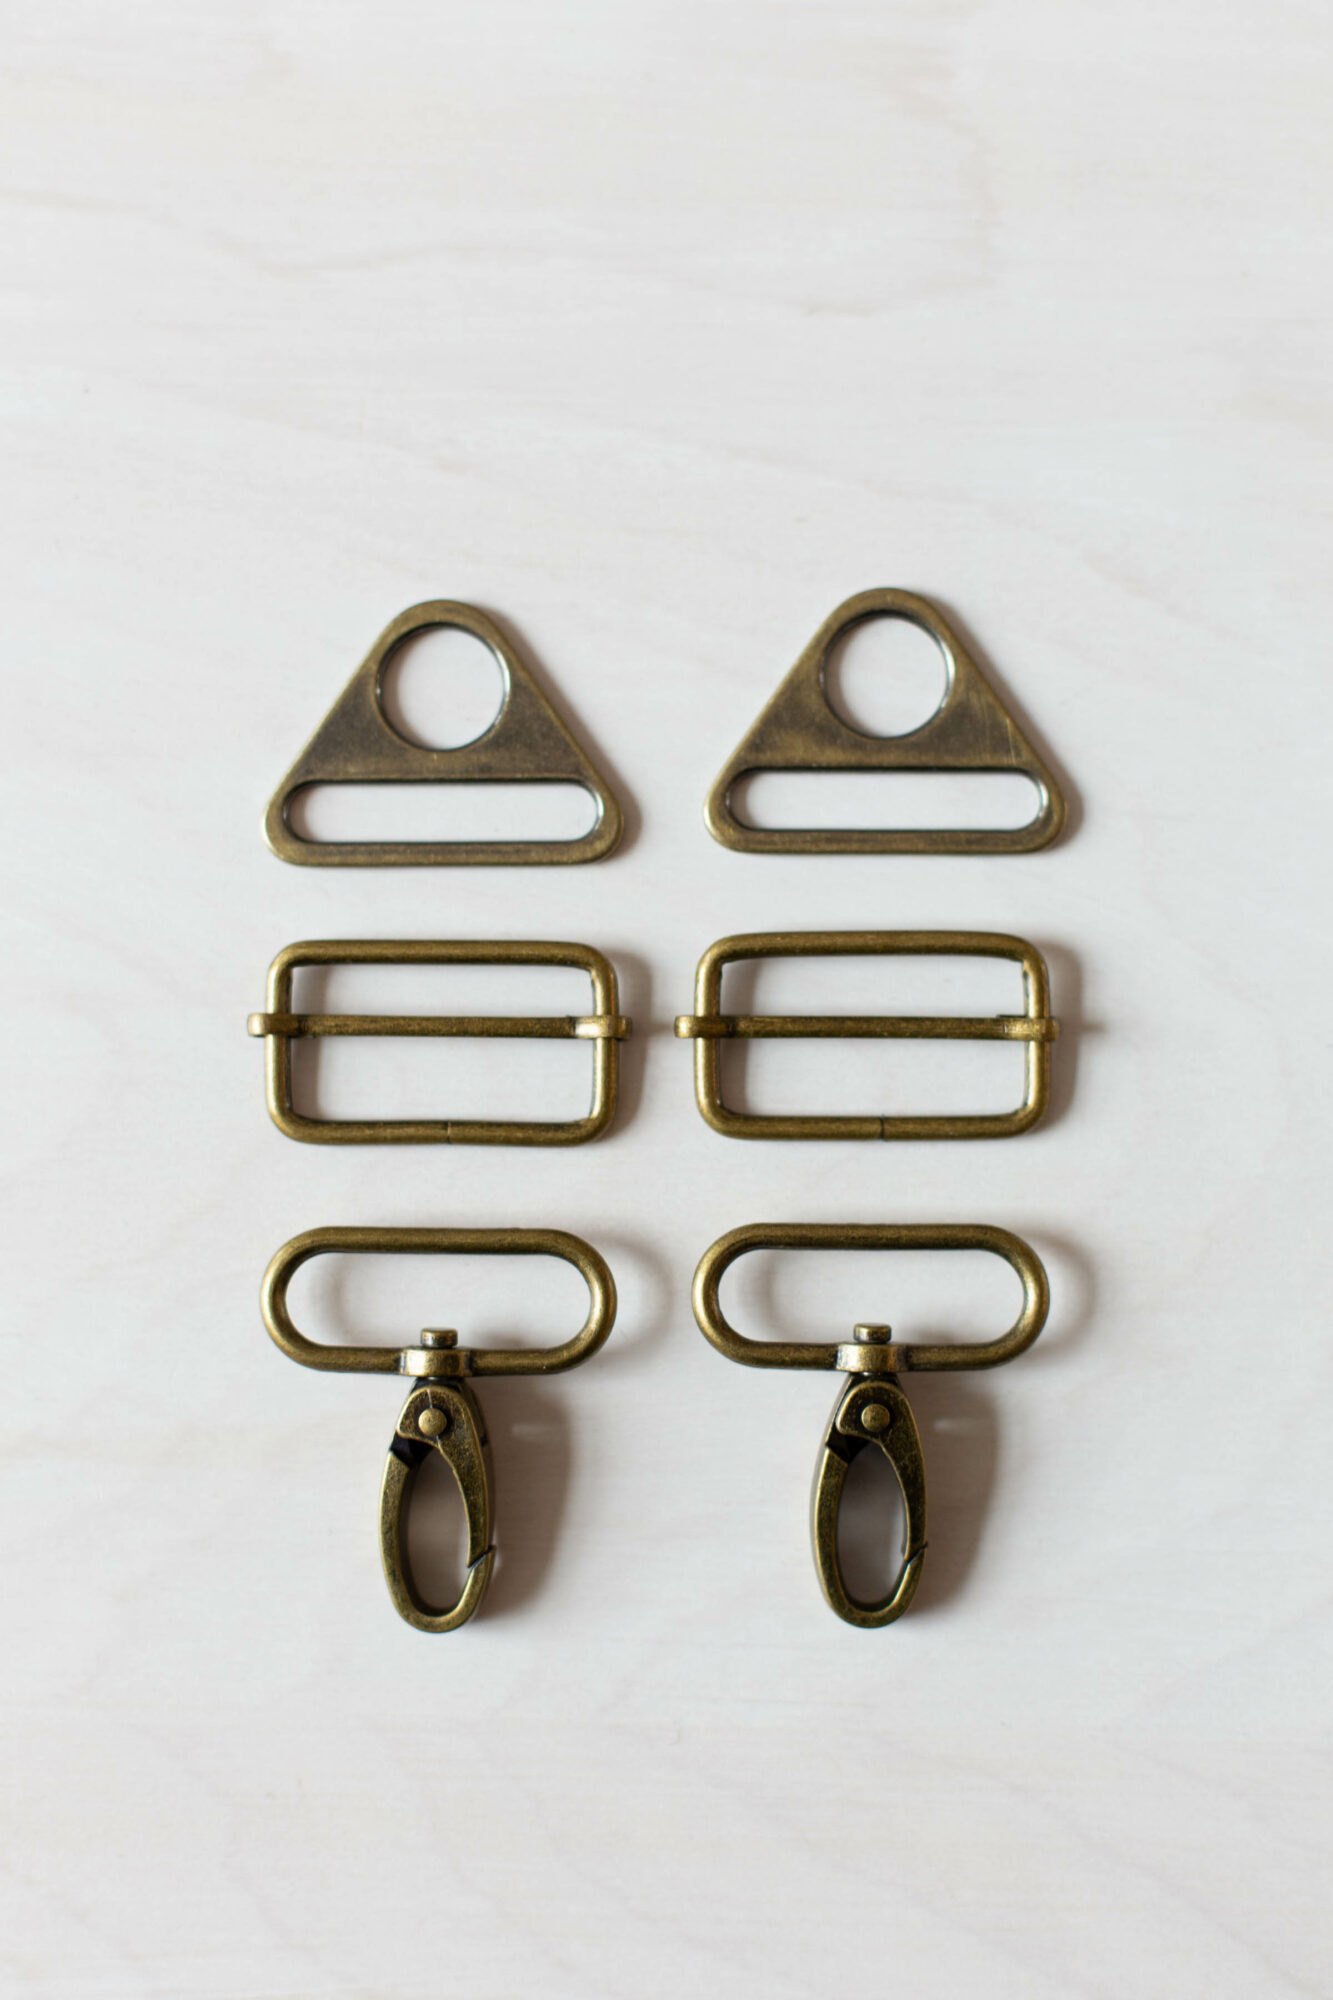
- backpack hardware kits (antique brass & nickel)
- zipper for top closure (16″ zipper)
- 1.5″-wide/38mm webbing for handles, straps, etc. (in a variety of great colors!) available by the yard (you’ll need to purchase a quantity of 4 for the Backpack)
- leather zipper pulls
Tote:
- Buckthorn Backpack + Tote Pattern (available in PDF and paper versions)
- zipper for top closure (14″ zipper)
- 1″-wide/25mm webbing for Handles (in a variety of great colors!) available by the yard (you’ll need to purchase a quantity of 2)
- leather zipper pulls
Project Details
The Buckthorns in the sew-along video are sewn in the following fabrics:
- Riverbend Big Sur canvas for the exterior, Riverbend Essex for the linings (both fabric collection are designed by me for Robert Kaufman Fabrics and are available in quilt shops now!)
Thank you so much for your support! I can’t wait to see more Buckthorn Backpacks + Totes! Be sure to tag me on Instagram (@noodlehead531) and use #BuckthornBackpack or #BuckthornTote #noodleheadpatterns
