Hi there! Welcome to simplicity skirt 2226 sew along. Whether you’ve been sewing garments for years, or if this is your first time using a commercial pattern, we’re going to sew along together and by the end of the week we’ll have a really cute skirt that’ll fit right in to your wardrobe.
Today we’ll discuss sizing, tracing pattern pieces (optional), cutting your pattern pieces and fusing on interfacing.
Sizing:
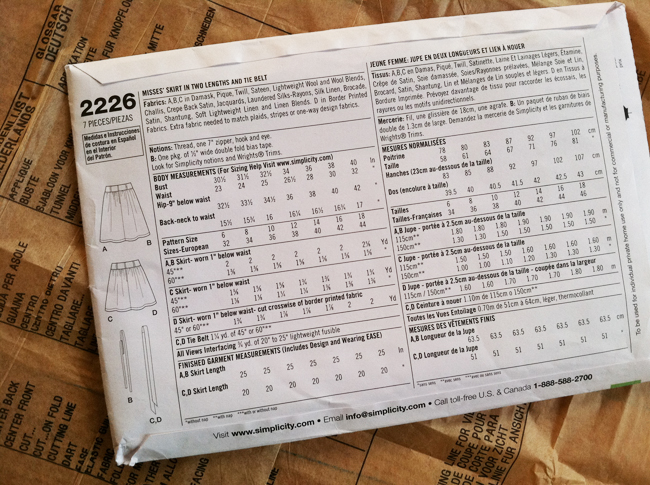
So you’re probably looking at the back of the pattern envelope where the sizing information is, right? Scratching your head.
I believe with my measurements I should have made a size 14 skirt, which would have been way too big. I only really know that from experience that the wearing ease (or the amount of room built into the pattern) has typically been too much. I used a size 6, but could have definitely gone with a size 8, and I typically wear a size 4 pants/jeans. My best advice if you’re still unsure what size to use would be to use some muslin or junk fabric and cut out the waistband pieces (pieces 4 & 5) and sew them together, it should give you a pretty good idea on the sizing.
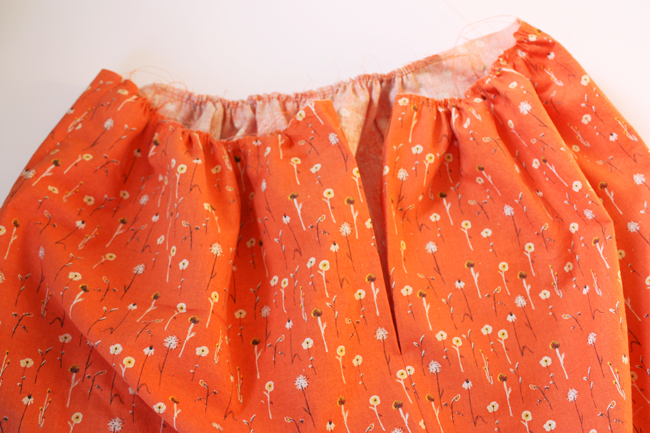
They do stress one thing in the pattern quite a bit, which is that the skirt is designed to be worn 1″ below your waist (your natural waist). So if you’re used to wearing things lower on your waist, this skirt isn’t designed to be worn that way. If you’re still determined to make a skirt that sits lower, you might want to make a size or two larger. Again, a muslin would come in handy to help figure it all out.
Tracing:
I use a large roll of tracing paper and a sharpie to trace all my patterns. I never cut the actual pattern pieces for two reasons 1.) I want to keep the pattern intact in case I ever need to make the garment in another size (really essential for kids clothes) 2.) durability, the tracing paper I use is much more durable and sturdy than the tissue pattern pieces which tend to rip and tear.
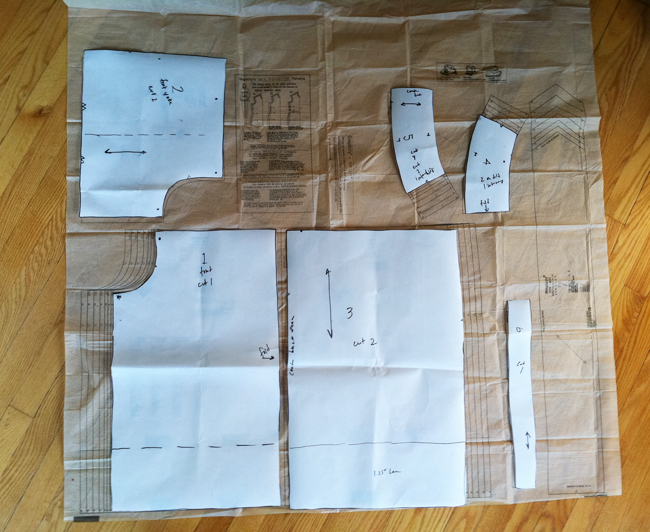
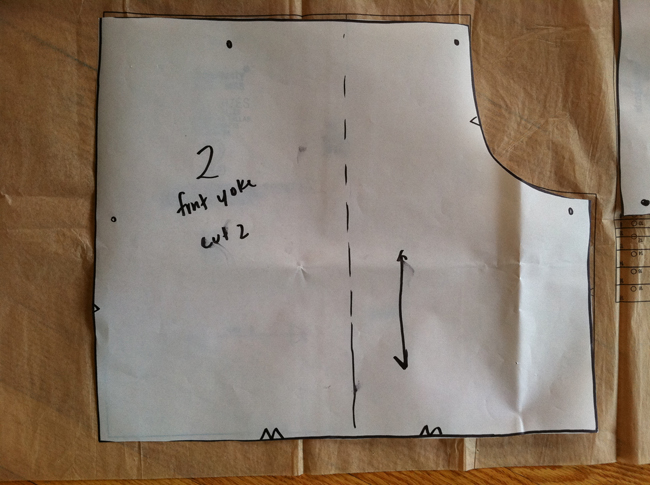
So go ahead and trace the pattern pieces. For view C (which I’ll be sewing, but I’m skipping the fabric ties/belt) you’ll need pieces 1,2,3,4,5 and 6.
You’ll want to be sure to trace and mark all the notches and dots as well as indicated grainlines and which pieces are to be aligned on the fold. Notches are used to help align pieces when sewing, dots are typically used for placement or stitching start/stop points. The grainline shows you how to place your pattern pieces on your fabric, essential for when you’re using directional prints and ensuring your pieces will sew together well.
* Be sure to wash/dry and press your fabric before cutting.
Cutting:
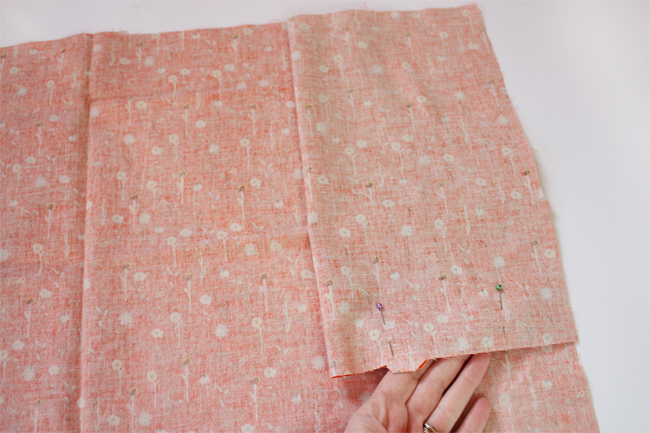
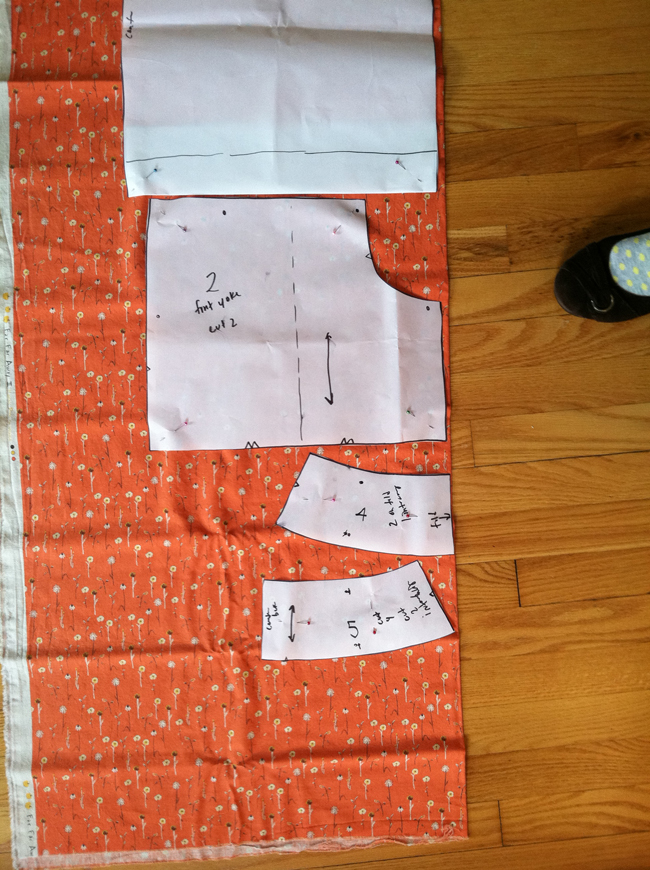
Fold your fabric so that the WRONG sides are facing, aligning selvage edges.
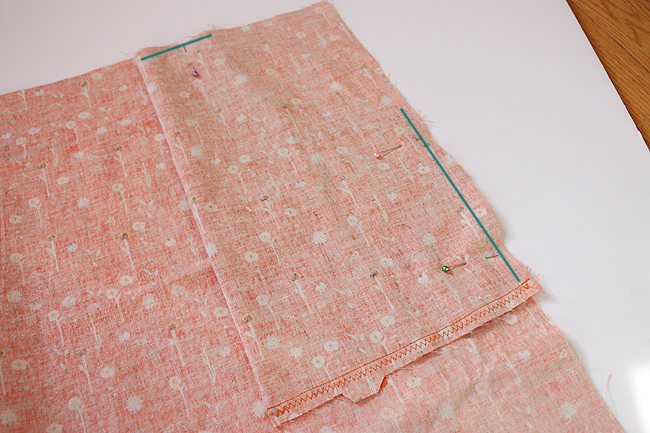
Pin your pattern pieces in place like so (there are also cutting diagrams on page 3 of the instruction pages, I did mine a little differently, but it’s up to you):
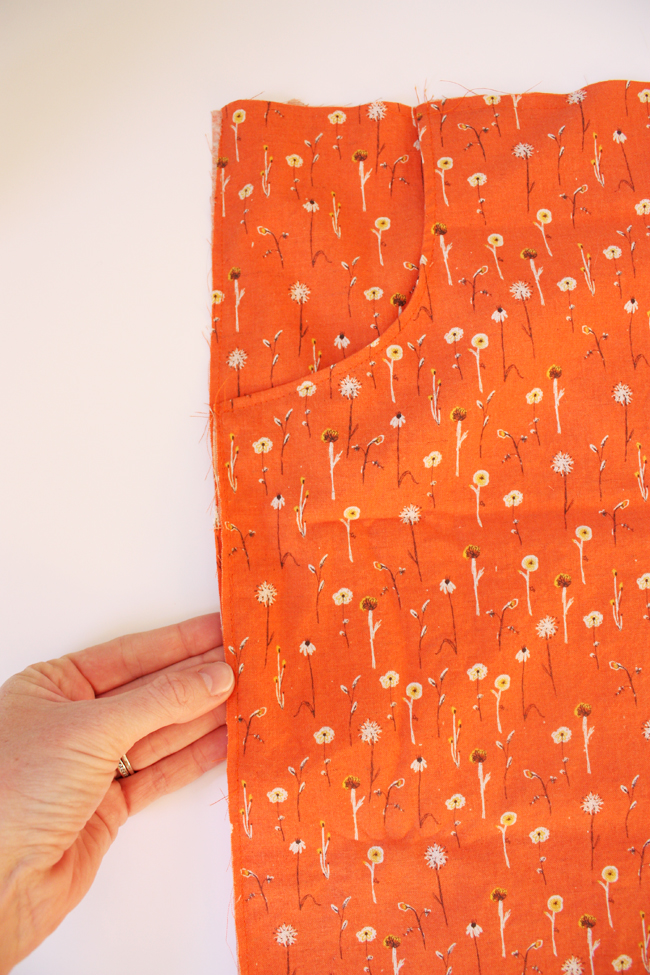
You can either use a scissors, pinking shears, or a rotary cutter (28mm) and self healing cutting mat, which really makes quick work out of the cutting process. Be sure to align pieces 1 & 4 on the fold.
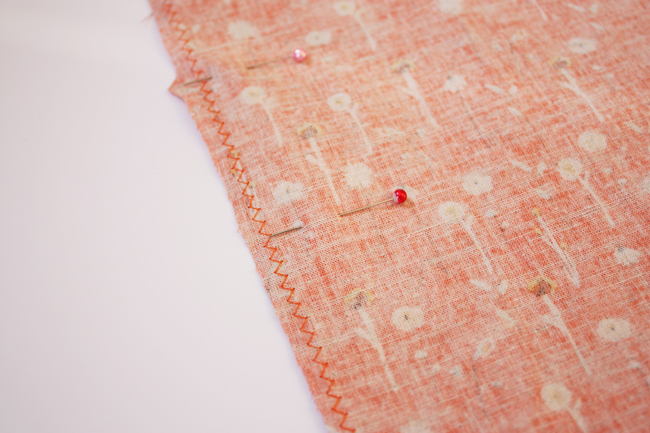
To mark the notches cut outwards away from the pattern piece to note each notch. To mark any dots, use a pin and water soluble pen to poke through the pattern piece and mark on the fabric.
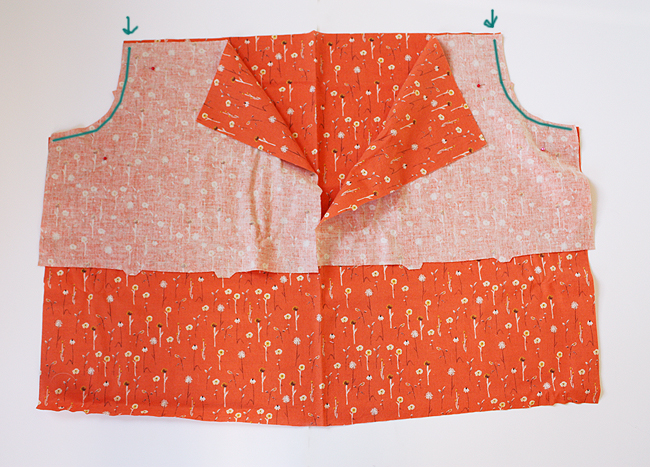
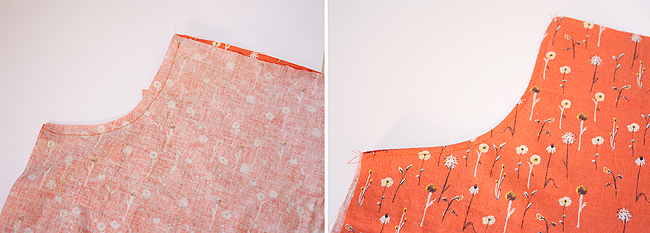
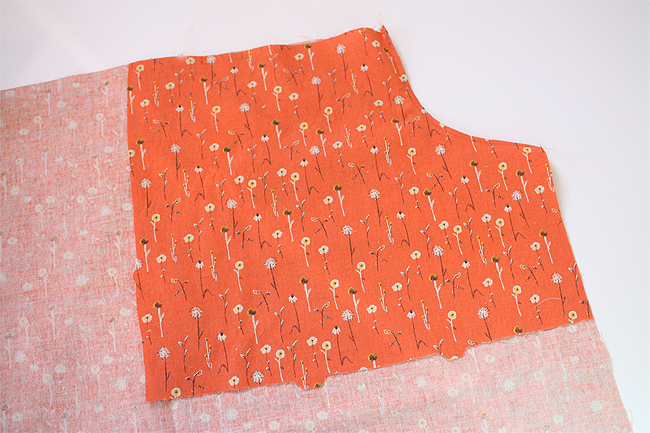
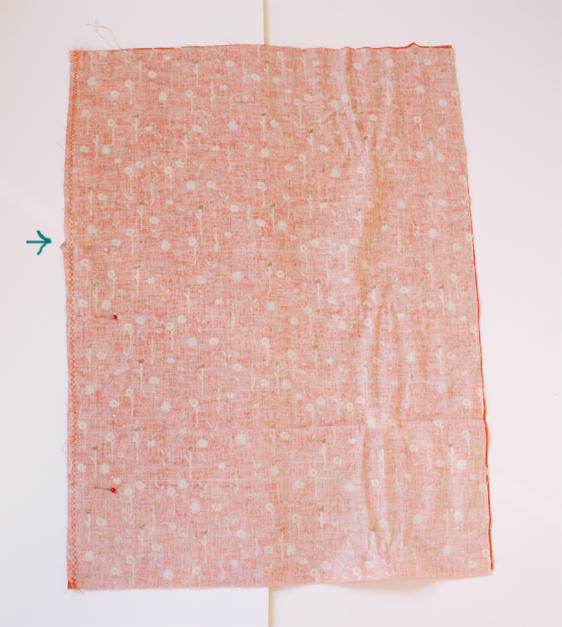
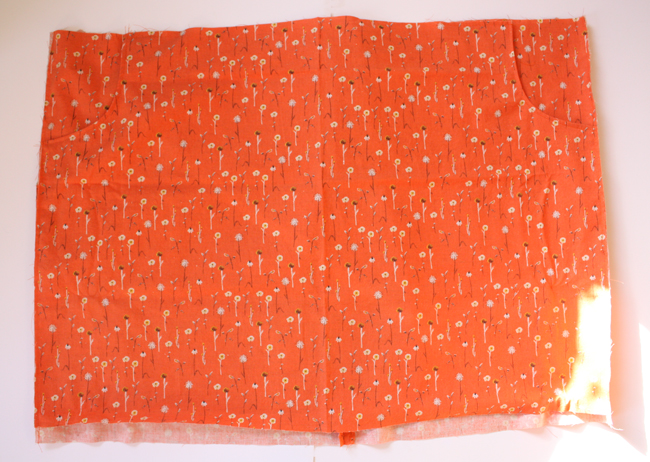
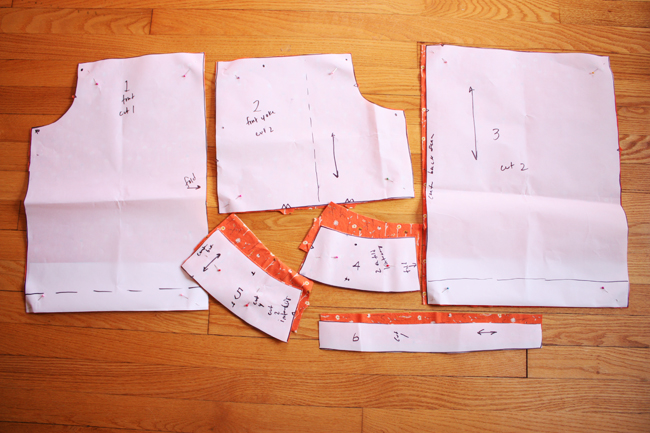
And after all the cutting, you’ll have your pieces:
Interfacing:
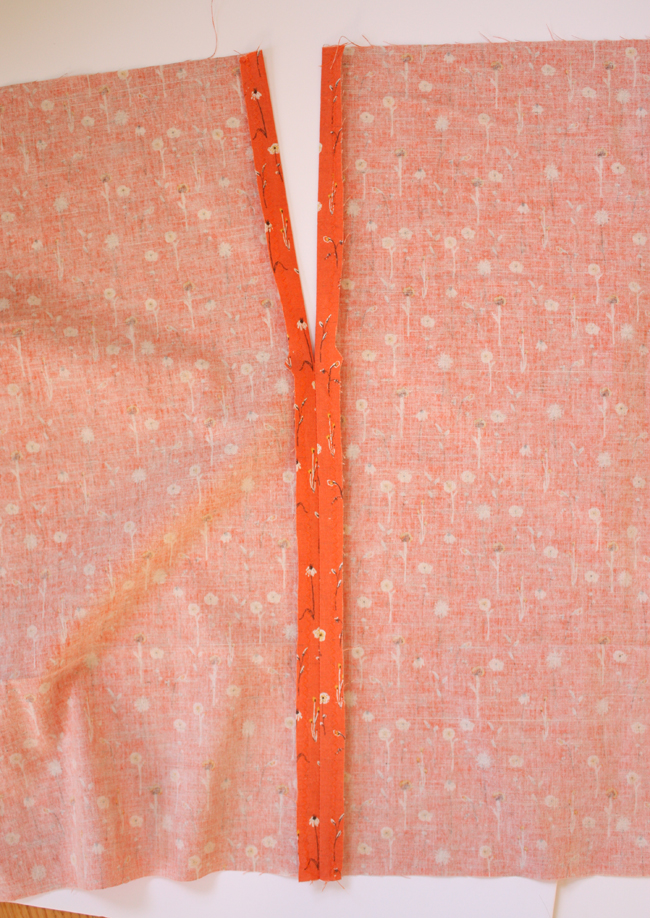
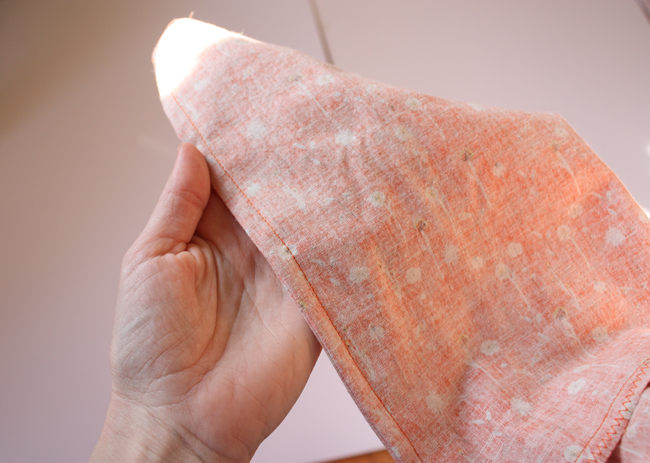
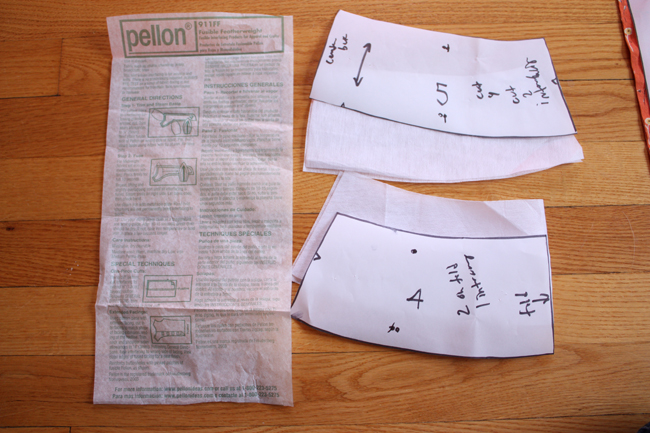
You’ll need to cut pieces 4 & 5 out of a lightweight fusible interfacing as well.
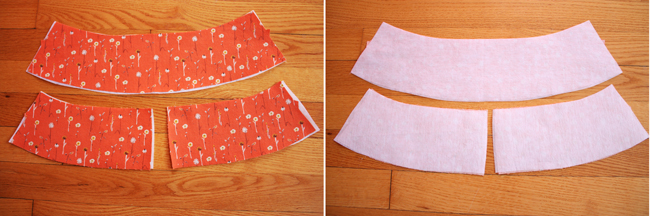
Fuse the interfacing to one set of the waistband pieces (you’ll have two sets, one for the waistband and the other is the waistband facing). Follow manufacturers instructions to fuse on the interfacing to the WRONG sides of pieces 4 & 5.
That’s all for today, take a little break, pat yourself on that back, and I’ll see you here tomorrow for Day 2!
[I’m going to run this sew along a little differently than my typical blog posts, if you have any questions or comments or suggestions/tips please leave them in the comments section and I’ll respond to them there. Usually I like to reply to comments directly by email when time allows, but this way the info will be there for anyone who joins along.]
Thanks for stopping by!