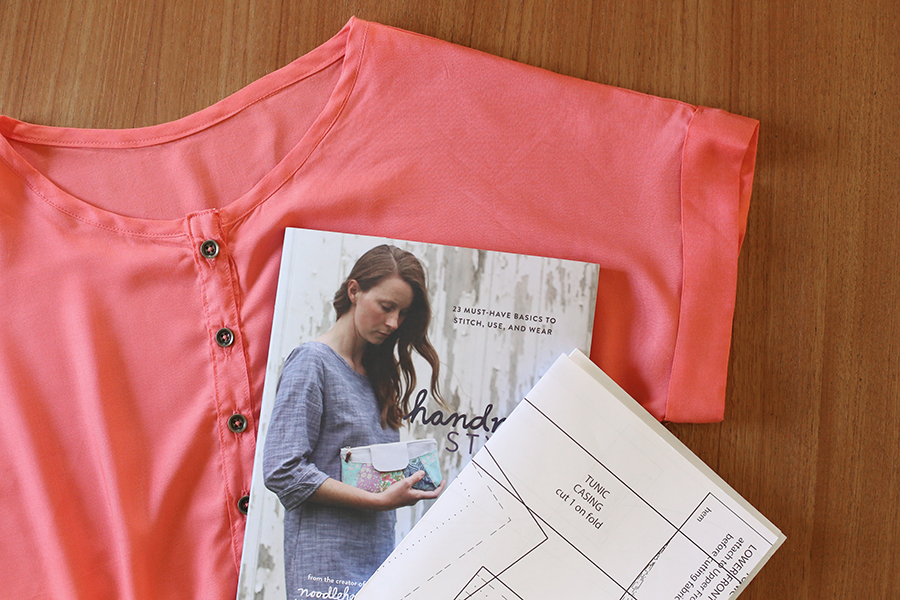
Welcome to Day 2 of the Handmade Style Tunic Sew Along. If you missed the first day, check it out here. Now that you’ve got your fabric picked and supplies gathered, we can start tracing and cutting the pattern pieces.
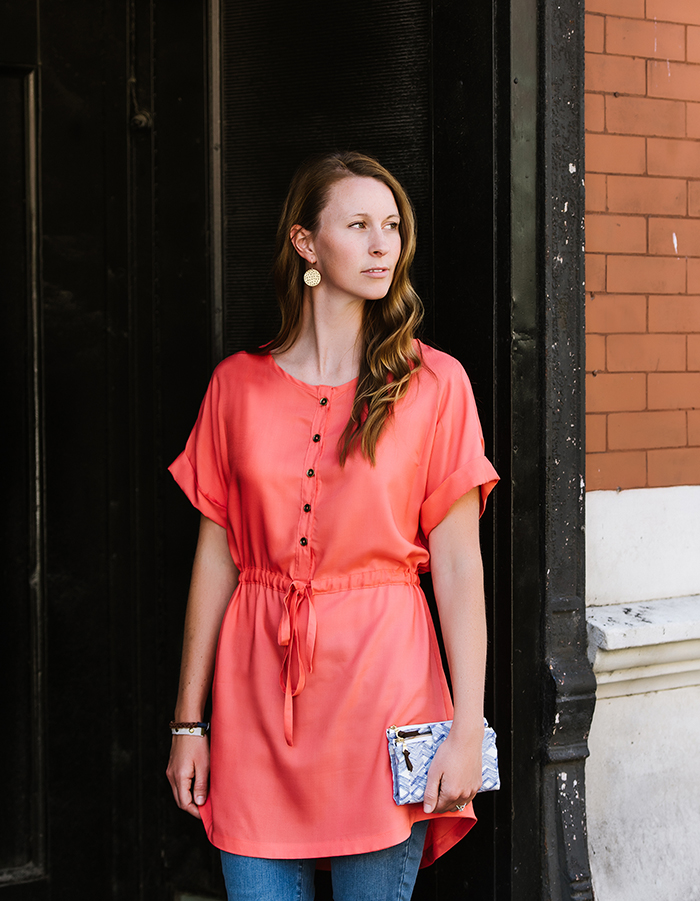
I think the most important measurement for the tunic would be the bust measurement (find the size chart on page 140). You’ll want to pick your size according to that measurement as well as make note of where you fall for the waist and hip measurements. This is a loose-fitting casual top so I think even if you’re off a little bit, you’ll still be okay. Fabric selection also makes a big difference as well. A nice rayon like I used for the coral sample photographed in the book has a lot of give, so it moves and stretches along with any movement. A voile or lawn might not be quite as forgiving. I’m a size Medium for the size chart provided, so that’s the size I’ll be sewing. If you’re different sizes from bust to hips you can blend the lines accordingly to suit your size.
To get a general idea of how the length of the tunic is on your body, I’d suggest simply holding the paper pattern piece up to your body (or you can measure with a flexible tape measure too). It might seem a little silly I’ll admit, but just this quick step can help you get a better understanding of the overall length.
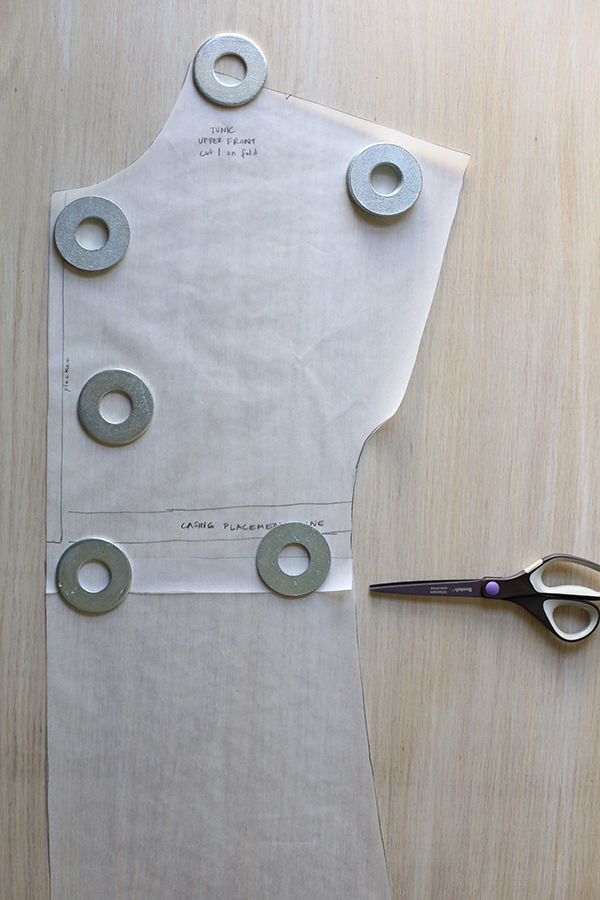
Trace your pattern pieces using tracing paper, being sure to write the pattern information and markings on the tracing as well. If you’d like to adjust the length, I’d suggest cutting your tracing at the line where the top and bottom parts of the tunic were divided on the pull out sheet and either slide them together for a shorter tunic or pull them further apart for a longer tunic or short dress. For lengthening, once you pull the pieces apart where you’d like them to be, tape a new pieces of paper behind the pattern pieces and draw new side seams by blending the lines together. For shortening, slide them together and tape, then draw new side seams by blending the lines together. I decided to shorten mine by just a bit. Remember to adjust both the front and back pieces by equal amounts. Trace your size according to what you selected being sure to transfer any markings.

I should mention that you might want to cut into muslin or a cheap fabric before diving into the good stuff. You’ll be able to get a good feel for the sizing and shape by simply cutting out the front and back pieces and basting them together using a 1/2″ seam allowance. It wouldn’t take too long to do, so I’d definitely recommend it. After making any adjustments or alterations you can go confidently and cut into your chosen final fabric.
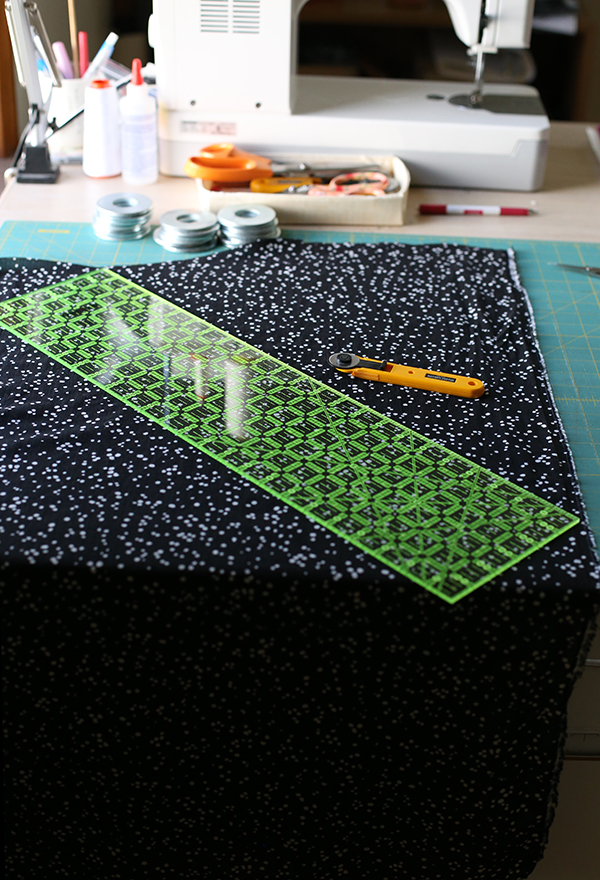
Now that the pattern pieces are all set, you can cut out the pieces. Find the cutting layouts on page 143 of the book, depending on what size and fabric width you have selected will determine which is the best way to place the pieces. I prefer to lay the pieces out on my large self-healing cutting mat and cut with a 28mm rotary cutter using some large washers I picked up at the hardware store for weights. Back when I sewed with my mom, we would lay out the pieces and pin them to the fabric, then cut with a dressmaking shears (or pinking shears). Either way works, so do what’s comfortable for you. You’ll want to make sure you mark any markings with tailor’s chalk or a water-soluble pen. For the notches, use a sharp scissors snip at a 90-degree angle into the seam allowance by 1/4-3/8″ or so. Be sure to mark the placket rectangle, I would suggest cutting out the rectangle from the pattern piece you traced and marking those lines on the wrong side of the placket piece. Also mark the casing placement line on the right side of the fabric by folding the pattern piece up and out of the way.
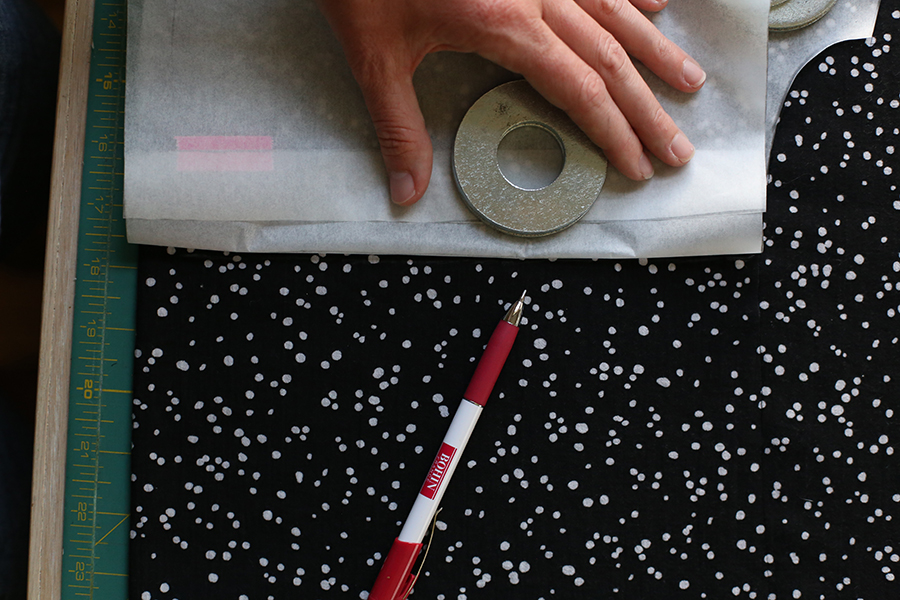
[Transferring the waist casing marking]
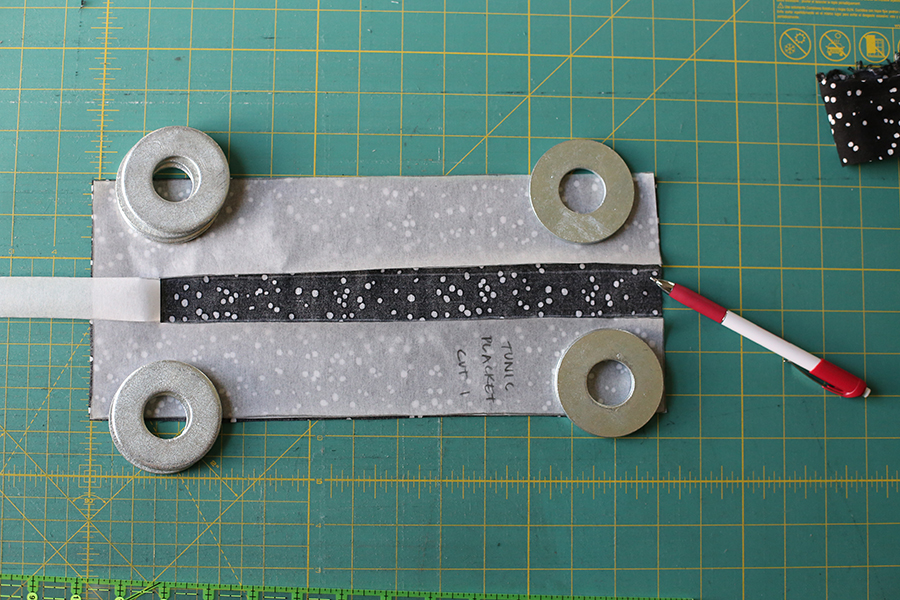
[Transferring the placket marking]
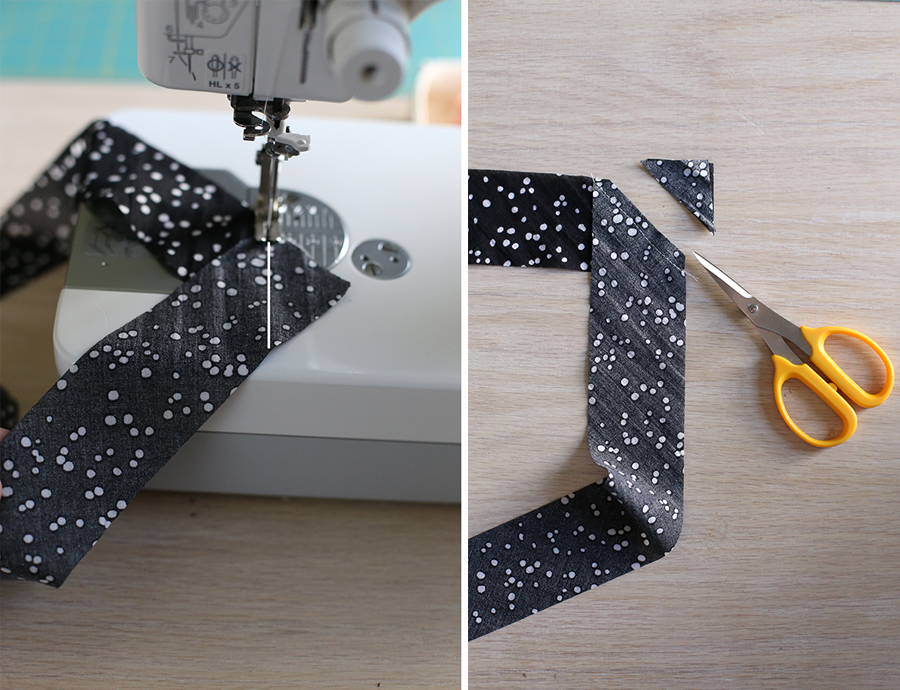
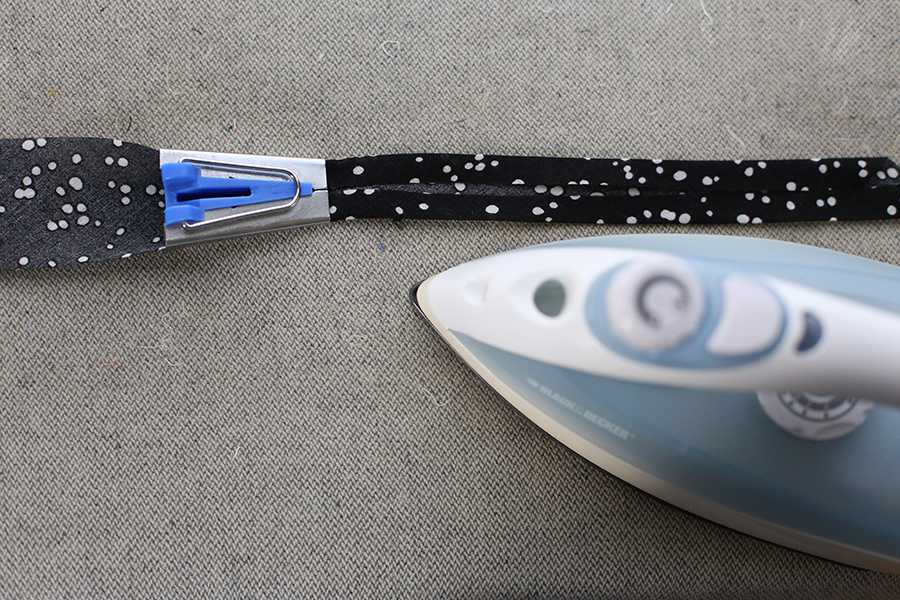
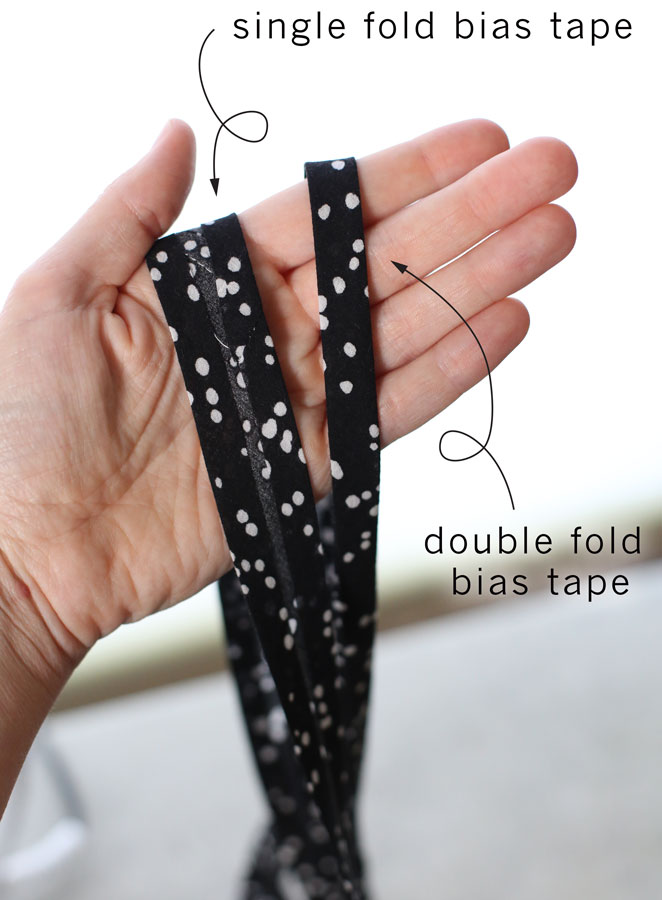
Don’t forget to cut the 2″-wide bias strips and the drawstring pieces before you put anything away! I somehow always forget to do that no matter what garment I’m making. Follow the instructions on page 62 on how to make 1/2″ wide double fold bias tape for the neckline and 1″ wide single fold bias tape for the hem. Here’s a few pictures to show you my process:

Okay, so that wraps up the pattern tracing and cutting! I usually fold each pattern piece in half with the paper pattern still on top so as not to get confused which piece is what when it comes time to start sewing. So tuck them together and set them aside. You’ll be all set for next week!
Sew along notes: I’ll be spreading out the posts to be once a week, which will hopefully be a nice amount of time to get through each step as well as being easy to get caught up in case your schedule is full this summer! And of course feel free to work at your own pace, the posts will be permanent here on my blog, so reference them any time you need. If you have any questions please let me know in the comments below.
Handmade Style Tunic Sew Along – Day 1
If you still need a copy of my book, you can purchase a copy of Handmade Style at your local quilt shop, Joann’s, local bookstore or Amazon. Or, check with your local library, too.