tutorial

modern tealight holder tutorial

In the mood for a little something different? Well, Melissa from The Polkadot Chair asked me to guest blog and this is what I came up with!

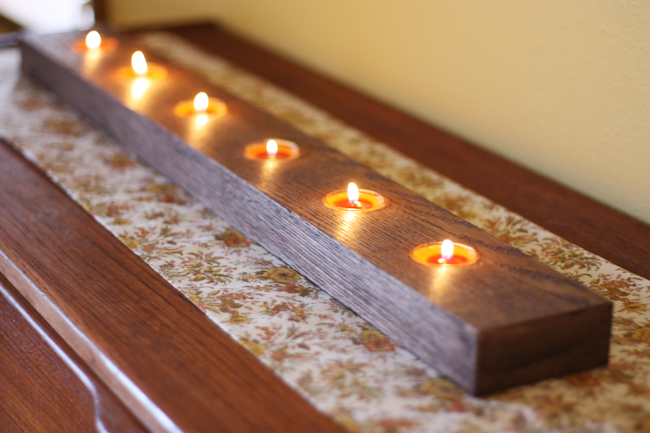
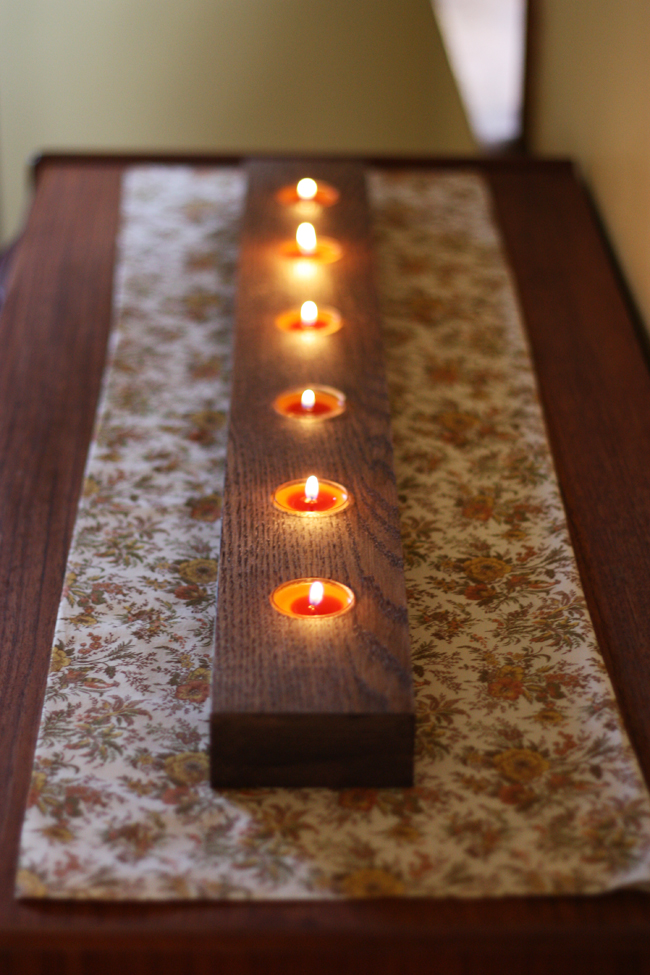
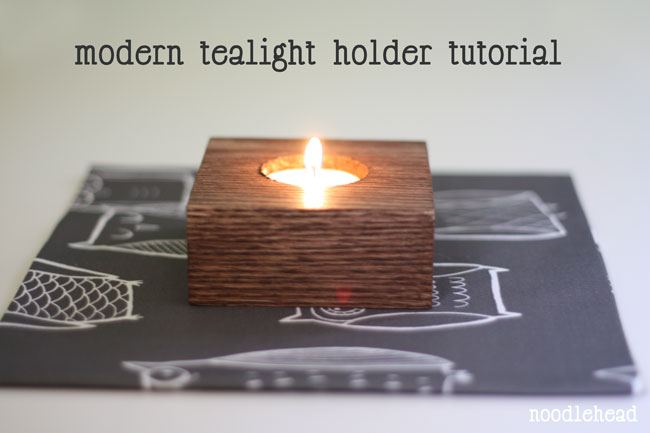
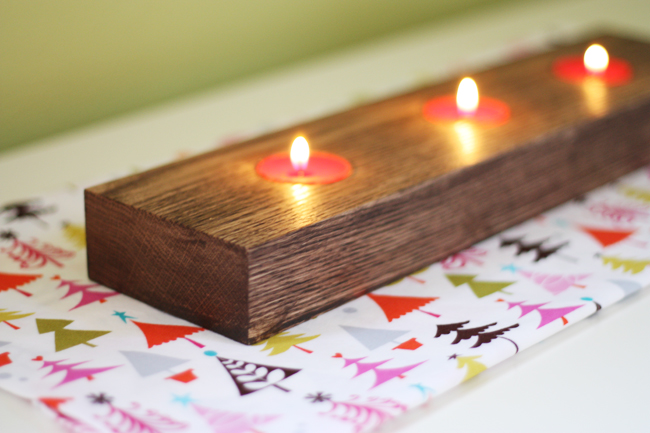
I think this would be a great addition to any decor. I made one for my dining room table for thanksgiving, one for Christmas, and single one just for fun!  Make it any length to suit your space, add your favorite tealight, and you’re all set!
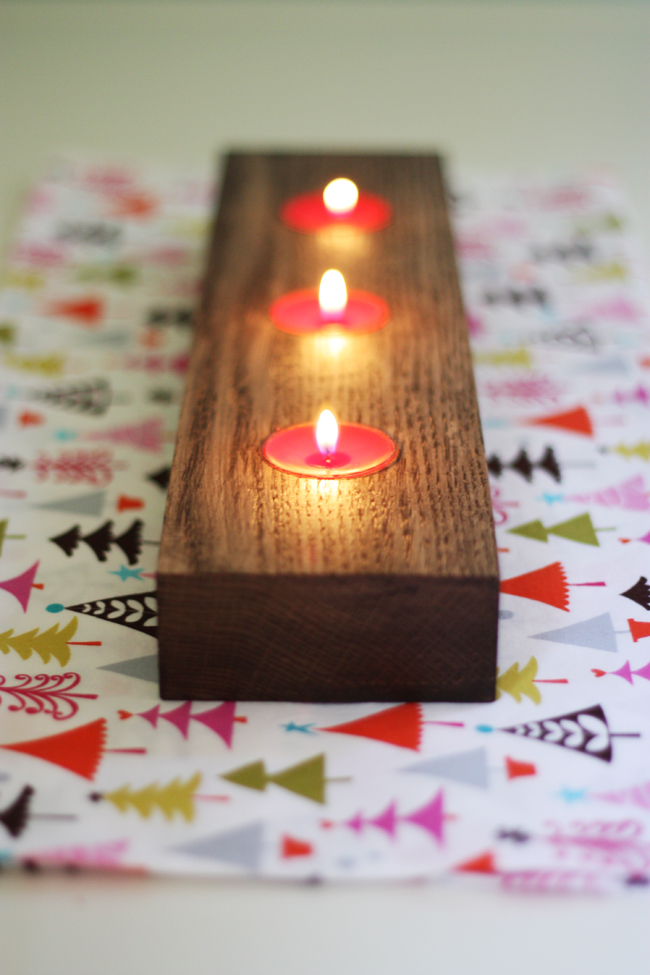
And if you’re writing your Christmas to-make list, I think this would be such a fun present or a great hostess gift.
Stop by The Polkadot Chair and check out the full tutorial HERE!

(ps. I don’t think it could look any better with my Grandma’s fabric she gave me, perfect for Thanksgiving!)

Bags, Wallets, and Zips

scrappy make-up pouch tutorial

{Just re-posting this tutorial today in case you missed it over at A Lemon Squeezy Home a few weeks ago}

I’ve made tons of these little zippered pouches and I think they’re so useful and can be personalized in so many ways.  Plus, they’re super handy when it comes to organizing your purse (or at least make you look like you have an organized purse).

I know there are a ton of other zipper pouch type tutorials out there, but I thought it would be fun to share how I make mine.

Materials needed:

  • fat quarter or 1/4 yard linen (or any solid fabric would look great, or for that matter just use what you love)
  • fat quarter of 1/4 yard of lining fabric
  • small scraps varying heights by 5″ long
  • scraps of cotton quilt batting (or you could also use fusible fleece)
  • 8″ zipper (or longer, just follow instructions on the package to shorten any zipper)
  • thread

{1/4″ seam allowance throughout unless otherwise noted}

Cutting the pieces:
From the linen cut: one piece for the back 9.5″ wide by 8″ tall, and two pieces for front side panels 2.75″ wide by 8″ tall
two pieces of lining 9.5″ wide by 8″ tall
two pieces batting 9.5″ wide by 8″ tall

Assembling the front:

Sew scraps RIGHT sides together until you have a pieced fabric measuring 5″ wide by 8″ tall.  Press seams to one side.

Next, you’ll sew each of the side panels RIGHT sides together to each side of the scrap panel, press towards sides.

Add any quilting details (optional):
Here’s where you can add some fun quilting details.  You certainly don’t have to and most of the time I don’t do this step, but it can add a lot of interest to your pouch.

Layer the front piece you just created WRONG side facing down on top of one piece of batting and quilt away!  On the examples I’ve shown I’ve sewn a straight line down one side of each scrap panel seam.

Assembling the pouch:

Place exterior RIGHT side up, put the zipper face down with the pull tab at the left.  Place lining piece RIGHT side down on top of that.

Pin and sew using your zipper foot.

Flip those fabrics WRONG sides together to get them out of the way.

Next, lay the remaining exterior piece RIGHT side up, align the zipper with the top edge zipper face down with pull tab at the right this time.  Place lining piece RIGHT side down on top. Pin and sew.

Flip fabrics WRONG sides together on both sides of the zipper.  Press.

Switching back to your regular sewing foot, top stitch next to the zipper on each side.

Now flip fabrics around so that the exteriors are facing RIGHT sides together and linings are facing RIGHT sides together with the zipper in the middle (you won’t be able to see the zipper, just know that it’s there).  Pin and sew around the whole perimeter using a 1/2″ seam allowance and leaving a 3 to 4″ opening in the lining for turning.

You could be finished at this point, but we’ll take it a step further and box the corners so this baby can stand up on it’s own!

Boxing the corners:
Put your hand in through the opening of the lining and pinch the exterior fabrics corners together aligning the seam.

Finger press the seams open and with a ruler mark a line perpendicular to the seam 1.25″ from the tip of the corner.

Mark the line with a water soluble pen and sew along that line.

Clip corner leaving a 1/2″ seam allowance.  Repeat for other exterior corner and both lining corners.

Finish:
Turn pouch right side out through opening in lining.

Sew the opening in the lining shut with a very small seam allowance or hand sew, it’s up to you.  Push the lining into the pouch and you’re done!  Fill with whatever goodies you need, zip shut, and stash it in your purse.
tutorial

fleece neckwarmers tutorial

In honor of duking it out in the ring with the knitters, I’m trying to hold our own in the sewing realm for the Comfy Sews vs. Cozy Knits battle going on over at Luvinthemommyhood.

Kept this one super easy and fun.  Really, it’s the easiest project known to mankind.  I think both my daughters could make them (maybe with a teensy bit of help).

Hop on over to check out the tutorial!

This is a great project to sift through the fleece remnant bin, plus I can think of a million different fun ideas to reverse applique into both the neck warmer and the scarf! 

ps. I’d also like to mention Emily wore her neck warmer ALL day today, including nap.  yay!