decorate

my living/dining room

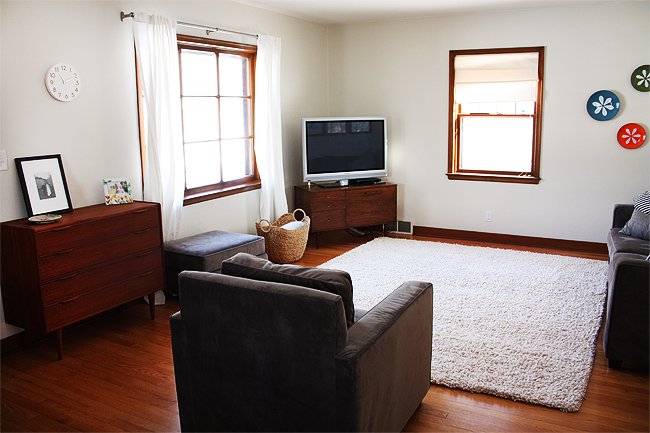
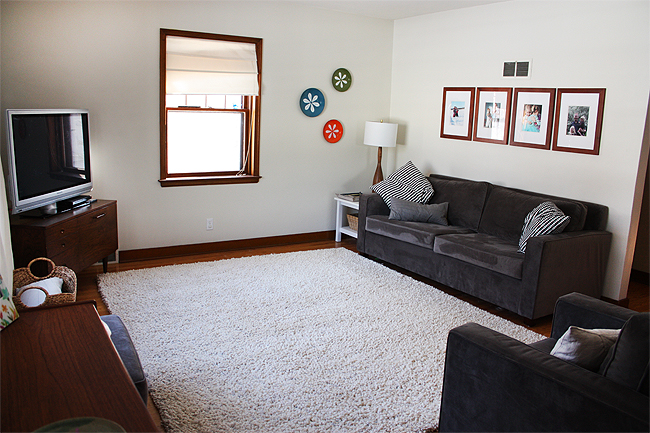
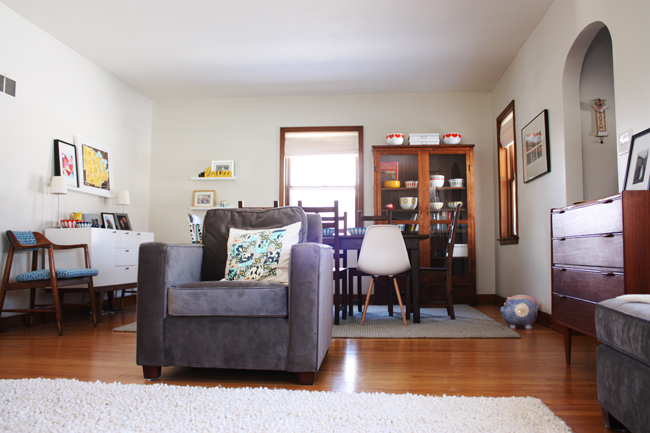
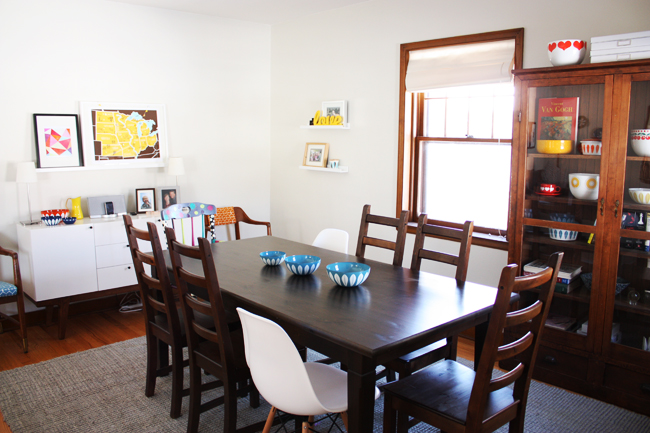
Hey everybody, since I’ve been busy plugging away at my swoon quilt, there hasn’t been much other sewing going on.  So I thought it would be fun to finally take pictures of my living and dining room area.  I bought a new couch and chair and rug from west elm last summer and have been slowly getting things finished, so I thought it would be fun to share it today.  I still have some colorful pillows to make for the couch and chair, but other than that I think it’s pretty much done.  Let me know if you have any questions and I’ll answer them in the comments.  We live in a 1 1/2 story house built in 1951, so I feel really lucky because it has tons of character, as well as really drafty windows.  Here we go:


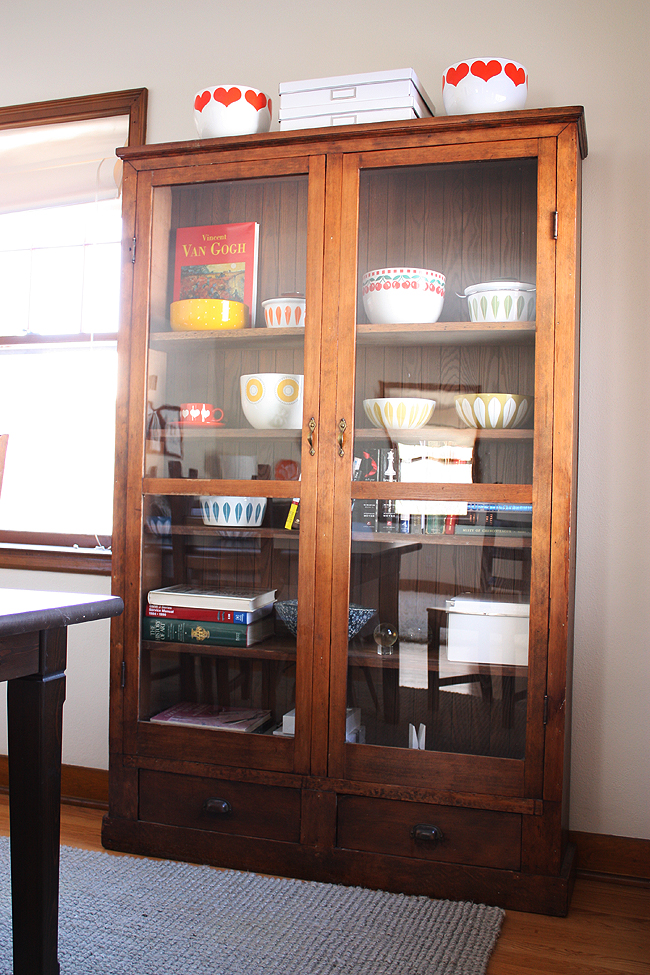
This is a cool cabinet that I found last fall at an estate sale, perfect for my collection of cathrineholm and kaj franck goodies.

That’s all for now, hope you have a great weekend!

decorate

modern tealight holder tutorial

{Just re-posting this here in case anyone missed it, previously shared my tutorial on Melissa’s blog the Polkadot Chair}

I thought I’d share an idea that’s a little something different than what I usually do. 

We’re at the point where I can keep a candle around and it won’t get eaten or destroyed, and I wanted something to put on my dining room table for Thanksgiving this year, or any holiday for that matter. So here’s a fun woodworking project that you could definitely accomplish on your own (or for more fun, make it a project with your hubby)!

 All you need are a few basic tools and a few supplies:
1 2×4 piece of quality lumber (I used oak from my local home improvement store)
power drill
220 grit sand paper
1.5″ spade bit
stain
tea lights
1.  Cut your lumber to the length you desire.  I know a lot of home improvement stores can cut lengths of lumber for no charge, so just ask.  Or you could use your own chop saw or borrow a neighbors.  I cut mine to different lengths because I wanted to make some as gifts.  The long version is 30″ long, medium is 15″, and the single square one is 3.5″ square (yes, I should mention that even though lumber says it’s 4″ wide, it really means that it’s about 3.5″ wide – so just keep that in mind).
2.  Drill tea light holes.  Mark your spade bit depth.  Using a piece of blue painters tape.  Mark on the bit how deep you want the drill bit to go, that way when you’re drilling, you’ll drill until the tape is level with the wood.  This will make all your holes the same depth. 
Mark with a pencil where you want your holes to be.  I actually just ‘eye-balled’ all my markings and went for it, but I think you take the length of the piece and divide it by one more than the # of holes you’d like.  Remember measure twice and drill once!  Now with your spade bit attached to your drill, drill the holes.

3. Lightly sand down any rough areas with 200 grit sand paper and wipe off any sawdust.
4. Stain using manufacturer’s instructions.  I used a Gel Stain and wiped it off fairly quickly so the stain didn’t penetrate the wood too much.  I wanted to be able to see the grain of the wood still.  Let dry, pop in your tea lights, and enjoy!  Don’t worry if the depth of the holes varies a little, I ended up putting a little folded piece of paper underneath some of the tea lights to make them level with the wood, just do what works for you!
That’s all!  I think it would look beautiful with any color tea lights and even the white tea lights for a non-seasonal look.
ps. Just thought I should add to make sure to keep small children away from burning candles and matches and never leave a burning candle unattended, but you already knew that.  🙂
12