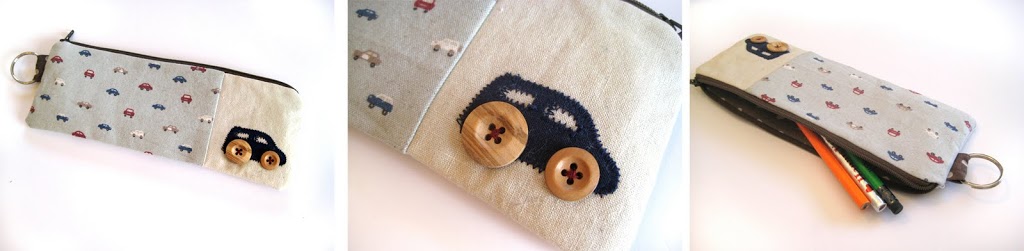
Who loves zippers??! I know you all do! Time for another cute project. There’s just enough time to whip up a couple and add them to your Christmas stockings…
Here’s what you’ll need:
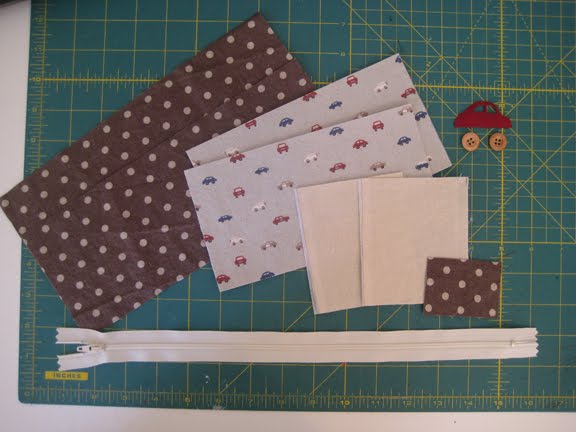
linen scraps, 2 pieces cut to 3.5″ w x 4″ tall
main fabric 2 pieces approximately 7.5″ w x 4″ tall
lining fabric 2 pieces 10.5″ w x 4″ tall
scraps for applique car (or whatever design you want to come up with) and two buttons
an 11″ zipper or larger
scrap of fabric 3″ wide x 2″ tall and split key ring (if you plan on adding the key ring)
{1/4″ seam allowance throughout}

First, grab your scrap of fabric to make your key ring loop. Fold it in half with right sides together and sew. Turn right side out and press with seam in middle. Set aside.
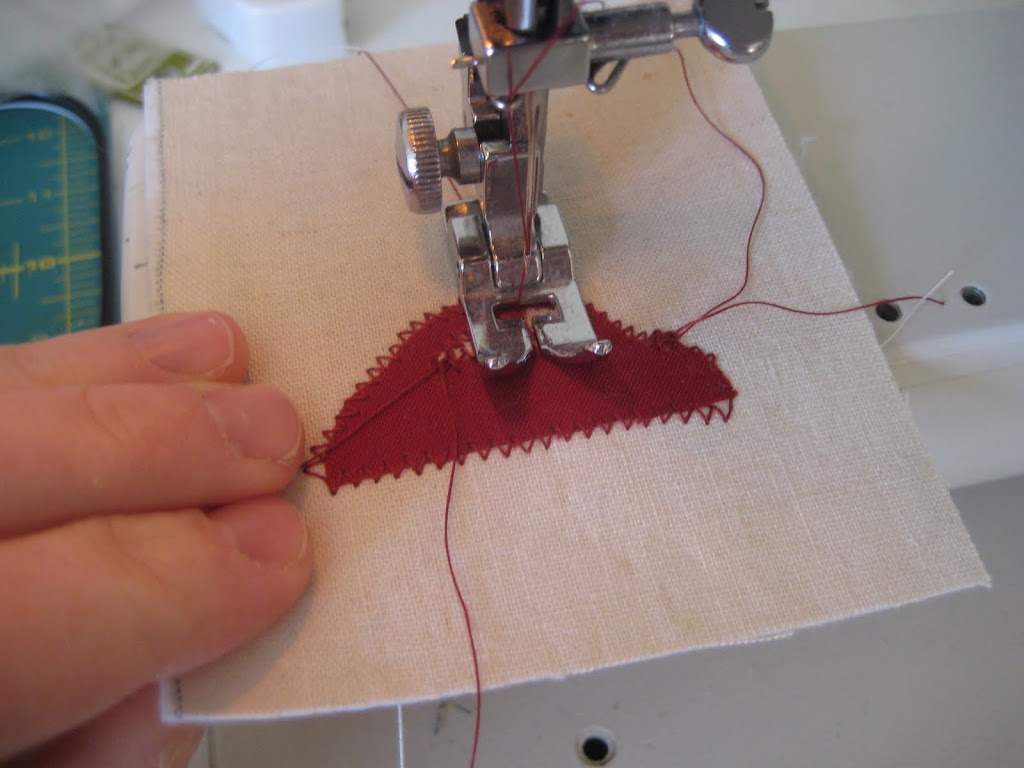
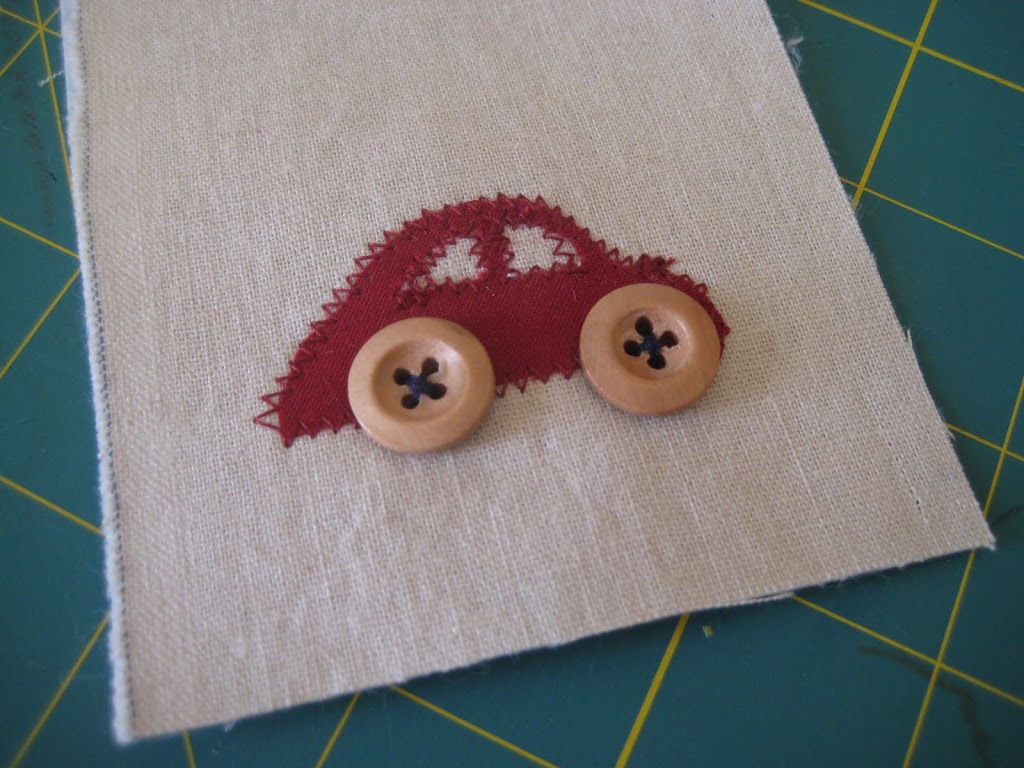
Take one piece of linen and add your applique. I used fusible webbing and ironed it to my scrap pieces then cut them out with an exacto knife. Iron the applique to the linen. Sew around the edges of the applique with a small zig zag stitch. Sew on buttons for the car’s wheels.
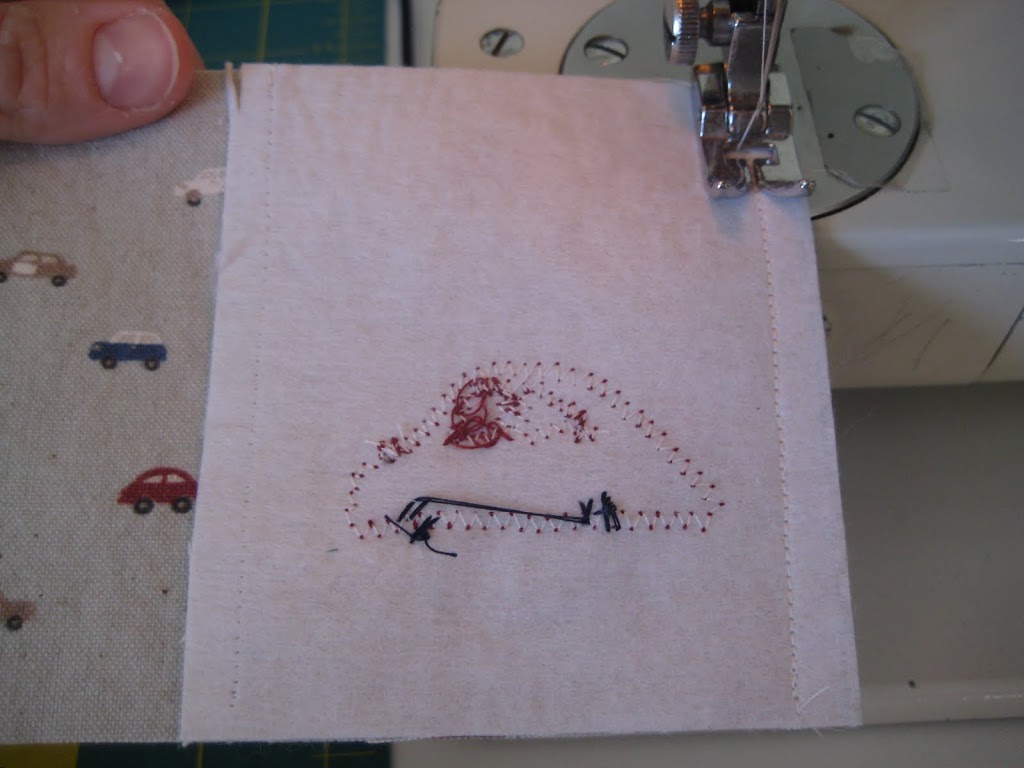
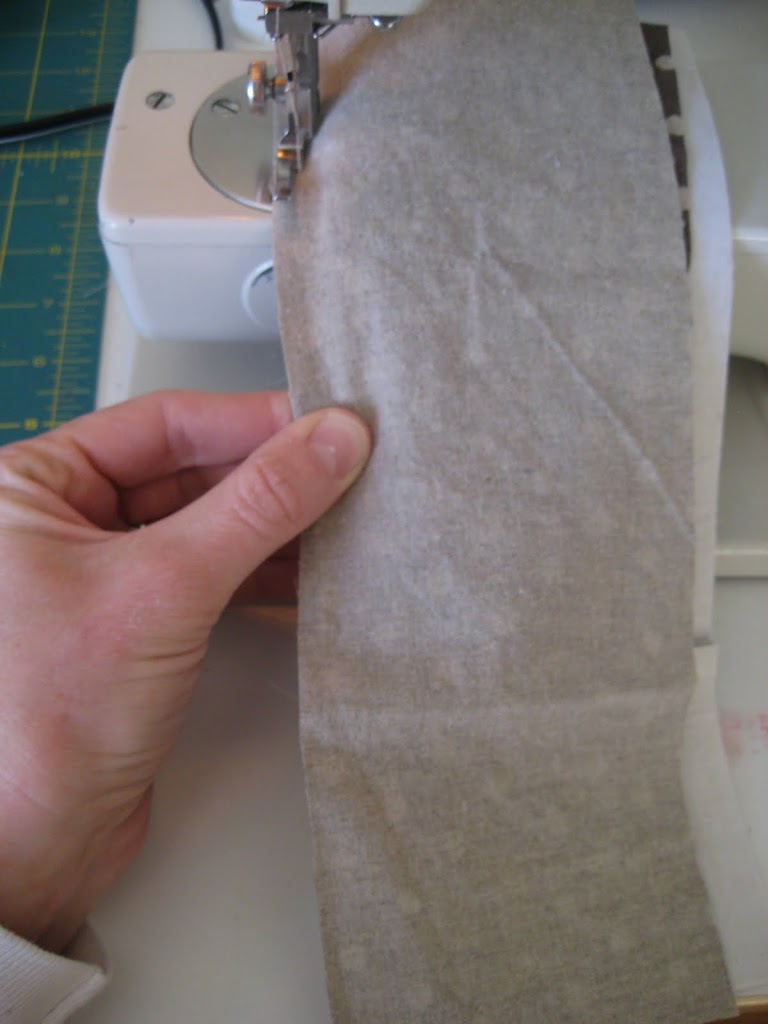
Then, take one main piece of fabric and the piece of linen with the applique on it and place them right sides together and sew.
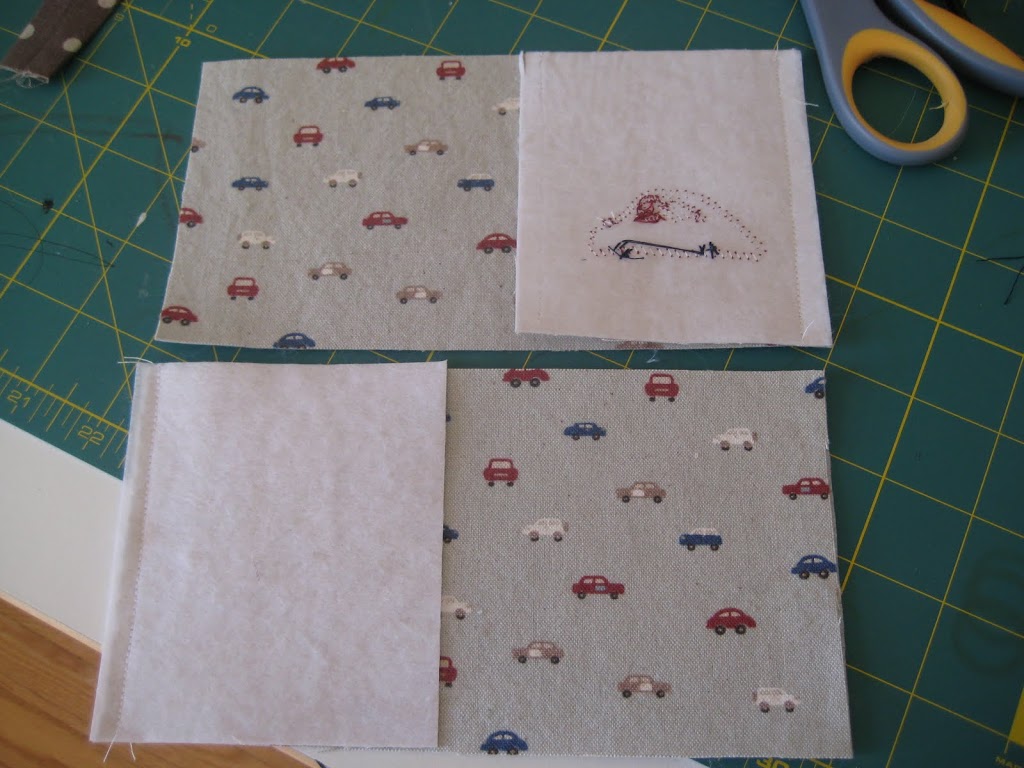
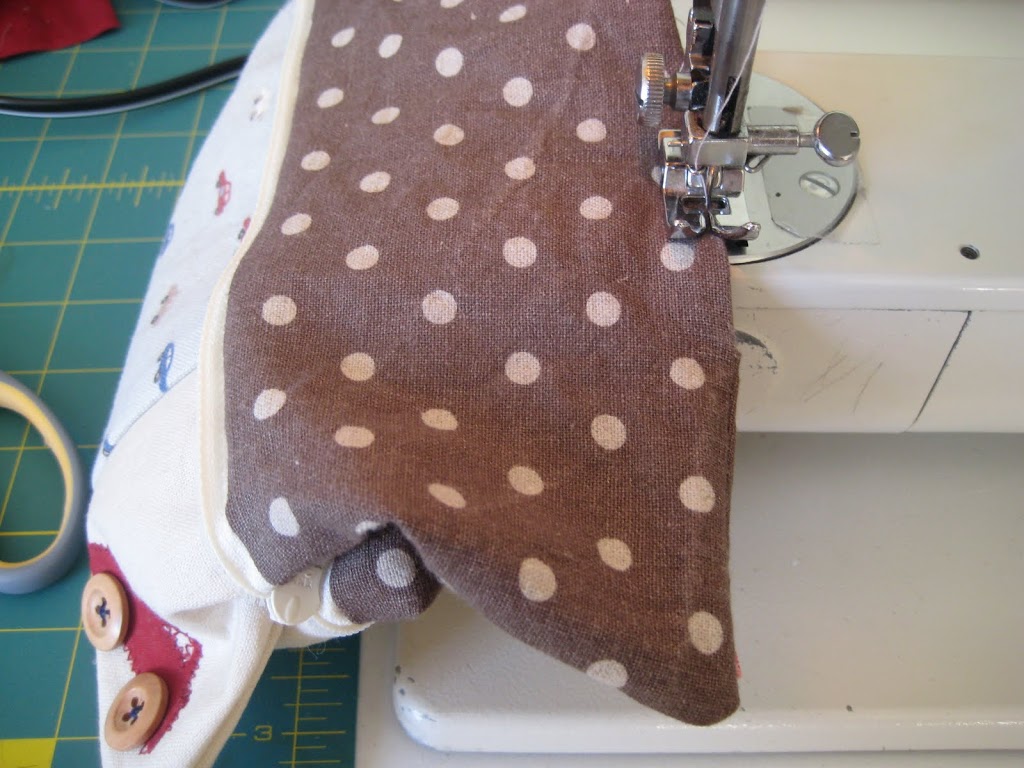
Take your other main piece of fabric and remaining piece of linen and sew with right sides together. Make sure if you’re using a print with an obvious direction (like I have here with the cars) to sew the linen on the other side than what you had sewn the piece with the applique on. {See above picture.}
Press seams to one side for both exterior pieces.
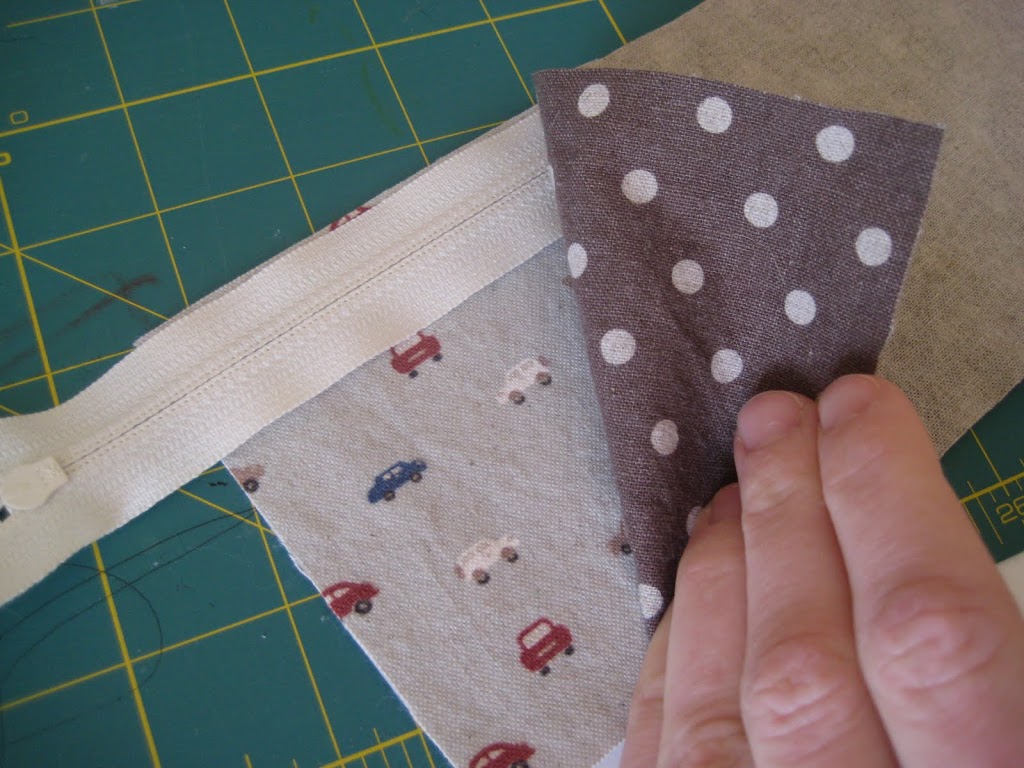
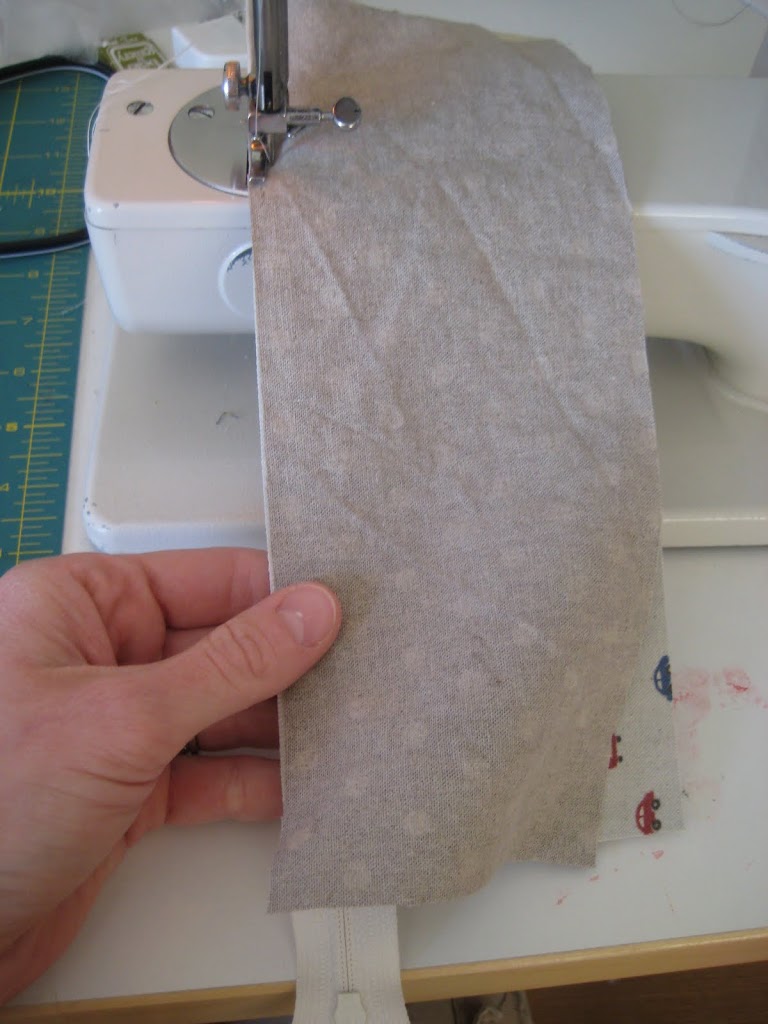
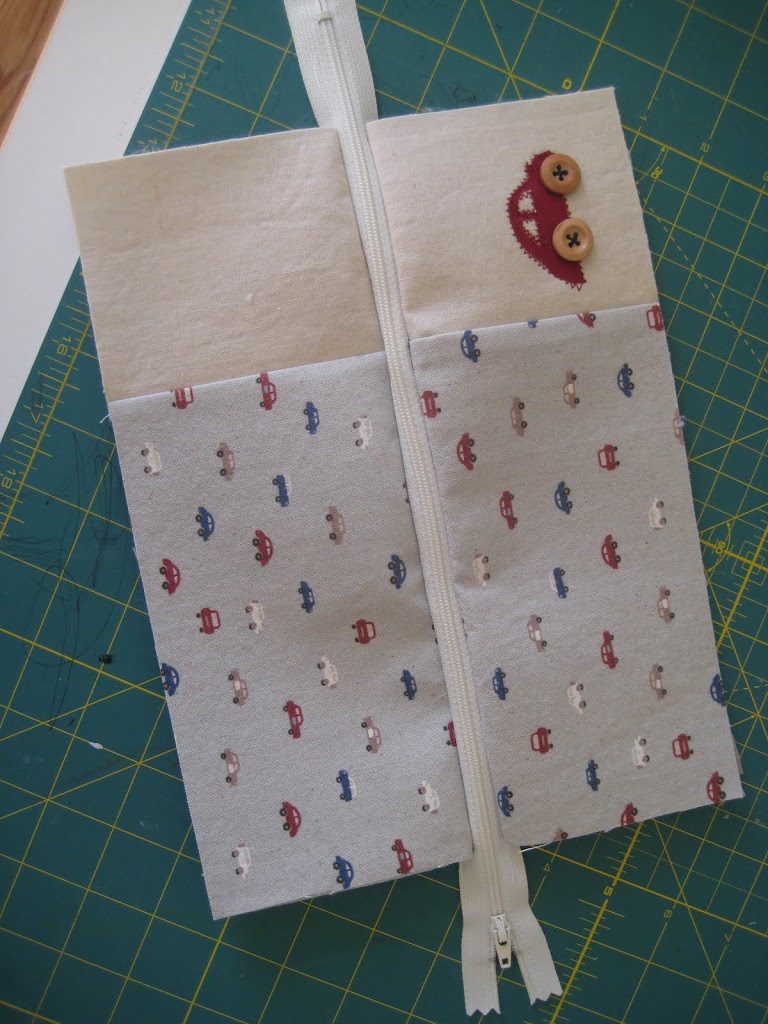
Now onto the fun part! Take your piece of exterior fabric and place it on your work surface right side up. Lay down your zipper along the top edge with the zipper facing down and pull tab at the LEFT. Then place a piece of lining fabric right side down on top of the zipper. Sew using a zipper foot. Flip so wrong sides are facing each other.
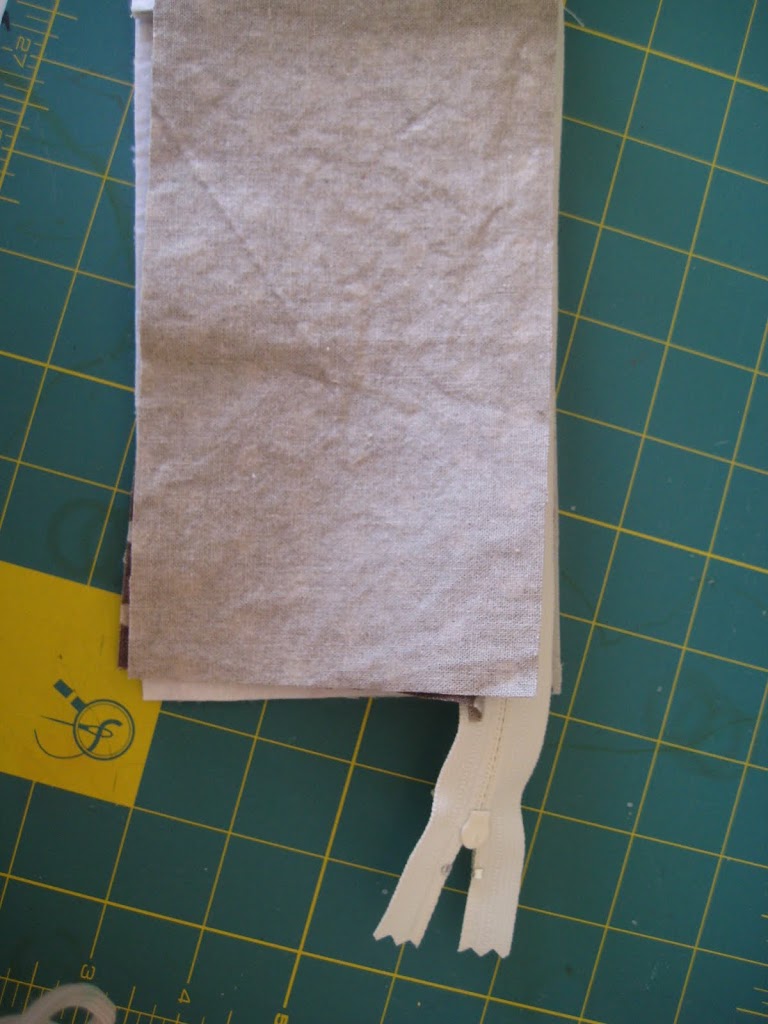
Next put down the remaining exterior piece right side up, take your zipper and place it along the top edge with the zipper teeth facing down and the pull tab to the RIGHT. Place the remaining lining piece right side down on top of the zipper. Sew using a zipper foot. Flip so wrong sides are together and press. You should now having something that looks like this:
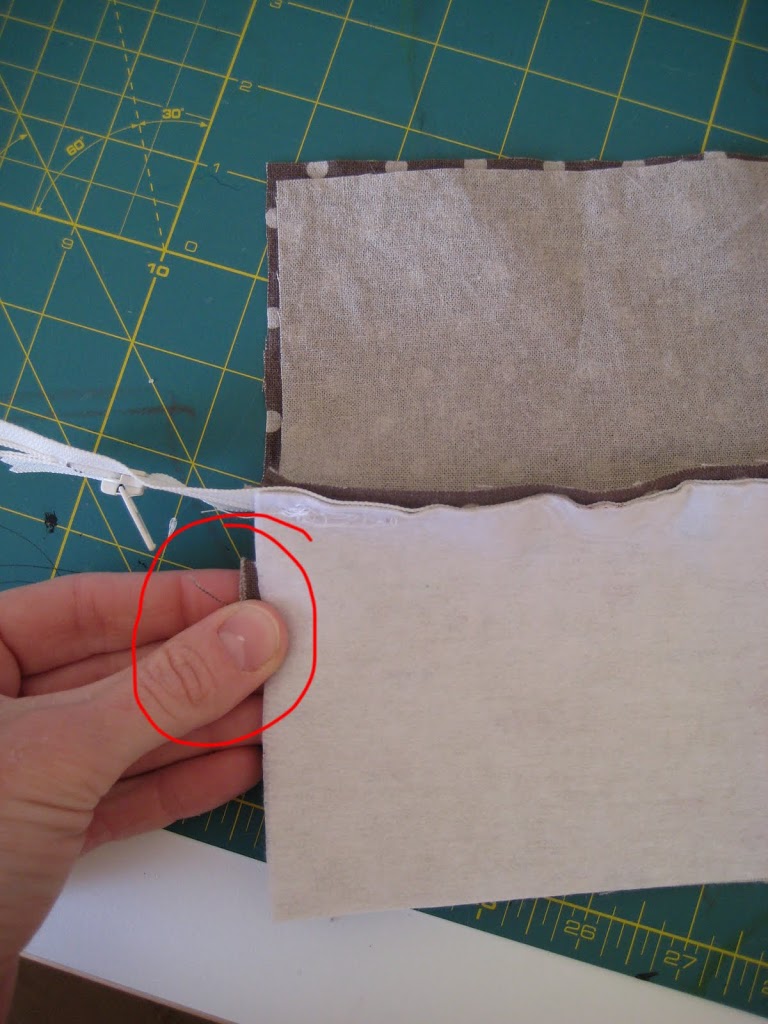
Now’s a good time to open up your zipper about half way. Tuck in your key ring tab on the left hand side between the exterior fabrics with the raw edges facing out and pin.
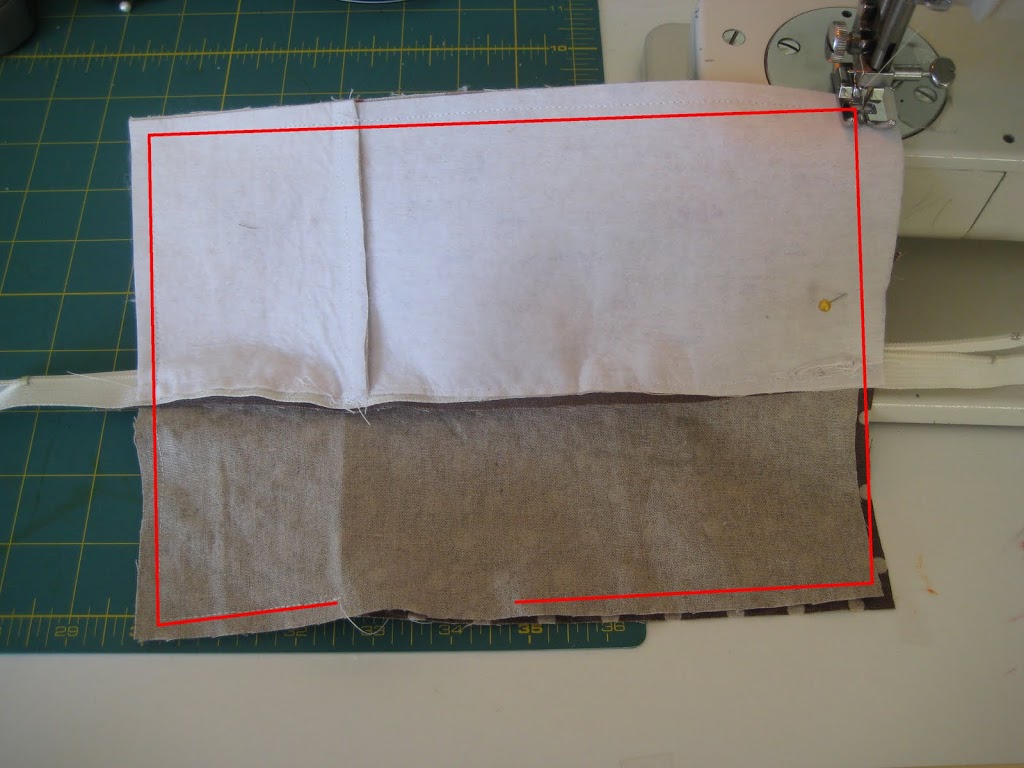
Now you’re going to sew along the entire perimeter except leave a 2-3″ opening in the lining fabric for turning. Clip corners and trim ends off the zipper so that they’re almost flush with the edges of the pouch. Pull right side out through the hole in the lining.
Sew the opening in the lining shut by hand or with a very small seam allowance. Push the lining into the pouch and press! That’s it!
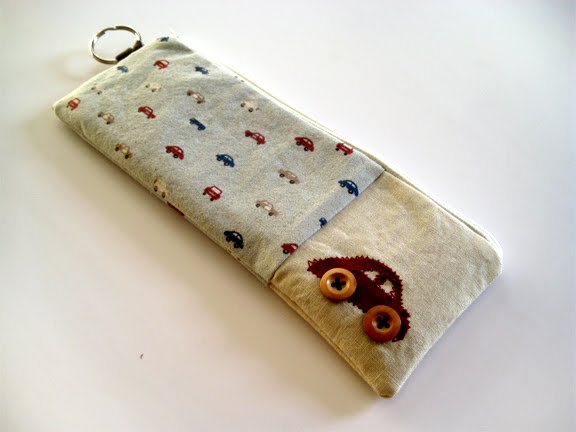
Let me know if you have any questions, I’d love to see what you make.