Hi everyone, hope you had a great weekend. Seems like lots of the US is having unseasonably warm weather this spring! Of course it’s been keeping me busy outside enjoying the sun and the sounds of the neighborhood. I thought it would be fun to share a little sewing technique I’ve picked up along the way. Nothing groundbreaking or earth shattering, but useful nonetheless.
I love using piping in projects. It’s won my heart in a similar way as bias tape. I love that you can add a bit of color here and there and still keep things clean and classy. I’ve often mentioned in my patterns and tutorials that you can use handmade piping, but haven’t ever gone into significant detail about it, so here we go.
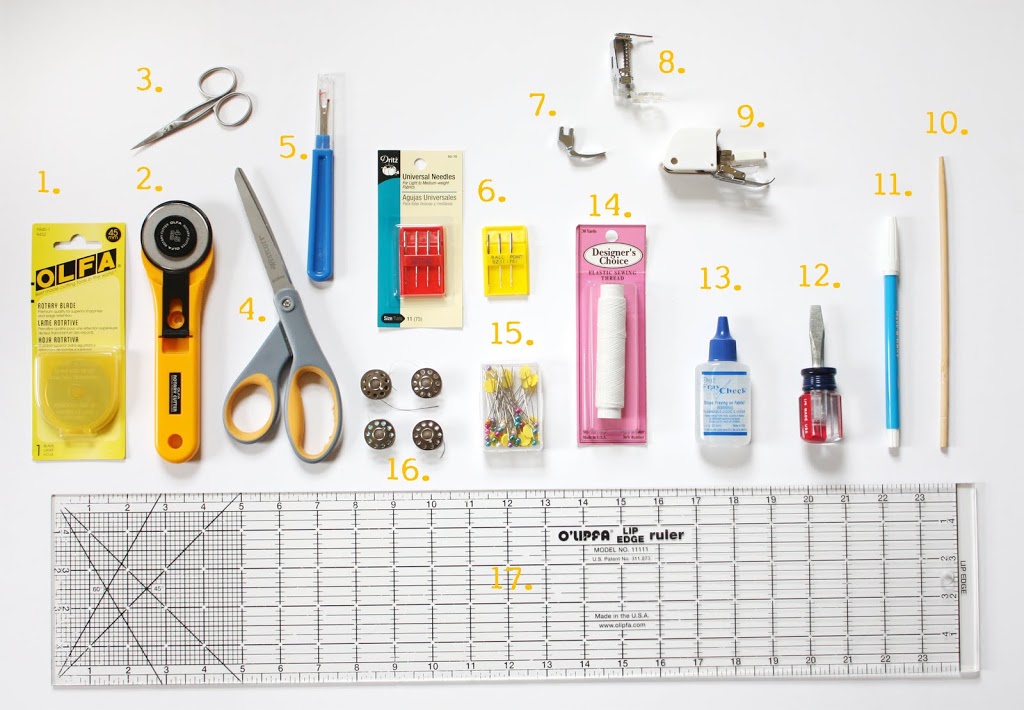
Materials:
- fabric, a fat quarter works great!
- 1/8″ wide cording (or in my case some thin rope bought at home depot – hey, it does the trick!)
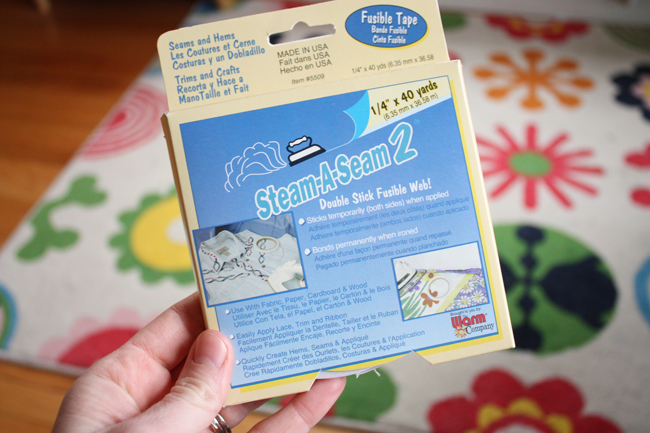
- steam-a-seam double stick fusible web tape (mine was 1/4″ wide)
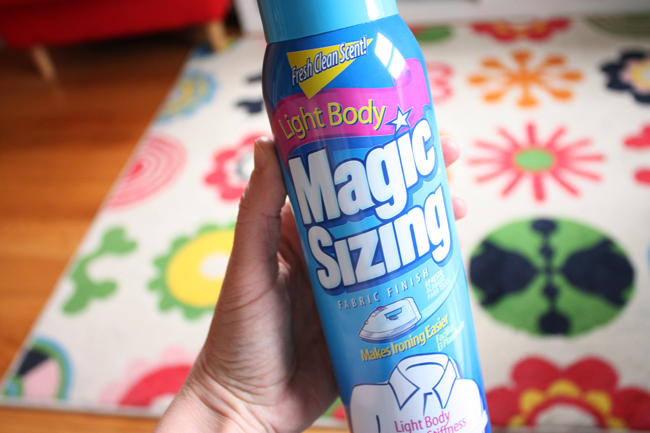
- spray starch
First you’ll want to cut your fabric on the bias (in other words a 45 degree angle to the selvage edges).
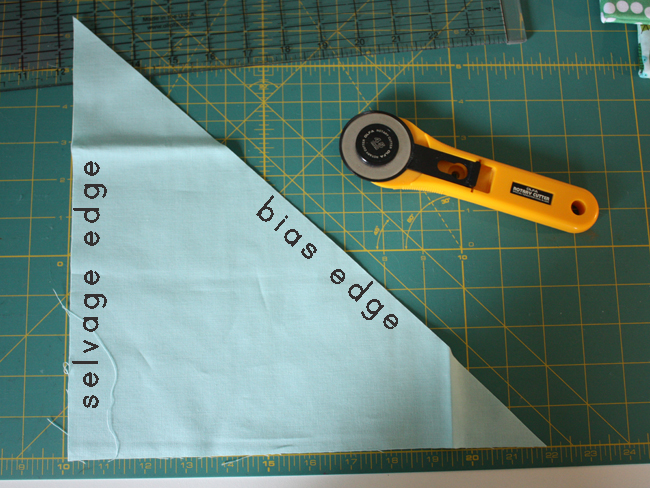
There are techniques to make continuous bias tape (from a fat quarter – love that!) that you can use, but for me I like to keep it simple. And because of the fact that just about every time I try to make continuous bias tape I mess is up somehow and have to scrap it. A self healing mat, rotary cutter, and ruler work perfect for this, but you could also just mark the lines with a pencil and cut with your scissors. Cut the strips on the bias at 1.25″ wide if you’re sewing the finished piping into a 3/8″ seam (1.5″ wide for using with a 1/2″ seam). I should note that you wouldn’t have to cut the strips on the bias, especially if your final project used the piping on only straight or very slightly curved seams, but cutting on the bias will give you the most flexibility.
Joining the strips. Here’s where I like to spray a little starch and press the bias strips, keeps things in place and makes it easier to work with later on. Place your strips right sides facing at a 90-degree angle like so:
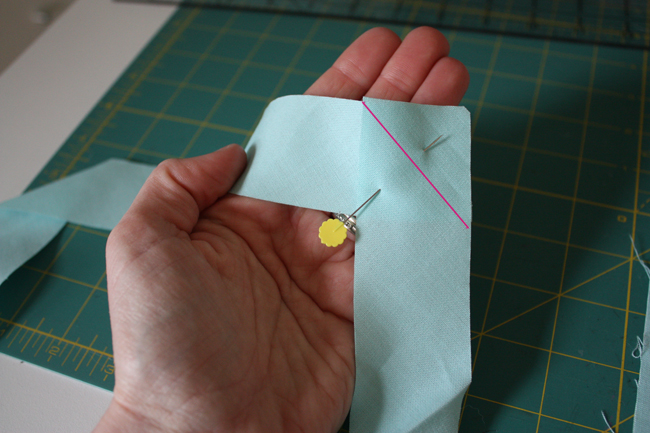
Mark a diagonal line, sew along that line. Trim the seam allowance. Press seam open (or to the side) your preference.
Now for the fun part. Instead of using your zipper foot, a basting stitch, and sewing the cording in place, we’re going to speed things up and in the process make it so you don’t have to worry about any basting stitches showing up later in your project.
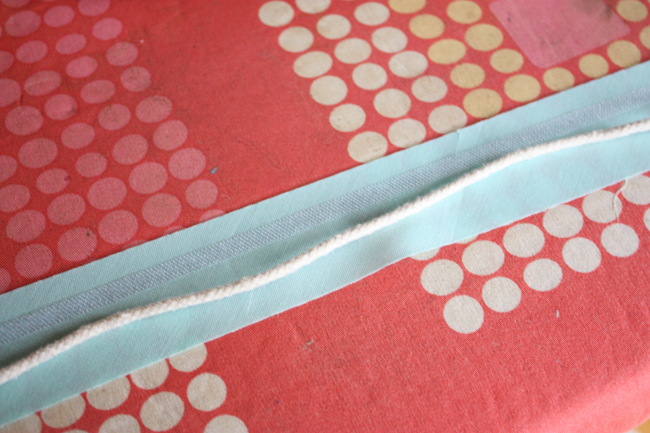
Just place your cording centered on the wrong side of the bias strip you’ve joined, tear off a length of steam-a-seam and press it down in place.
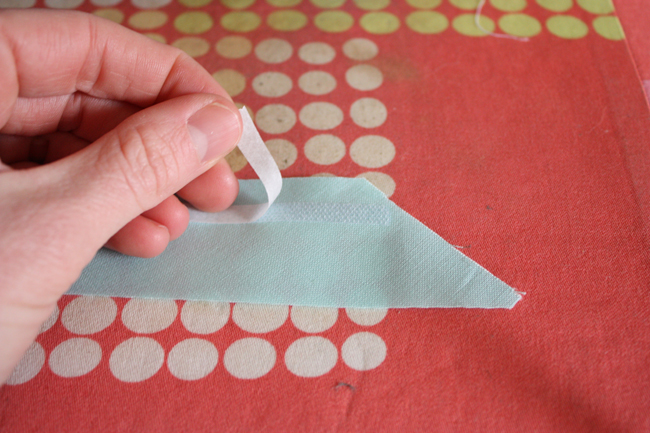
Peel off the paper backing. Fold over the bias strip and press in half with your iron, sandwiching the cording in the middle.
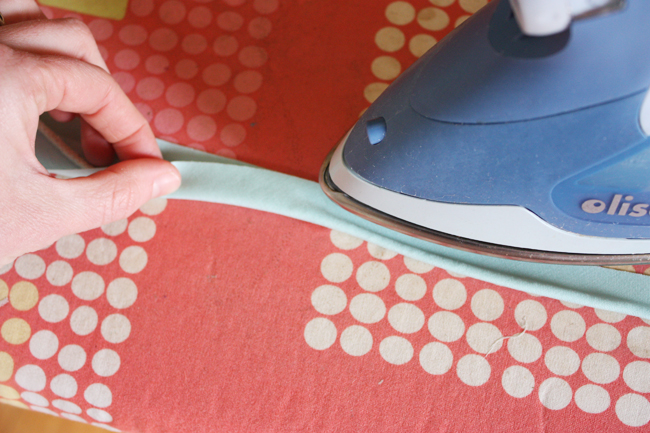
The fusible web holds everything in place. That’s all! Now go make some piping and add some fun to your next project!

Yay!