Techniques

caring for your handmade bag


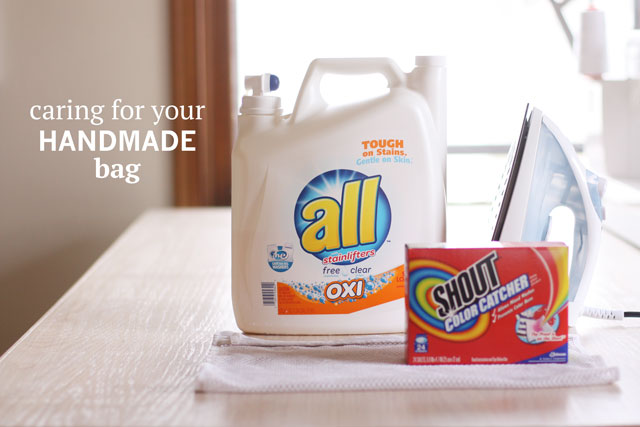
Once in a while i get asked about how I clean my handmade bags.  I wouldn’t say that I have it down to a science or anything, but I can offer some tips that might help you.  I don’t wash mine very often and usually only if there’s a huge spill on it or at the end of a season (I usually change mine with the seasons, don’t you?!).  I really like having the ability to put mine in the wash and freshen things up!

First, I don’t usually pre-wash my fabrics.  I used to all the time, but then it became overwhelming with piles of washed fabric sitting in the corner waiting to be pressed.  Pressing huge chunks of fabric is my least favorite thing to do.  So I gave up pre-washing (except for when I’m making clothes), but there are definitely a few things that I do that helps with anything that might go wrong in the first wash.  If you do pre-wash, you’re probably safe to wash the bag on the same setting as you did for the pre-washing.

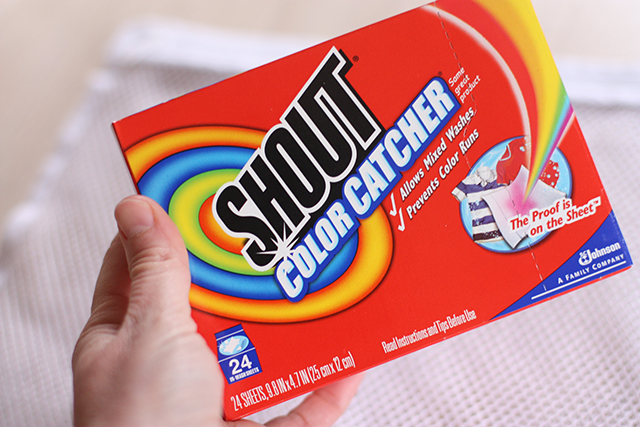
Use a color catcher.  I jumped on the color catcher bandwagon after seeing Jeni use them for her quilts. I end up using them a lot and it’s always fun to see what colors get sucked up by the little sheets.

They’re similar to a dryer sheet, but these you throw in the washing machine with whatever you’re washing and it grabs onto any colors that are leaking out into the water.  Sometimes I throw two in if I’m feeling especially cautious.  I’ve only used these Shout brand, but maybe there are others available?

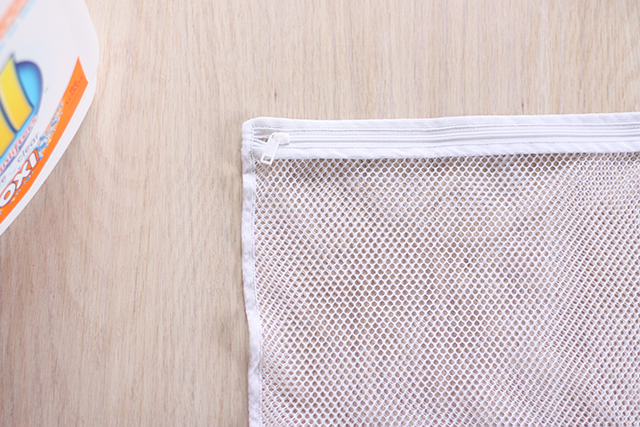
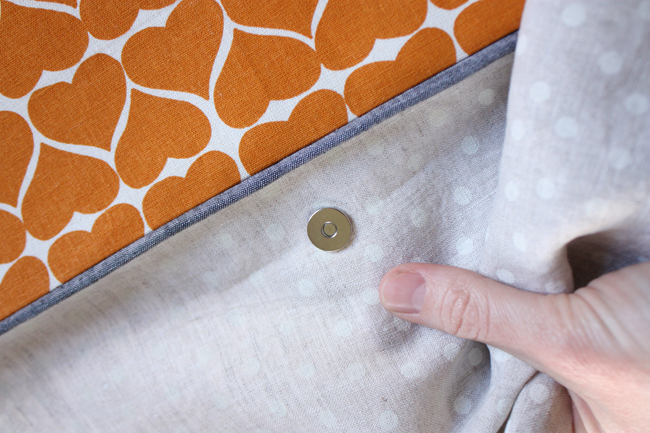
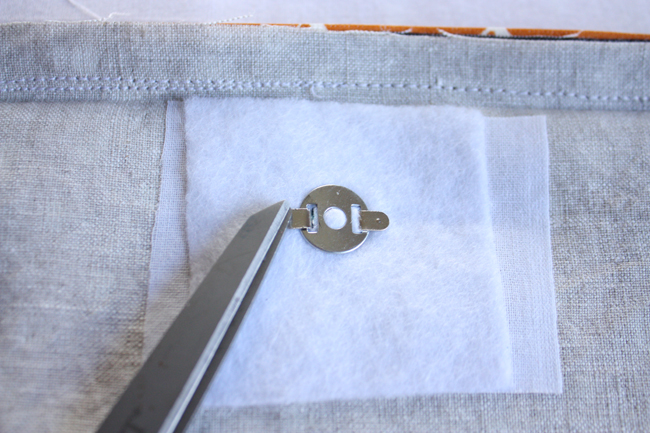
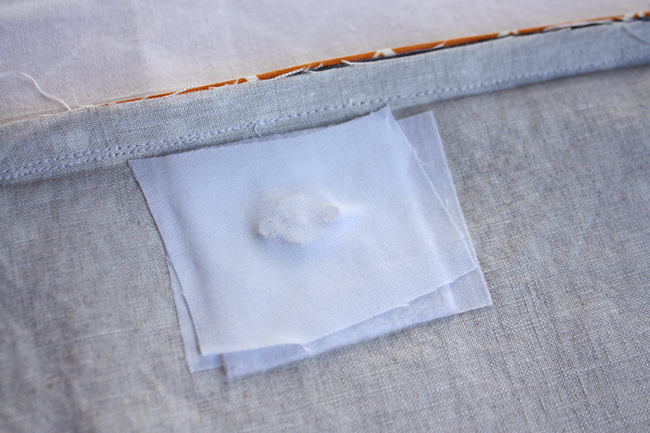
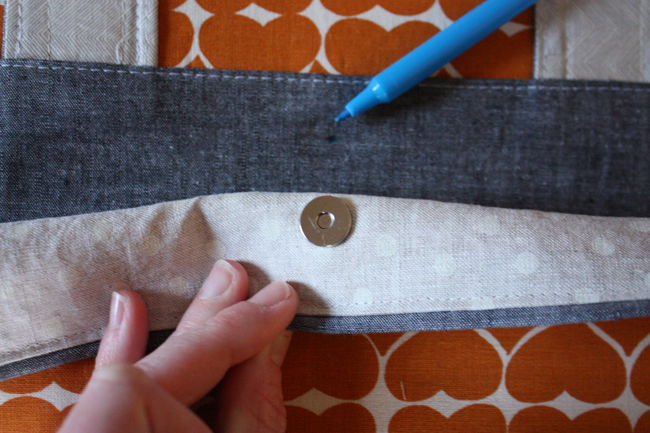
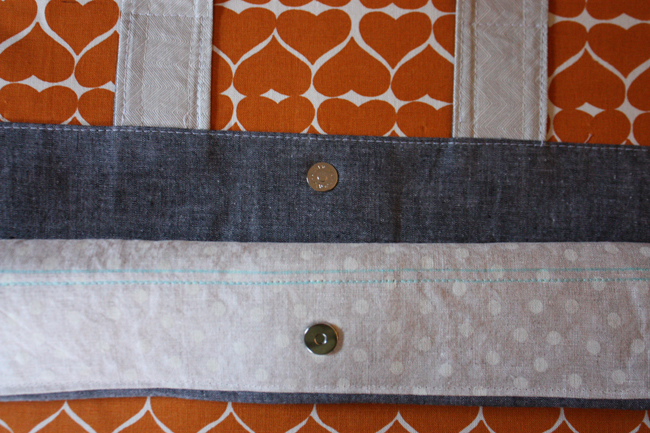
Use a Lingerie bag.  I’m sure you might already have these laying around or maybe you use them already.  It’s a zippered mesh bag used for washing delicate items.  I mostly end up washing my bags with a normal load of laundry and feel that the lingerie bag helps protect them.  Most of my bags that I’ve made have fit inside.  It helps to close any zippers, magnetic snaps or velcro strips before tossing in the bag.

Perfume/dye free detergent.  I exclusively use a perfume and dye free detergent.  But I think it’s always a good idea to use something gentle with handmade items.

Wash on cold.  Like I said before, I don’t pre-wash, so I think washing on cold would  help reduce any bleeding or shrinking and is definitely more gentle on fabrics.

Line dry!  I either lay them over a clothes line or lay flat on a dry towel.  I try and shape it back into it’s original shape and smooth out big wrinkles.  I wouldn’t dry a bag ever, just my two cents.  Plus if a stain didn’t come out, you’d have a much harder time getting the stain out if you dried the bag.

Press after it’s dry.  Whenever I’ve pulled my dry bags off the line they’re still not quite ready for using. Some are better than others, but I think a quick press with the iron in wrinkled spots really helps get that crisp look back.  I’d be a little conservative though on pressing, you don’t want it to shift any of the interfacing around.

Hope that helps a bit!  And don’t hesitate to ask questions, I’m sure if I don’t know, some other lovely readers might!

Techniques

sewing notions

I just thought it would be fun today to do a little round up of sewing notions.  And before I get too far, this isn’t a complete list or a review of anything, just more of a casual type thing I thought might be fun to talk about.  And I’d love to hear any interesting tips or tricks you’ve picked up along the way.  I love hearing things like “my grandma taught me how to use ___ and it works really great”.  I had posted about the Zipper Ease product on Instagram the other day and there were a bunch of you that told me other tricks to use on sticky zippers.  How awesome is that?

Might as well start off with this product called Zipper-Ease.  I was excited that it’s made in Michigan.  It’s to help zippers that are sticky.  I find that sometimes certain brands of zippers are stickier than others.  I’ve used it on a few zippers just to try it and I think it’ll be really great when that perfect color zipper I need just needs a little help.

Sewline Glue Pen.  I just found this in my drawer of goodies.  I think I had purchased it when I was doing more paper piecing.  I’d love to know what you use it for.  Seems like a really great product.

Marking Tools. [Clockwise from top] My Hera Marker gets used fairly infrequently because I don’t do a ton of quilting.  I’ve used it a lot recently with my Cargo Duffles.  It’s great because it just leaves a crease for you to sew on.  Nothing to wipe of afterwards and for me it’s pretty easy to see where the marking is.  Next up is Clover Tailors Chalk, this one is new to me.  I’ve needed a light colored marking tool for a long time now and I think it’ll be perfect.  I purchased a Sewline Styla water soluble pen a few months ago.  I like the smaller point and how smooth it rolls.  I don’t think the color is quite dark enough sometimes, but other than that it’s been working great.  Last up for my marking tools is my Mark-B-Gone.  This one is my favorite.  It has lasted forever (I think 2 or 3 years?) and I use it almost every time I sew.  It’s felt tip is pretty wide after a lot of use, but it’s quick and leave a nice line.

Clover Fork Pins.  I just picked these up, too!  I’ve been curious about them for quite a while.  Perfect for quilting and patchwork or when you need to line up seams with a great deal of accuracy.  Hoping to give these a try more in the coming months.

Workhorses.  Yep, these ones really do their duty.  [From Top] My hem gauge gets toted along everywhere.  It’s a great little size for anywhere. I suppose it’s mainly for measuring hems, but useful for any kind of measuring.  There’s a little slider that you can use to make it easier to know where you need to measure.  Handy and cheap,  it’s one of my faves. Next is my bent and well loved chop stick.  This thing gets put through the ringer.  I use it for turning projects, it’s really great for pouches and poking out zipper ends.  I’ve also used it for random craft projects, such as mixing up glue.  Great,  huh?  🙂  My favorite scissors are these little Olfa snips I had gotten in the goodie bag at Sewing Summit.  They’re a great size and perfectly sharp!  These are one of the scissors in my house that is definitely off limits to everyone but me.  I’m greedy like that.  Oh, and I can’t ever seem to find them at any local stores.  If you know where to find them online leave a comment below! Lastly is a new seam ripper, again by Clover.  I actually love the one that came with my sewing machine, but a good seam ripper seems kind of hard to find.  I had a white Clover seam ripper but found it to be too dull, maybe I got a reject.  Anyway, I wasn’t terribly sad when I left it behind at a sewing meet up.  I’m hoping this brown one makes a good back up.  

Last up are my notions that hold things.  I couldn’t be without my Clover Wonder Clips.  They’re great for holding many thick layers together as well as being awesome when it comes to binding a quilt.  They’re pricey, but I think the value for outweighs the cost.  I also had my husband pick up some gigantic washers a while back.  I’ve been intending to make pattern weights like Jess did, but haven’t gotten around to it.  I just use them as is to weigh things down.  I also found that these make a really great marking tool to trace around for pocket corners.

Anyway, some of these are new to me and some I’ve used a long time.  I know there are lots and lots of other sewing goodies  out there, and I’m sure I forgot to include some of the ones I use.  I’d love to hear anything you love or don’t love about your notions, these notions, some other persons notions.  I’ve got a notion.  You know, spill it, I want to hear it!

Happy Friday!!!!

Techniques

magnetic snap tutorial

I remember what it was like inserting my first magnetic snap.  I was sweating bullets!  It’s one of those last steps when making a tote or bag or other project.  All I could think of was how was I going to fix it once I messed it up?!  But you know what, all the worry was really over nothing.  Anyway, I’ll show you how to insert a magnetic snap, no sweat, promise.

+ Supplies +

  • sharp scissors
  • some kind of fabric marking tool (I used a water soluble pen)
  • scraps of fusible interfacing

+ Interfacing +
One of the little tricks I’ve come up with for myself is having those little scraps of fusible interfacing ready to go.  Whenever I’m cutting interfacing and I have a few smaller pieces, I’ll take the time and cut them into little 2″ squares.  I stuff those squares in a baggie with my magnetic snaps so the next time I’m ready to insert a snap – it’s ready to go!  Most frequently I keep Pellon SF101 (a fusible woven) and Pellon 81F (a fusible fleece) and I use them in combination.

You’ll have two pronged pieces and two washers per magnetic snap.

+ Size/Type +
Now I should mention that you’ll want to make sure you have the appropriate size magnetic snap for your project.  Most patterns/tutorials call for a certain size.  I do like to use a smaller 14mm size snap for pockets.  Some even have a lighter magnetic strength which is nice if you’re sick of trying to pry open a pocket for the millionth time.  I also really like working with a sew-in magnet (which is sandwiched between exterior/lining layers), they seem to hold things together nicely, but at the same time are really easy to open.  I can save that for another post though if you’re interested.

+ Where to Shop +
I now carry 18mm magnetic snaps in my shop in both Antique Brass and Nickel finishes (available in a 3-pack). You can also find smaller sizes on Etsy.

So we’ll start off with a little project in progress.  For this example I’m using a front pocket from my Super Tote.  I’ve assembled the pocket (pocket exterior, piping, and pocket lining).

You’ll be inserting the magnetic snap between the exterior and lining pieces.  You won’t want the back of these magnetic snaps to show. Below is a picture of the wrong sides of the exterior and lining pieces opened up and all set to go.

Step 1:
Mark snap placement. Using whatever marking tool you’ve got around.  a pencil works great too.  Make a mark in both of those little rectangles.

Step 2:
Cut slits where you marked to insert prongs. Make sure to use a sharp scissors!  And try to cut as small of a slit as possible.  I’ve also seen where people make small buttonholes where the prongs will go.  If you’re worried about fraying you can always dab on a little Fray Check.

Step 3:
Insert snap.  Push prongs through the slits from the right side of the fabric.  You can then take out the prongs and fuse on a layer of fusible interfacing.  It helps stabilize everything and holds up better for wear and tear.  I’ve fused on SF101 and then fusible fleece on top (gives the snap a little extra padding). You can either then push the prong back through the slits or snip through the interfacing carefully.

Push the prong back through.

Slide washer over prongs. Using the edge of your scissors blade, bend over the prongs.  I’ve seen where people bend them inwards too, I haven’t noticed a difference either way, so I usually just bend them outwards.

Step 4:
Fuse on more interfacing.  Yep!  Go ahead and take another scrap of SF101 and lay it over the top of everything and give it a good press.

Step 5:
Repeat steps 1-4 for installing remaining half of snap on project. Marking placement, cutting, inserting prongs, interface, bend over prongs, adding more interfacing and that’s all!

You’re all set!  I love to sit and open and close snaps (and zippers) when I’m done, it’s so fun and feels like a pat on the back.  You did it!  And I should mention, if this kind of magnetic snap isn’t your cup of tea, there are some really cute sew-in style snaps that I definitely want to try.  They seem like they’d make a really nice handmade touch to a project.  Okay, if you have any additional tips feel free to leave them in the comments.  ♥