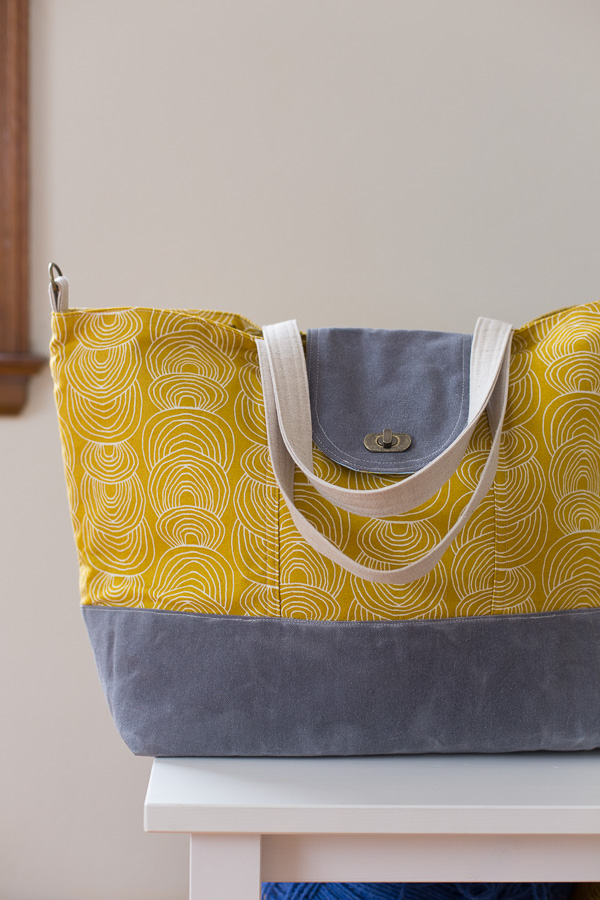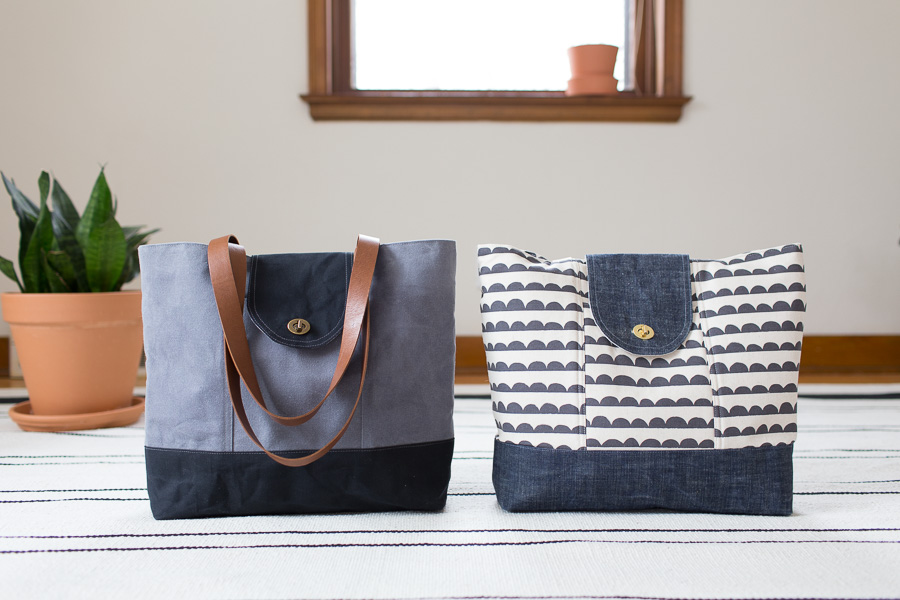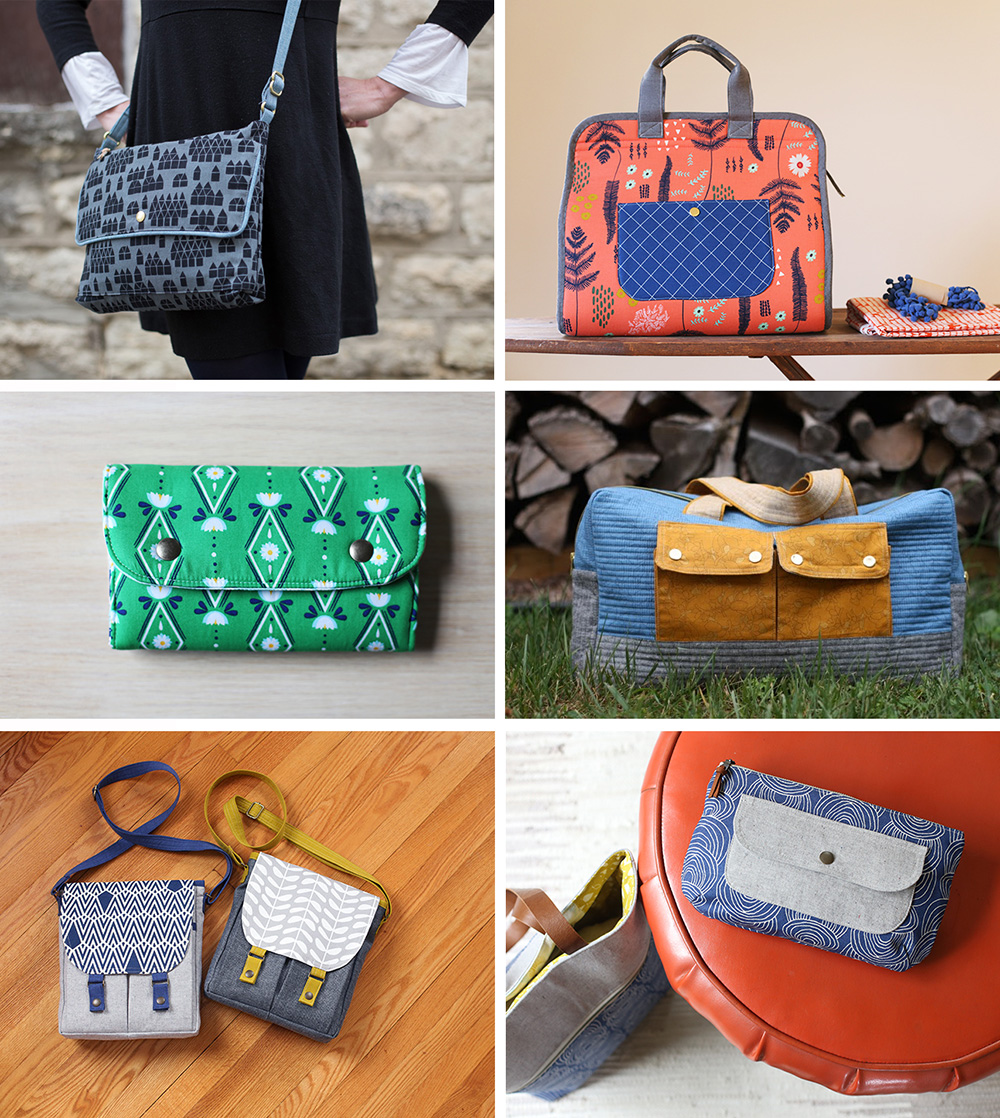
From top left: Traverse Bag, Maker’s Tote, Snappy Manicure Wallet, Cargo Duffle, Campfire Messenger Bag, Caravan Pouch
You know I’m crazy about snaps, right? Well, I am. It’s true (see above!). They’re beautiful additions to so many projects.
Well, who knew there were so many snap styles to choose from. It can be so confusing and shopping online can add that hidden layer of uncertainty. I’m sure you probably found yourself wondering all sorts of things before trying them. What if I spend money on these and they don’t even work? Or if the color is wrong? Or it ends up not working for my project? Well, these spring snaps have slowly become my first choice for metal snaps. I also use ring snaps and pronged snaps (here’s my tutorial here for those). They are all doing the same function basically, but in slightly different ways using different setting tools.
I’ve been searching for the solution to having great looking snaps that are easy to install, and the spring snap is the winner in my mind. They can be used in clothing and accessories (i.e. bags, wallets, totes) – anywhere you need a snap! Plus, you only need a few basics to get started. I like them so much, I’ve finally jumped in and am offering snap starter kits in my shop.
Snaps come in different sizes, most commonly I use the Ligne 24 and Ligne 20 size snaps. If you want to dive way down the rabbit hole and get into the meaning of Ligne you can read about it here. It seems as though many manufactures skip the Ligne term and refer to their sizing in just the number format 24, 20, etc.
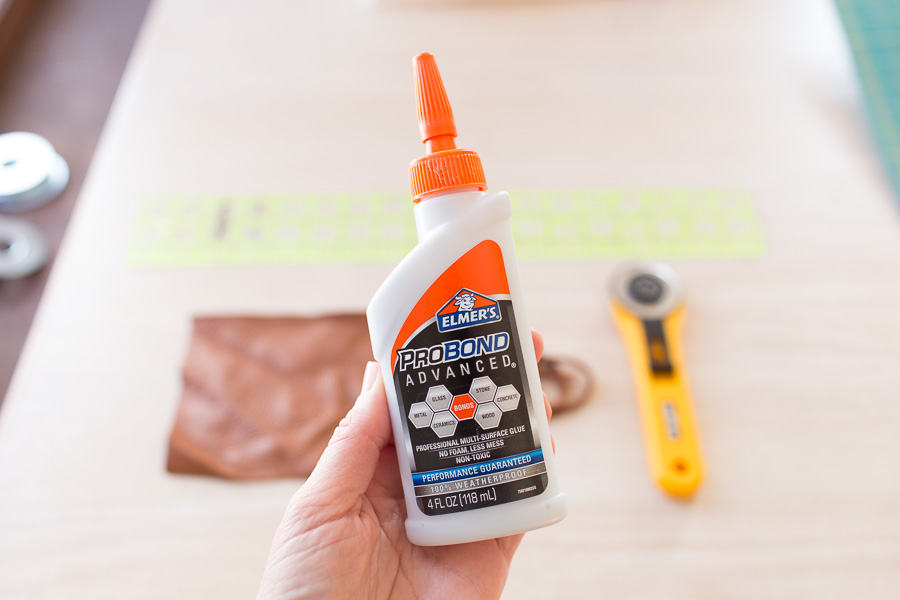
 You’ll need:
- setting tool (these are specific to the size snap you’re using, a size 24 setter only sets a size 24 snap, etc.)
- snap
- something to make a hole in your fabric/leather (awl, leather punch, small sharp scissors)
- a solid/sturdy surface to install snap
If you’re at all new to snaps, each snap consists of four parts: cap (that’s the decorative part that you’ll see on the outside of your project), socket, stud, and post.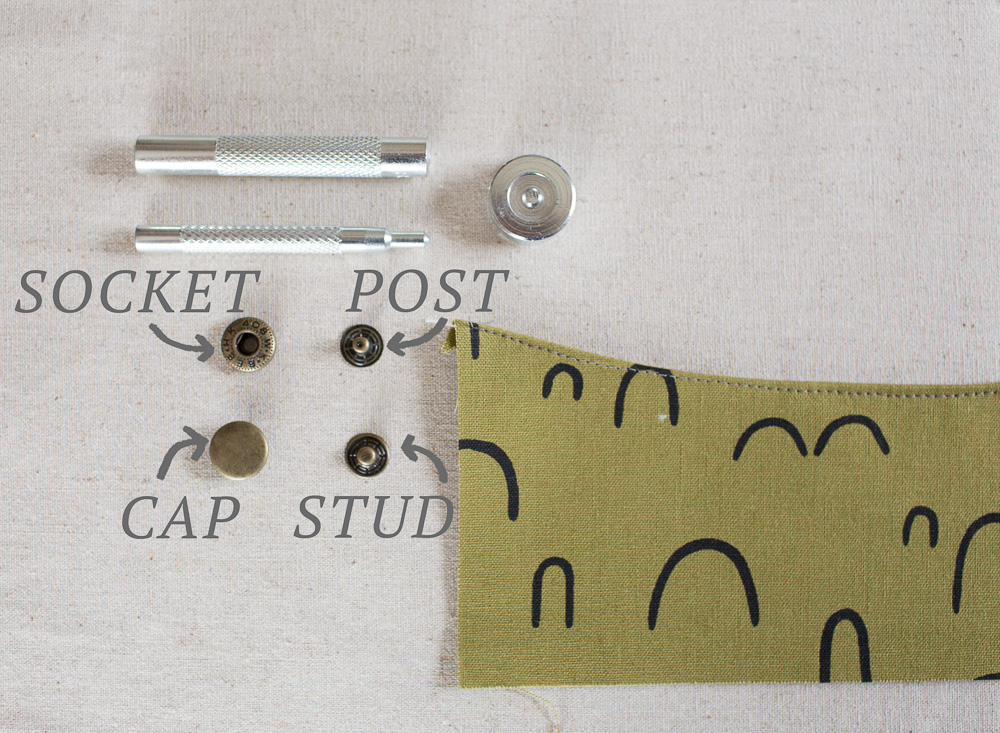
The anvil and setting tools are made up of three parts. The anvil is double sided and the two setting tools are for the two different halves of the snap.
Ready? Let’s install a snap!
First you’ll need to mark the location of the snap and punch a hole in your fabric/leather. I have a few different hole punches, the one in the materials picture is pretty handy. I also have a rotary punch leather tool and a hand punch tool. It’s up to you though, a small sharp scissors or an awl works for fabric applications, too. I used to always make do with what I had on hand, and there’s absolutely nothing wrong with that. But I’ve come to realize that having the right tool for the job tends to make things go a lot more smoothly.
Next, I’m installing the stud and post part of the snap. So I’ve made my hole and the post gets pushed up through the hole (in this case, just the top layer of this pocket) from the back (wrong side of fabric) to the front. Then I rest the post on the anvil with the side facing up that has the small raised circle in the middle.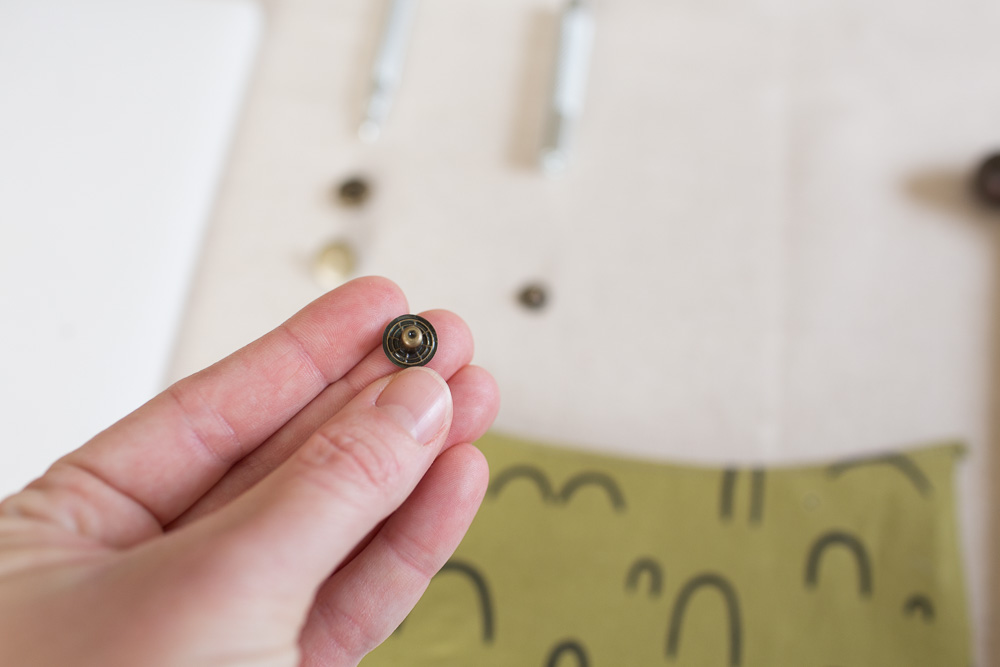
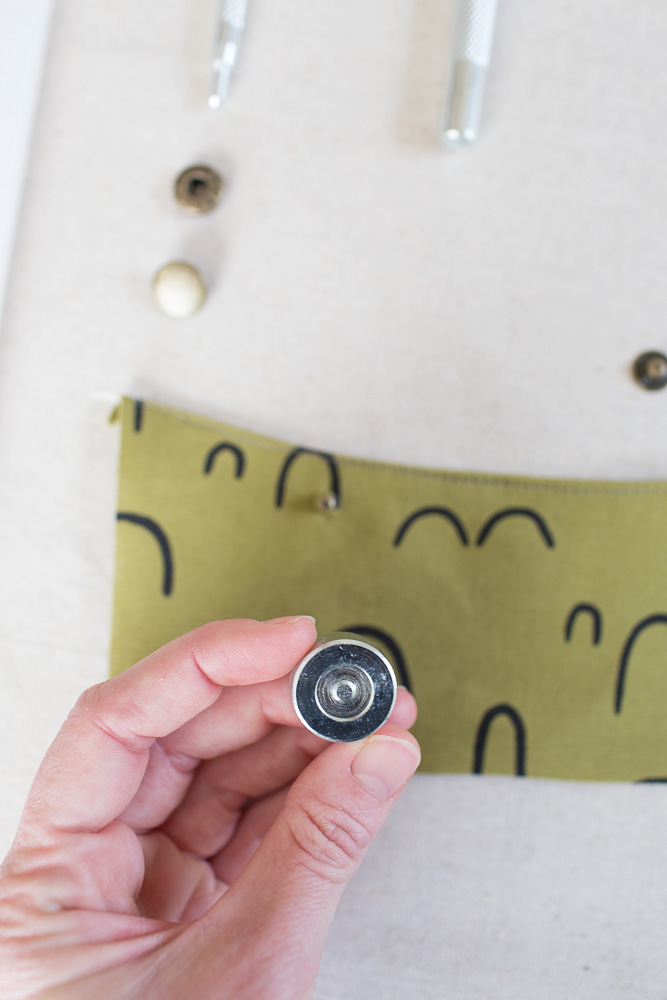
Next you’ll place the stud over the post. This particular snap, the pieces kind of click into place. After that, you’ll use the setting tool with the concave end and place that over the stud and hammer into place. You’ll want to hit it hard enough that the snap is tightly sealed over your fabric/leather. If you can see any gap, go ahead and hit it a few more times, maybe with a bit more force.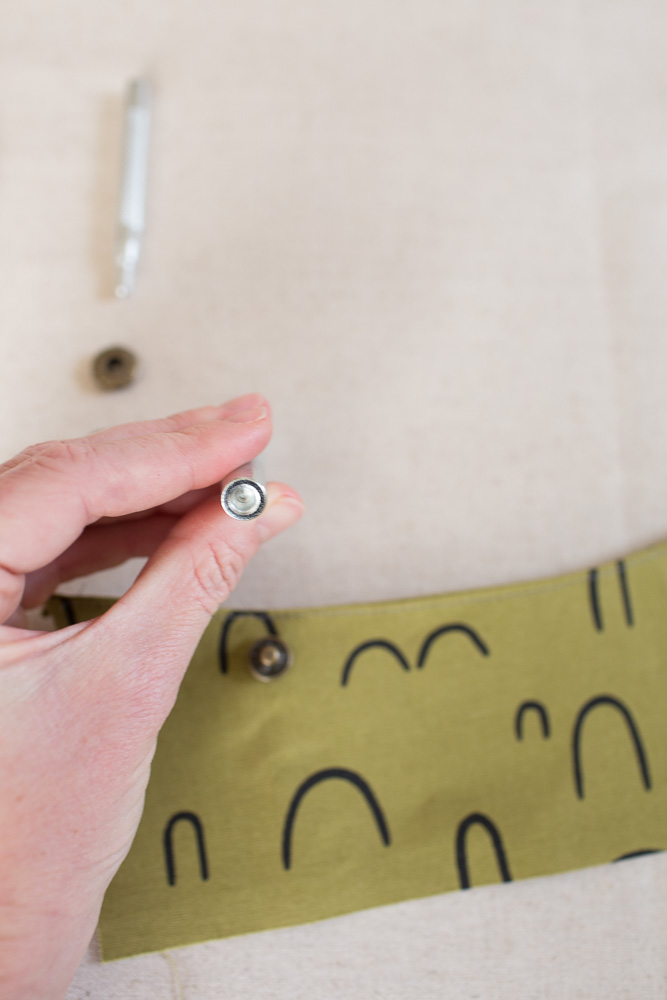

That’s it for the bottom half, the top half is very similar!
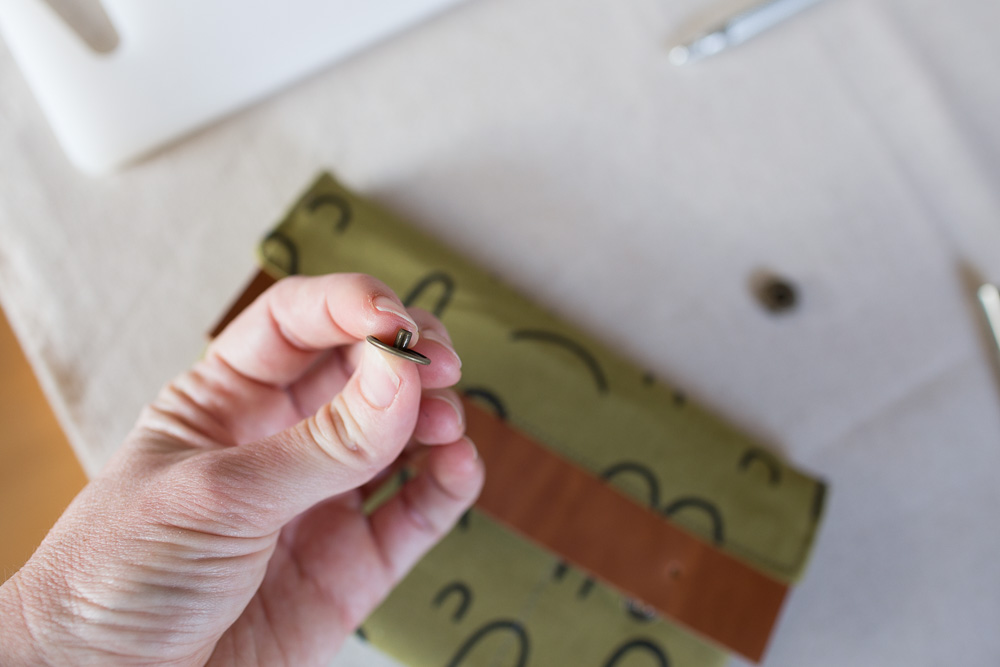
Once my hole is punched I poke the post part of the cap through the right side of my material.
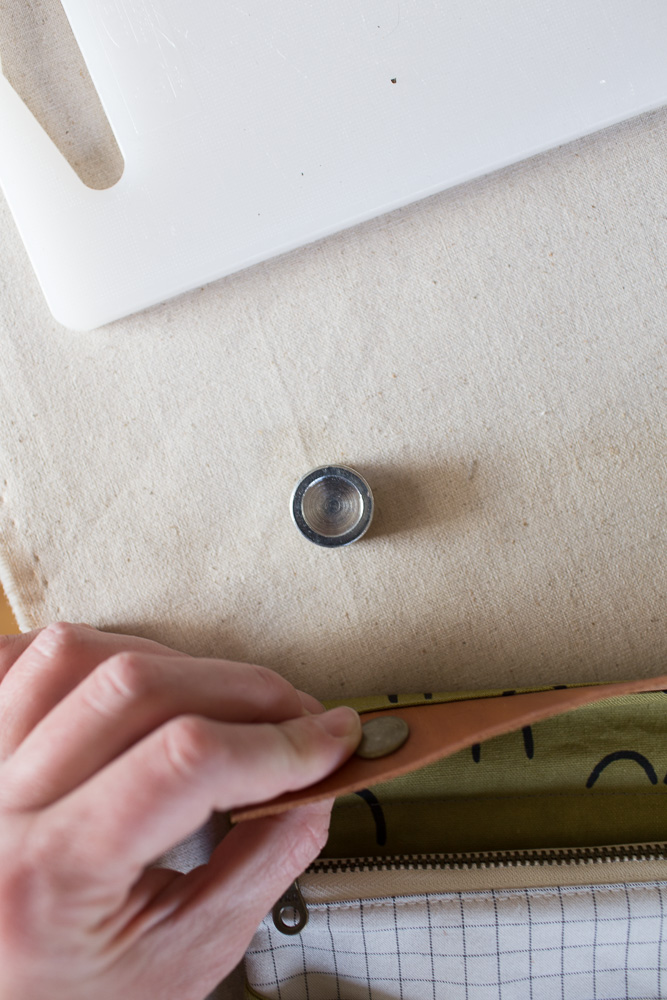
Then I rest the cap on the anvil with the side facing up that is smooth and concave. So the cap is facing down, resting on the anvil.
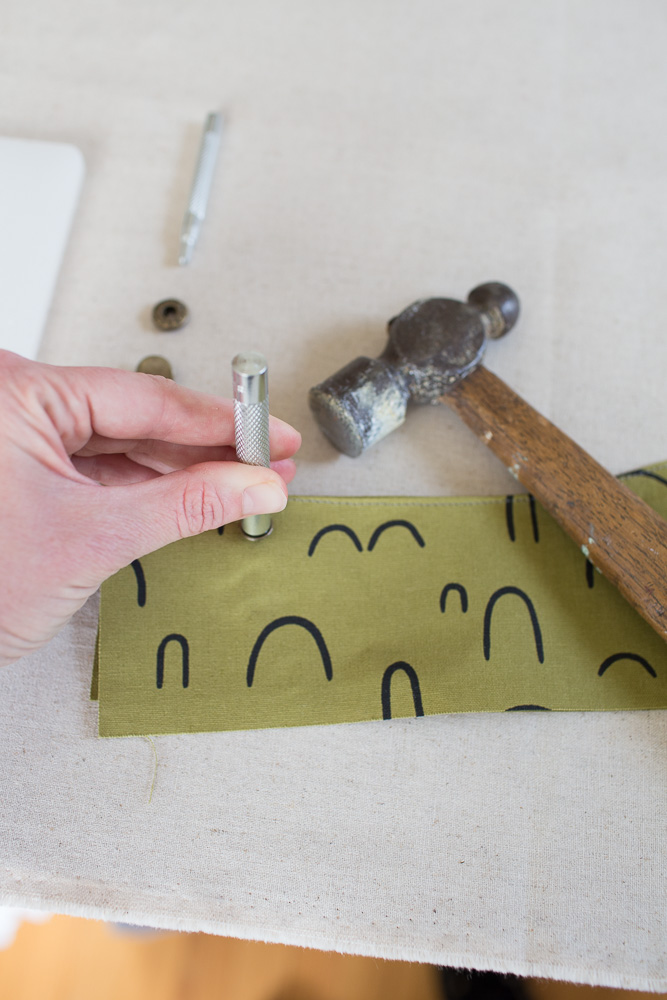
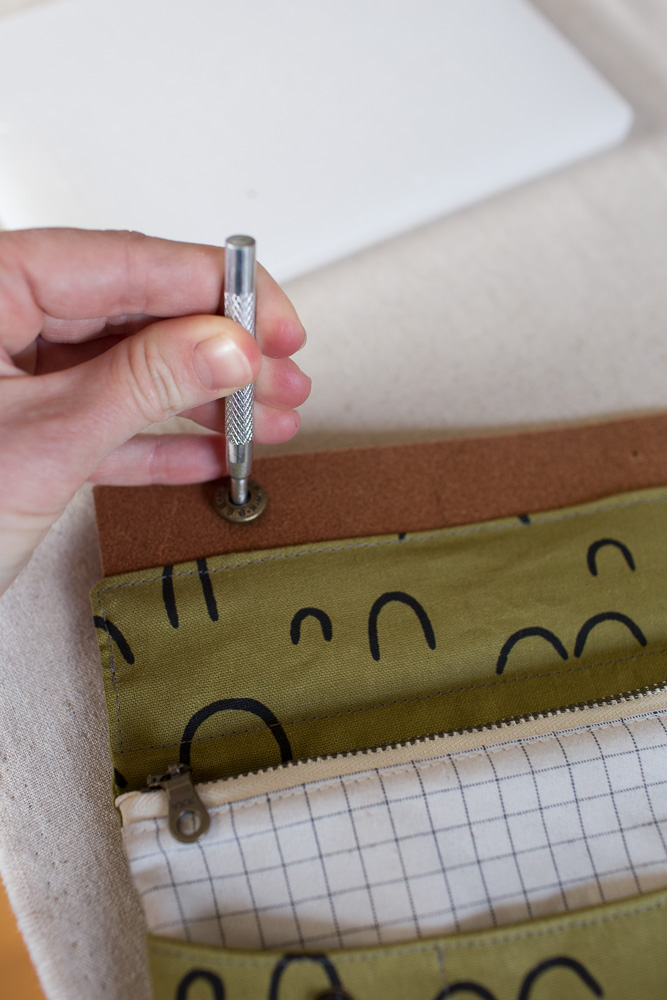
Next, I place the socket over the post of the cap and use the setting tool with the convex end (the rounded out end) and place that into the socket where it’ll rest on the post of the cap and hammer it into place. Same as before, it’ll be nice and snug when installed correctly.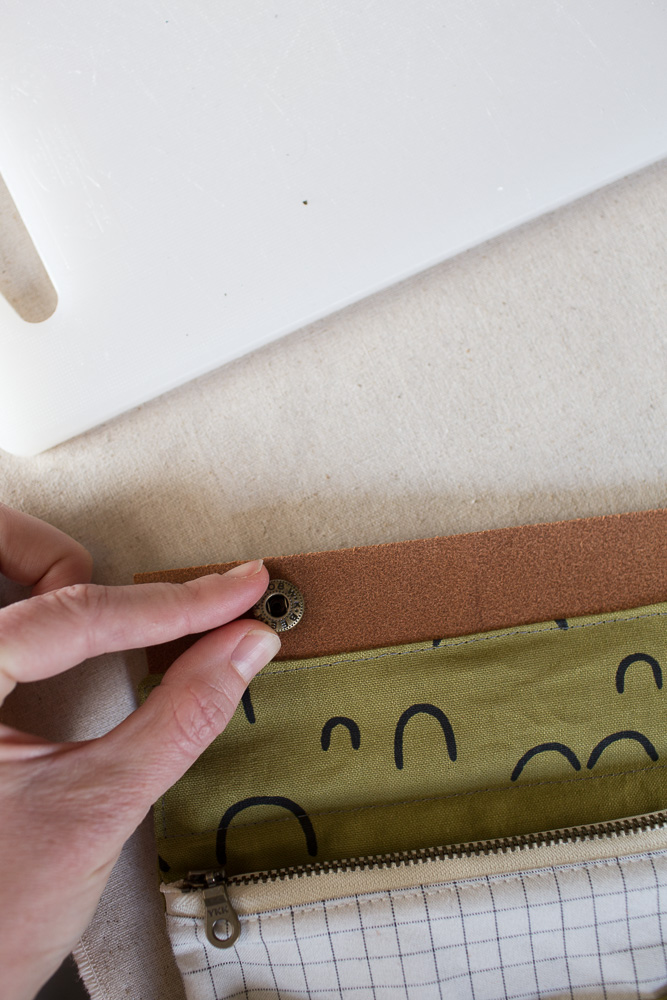
That’s it! Once you’ve set a few snaps, you’ll probably wonder about all the awesome projects you can add them to next. 🙂 I highly encourage you to do a test run and sacrifice one of your snaps if possible. It’ll give you a better feel for how things come together, plus it’s a nice ‘cheat sheet’ for when you’re installing them the next time. I always refer to my test snap before installing one on my finished project. It’s just nice knowing what part goes where and gives a boost of confidence, too.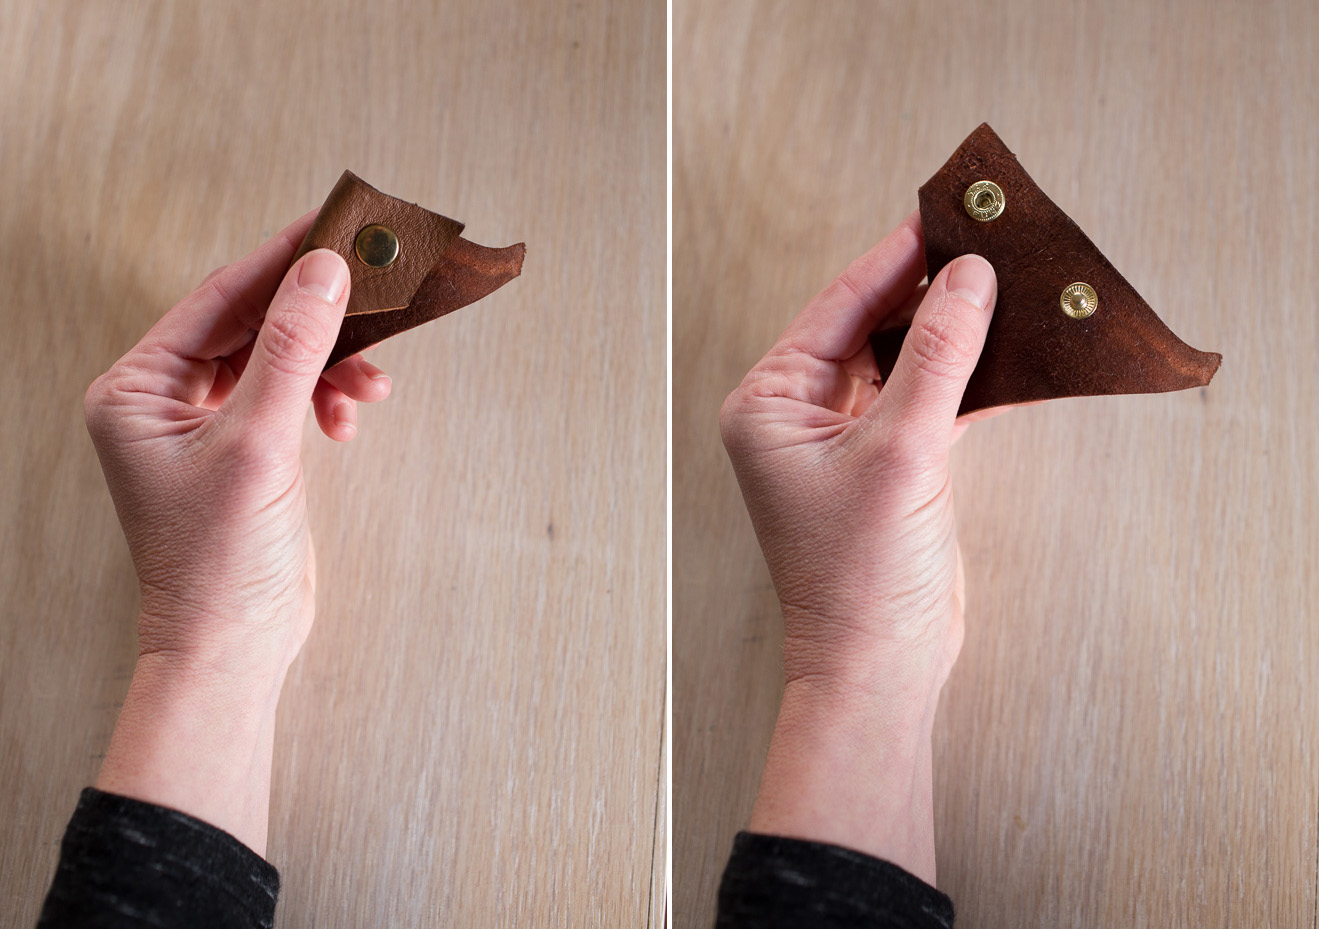
If you’re in need of snaps, you can jump over to my shop and pick up a starter kit. The setting tools are specific to the size snap you’re using. The size 20 setter WILL NOT set a size 24 snap or vice versa. So if you need both sizes, be sure to pick up a starter kit in each size. I’ve got a new pattern coming out next week (the Minimalist Wallet) that uses both sizes of snaps! So excited for it!
Here are a few past projects that use metal snaps:
Traverse Bag | Explorer Tote (large size for optional back pocket closure) | Maker’s Tote | Campfire Messenger Bag | Caravan Tote + Pouch