tutorial

30 Minute Modern Bed Skirt

I’ve always made my own bedskirts for my beds because I’m so cheap frugal.  I think it’s really inexpensive, modern and not a lot of frill.  I don’t like ruffles on bedskirts.  On dresses, yes, bedskirts = no.  What I do is buy an extra flat sheet that coordinates with my bedding (mine is from Ikea a couple years ago).  And since I have two comforter covers, I’m sort of making a double layer bedskirt by adding another layer on top of my bedskirt I made a while ago.  When I switch bedding, I’ll just flip up the different colored bedskirt, and tuck it in between the mattress & boxspring.  Hopefully my pictures won’t mix you up (I’m adding the dark blue layer over top of the sage green layer). 

Ingredients:

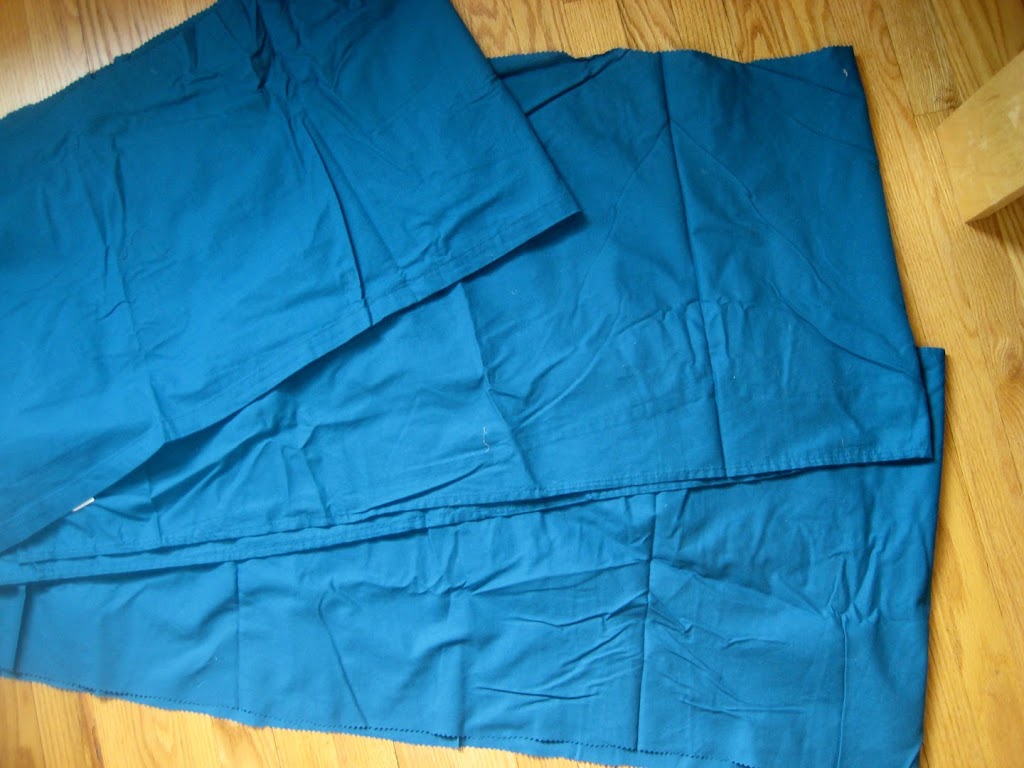
  • 1 flat bed sheet (mine was a queen size because our bed is a queen).
  • material to make the decking with (probably white muslin or other inexpensive fabric)
  • pinking shears (makes it even speedier so you don’t have to worry about finishing the seams)
  • thread

First measure the height you’ll need to make the bedskirt.  Measure from the floor to the top of the boxspring, plus a little extra.  Then measure the three sides of the bed, side, end, side.  Making sure you add a half inch or so for hemming.

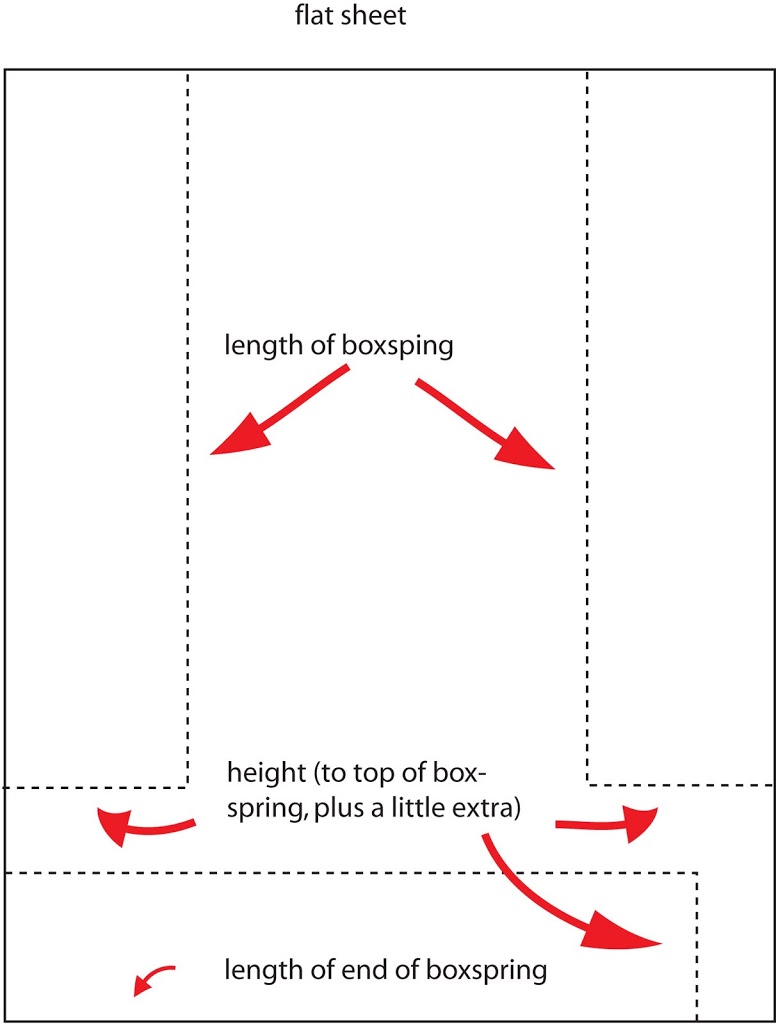
Cut your pieces from the sheet.  This is the quick part because most of the sheet is already hemmed for you! 

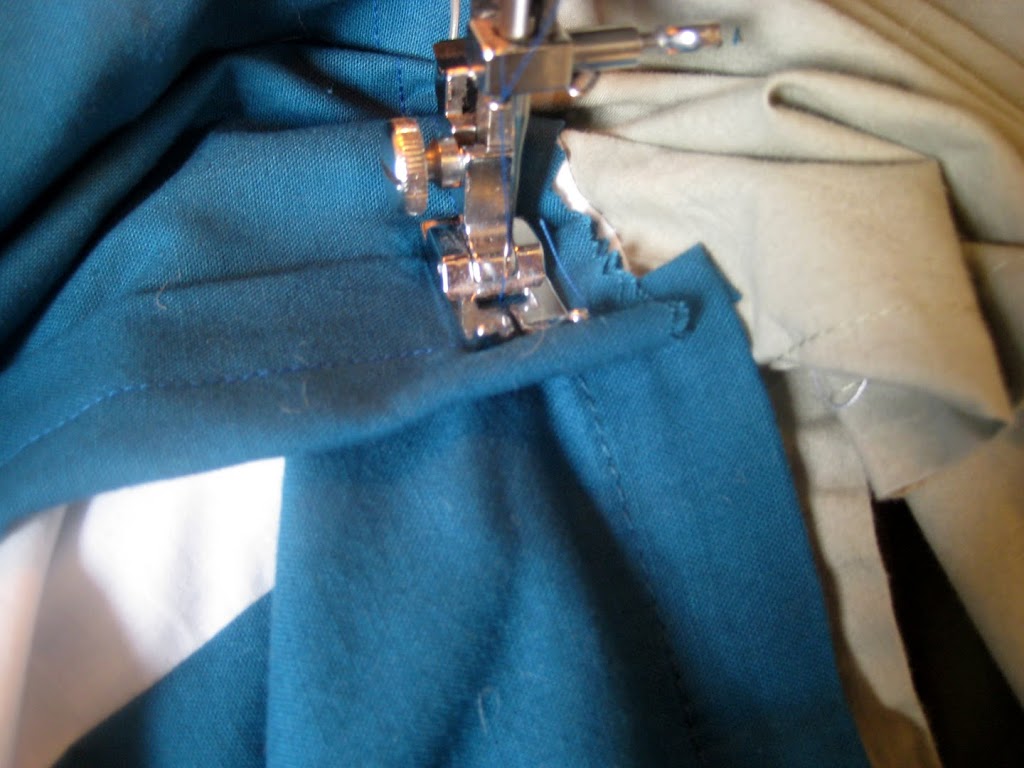
Sew the unfishished sides of the bedskirt sheet pieces.  Just turn under, iron, and sew.

Pin the pieces you just cut from the flat sheet right sides facing to the decking material.  Sew together using about a 1/2″ seam allowance. Do this for each side and end of bed.  I extended the piece a little longer than the decking so the boxspring won’t show through the corner as much.

Here’s a closeup of the corner.

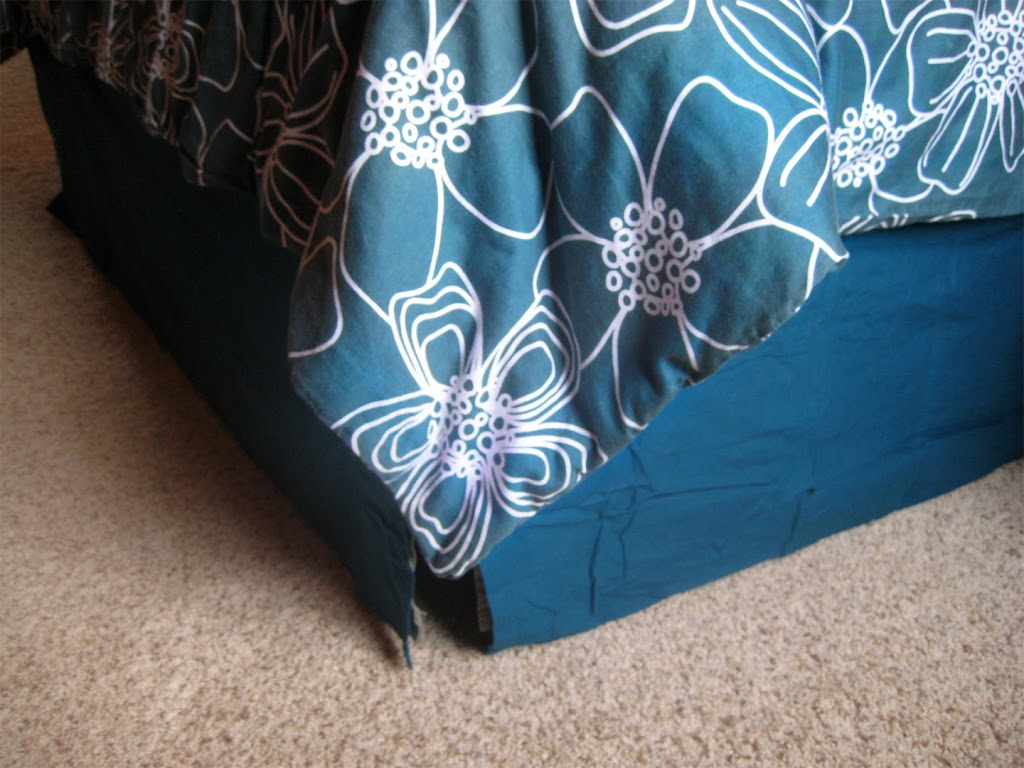
You’re done! Put it on your bed!  If you want, add some ties to the corners to keep your boxspring from peeking out.  My bedskirt cost me about $15 and it matches my bedding perfectly!  You’ll have a bunch of extra fabric from the middle of the sheet, so make some matching throw pillows!

Let me know if you have any questions!  Thanks for reading!

Bags, Wallets, and Zips

TUTORIAL: Lil Cutie Pouches

Ask and ye shall receive!  Here’s the tutorial for the Lil Cutie Pouch.

You need:

  • (1) 8″ tall x 6.25″ wide piece of exterior fabric (interfaced)
  • (1) 8″ tall x 6.25″ wide piece of lining
  • (1) 2″ x 3″ piece of fabric for key ring loop
  • split key ring
  • 8″ zipper


This one’s quick! Make a couple at a time and keep one for yourself this time (I did!).

{1/4″ seam allowances throughout}


Cut your exterior & lining pieces in half (they’ll measure 4″ tall x 6.25″ wide each, you’ll have 4 pieces total)

Take your 2″ x 3″ piece of fabric, fold right sides together the long way, sew.  Turn right side out and press with the seam in the middle of the fabric.  Press in half to make a loop, baste raw edges together if desired.  Set aside.


Lay down the first exterior fabric right side up, place your zipper teeth side down with the zipper pull to the left.  Lay one of the lining pieces right side down.  Pin if you’d like.  Using your zipper foot sew together.


Flip wrong sides together. Next lay your remaining exterior fabric piece right side up, place your zipper teeth side down with the zipper pull to the right this time.  Lay the remaining lining piece right side down on top of the zipper.  Pin.  Sew.  Flip wrong sides together, press.


Flip right sides together (be sure to open your zipper about half way now).  Tuck in your tab that you made earlier between the exterior pieces of fabric, with the tab’s raw edges facing out.


Sew around entire perimeter leaving a 2-3″ opening in the lining for turning.


When I’m sewing around the perimeter, I make sure to push the zipper towards the exterior fabric on both sides when sewing across the zipper (zoom in on the above picture if you need to).  Clip corners, trim excess zipper.  Pull inside out through the opening.  Use chopstick to push out corners.  Tuck raw edges of opening in, sew opening in lining shut with small seam allowance, or stitch closed by hand.  Push lining into exterior.  Press.


Attach your metal key ring, you’re good to go!  Stuff in all those gadgets and whatever else you might need, a camera, cell phone, iPod, you name it.  Let me know if you have any questions, I’d be happy to help.


tutorial

Go vote!

It’s time to cast your for the Sew, Mama, Sew Scrap Buster Tutorial Contest! I entered my first tutorial and am very excited to see it on their site, what an honor. There are tons of awesome ideas for all sorts of projects. Click here to vote.  And thanks to everyone for stopping by my tutorial, I hope to get my second tutorial up in the next few days….here’s a sneak peek: