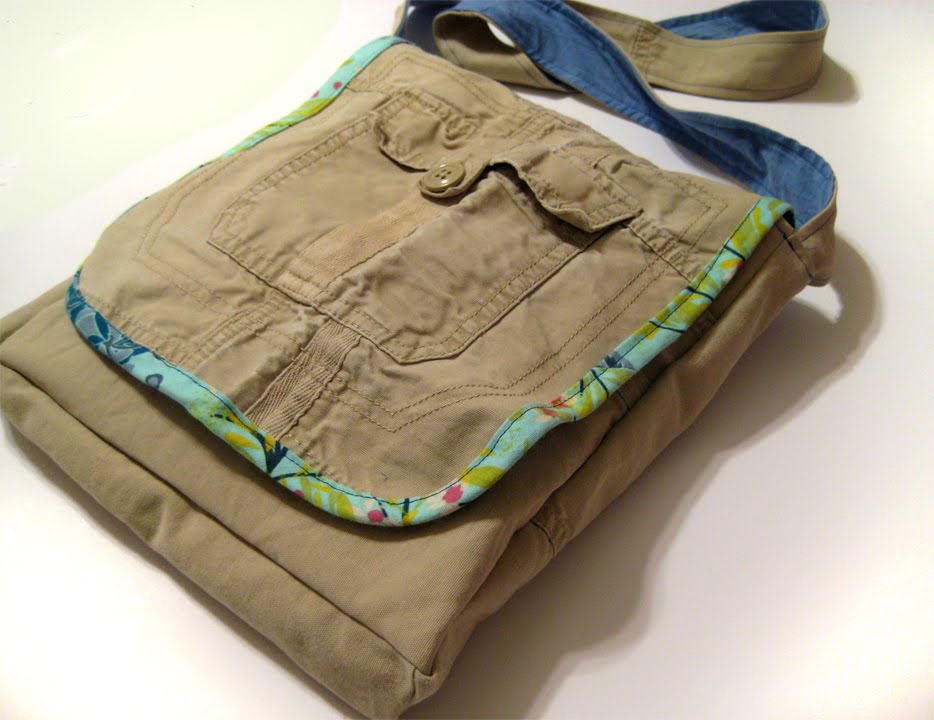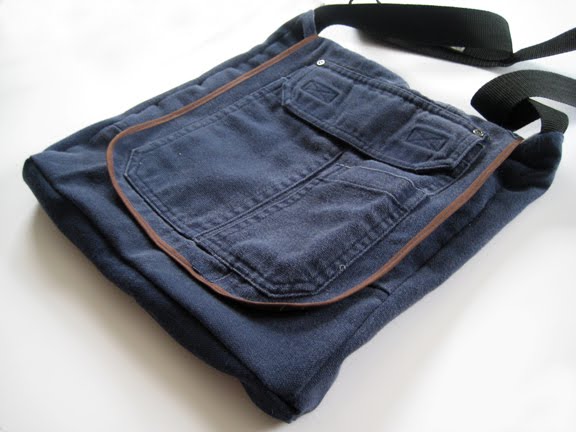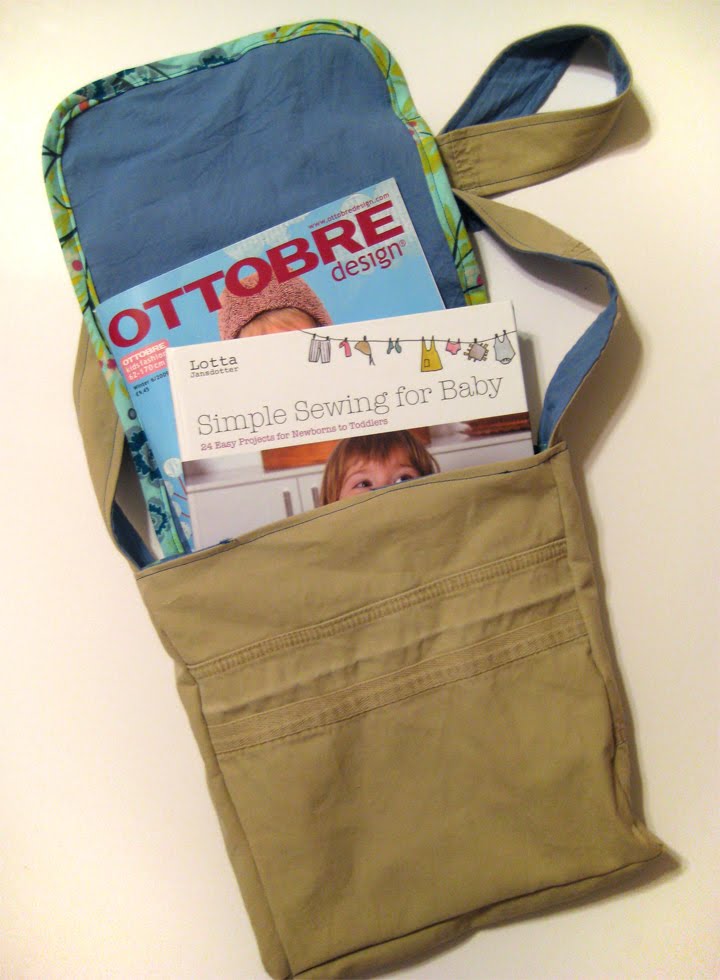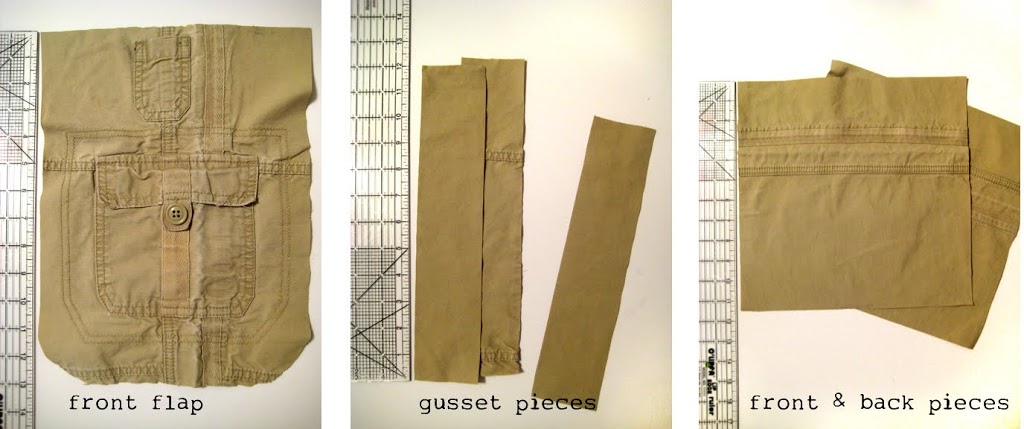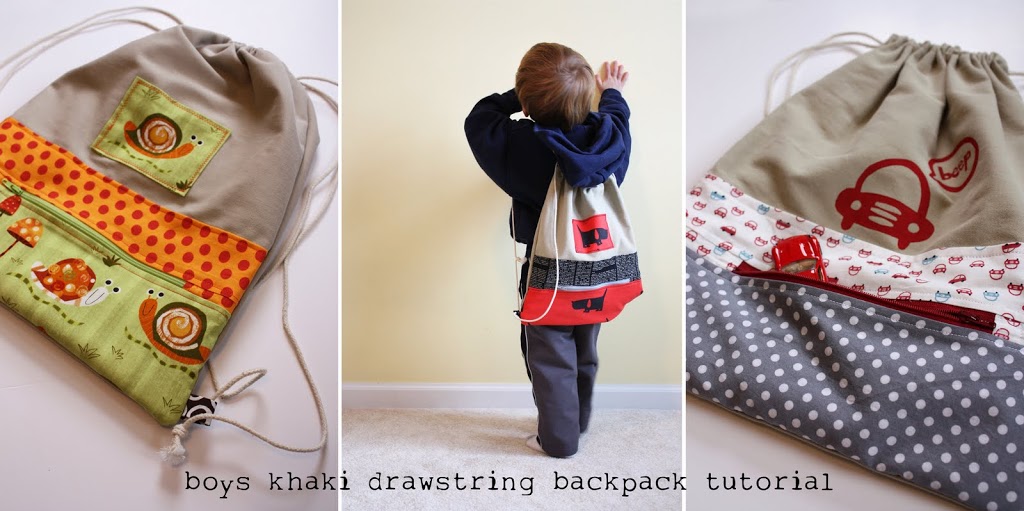
Have a few old pairs of khaki pants laying around? Maybe even some with a few stains on them? Here’s your chance to turn your husband’s old khaki pants into a super cool drawstring backpack for your little guy.
You’ll need:
one pair khaki pants (actually enough fabric for the exterior of 2 backpacks)
1/2 yard for lining fabric
scraps for front zipper pocket
1/8″ cotton cording (approx. 3 yards), I found mine at Home Depot – 45′ for under $3, but you can also get cording at your local fabric store.
one 8″ zipper
thread!


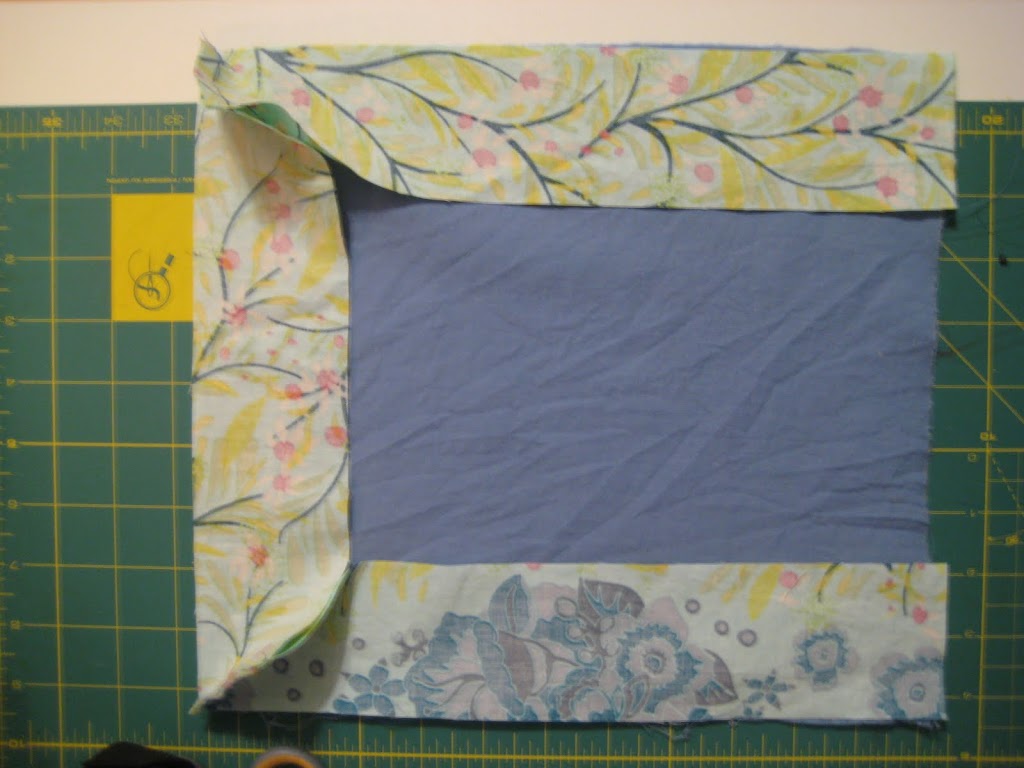
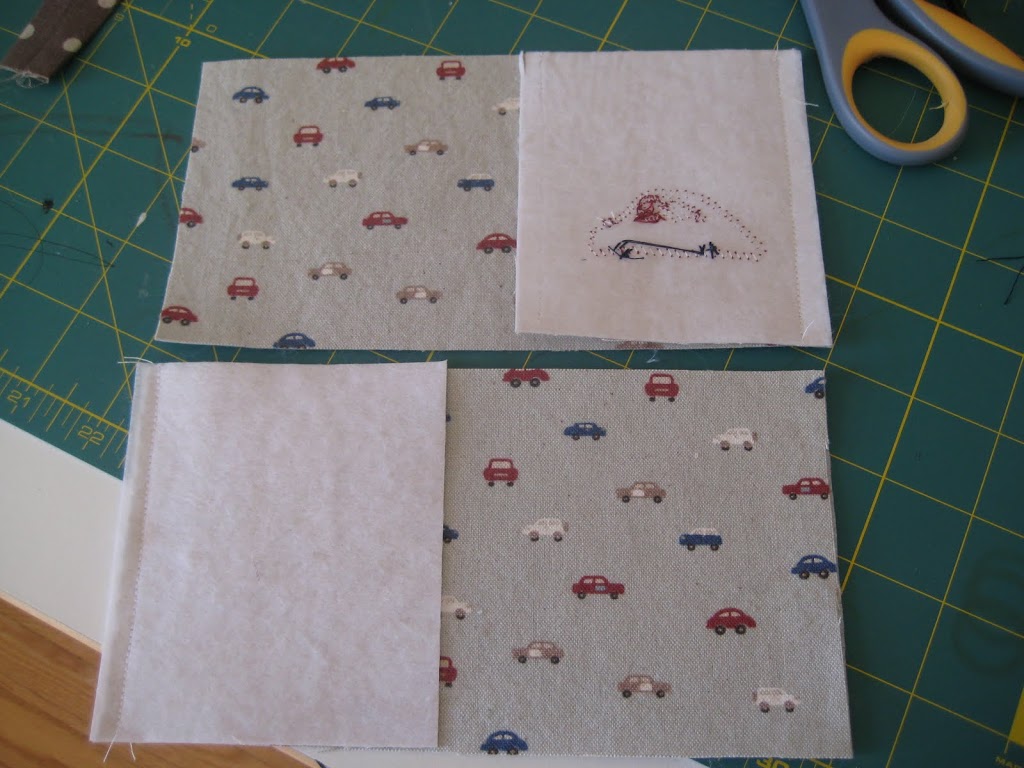
From your lining fabric, cut 2 pieces 13″ wide by 16″ tall. For the zipper portion of the bag cut two pieces 3″ tall by 13″ wide, two pieces 4.5″ tall by 13″ wide, and four pieces 2″ tall by 4″ wide.
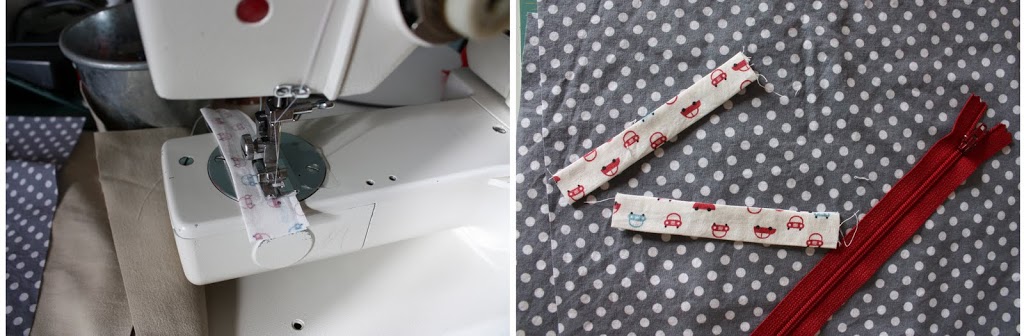
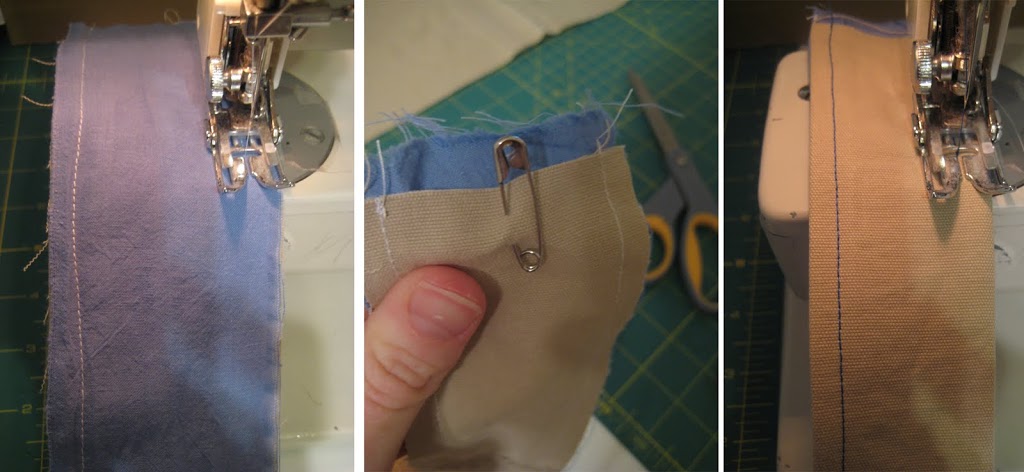
Then cut two tabs that will attach the cording to the backpack 2″ tall by 4″ wide. Fold them in half lengthwise right sides together and sew {1/4″ seam allowance}. Turn right side out and press. Set aside.

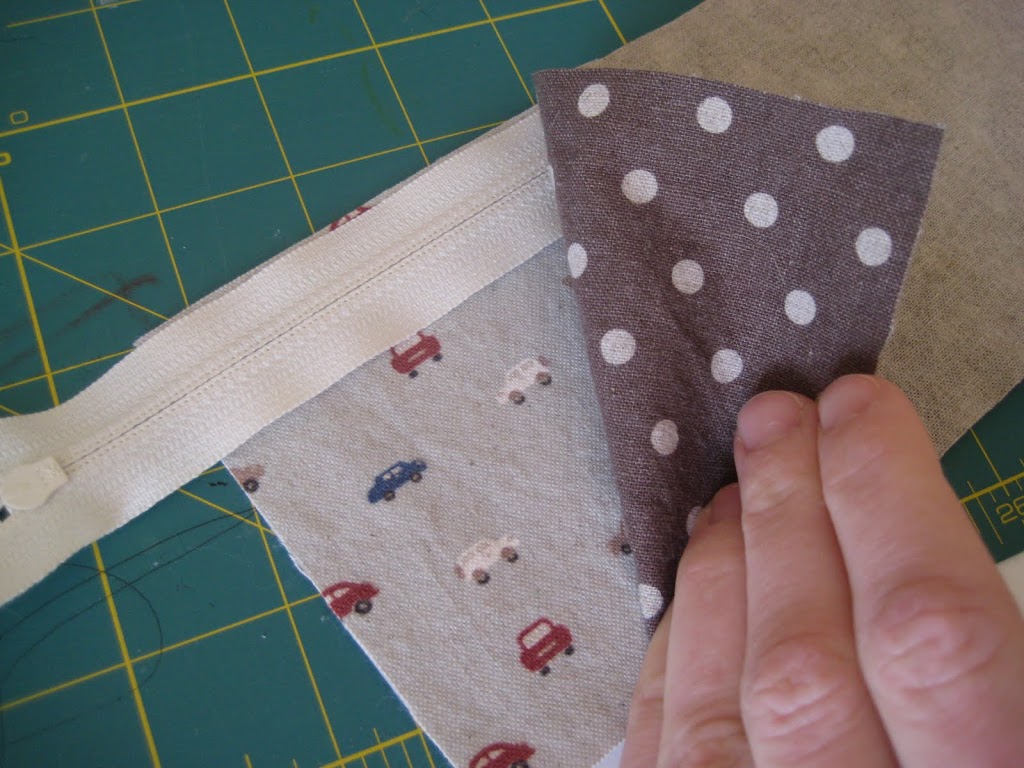
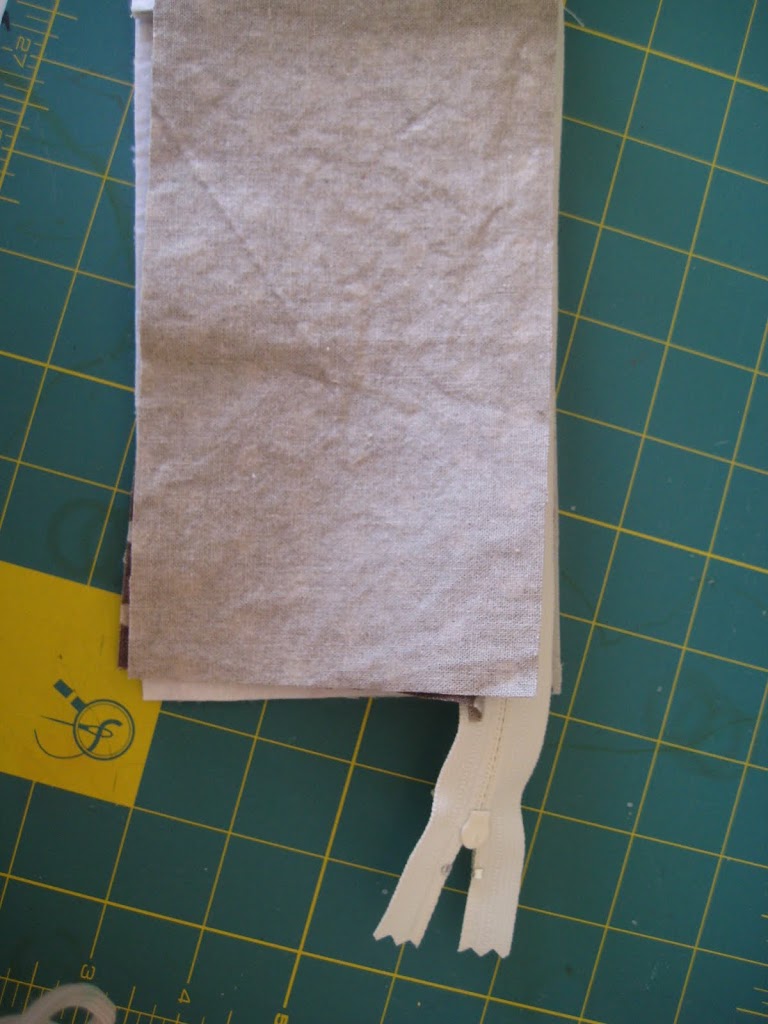
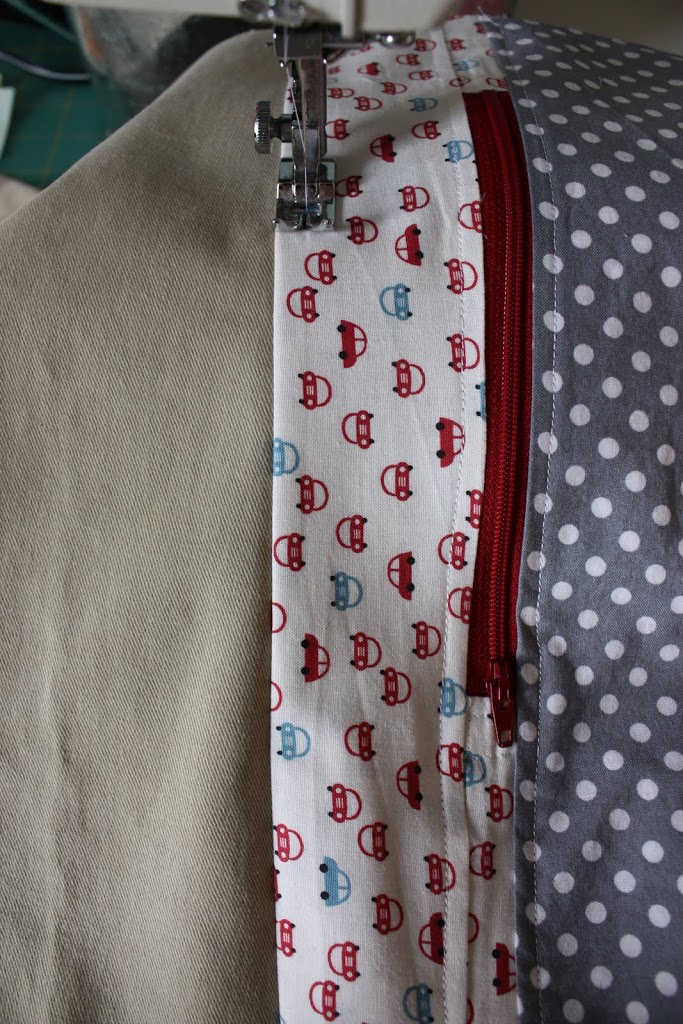
Sandwich your zipper between two of the four small pieces, fabric right sides together. Sew a 1/2″ seam being sure not to hit the little metal parts on your zipper. Flip the pieces wrong sides together and iron.
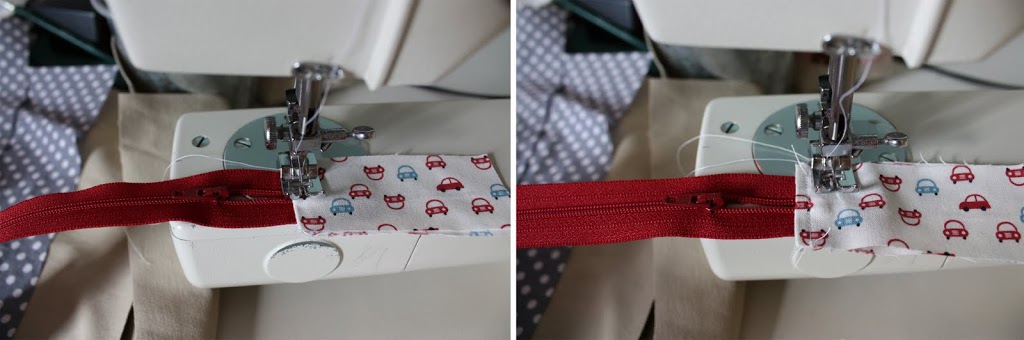
Topstitch with about an 1/8″ seam and then again with another line of topstitching about a 1/4″ from the first line. Add the same pieces sewn the same way to the other side of the zipper.
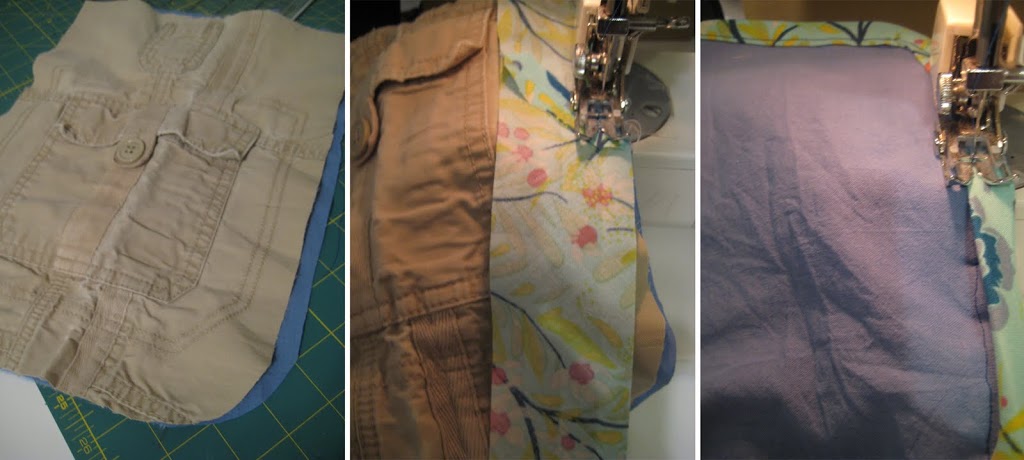
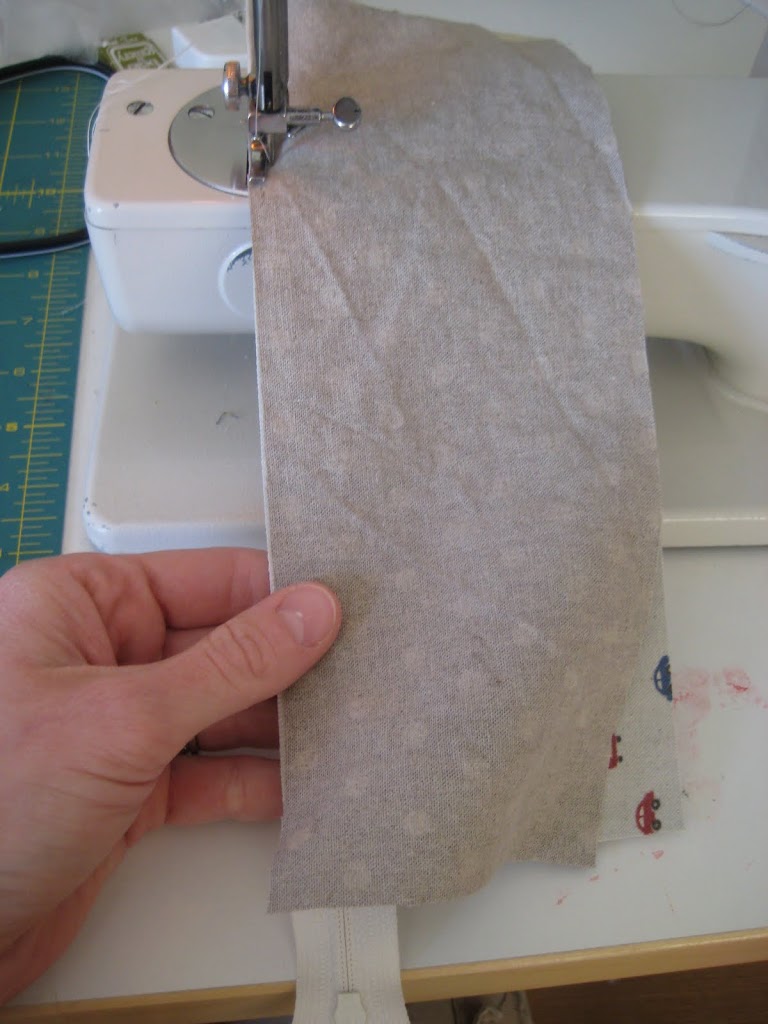
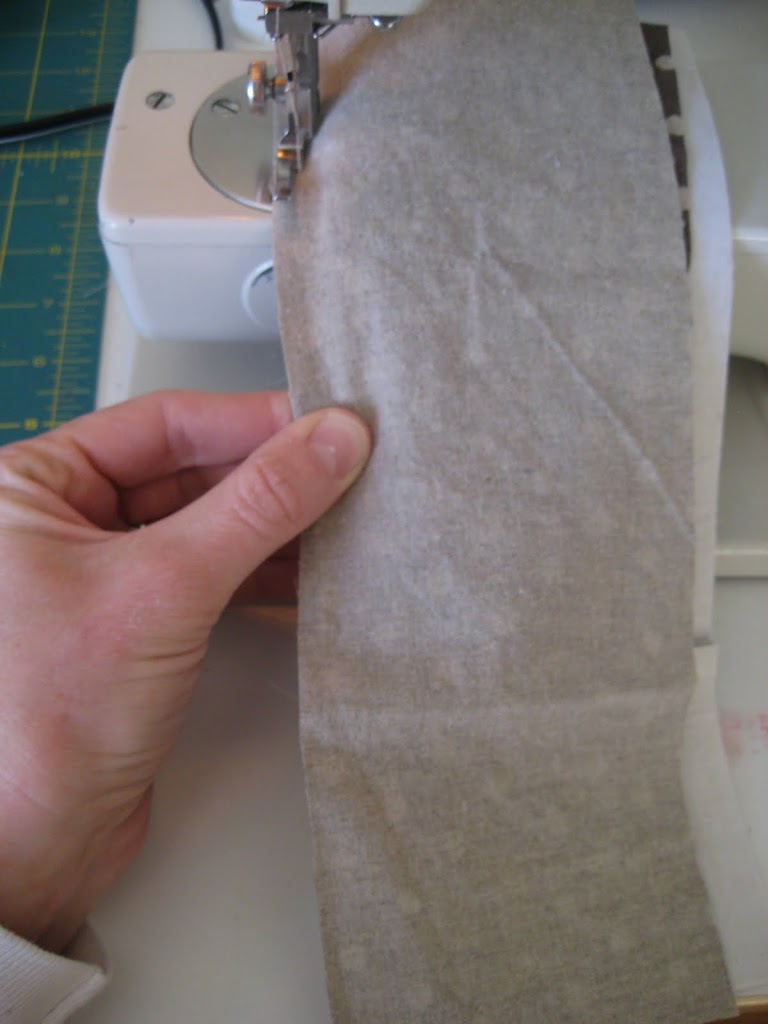
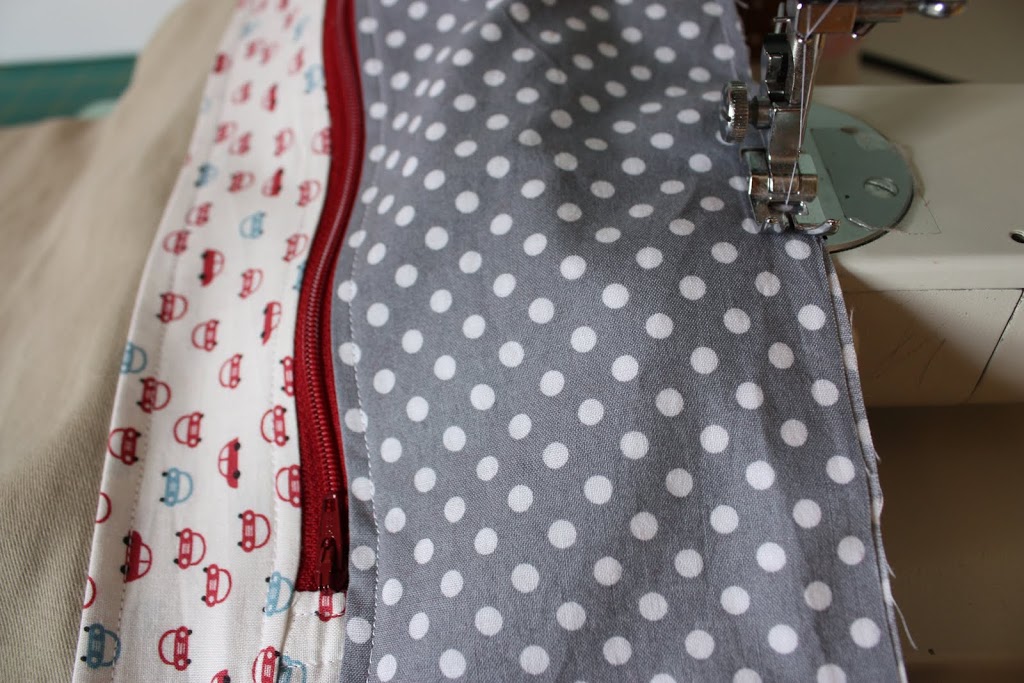
Now take the 3″ tall pieces and sandwich them around the top long edge of the zipper right sides facing together. Sew using a zipper foot using a 1/4″ seam allowance. Flip wrong sides together and press. Next take the two 4.5″ tall pieces and sew them to the bottom long edge of the zipper.
Flip wrong sides together and press. Switch back to your regular sewing foot and topstich on both the top and bottom long edges of the zipper using about an 1/8″ seam allowance.

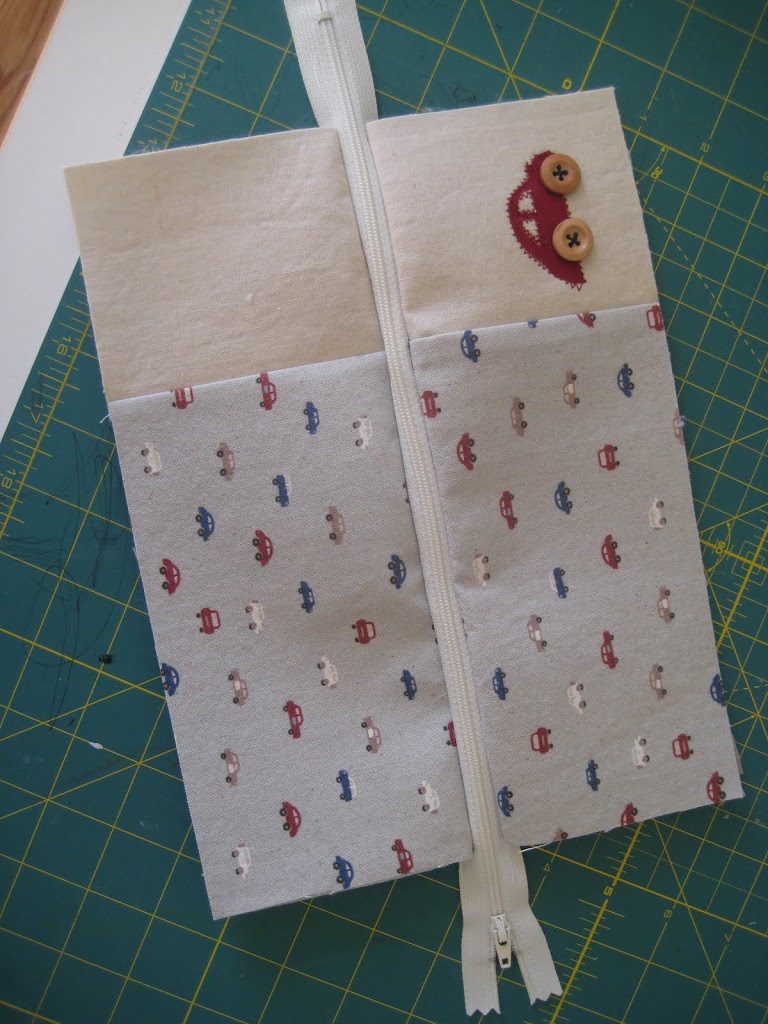
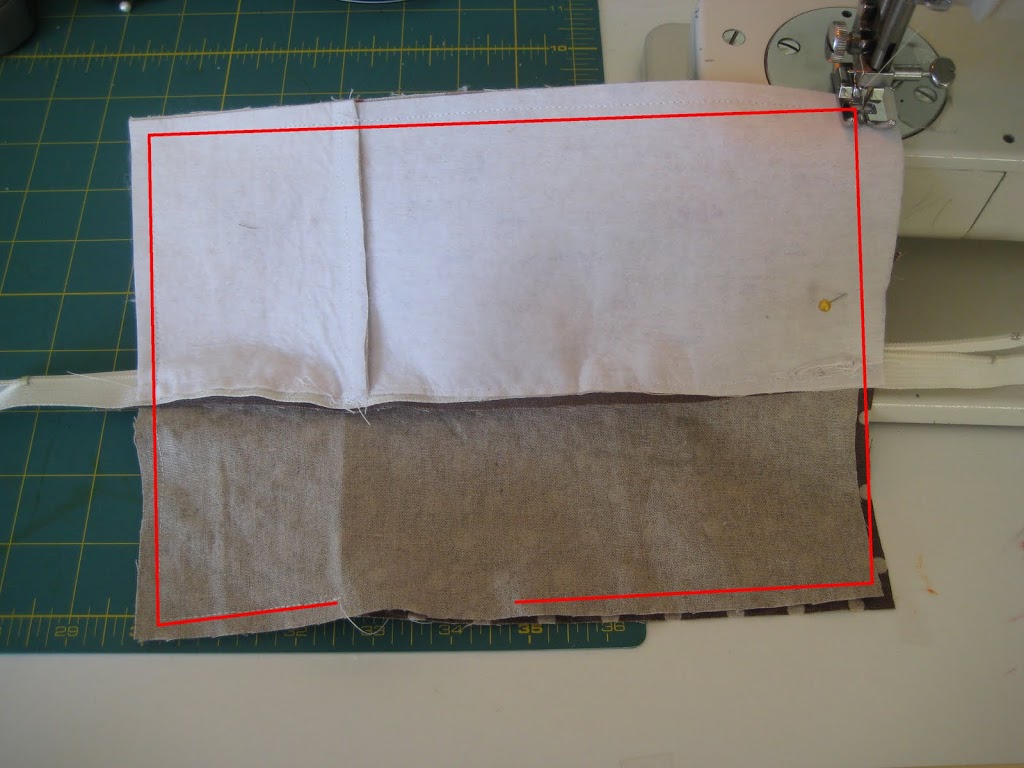
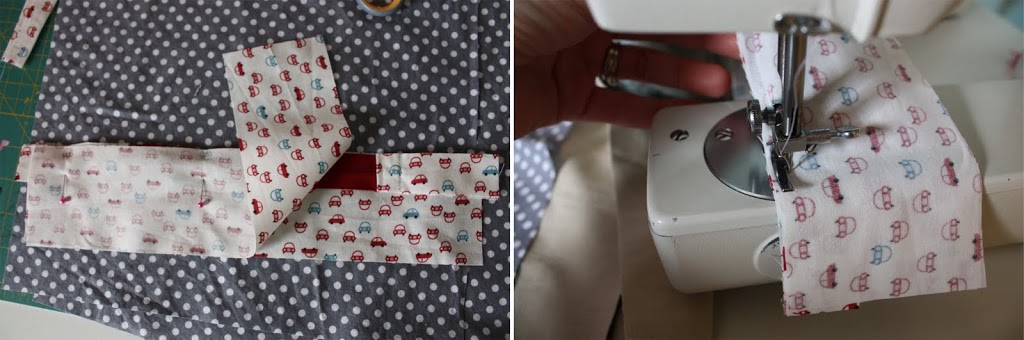
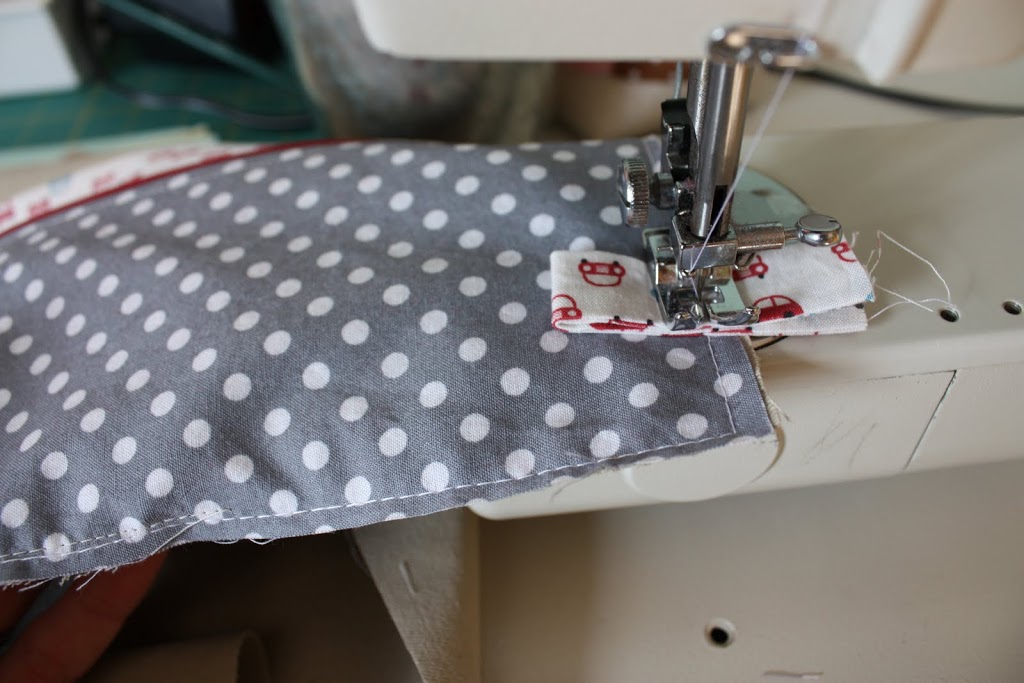
Take the top of your assembled pocket piece and press it down about a 1/2 inch. Open up the flap you just pressed (and making sure the bottom of the assembled pocket piece aligns with the bottom of the exterior piece) and sew the pieces together, sewing along that ironed crease.
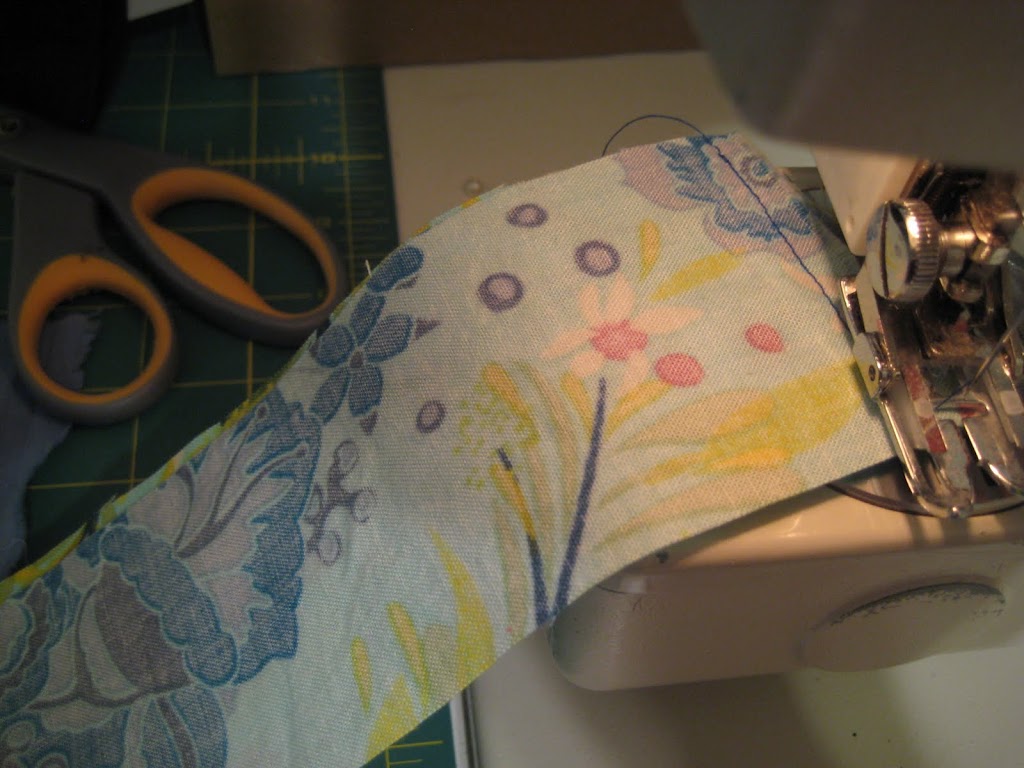
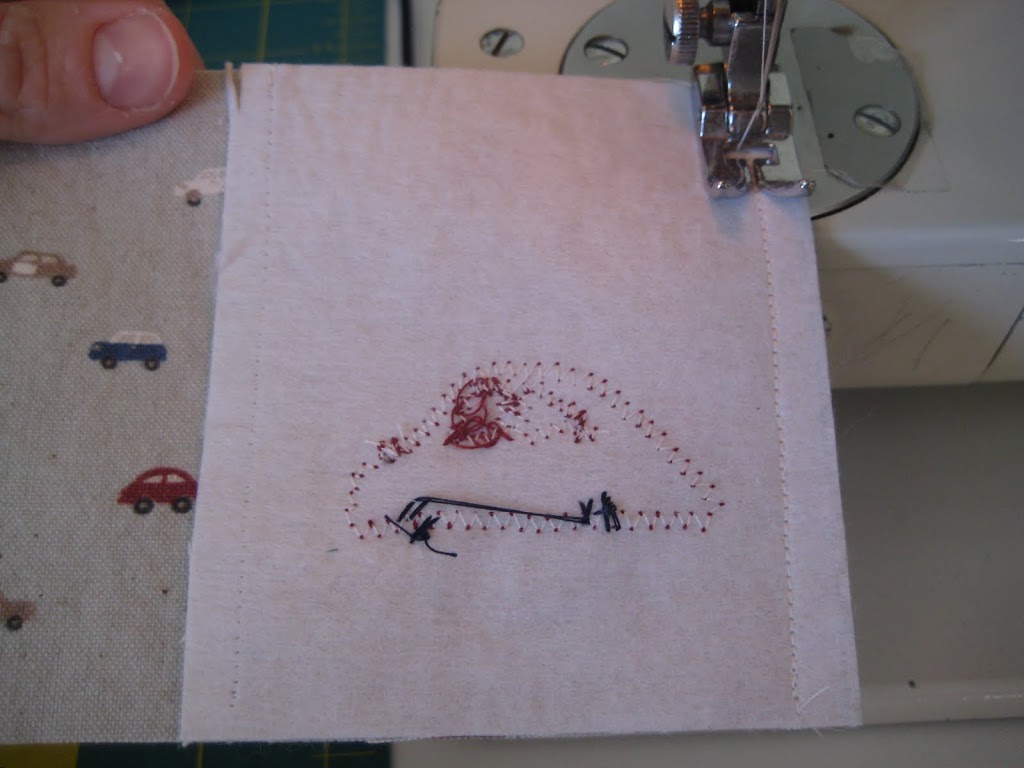
Fold the pocket piece down and topstitch along the top edge. Baste your pocket piece to the exterior of the bag about a 1/4″ from the edge on the two sides and bottom. {Now is a great time to add some detail to the top of your bag such as a freezer paper stencil, applique or even a patch.}
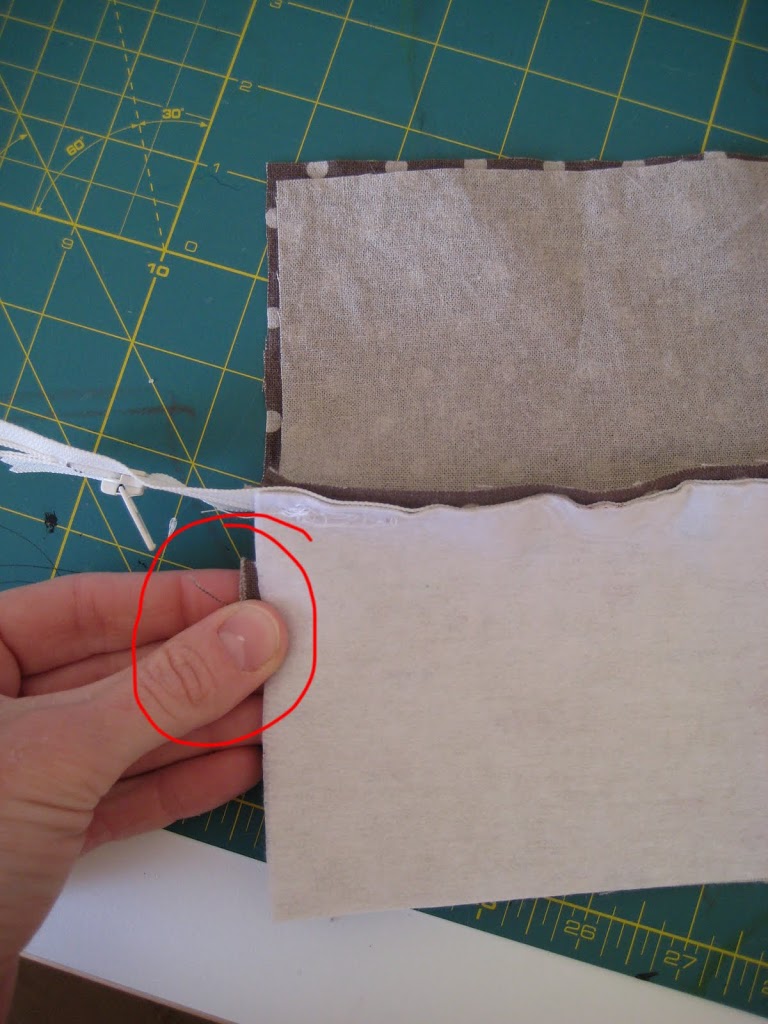
Take the two tabs you made earlier and place them about 1.5″ from the bottoms of the bag on either side with the raw edges lining up with the raw edges of the exterior of the bag. Baste.
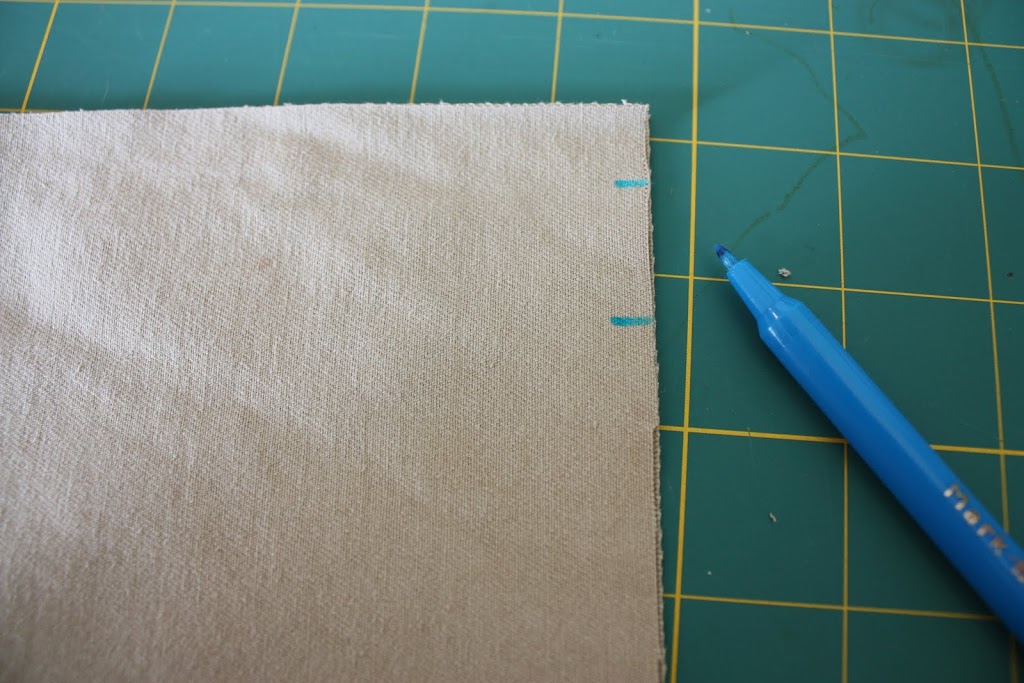
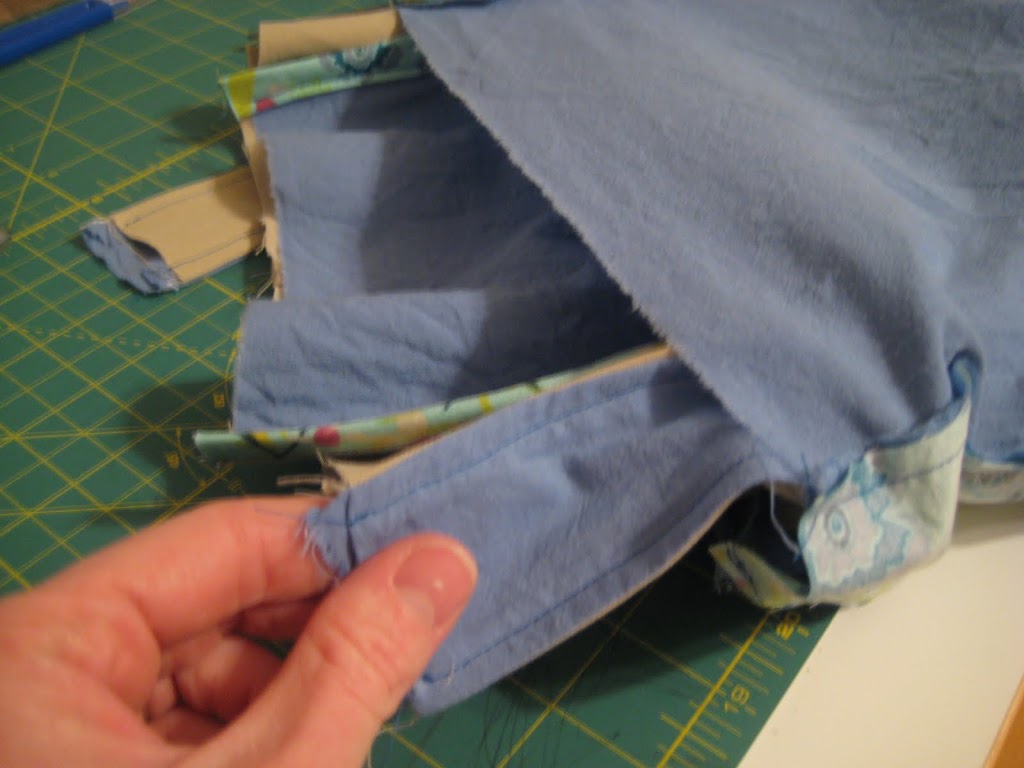
Then, make two marks on either side of the top of the wrong side of the exterior of the bag. The first mark is 1/2″ from the top and the second mark 3/4″ from the first mark. You will be leaving a gap in between these two marks — this will be part of the casing for the drawstrings.
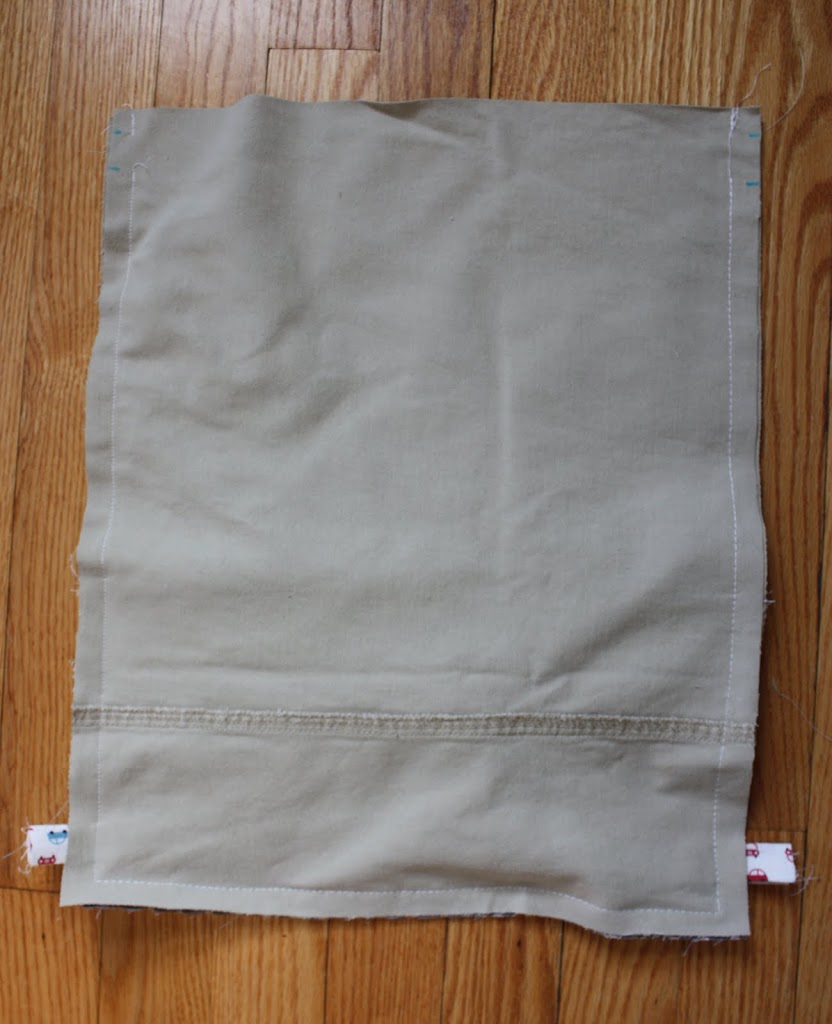
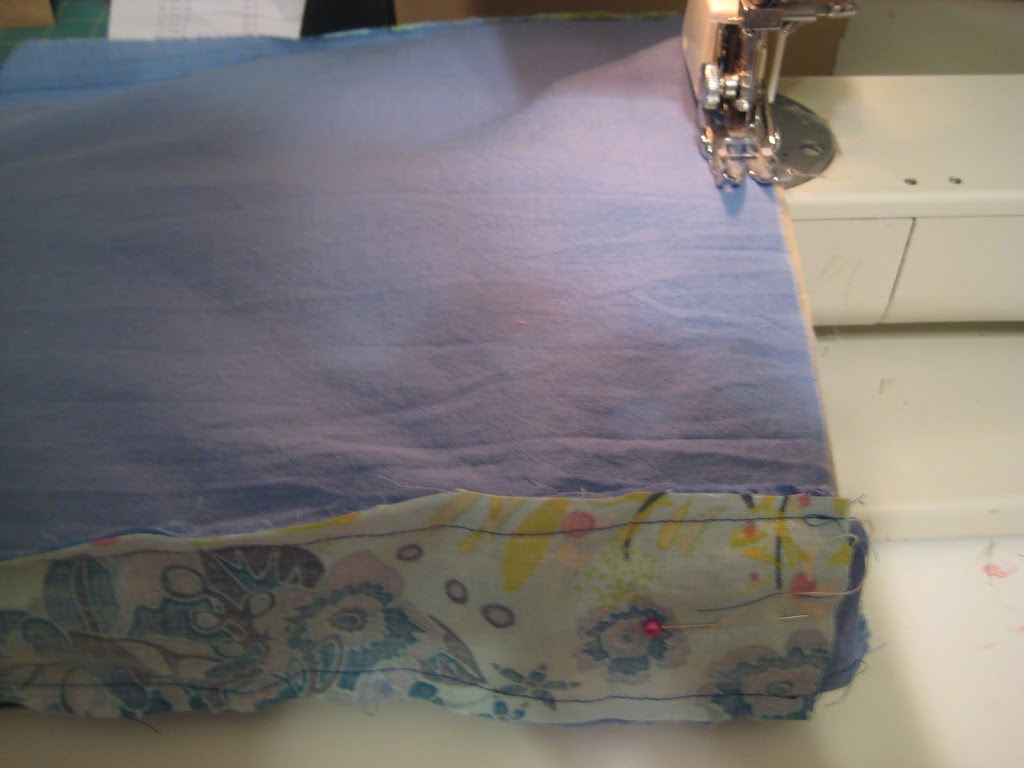
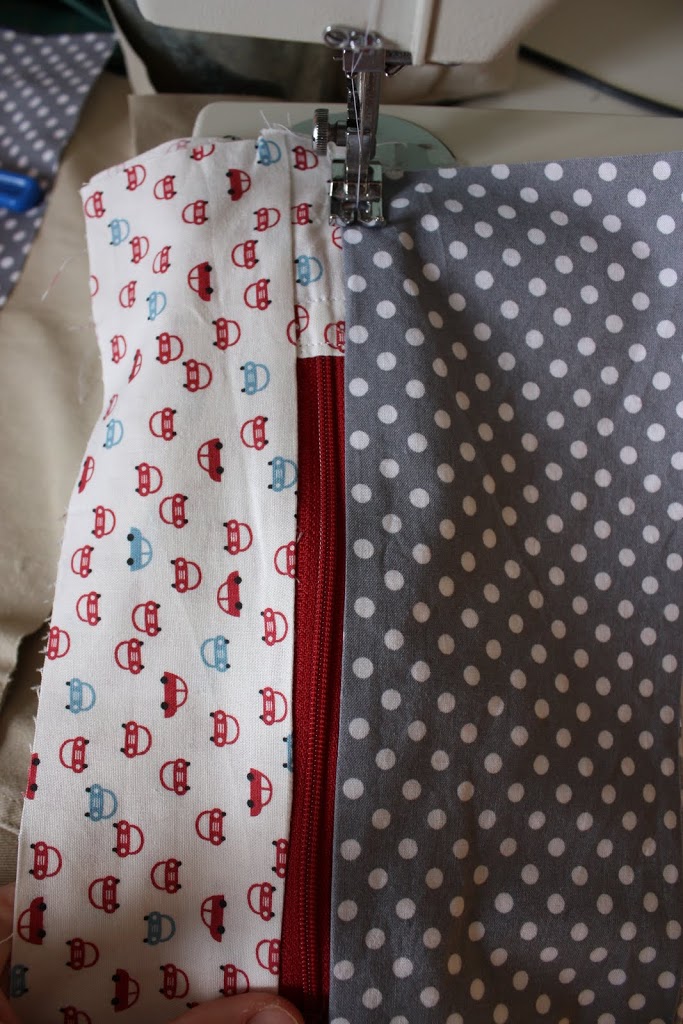
Place your two exterior pieces right sides together. Sew together using a 1/2″ seam allowance, leaving the space between your two markings open.
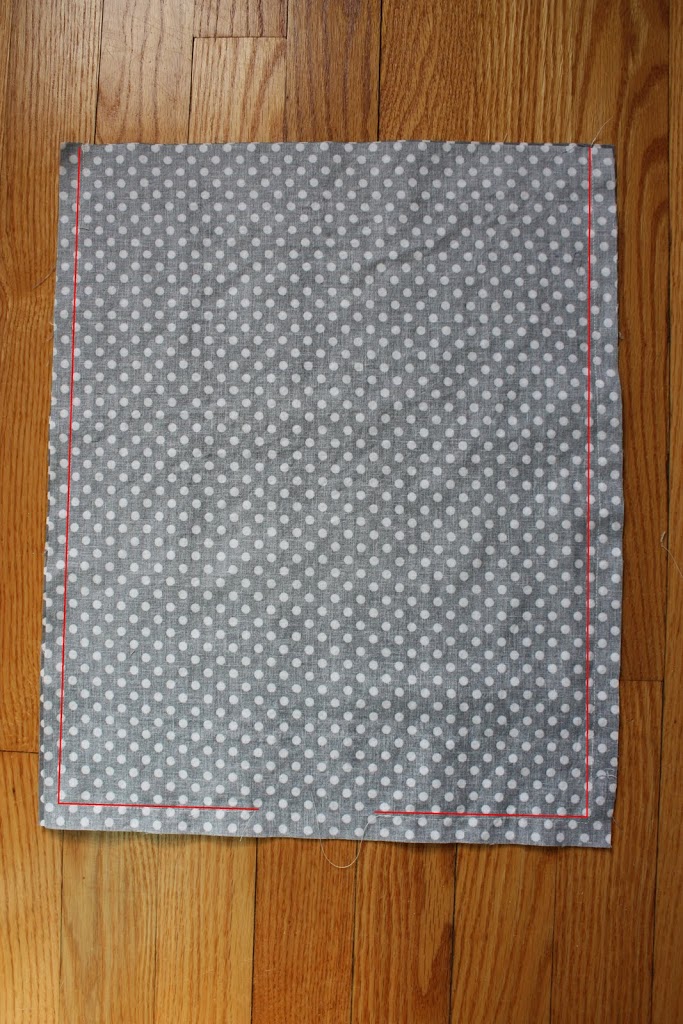
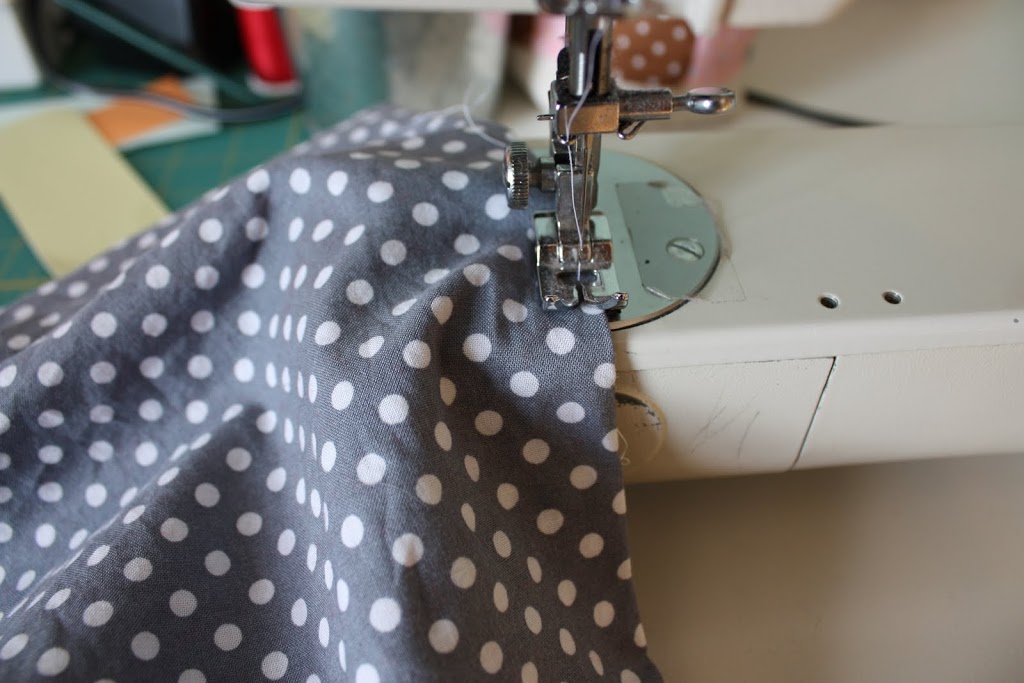
Next, place the lining pieces right sides together and sew using a 1/2″ seam allowance leaving a 4-5″ opening in the bottom for turning.

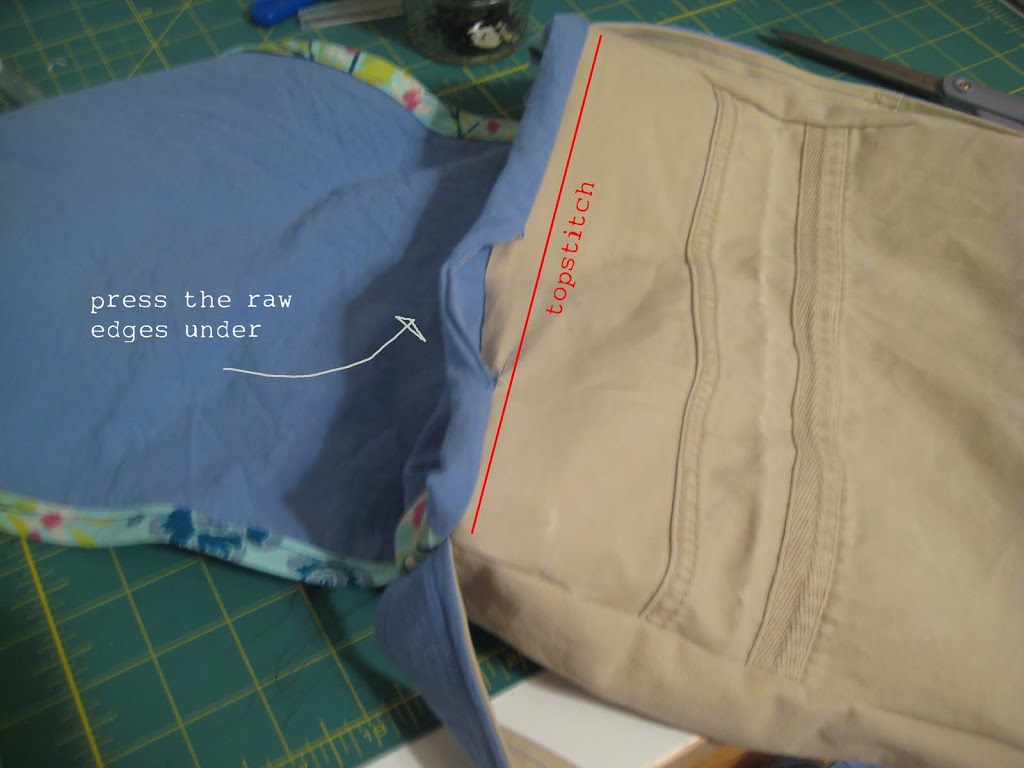
Flip the lining piece right side out and place inside the exterior of the bag (right sides facing together). Sew around the top edge of the bag using a 1/2″ seam allowance.
Turn bag right side out through the opening in the lining. Sew the opening shut using a small seam allowance. Press the top edge of the bag.

Sew around the top of the bag using about a 5/8″ seam allowance (this is making the casing for the drawstrings).
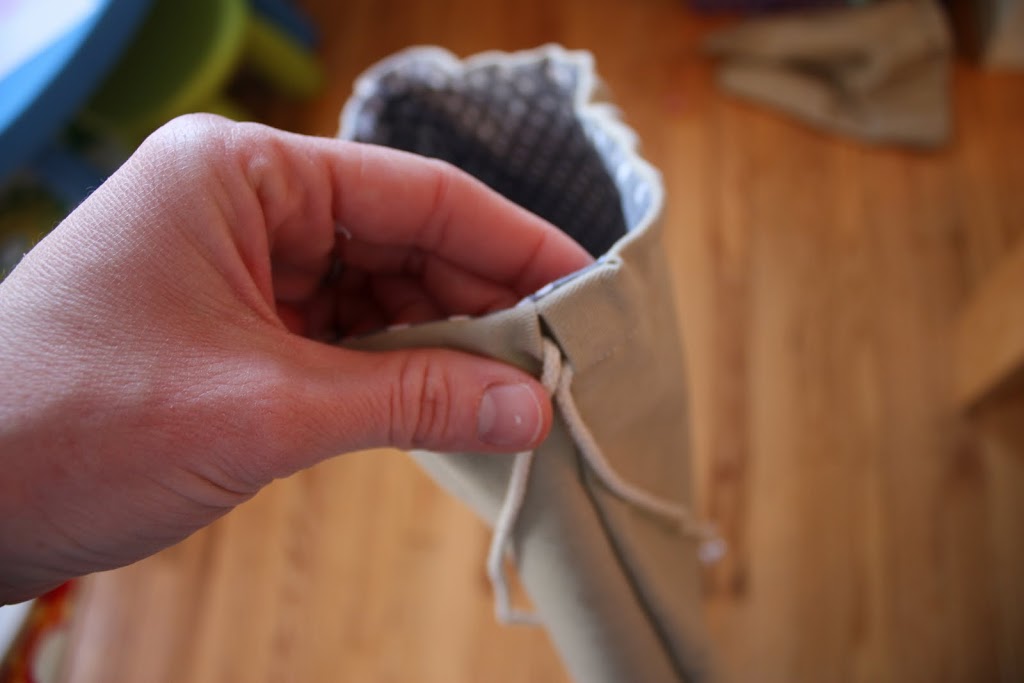
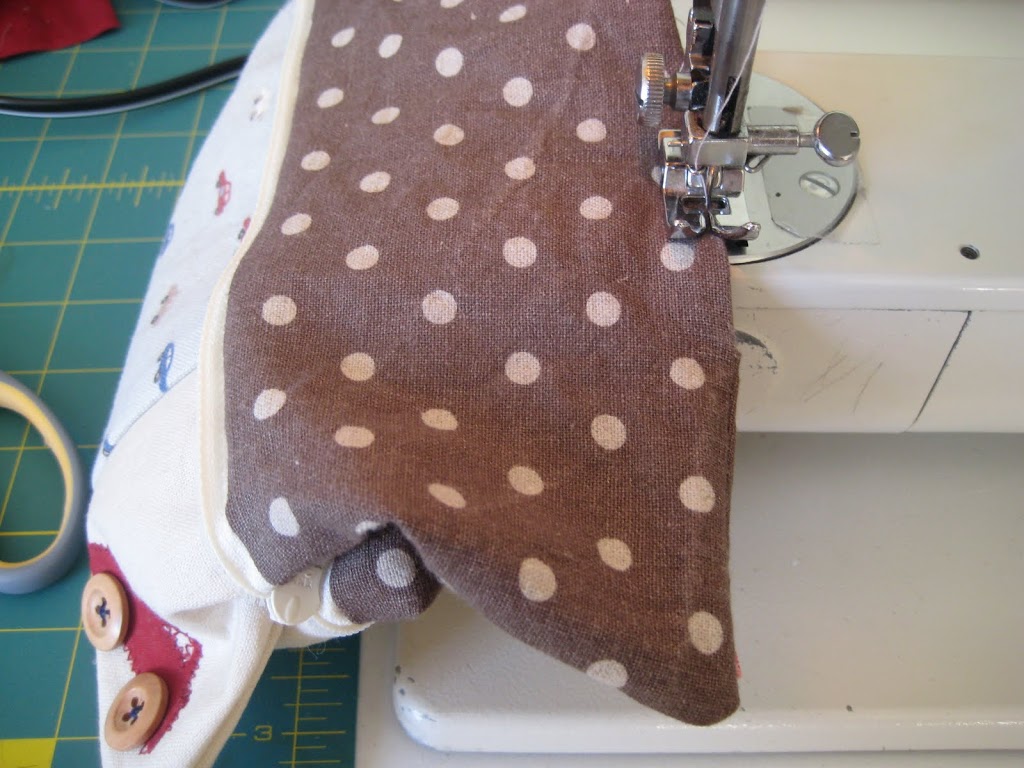
Cut your cording in half, each piece being approximately a yard and a half long (this length can be adjusted depending on how big your child is and if they’ll be wearing winter coats under the backpacks). Using a safety pin, thread each cord through the openings left in the seams of the exteior. Thread through one side and pull cording out through the same opening. Do the same for the other side. Tie the cords together through the tabs you made at the bottom of the bag. You’re done!
There a lots of options for this bag. Add a freezer paper stencil, an applique, or a patch to the bag to make it even more personalized. You can also use ribbon or cotton webbing in place of the fabric tabs at the bottom of the bag. Take this and make it your own!