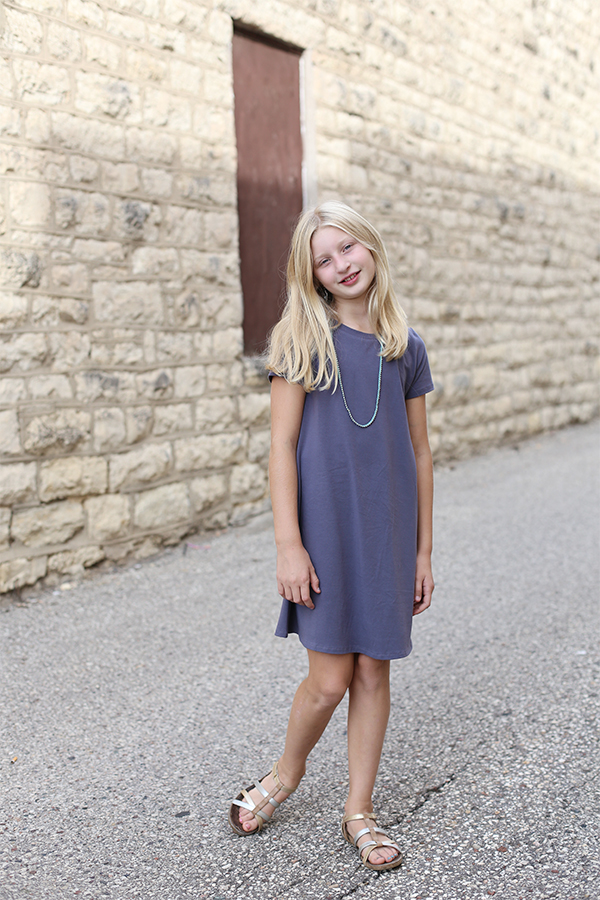
I am super happy to join in on celebrating Oliver + S’s new book, Building Block Dress: A Sewing Pattern Alteration Guide. I met Liesl for the first time in person at last Spring’s Quilt Market. She’s so easy-going and approachable. I love the fact that she grew up in Wisconsin, just a couple of hours from where I live. It’s definitely a comforting feeling to be able to relate to her in that way as well as sewing!
Honestly I hadn’t heard that she had a book in the works, and the blog post she shared about why she self-published and her goals for the book really resonated with me. Check out this post too about how she got started! So awesome and inspiring. I love the book and I’m not sure anyone else would have been able to put it together in the way she did, so clear and concise. I can’t imagine the amount of thought that went into each decision on just the different choices in this type of sewing book, much less everything else.
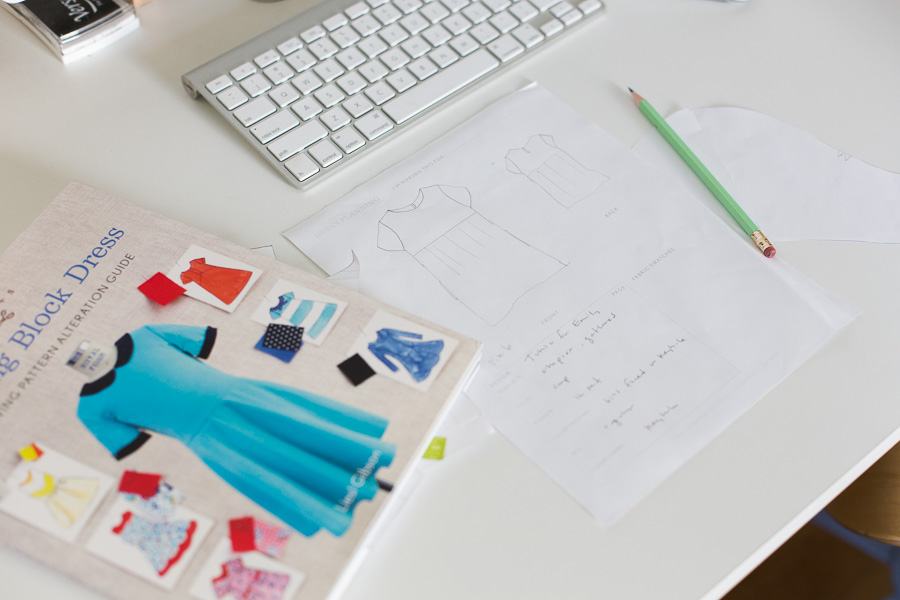
If you haven’t heard much about the Building Block Dress book it’s a totally different concept from what I’ve typically seen in a sewing book. Liesl guides you through designing a dress and how to sew a ton of different features that you can choose. The design choices are broken down into easy Chapters: Sleeves, Silhouettes, Pockets, Collar and Necklines, and lastly Finishes: Hems, Closures, and Linings. The first three Chapters discuss all of the basic steps you’d need to know for making any dress or garment, and then the Chapters dive into how to modify the block pattern pieces and how to sew them.
It was fun to show my girls the book and flip through and see the different examples. I think that the concept of designing your own dress was a tiny bit difficult to wrap their head around, even though they’ve seen me make a million things for them and even though they’ve designed things themselves. What really helped hit the idea home was when we flipped to the Contents page. It ended up being super helpful to Emily for me to show her that page (with awesome pictures to describe what each option looked like) and make some decisions on what she’d like and feel comfortable in.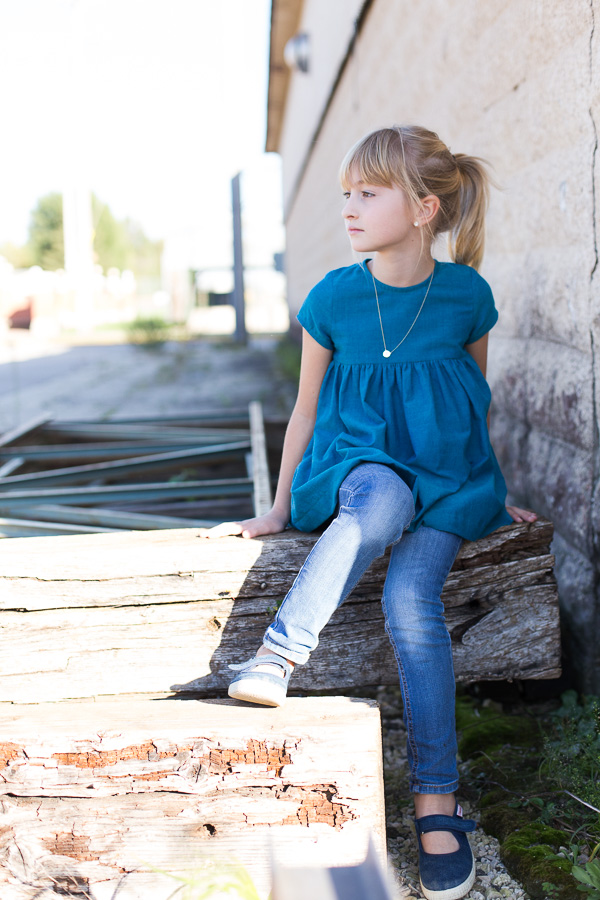
Here’s the worksheet where we wrote down all the info:
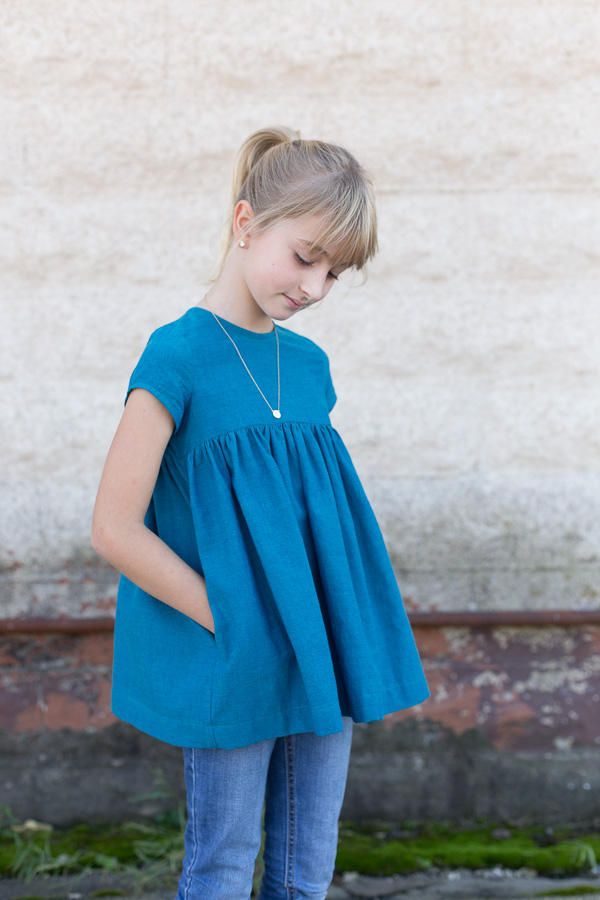
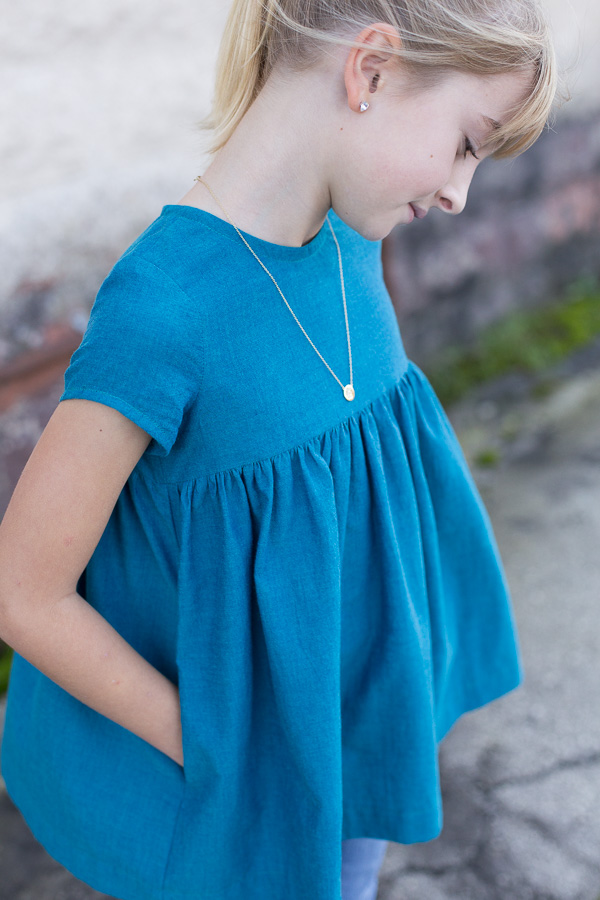
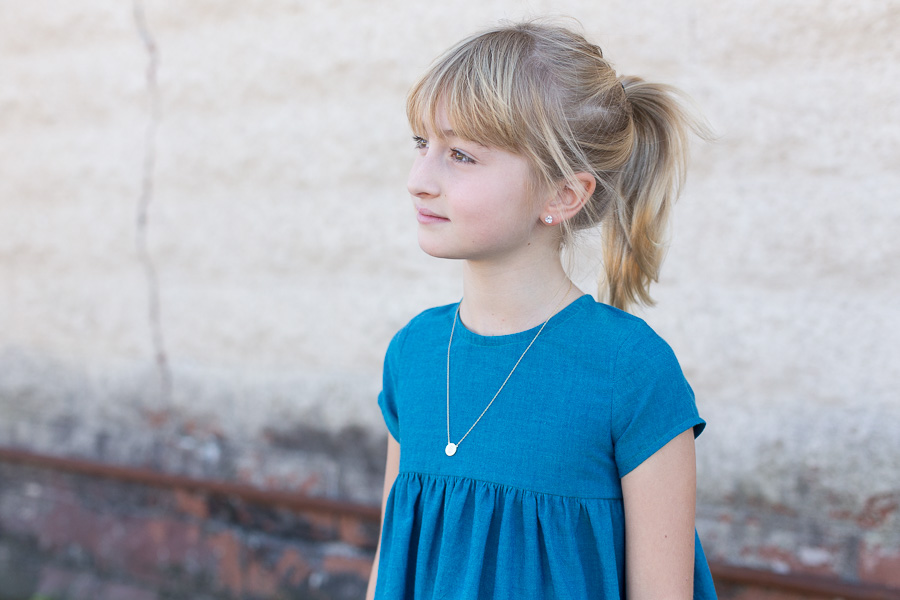
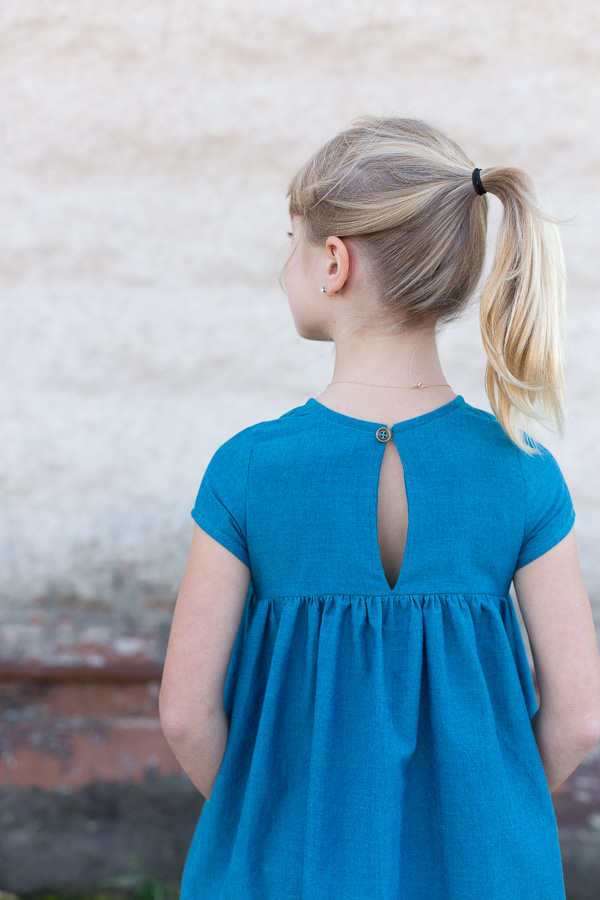
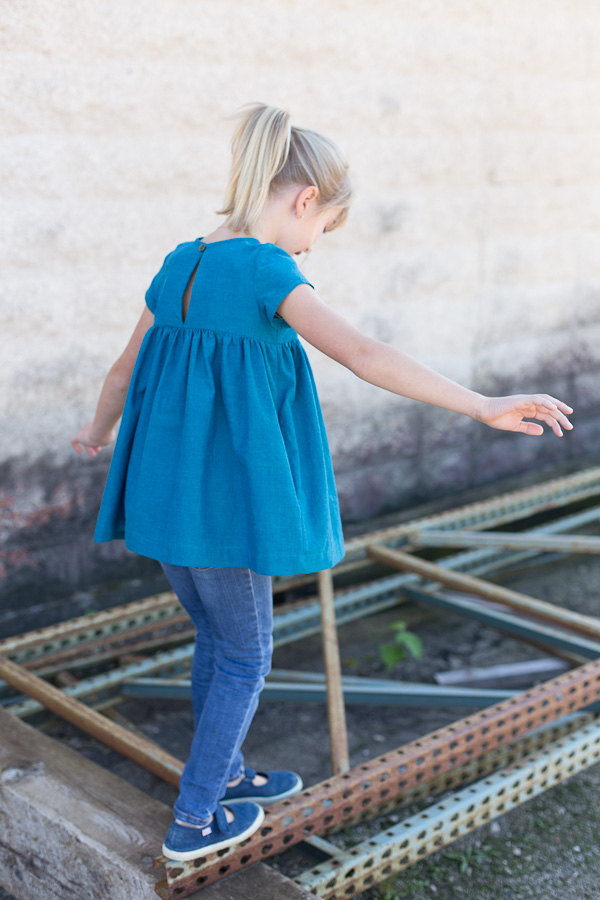
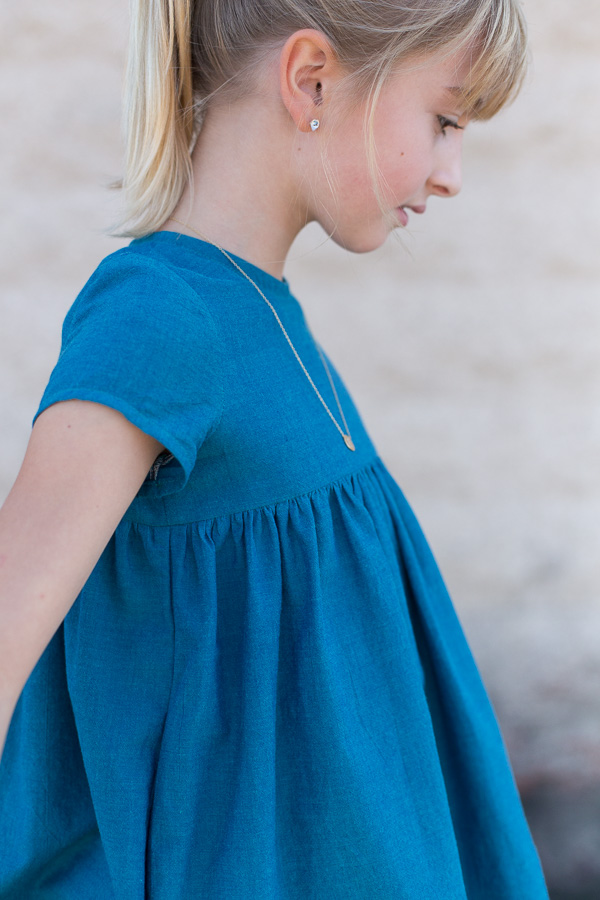
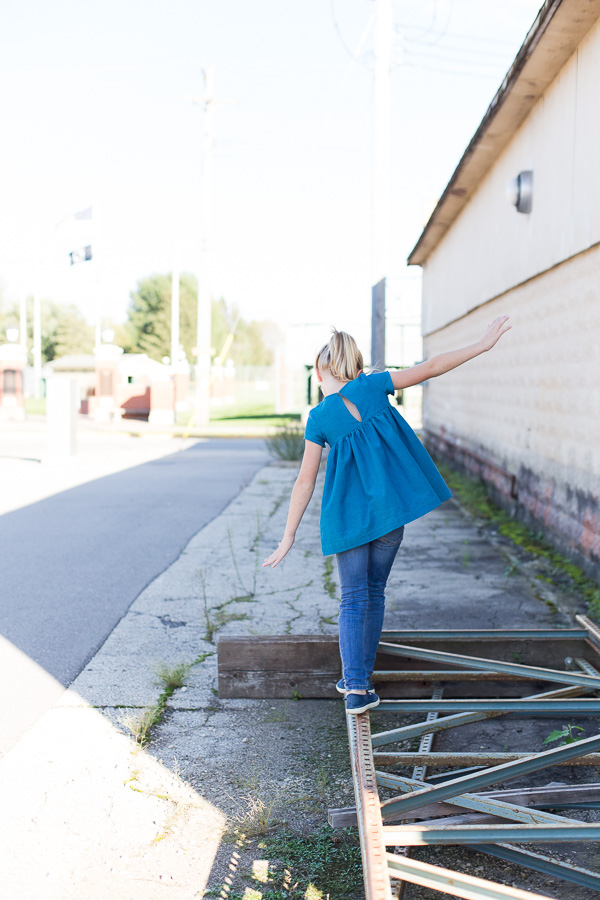
We chose to make a tunic (just because I’m hoping it will get worn more than a dress would have), with an empire waist with gathered skirt, cap sleeves, in seam pockets and a keyhole closure.
There’s a download link here to grab a copy of the worksheet.
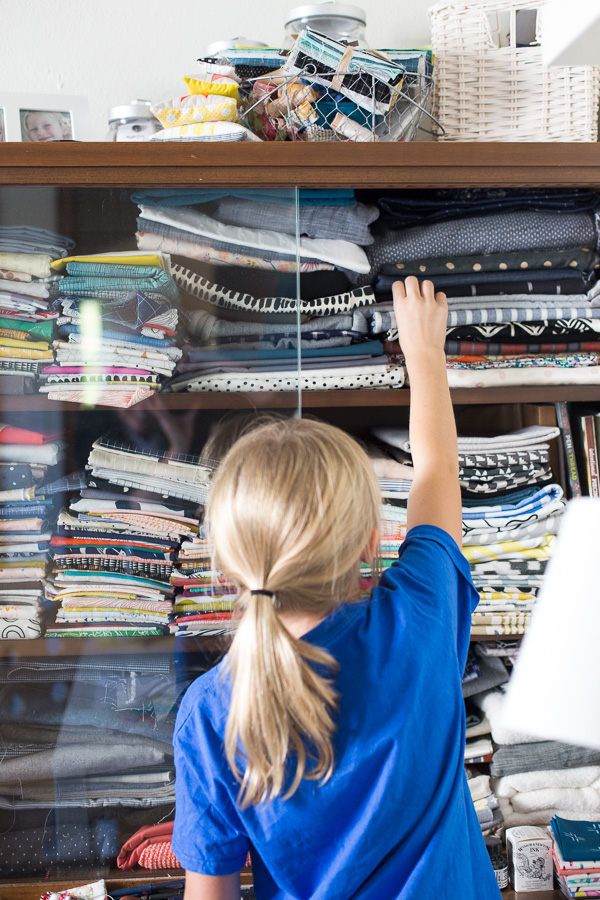
Next, we looked through my fabric stash and pulled out a million different choices. We landed on my (our) favorite shot cotton in Aegean by Kaffe Fassett. This is by far one of my most favorite shot cotton colors. While I was waiting for the fabric to finish washing and drying, I traced the pattern pieces and modified the sleeve pattern piece into a cap sleeve. That night I pressed and starched the fabric and cut out the pieces. The next day I was able to sew the tunic — it was so fun to see everything come together. I really find sewing less daunting if I break down the project into smaller chunks. I’m sure I could have gone from the very start to a finished garment in a day, but this way always feels more relaxing to me.
So I look back now and should have made a muslin (at least of the bodice) like Liesl recommends. Even though Emily’s measurements fall within the size 6 that I made, it’s a bit too snug around the neck and shoulders. I might take some time and re-make the bodice, but we’ll see. It can always be passed down to my youngest niece if I don’t!
I hope you’ll check out Liesl’s book. I think it’s such a great way to really take control of the design and make something truly unique and something your child will wear!

