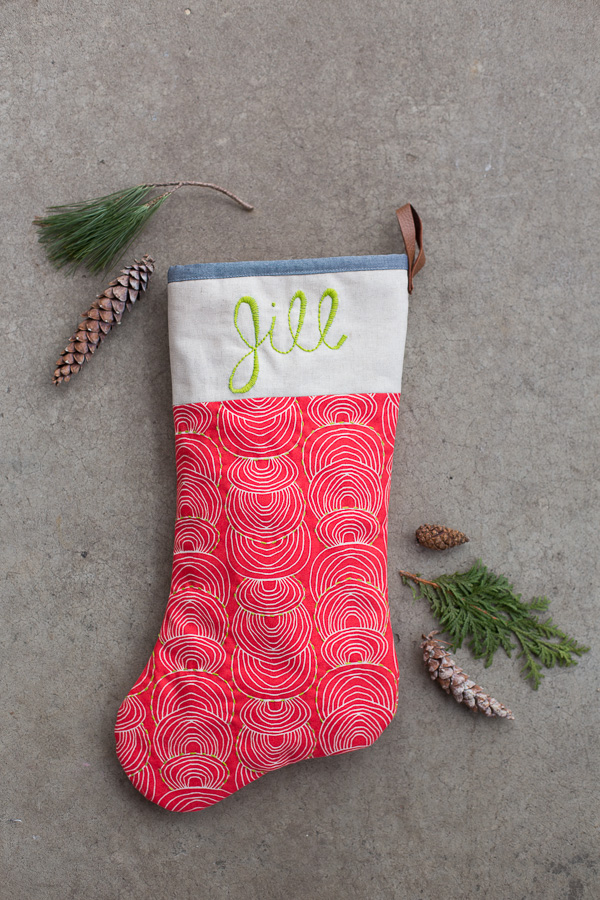
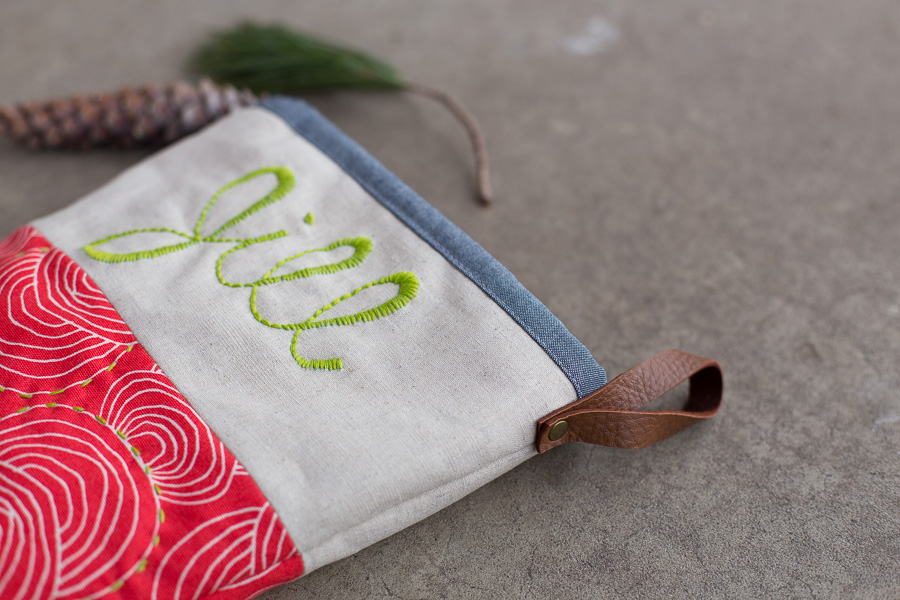
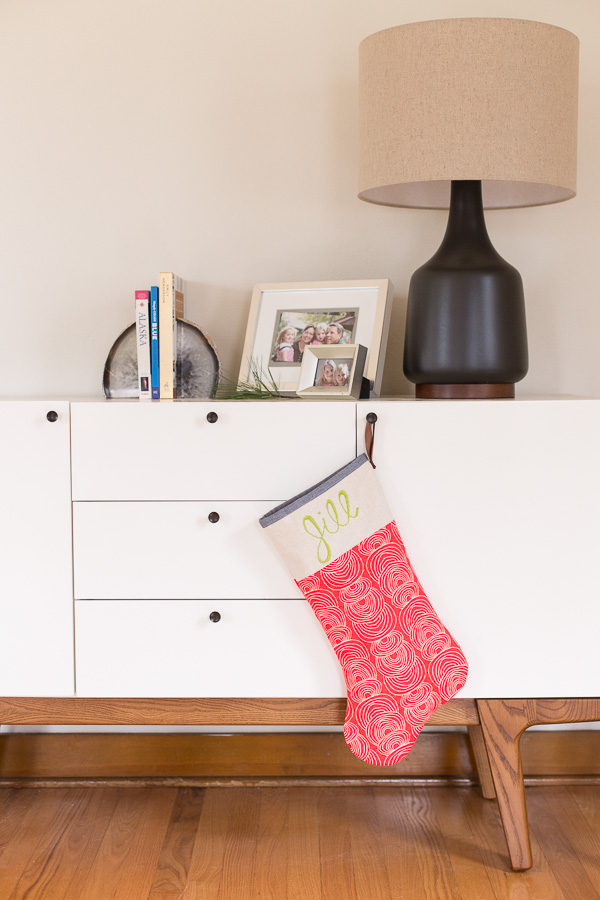
It’s getting to be Christmas time! We decided on holding off on cutting down a tree for another week or so. I’m excited to go get one though. So in the mean time, I had a stocking to make! It took me about 3 years to get around to making this stocking for my niece, Jillian. I loved making it for her! In between Thanksgiving meal prep and sleep I managed to embroider her name and then finished sewing up the stocking this week.
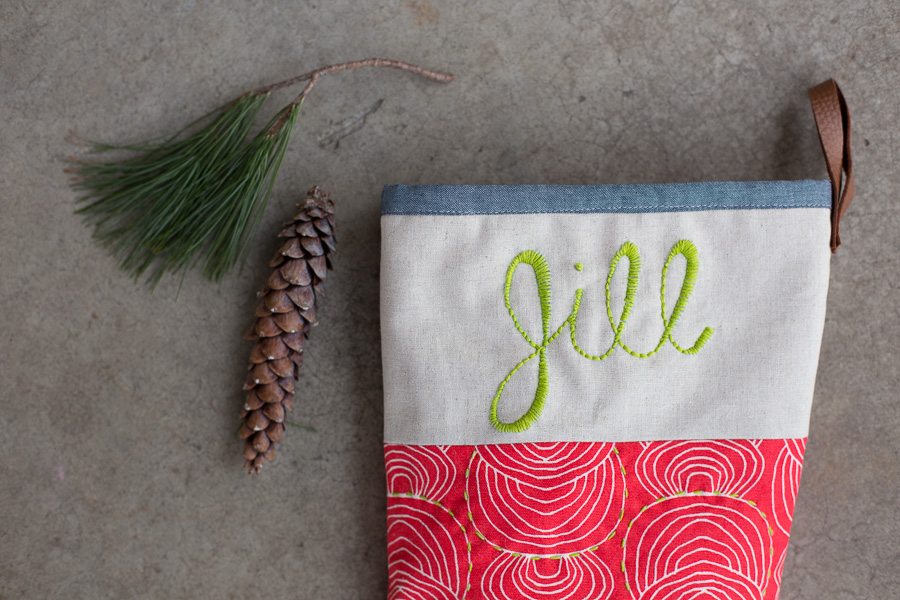
I totally dragged my feet on this one because Jillian is a relatively long name, and I’m terribly slow at embroidery. I remember when I made them for my family and then my brother’s family and then my nephew that the names took forever! I love the look of it though, and having your name on your stocking is pretty much at the top of anyone’s Christmas list. I got secret intel from my mom that I could probably get away with just ‘Jill’. She calls herself that and writes her name so cute already, so I leapt for joy at being able to skip a few letters! It looks so cute and I think my embroidery skills have maybe improved just a bit since the last one. yay for that!
The actual sewing of the stocking came together so quick, so if you need a stocking you still have plenty of time! I used my own tutorial (forgive it’s wee inconsistencies as it’s a 6-year-old tutorial), but it worked great. I eliminated the small strip under the name to match the one I made for my nephew.
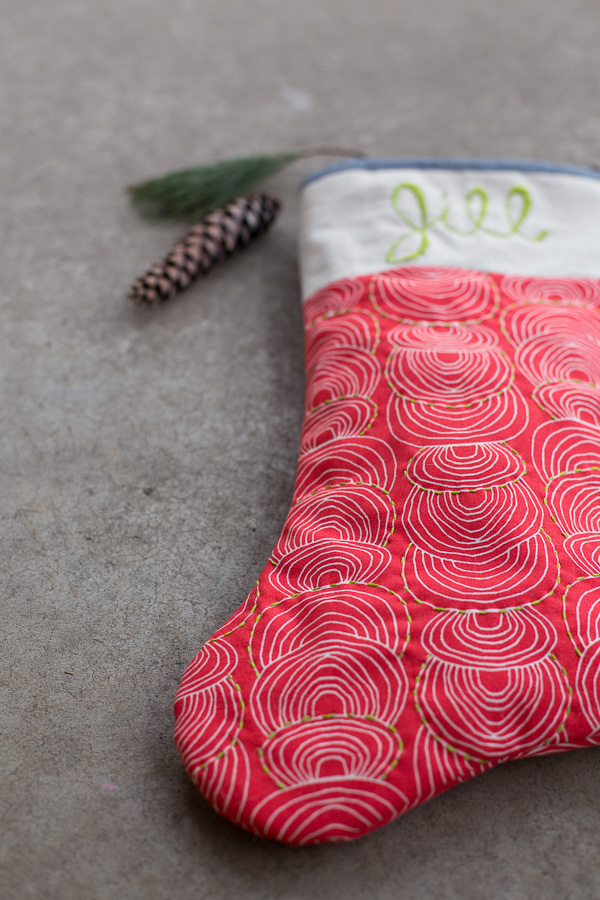
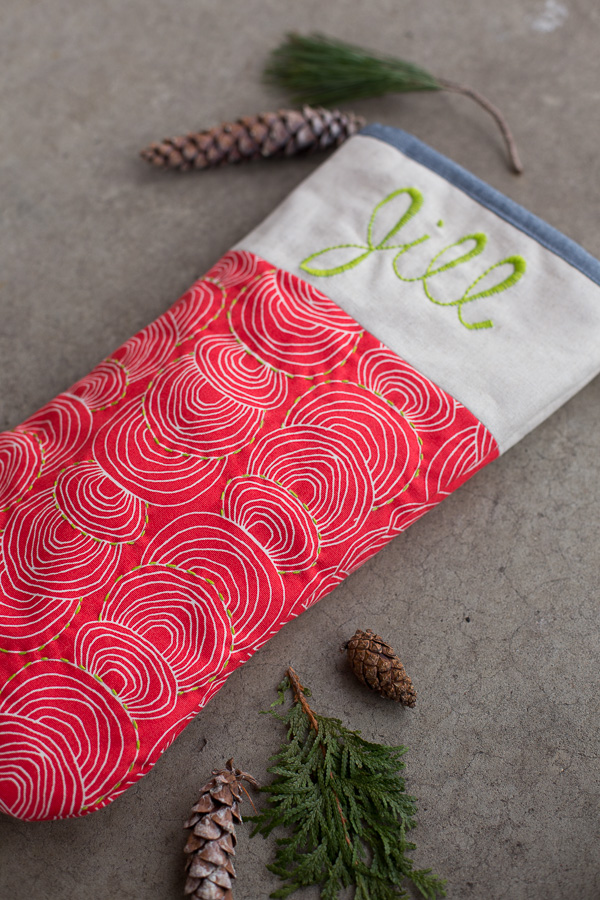
Using my fabric, Rain Walk, was definitely a treat! There might be some shops that still have some in stock, check here at Cloud9 for a list of quilt shops. I was so excited as I went through my mental catalog of fabric and realized this print would be perfect. The little bit of quilting in green mimicking the ripple shapes made me so happy. Instead of doing ribbon and a button I threw on some leather with a rivet. So slick if I do say so.
I also wanted to say a huge thank you for your support of my sale. I sold out of my leather which I am so excited about, but am hoping to get all colors back in stock within the next week or two. I might have to do a little something fun for those who missed out on getting some during the sale. 😉

Just love this stocking! Question…what font is that you used for the embroidery? Do you have a tutorial on how you did that? Thank you so much! Kristen
Hi Kristen! Thank you! I just hand wrote it with a water-soluble pen and then hand embroidered over the top using a backstitch for the thin parts and a satin stitch for the thicker lines. Hope that helps a bit! 🙂
Thanks for the response, Anna! I will have to try that. I am embarrassed to admit that I have a Bernina machine that embroiders…but it was put away for a major craft studio clean out, and it hasn’t been unpacked. It takes me so long to set up everything on the machine…maybe I’ll try my hand at hand embroidery (pardon the pun)! LOL! Happy Holidays to you! Can’t wait to try your stocking tutorial!
Yes! The hand embroidery was actually not too time consuming! Happy Holidays to you too!
Cute!! So many pretty details.
Love the stocking! Especially the embroidery. I will keep an eye out for the surprise because I missed the sale email while busy (happily) with family for the holiday.
Amazeballs. love the embroidery!!
hehe, thanks Rae!
So so so pretty Anna! Love the the hand quilting…and the leather too. Wow, just wow!
Thanks Kim!!! 🙂
Hi Anna, I really like how you did your stocking and will be making one or my first grand baby! I could not access the pdf file for the pattern under Jill’s or your nephew’s stocking and didn’t know if anyone else was having a problem. thank you
Thanks Monica! I updated the link in the tutorial just now, you can find it here: https://blog.noodle-head.com/2009/11/christmas-stocking-tutorial.html Let me know if you still can’t get it to open. 🙂
The red fabric is just perfect, with the green quilting… And the leather! Possibly one of the most stylish stockings I’ve seen!
What a beautiful stocking! I love the simplicity — yet it’s still pretty. You have such a wonderful style — and your embroidery is exquisite. Good job!
Anna, I am having trouble with something else. I can’t find a tool or technique that attaches rivets without damaging the rivet head. (making café aprons) I used padding and also screwed the center piece down from a snap attachment tool . . . nothing worked. Any suggestions? Or where could I find instructions? I Googled it several ways with no success. I’m holding off on making one of your bags till I figure this out. Thanks.
Hi Leslie,
Sorry I missed your comment earlier! Here’s my tutorial for setting rivets: https://blog.noodle-head.com/2015/07/install-rivets.html
I’m wondering if you’re missing the anvil piece? That’s the part the rivet rests on so the cap doesn’t get damaged and stays rounded. Let me know if that helps, you can email me, too. 🙂
I thought the embroidery was done by machine until I read further and zoomed in on my phone – it looks great! Now you’ve got me itching to try (and glad that I gave my kids fairly short names!)
Hi, thank you very much. good job.
I like the fabric…and the leather handle. A few comments up u explained how u embroidered the name. Thank you. I had the same questions.
I was too slow in ordering the leather straps during the sale too. Sold out by the time I could sit down and look. Glad to hear they will be back in stock.
Bravo ! Votre blog est l’un des meilleurs que j’ai vu !
vrai voyance gratuite mail