We’re almost there! Welcome back to the Handmade Style Tunic Sew Along. I’m hoping this sew along will be helpful to anyone who’s excited about sewing this tunic, I know it’s been fun for me to sew it again. So it may just have given me the itch to sew yet another with a few more modifications yet!
Today we’ll be sewing the side seams, cuffs, and waist casing/drawstring. Listing it out like that makes it sound like more than it actually is, I promise it’s not too bad! I would guess that it might take you a little over two hours time if you go along at a casual pace. Along the way I’ll mention a few more modifications and those will cut down on time as well. So it’s really up to you! Make it yours, add your own twist, infuse your style.
Start by sewing the side seams just like we did on Day 3 for the shoulder seams. Again, I’ll be using a french seam for this, so you can follow these next few steps or sew it the traditional way by sewing the seams with right sides together and finish your seams with a serger or zig zag stitch – your choice.
Place the tunic front and back pieces WRONG sides together and sew along the both side seams (which is actually the sleeve and side seam all in one) using a 1/4″ seam allowance. Then trim the seam allowance to an 1/8″. Press the seams, turn the tunic wrong side out and sew the side seams using a 1/4″ seam allowance. Press your seam towards the tunic back.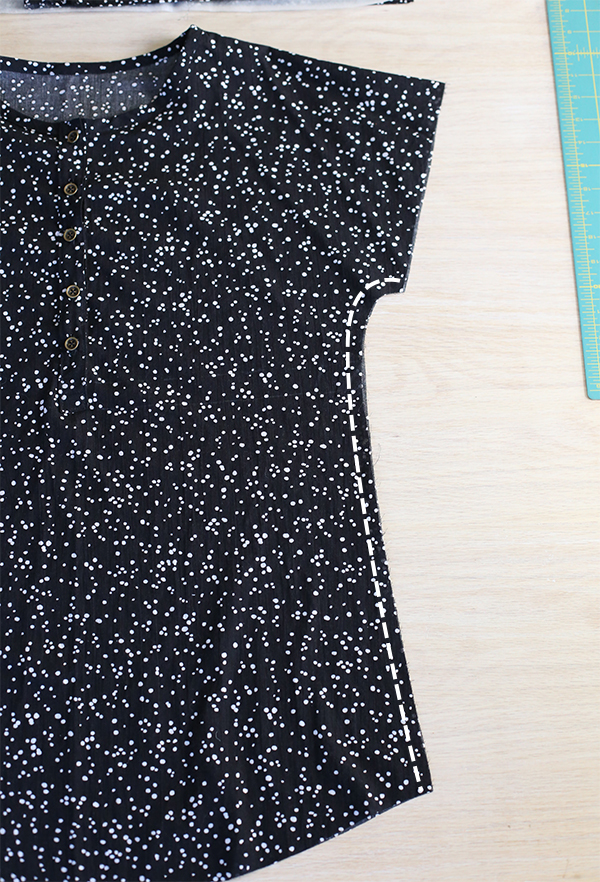
The cuffs are optional, so you may choose to leave them off. If you’re not using the cuffs you’ll need to hem the sleeve opening by pressing it to the wrong side by 1/4″ and then again by 1/4″. Sew close to the inner fold to hold the hem in place.
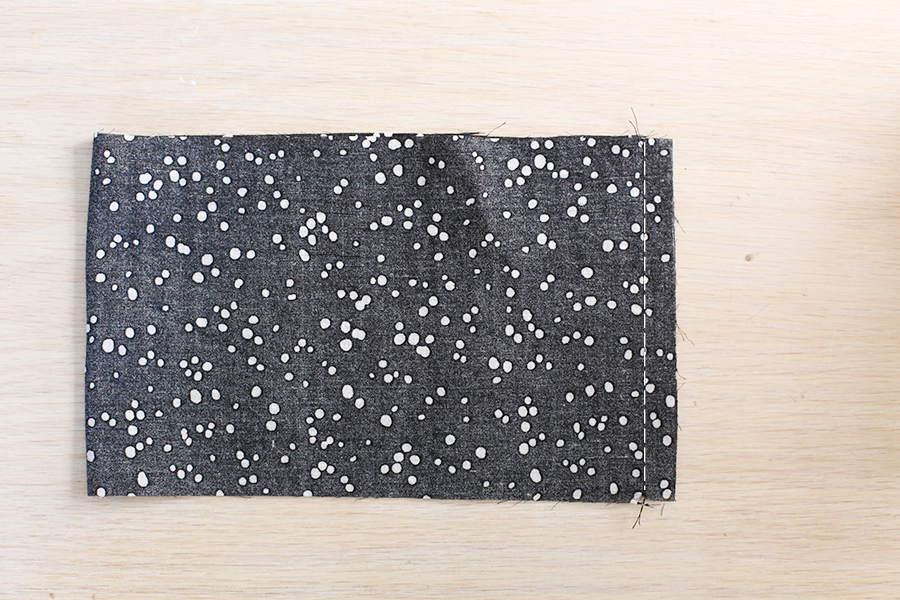
If you’re ready for cuffs, follow along! First match the short ends of the cuffs right sides together and sew. Press seam open.
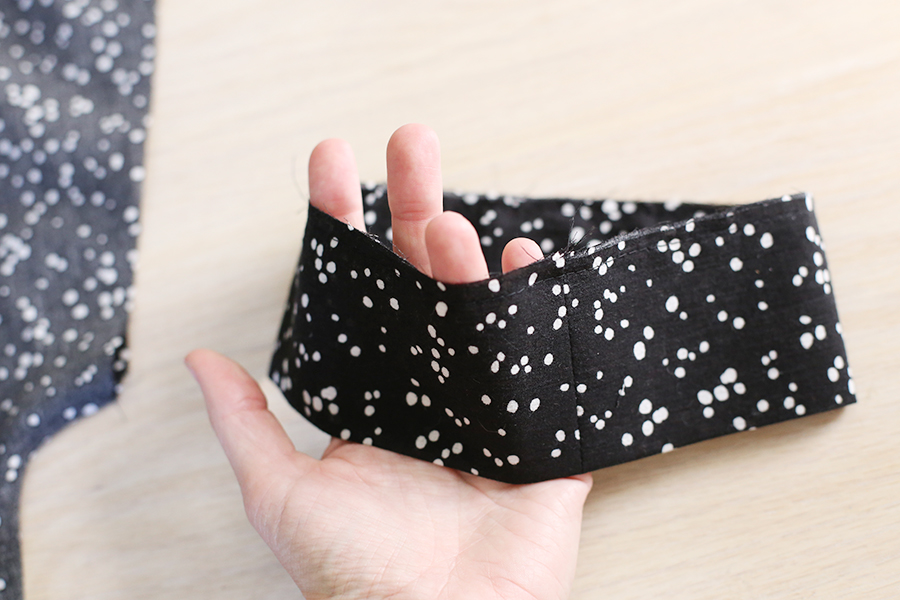
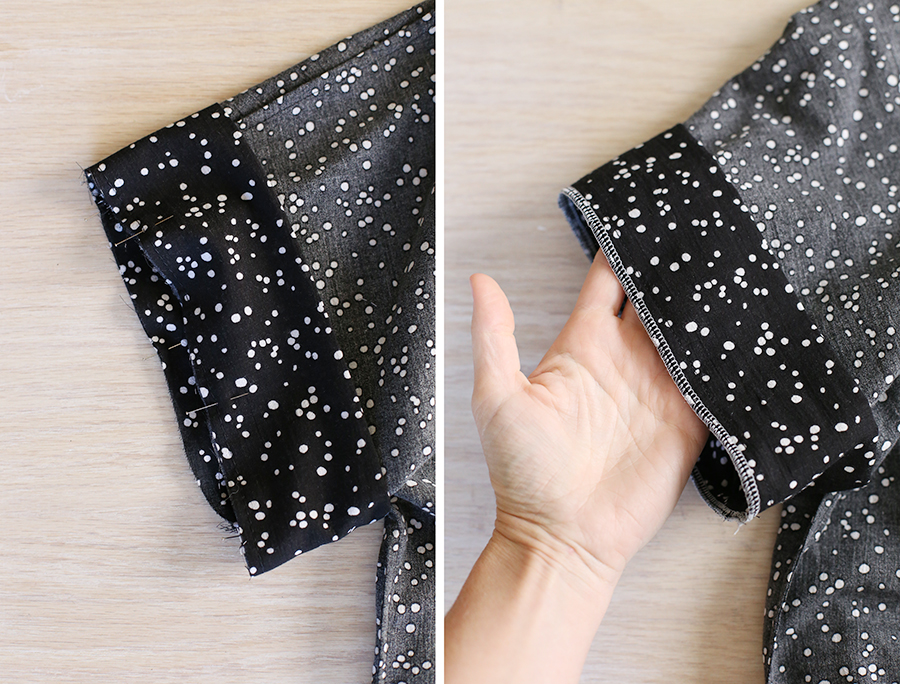
Next, fold the cuff in half with the wrong sides facing and press. Baste the raw edges of the cuff together.
Next, with the tunic wrong side out, align the raw basted edge of the cuff with the raw edge of the sleeve opening. The seam of the cuff should align to the side seam of the tunic. Pin in place and sew. Next you can finish the seam with a serger or zig zag stitch.
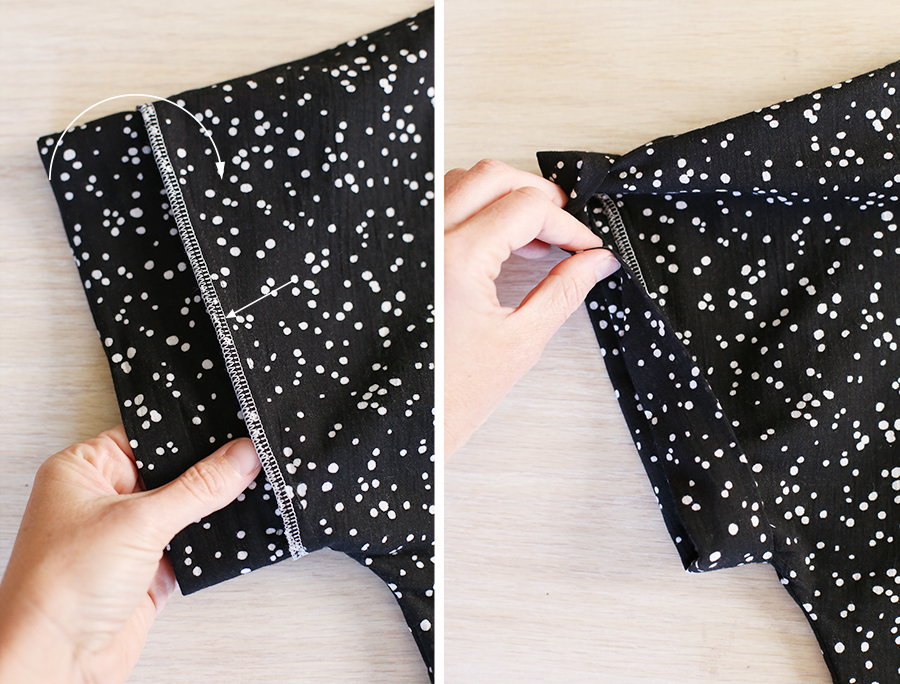
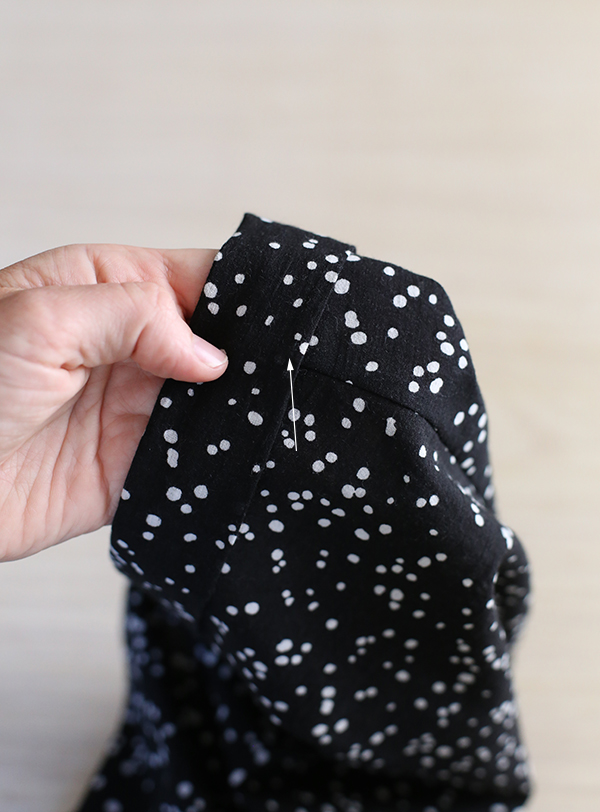
Turn the tunic right side out and press the seam allowance toward the cuff. Fold the cuff in half toward the tunic, the finished fold of the cuff will be past the seam you just finished by about 1/2″.
Tack in place along the shoulder seam and underarm seam by stitching a few times back and forth with your machine, or using a tack stitch or by hand. This will help prevent the cuff from coming unfolded and hold it nicely in place. Repeat to make and attach the remaining cuff.
You could skip the waist casing and go for a simpler approach by making the drawstring and tying it around your waist when worn. You could also experiment with adding belt loops at the side seam. Another fun variation to try!
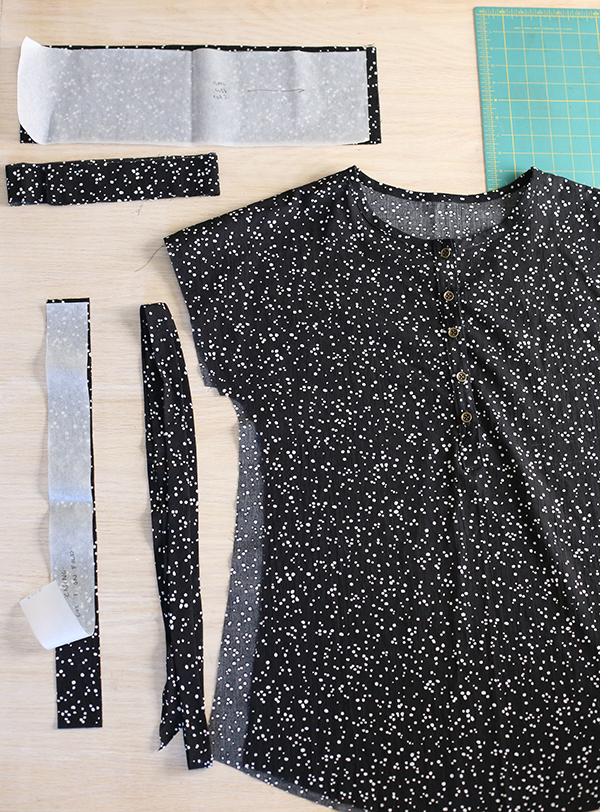
To make the waist casing start by folding the long sides of the casing to the wrong side by 1/2″, then fold both short ends to the wrong side by 1/2″. Topstitch along each short end.
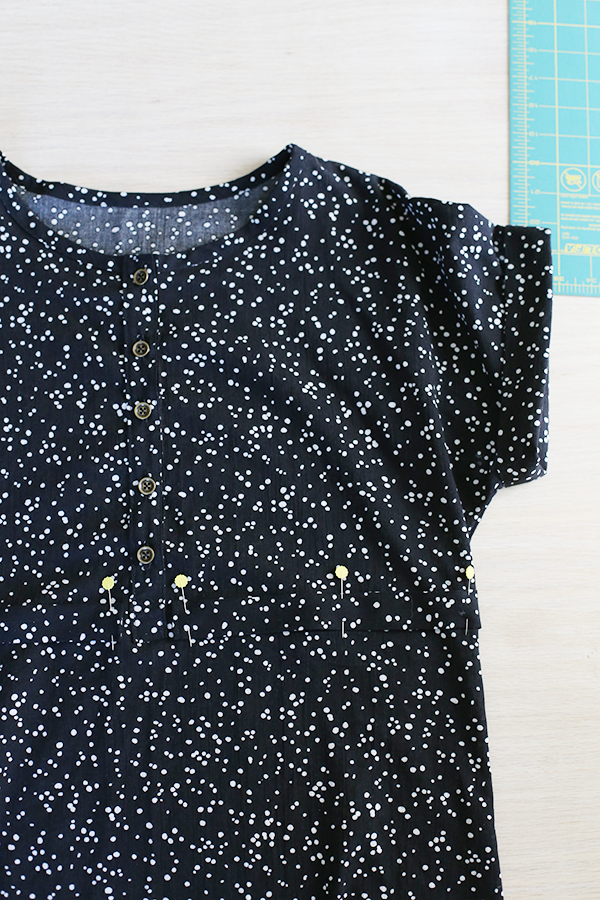
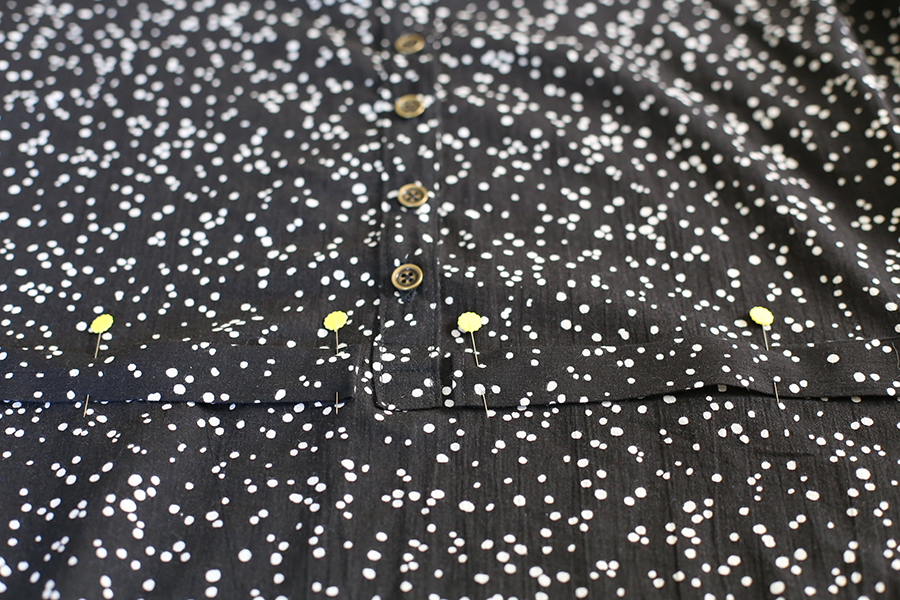
Lay the casing wrong side down on top of the tunic aligned to the transferred placement markings from the pattern. I start by pinning at the one end of the casing and working my way around the tunic. It’s easiest to reach inside the tunic with one hand while doing this. If your casing needs any adjustment by the time you reach the other side of the placket, it’s easy to do. Just shorten it and redo the topstitching. The casing will be ending about 1/2″ to 1/4″ on each side of the placket. If you wanted to make the casing higher or lower on the tunic, it’s pretty easy to move it up or down to your liking. You’ll want to adjust the length of the casing accordingly.
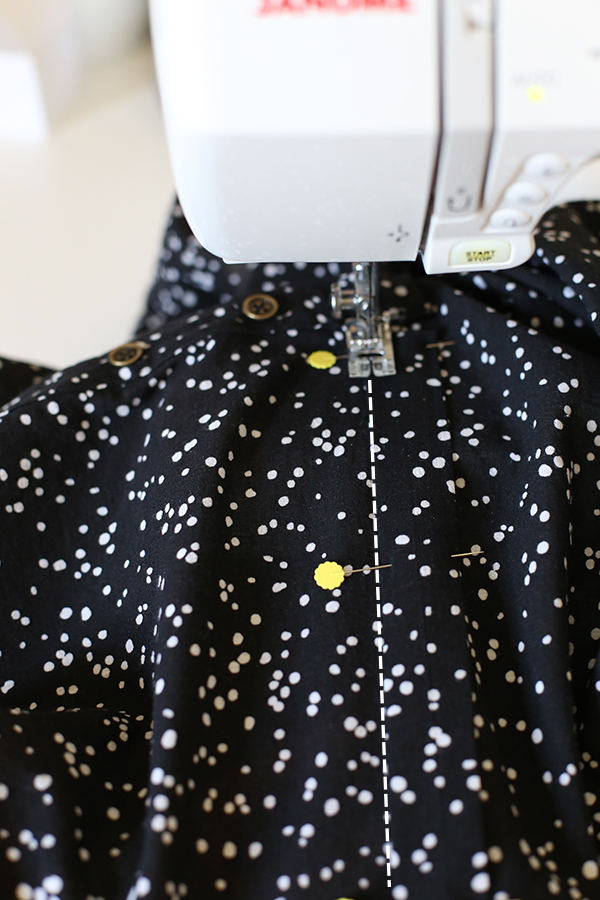
Sew the casing in place by sewing along each folded edge all the way around the tunic being sure to backstitch at the beginning and end.
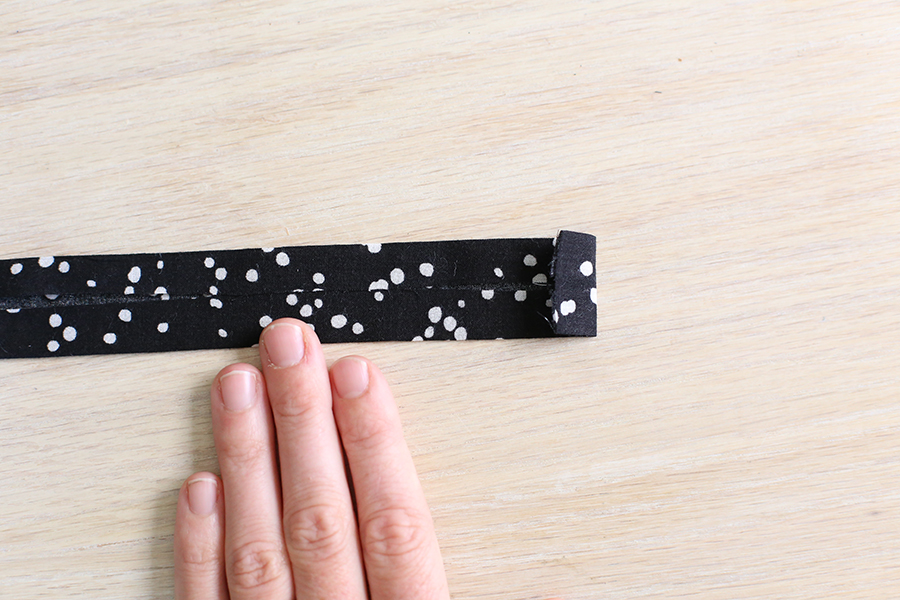
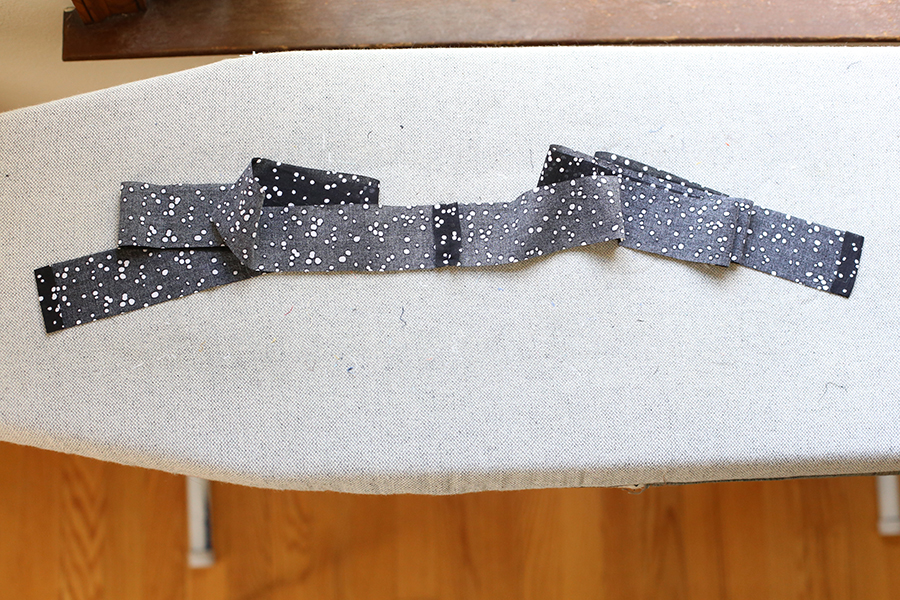
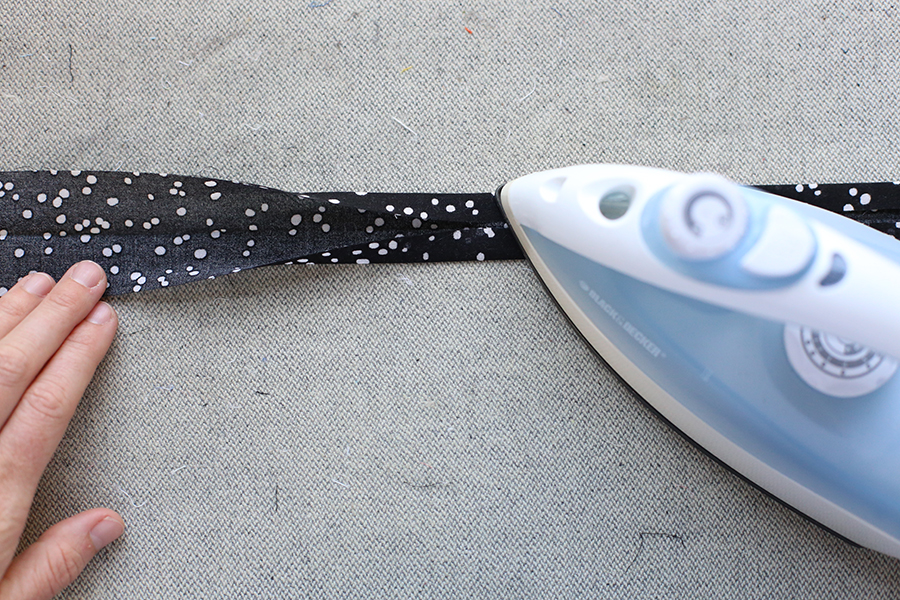
The drawstring is pretty much like making double fold bias tape, but with finished ends. Join the short end together to make one long piece then press the two short ends to the wrong side by 1/2″. Then proceed as you would for double fold bias tape and stitch the open edge closed.
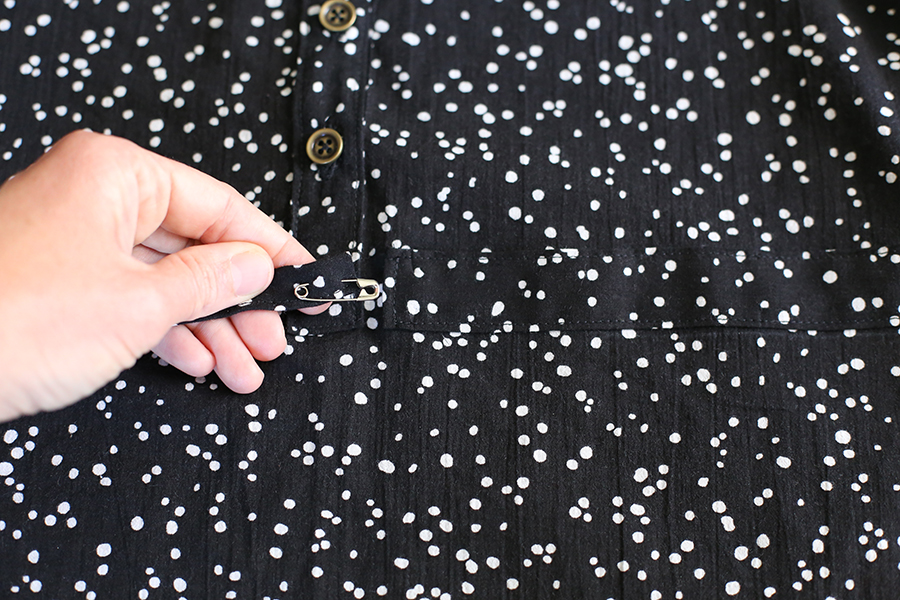
Once the drawstring is complete you can feed it through the waistband casing using a safety pin. Again, it’s easier here to have one hand inside the tunic while feeding the drawstring through.
We’re down to the hem which we will finish next time! Congratulations, you’re almost done! If you’re anything like me I bet you’ve tried it on a time or two already. See you next week!
Sew along notes: I’ll be spreading out the posts to be once a week, which will hopefully be a nice amount of time to get through each step as well as being easy to get caught up in case your schedule is full this summer! And of course feel free to work at your own pace, the posts will be permanent here on my blog, so reference them any time you need. If you have any questions please let me know in the comments below.
Handmade Style Tunic Sew Along – Day 1
Handmade Style Tunic Sew Along – Day 2
Handmade Style Tunic Sew Along – Day 3
If you still need a copy of my book, you can purchase a copy of Handmade Style at your local quilt shop, Joann’s, local bookstore or Amazon. Or, check with your local library, too.

Thanks!
Hi Anna, Cait Polden from Aus here. I am loving making my tunic and have learnt so much from doing it with more instructions and pictures… thanks so much for all the effort that is taking for you. Love Cait.
Hi Cait! Glad you’ve found it helpful. 🙂
Is the pattern available for sale or just in the book?