So glad Ellen from The Long Thread asked me to join in her HandMAYde series this week. I haven’t done an anthropoligie ‘knock off’ before, so I thought it might be fun. Why not make something almost the same for a whole lot less? Although I just looked now and the once 60 some dollar pillow is now on sale for a lot less. Darn.
Anyway, on with the show…
Materials:
5″ blocks (a charm pack came in handy)
fat quarter
piping (store bought or make it yourself)
stuffing
Getting started:
Arrange your blocks in this configuration: sew together using a 1/4″ seam allowance.
Trim a 19.5″ tall by 14″ wide rectangle from that patchwork. Cut two 6.25″ diameter circles. Apply a light weight fusible interfacing to all pieces, not necessary but it helps the pillow keep it’s shape a little better.
Sew body of pillow together using a 1/4″ seam allowance, but leave a 4-5″ opening for stuffing later.
Mark the quarter points on both circles as well as both ends of pillow body with pins or a water soluble marker.
Align pins, slipping the piping in between (all raw edges aligned, so that means the piping facing inward) with RIGHT sides together. Overlap piping and leave tails hanging outward. Use additional pins as necessary. Sew using a 1/4″ seam allowance. And try not to curse and tear your hair out at this point. A few wobbles at this point isn’t really going to be that noticeable. Using a zipper foot and moving your needle position as close to the piping helps for a better fit. Unlike what I show here, you might want to place the body fabric piece up and circle down while sewing so you can make sure there’s not a lot of bunching or wrinkles. Repeat for other end. Turn right side out and stuff.
Sew shut by hand using a ladder stitch.
Larger version note: I also made a larger version and used these measurements: 28.5″ tall by 22″ wide rectangle for body (aligning the 28.5″ side for sewing) 9″ diameter circles. I used a cheater patchwork by Echino for that particular version.
Some hand quilting on this pillow would look fabulous (like the anthro pillow), but I gave up on that after the kids destroyed the play area our house.

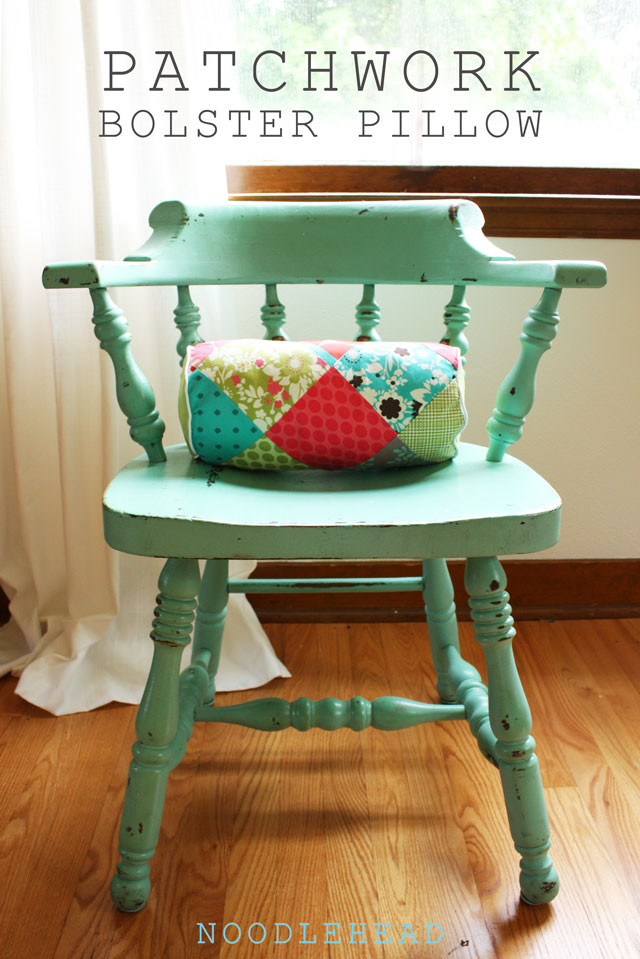
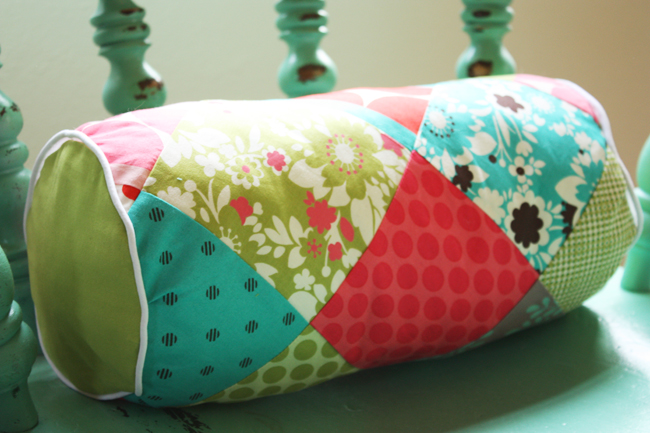
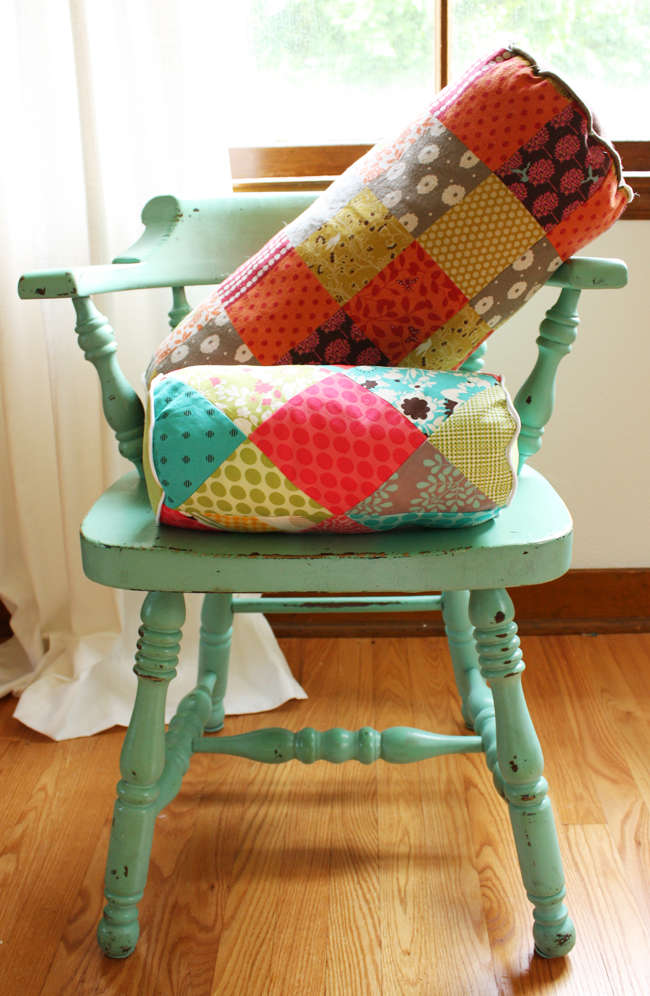
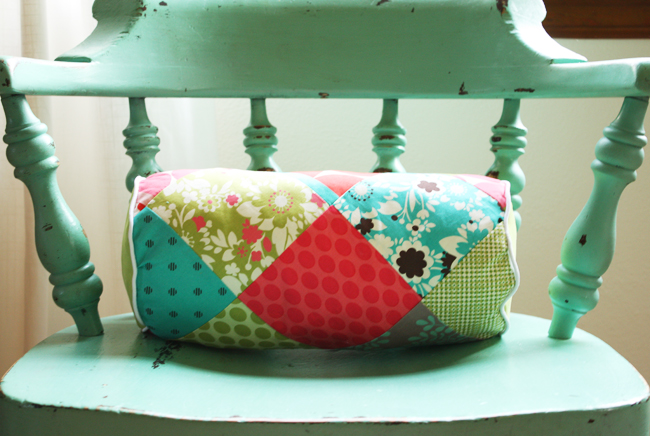


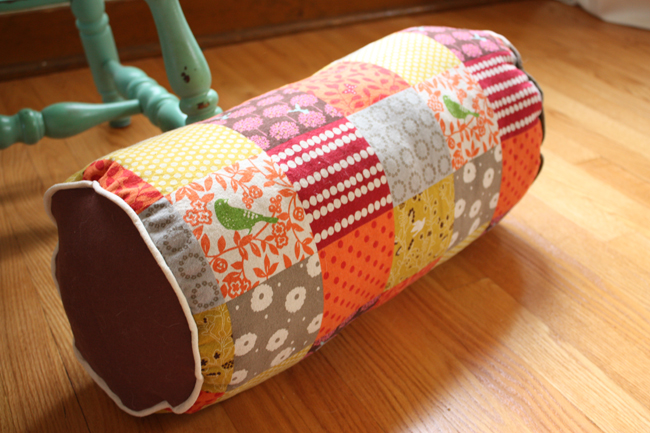
Ok, so I love that pillow. Seriously anything with patchwork just makes me feel all cozy inside. But I also LOVE that chair – did you paint it or find it like that?
Have a great day – Linds
ha ha! my kids have destroyed my house while I’m sewing too–I told my husband that they were expressing their creativity while I was expressing mine–he wasn’t buying 🙂
that pillow is awesome! great tute!
Kelly O.
brockdiva at hotmail dot com
Pretty! I’ve only been in Anthropologie a few times, because they aren’t around here! It is a fun store to browse through, but their prices are quite high!
Wow! Love this! That chair is pretty awesome too.
Love the pillow, and I agree with the others that love the chair too! I woke up wanting to paint something today, and that chair is not helping :).
Your pillow is way better than the one at Anthro! Love it!
I love this tuitorial! I am so going to try this! I have quite a few scraps that would be good.
You made it look so easy! I also love the dog bed. Good job.
Gorgious! But was it wrong of me that I wasn’t able to take my eyes of the chair? 😉
Have a good weekend!
Esther.
super cute Anna!! I think I may have caught your pillow making bug! 🙂
This is so adorable. I especially love the smaller version. The fabrics in the It’s a Hoot line are so fun and cheery. Fantastic project, Anna. I will be making some 🙂
Love the pillow and the chair. Would love to know the color. For some reason blogger won’t let me comment…hhmmm
Amber
willis_ac (at) yahoo (dot) com
Thank you for this tutorials (and all your great tutorials!). DD has been asking for one of these for her bed – I’m going to try on this weekend!!
You’re making me kick myself right now!!! I just received a Anthro bolster in the mail two days ago. I did think about making one for a moment, now I wish I had. I think a second, smaller one made by me, will make me feel much better. Thanks!!!
I have a hint to save on stuffing. I saw this on HGTV/TLC about a 100yrs ago… can’t remember which show. You can take a swim noodle and cut it to the length of the pillow. Then just wrap it in quilt batting. Obviously, it won’t be a squishy pillow, but it’ll hold it’s shape really well! I did this for long bolster pillows for the back of my window seat.
LOVE!
WOW I like the instructions. Thank you for sharing
Love the pillows Anna! You’re just a pillow queen 🙂
You are just so clever Anna. Thanks for making this WAY easy for us.
I love the patchwork, but I’m smitten with that aqua chair! Did you paint that and if so, could you tell what you used and the technique?
I LOVE these pillows, and with your tutorial, I think I might have to give a try!
hey basket case. 🙂 I got the chair as is, pretty good score for $10. It looks like it might be some sort of milk paint, but I’m not completely sure… hope that helps a little!
Love that pillow! and thanks for the tutorial.
That chair is so cool!!
Just a quick note to let you know that a link to this post will be placed on CraftCrave today [28 May 02:15am GMT]. Thanks, Maria
I love this pillow! The chair compliments the pillow so very well (wait, isn’t it suppose to be the other way around?). Great job Anna. 🙂
Thanks for this tutorial, i am definitely going to try! Love it!
Love it! Great tutorial- gonna have to try this!:) Anyone else having trouble with Google?
Cindy
orr20004@msn.com
So colourful and so pretty! I have to make similar for my BFF’s kids 🙂
This is great!Thanks for the tutorial!
Anna, SOOOOOOOO pretty! Makes me want to drop what I am doing and start one.
Great Tutorial Anna! I’ve always wanted to make a bolster 🙂
love the patchwork bolster pillow with the piping. Thanks so much for sharing the tutorial. I am going to see if I can do mine with a zipper. It’s always nice to be able to throw the covers in the wash.
Thank you so much for sharing this with us! I am definitely going to attempt this some time over winter 🙂 x
So cute, Anna! I’m definitely making a few of these. Thanks for doing the math part!
That pillow is so cute! I’ve been wanting to try a bolster but I haven’t had the nerve to tackle the very ROUND ends! Ha.
And, like everyone else, I LOVE LOVE LOVE that chair! Please, please tell us you know what the paint color is so we can paint ourselves something that delicious color. 🙂
Best,
~Angela~
So cute Anna! I basted the piping on first to lower my frustration level! Thank you!
This looks like a quilting project that even I could finish! 🙂 I love the bright and cheery colors you used!
hey angela, I had gotten the chair as is, so I’m afraid I don’t know the paint color. Looks like it might be some kind of milk paint though??
I made one! I had to make the circles a bit larger, 6.5 inches, and to figure that out I had to engage the services of my cousin, who is a chemical engineer :). But it turned out OK!
Thank you for this tutorial! Nice project!
Photos: http://flic.kr/p/9Pu4vA
Thanks a lot for the inspiration- I made one, too.
And a few others will follow this weekend, the design is so beautiful…..
Greets from Germany!
Te ha quedado genial!!!
gracias por el tutorial. Un saludo
Delaine
I loved this tutorial. I am from Brazil.
wow. i like it. tks for this tutorial