
guest posted on Elsie Marley with this tutorial a few weeks ago…
It’s a sweet and simple project you can create in time for valentines day. This would even be a great project for a beginner or for a child who’s fairly comfortable using a sewing machine.
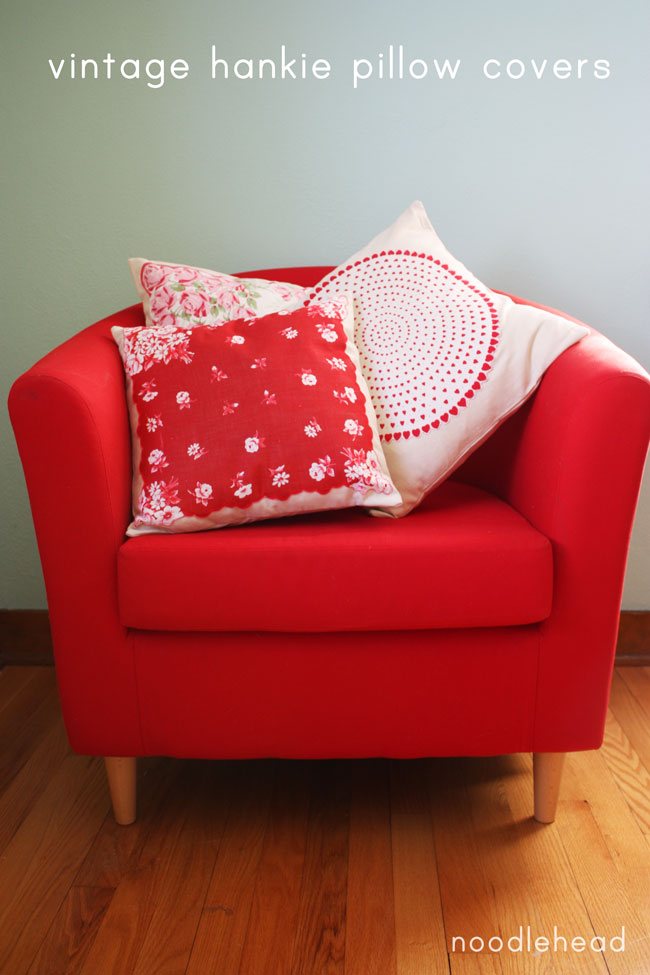
I thought of these pillows one day after I saw some of my vintage hankies. Their colors were perfect for valentines day and I thought they would add a little bit of character to an empty chair or sofa. My mom had given me a few of the hankies and I had collected a few from local estate sales. If you’re not sure where to get vintage hankies, I suggest looking at estate sales, etsy, or ebay. They’re usually in pretty good condition and will be durable enough to add to a pillow After all, they were originally intended for nose blowing!
Now I’m sure there are some enthusiasts who would never do this to a prized vintage item, but for me I’d rather have them out on display where we can enjoy them more, instead of stashed in a drawer somewhere.
Let’s get started!
Materials:

1/2 yard linen or base fabric for making the pillow cover
1 vintage hankie (wash, iron, starch)
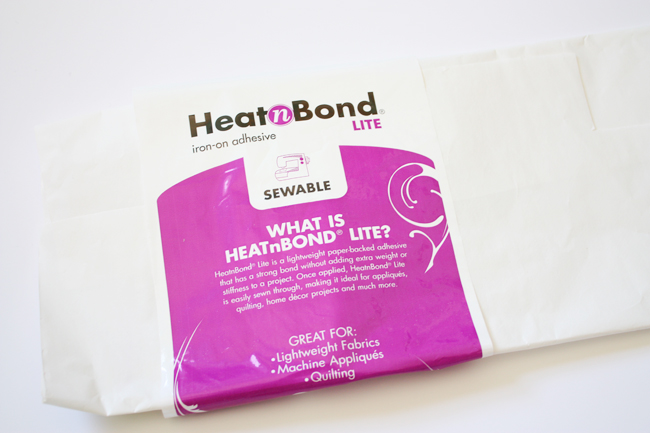
1/2 yard heat n bond lite (available at Joanns, even pre-packaged at walmart)
thread, sewing machine, pins, etc.
I’ll give measurements for both a 16″ pillow form, but of course feel free to adjust these as needed for your particular hankie/pillow form.
Cutting the pieces:
top 16″ x 16″
for envelope back:
cut one piece 16″ tall by 14″ wide, and another 16″ tall by 11″ wide
Attaching hankie:
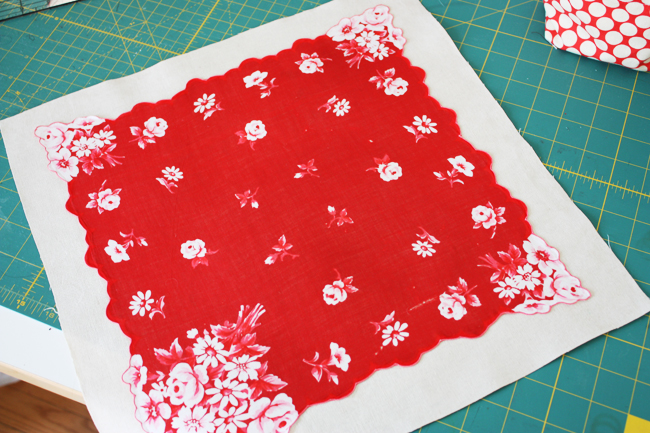
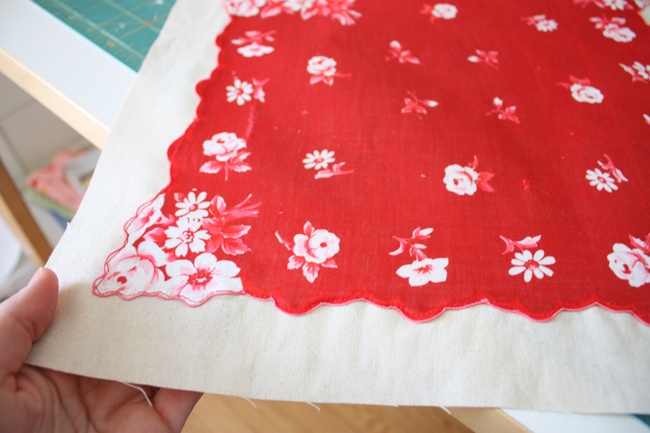
Apply heat n bond lite to the hankie using manufacturers directions. Fuse hankie to pillow cover top, centering hankie.
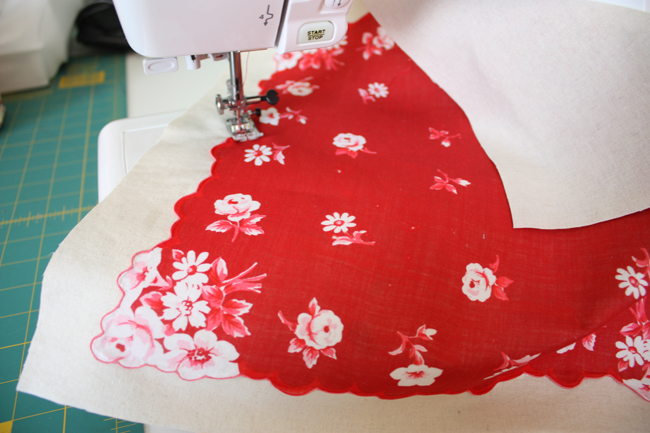
The next step can be potentially tricky, but you’ll need to sew the hankie down to the pillow cover top as close to the hankie’s edge as possible.
Depending on how your particular hankie is shaped/hemmed, you might have to take it really slow and lift the presser foot and turn as you go. You could alternately used heat n bond ultra (which requires no sewing to ensure the quality of the bond), however it will make the pillow more stiff, so I’ll just leave that up to you!
Finishing the pillow:
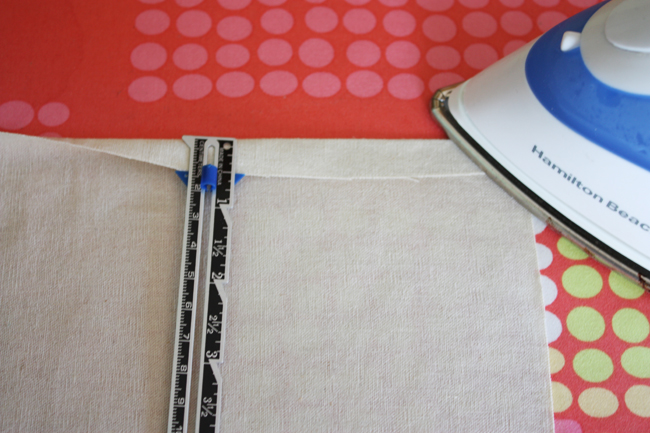
Next you’ll want to hem the edges of the envelope back opening. Take one piece of envelope back and press the long side over by 1/2″ towards the WRONG side of the fabric and again by another 1/2″.
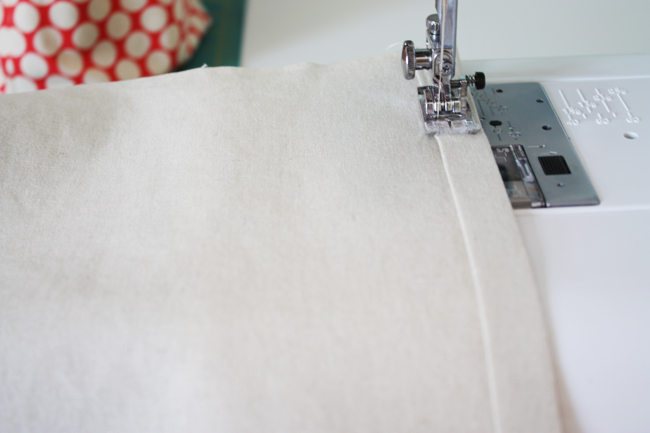
Sew close to folded edge. Do this for both envelope back pieces.

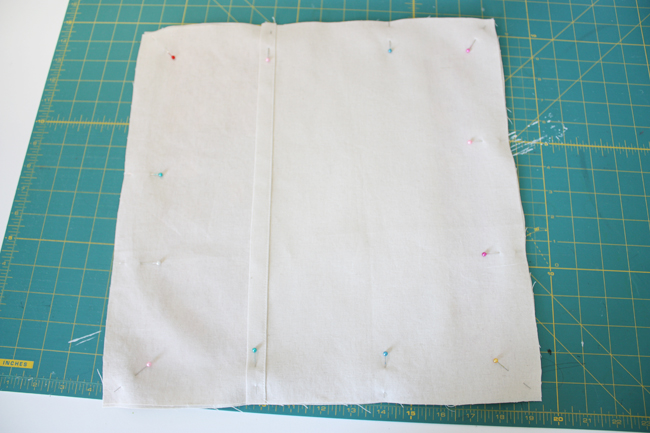
Then place the pillow cover top facing RIGHT side up, on top of that layer the larger back piece RIGHT side down on top, aligning raw edges. Then place the smaller envelope back piece over that, also RIGHT side down. Pin. Sew around entire perimeter using a 1/2″ seam allowance.

Serge or use a zig zag stitch around edges to finish them off so they don’t fray in the wash, clip corners. Press. Insert pillow form and enjoy!
Just love your Valentine decorating what a great idea, and as for the hanky cushion covers – superb, love ’em ‘want one’ xx
I am so so happy you posted this today…my sister asked me to make her a pillow cover just two days ago. My first attempt at an envelope back is on my couch with safety pins holding it together because I didn’t overlap them enough! I knew I was going to have to search out a tutorial, instead of my own figuring (which obviously isn’t very good!). And here yours is…wonderful and timely! Thanks again!!
I meant to leave a comment earlier on this ..
this is such a great idea! I made a vintage hankie quilt last fall and have a few hankies left over, this would be the perfect project for it! I was so excited when I saw this!!
So pretty!
Happy Valentine’s day!
Melissa
Melissa – Can you share how you made your vintage hankie quilt? I have some hankies from my late Mother-in-law and would love to make a smaller, quilt with them but am not sure exactly how to do this!
great tutorial, I can’t wait to try this with some of the old hankies my grandmother gave me. I also love the envelope back, as it will allow me to avoid conquering my fear of installing zippers anytime soon. 🙂
Just a quick note to let you know that a link to this post will be placed on CraftCrave today [13 Feb 10:00pm GMT]. Thanks, Maria
Sooooooooooooooooo adorable…thanks for the tutorial!
I love it! I have a rule with collecting or keeping vintage stuff, that it has to get used in real life! If it’s too precious to use then I’m not the person to have it. I’m a hoarder so little rules like that help me keep things under control [what I call control is debatable though]. Anyway I love the project. I tend to use my old pretty hankies for my nose, but next time I find a particularly beautiful one and need a pillow cover, I know where it is going.
love how classy the result is! Great idea!
I just love this idea! I’m with you … display ’em, use ’em. I had an Aunt who used to say, “Use your good stuff, girls, or his next wife will!”
I have not stated yet how much I LOVE these pillows. I think they are adorable. I’ve had vintage hankies before and not known what to do with them. love this.
Hey there. Stumbled across your blog and noticed that you are a pillow-freak just like myself. If you have a moment, take a peek at my blog http://www.pillowcaze.blogspot.com . It’s in danish, so you won´t understand a single word, but the keyword is Puder. (means pillow).
Greetings from Denmark, Sine
Thanks Noodlehead for such a great idea.
I have some old hankies of my Grandmother’s that I needed something special to use them for…. and you have provided.
I have featured this tutorial in a post about great gift tutorials for women and girls.
You can see it here….
http://allysonadeney.wordpress.com/2011/11/14/17-handmade-gifts-for-women-and-older-girls-with-tutorials/….if you like.
Thanks for taking the time to put this together.
Ally of harrysdesk
I received a circular heart hankie like that when I was 4 years old–almost 58 years ago! I have it framed in my guest room. What a treat to see one like it online!
S W E E T !! I could make this pillow. Thank you for another wonderful tutorial. -Marci @ Stone Cottage Advnetures
For those who do not want to use your grandma’s hankies this way, there are some “vintage style” hankies available in lots of 20, 50 etc for a reasonable price on Ebay. These “reproductions” come from China & are available in numbers large enough to make quilts, table cloths, whatever you might wish. You must really have to know your hankies to know the difference between vintage & these reproductions.
I adore these pillows. I have a collection of vintage hankies. I can’t wait to look through them and decide which one needs to be made into a pillow!!!
Thank you so very much for posting this tutorial! I am not a great sewer, but I was able to follow your directions and now have an adorable pillow for my Father in law’s Christmas gift! I had found an antique hankie with Italian phrases and colorful pictures all over it “How to Speak Italian” and he is studying Italian so I am so excited to give this to him! Thank you!!!
Instead of heat bond, you can also use fusible inter-facing. It will stabilize the fabric but can be removed at a later date fairly easily.
Great idea. I have my husband’s great aunt’s crocheted edge hankies and didn’t know what to do with them. This is perfect, they are so pretty I hated to not have them in use.
My treasure box of vintage hankies began at 9 years old when I received my very own at Easter. I thought I was in high cotton when I could take my hanky out and wipe my brow like my Mom did at church as there was no air conditioning. Through the years my Mom’s hankies became mine and after raising 15 children, me the youngest, acquired a beautiful assortment of hankies as family gave them to her Valentine’s, Mother’s day, any holiday or special occasion. I have made a few memory quilts from them and given them to family, but love the idea of pillows since they are a quick change. Even though she passed in 1994, I see Mom every day in the laundry room where her hankies fly high as a valance above my washer/dryer area, and in my sewing room on my message board surrounded by a collection of old buttons that held my hand me down clothes from 6 sisters. Life is still good Mom.